
Canning and Preserving for Homesteaders
Essential Techniques for Self-Sufficiency
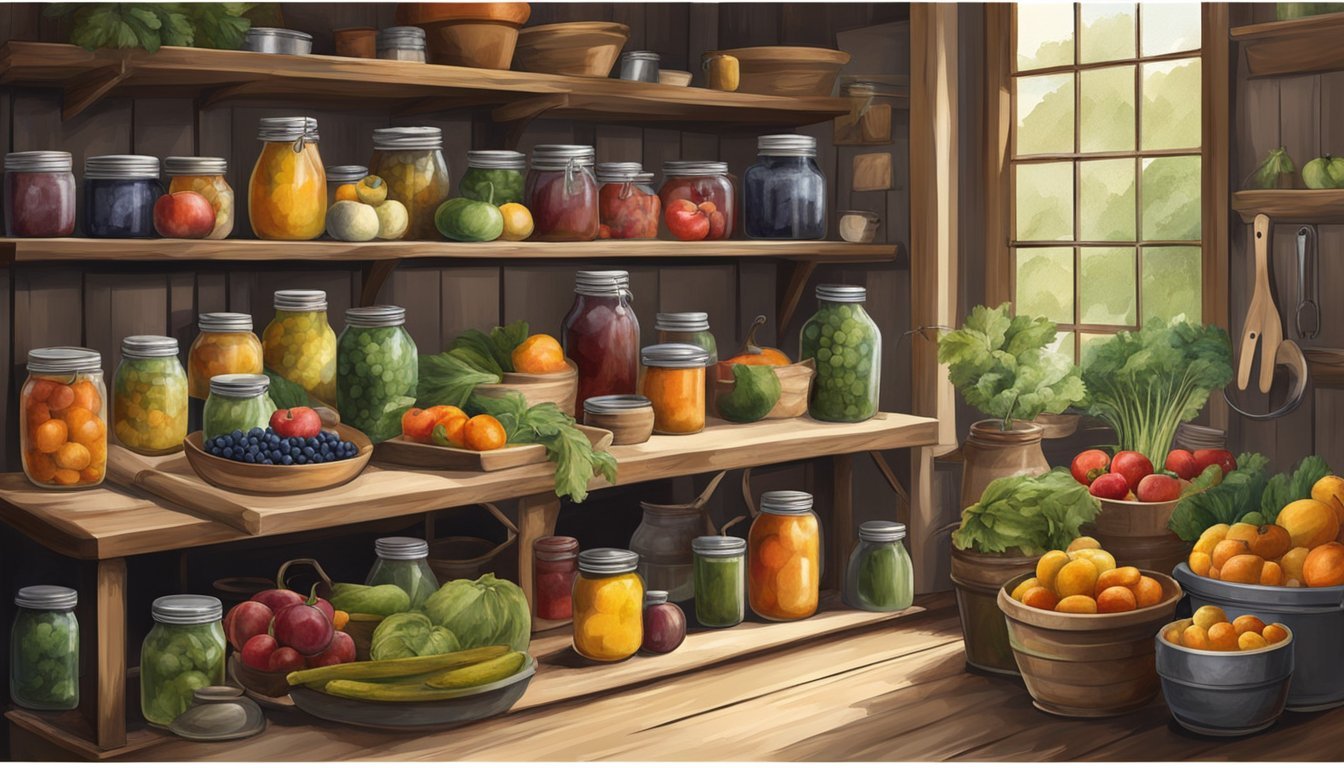
Canning and preserving are time-honored practices among homesteaders seeking to extend the bounty of their gardens and farms throughout the year. These methods of food preservation are not only practical means to manage surplus produce but also a way to enjoy the flavors of seasonal fruits and vegetables long after their typical harvest times have passed. Homesteaders often turn to canning to create a diverse pantry that includes jams, pickles, salsas, and various other preserves.
The process involves preparing the produce by washing and sometimes peeling or cutting, followed by packing it into sterilized jars with the appropriate canning liquids—be it water, syrup, juice, or vinegar-based brines. This preparation is then usually followed by a heating process, which can include water bath canning for high-acid foods and pressure canning for low-acid foods.
Adhering to proper canning techniques is crucial for ensuring food safety and preserving the quality of the food. Homesteaders typically follow tested recipes and guidelines, understanding that the specifics of time and temperature are important to prevent foodborne illnesses. From salsa verde made with tomatillos to sweet pickle relish, using time-tested recipes ensures a safe and satisfying outcome for those stocking their homestead pantries.
Foundations of Preserving and Canning
Preserving and canning are timeless methods for homesteaders that promote self-sufficiency.
Historically, preservation has been essential for homesteaders to manage their food sources. Before refrigeration, preserving was the only way to ensure that the bounty of one's garden or farm could nourish the family during winter months and times of scarcity.
Canning, in particular, became a reliable method to store food safely. It involves sealing perishable produce in airtight containers, where they could last for years. These preservation methods not only make it possible to enjoy seasonal goods all year round but also help in maintaining healthy living standards by conserving the nutritional value of fresh produce.
Understanding the Science of Preservation
Preservation methods like canning and drying inhibit the growth of bacteria, yeasts, and molds that cause food spoilage. These methods can include:
Pressure Canning: Using a specialized pressure canner to achieve high temperatures that destroy harmful microorganisms.
Water Bath Canning: Suitable for acidic foods, this process involves boiling filled jars to create an airtight seal.
Drying: Reducing the moisture content of foods to levels that discourage the growth of spoilage agents.
Each method alters food in different ways but shares the common goal of extending its usability and safety for consumption.
Essential Canning Terminology
Term Definition Jar Lifter A tool used to safely handle hot jars during the process. Airtight Seal The result of properly canning food, preventing outside air from entering. Headspace The space left at the top of the canning jar between the food and lid.
Understanding these and other canning terms helps ensure that homesteaders follow safe and effective preservation practices. Accurate knowledge of processes like pressure canning and water bath canning is crucial for preventing foodborne illnesses and spoiling. This foundational vocabulary enables individuals who grow their food to thrive in their pursuit of self-sufficiency and healthy living.
Getting Started with Canning
For those new to homesteading, canning is an essential skill for preserving food. Understanding the basics, gathering the right supplies, and following a thorough canning process are crucial steps in ensuring safety and quality.
The first step in canning is comprehending the two primary methods: water bath canning and pressure canning.
Water bath canning is suitable for high-acid foods, including fruits and vegetables such as pickles, as the heat destroys bacteria and creates a vacuum seal.
Pressure canning, on the other hand, is necessary for low-acid foods such as vegetables, meats, and poultry to prevent the risk of botulism, as it reaches higher temperatures than boiling water.
Choosing the Right Canning Equipment
A homesteader needs the following basic equipment for canning:
Canning jars: Available in various sizes, mason jars are popular for their tight seals.
Canning lids and bands: Lids should be new to ensure proper sealing; bands may be reused.
Jar lifter and magnetic lid lifter: To safely remove jars from hot water and handle sterilized lids.
Stainless steel funnel: Aids in cleanly transferring food into jars.
Pressure canner or boiling water bath canner: Depending on what you are canning.
It is important to use glass jars designed for canning as they can withstand high temperatures. Regular glass containers may crack under the heat.
Step-by-Step Guide to the Canning Process
The canning process can be distilled into the following steps:
Prepare the canner, jars, and lids: Sterilize jars and lids to ensure they are free of bacteria.
Fill the jars: Use a funnel to fill jars with prepared food, leaving appropriate headspace as recommended by the recipe.
Release air bubbles: Gently slide a non-metallic spatula around the inside of the jar to remove air pockets.
Clean the jar rims: Wipe the rims with a damp cloth to ensure a clean seal.
Apply the lids and screw bands: Position the lid using a magnetic lid lifter and tighten the band to fingertip tightness.
Process jars in the canner: Place jars into the canner and process them for the time specified in a reliable recipe.
Cooling and removing jars: Once processing is complete, remove the jars and let them cool for 12-24 hours without disturbing them.
Check the sealed jars: Once the jars cool, test that the lids of the processed jars have been sealed by pressing the center; it should not pop back.
Following these steps will help ensure the safety and longevity of home canned foods.
Methods of Canning and Preserving Food
Canning and preserving are critical components of homesteading, enabling one to extend the shelf life of homegrown produce and reduce food waste.
Water Bath Canning Method
Water bath canning is suitable for high-acid foods such as fruits, tomatoes, and pickles, and acidified recipes like salsa. The process involves:
Sterilizing jars and lids in boiling water.
Filling jars with prepared food and ensuring appropriate headspace.
Sealing the jars with lids and placing them in a rack inside a canner filled with boiling water, covering them by at least one inch.
Processing the jars for a prescribed time then cooling them undisturbed.
For instance, a common item like apple butter would be processed at boiling temperatures (212°F) for a duration specified by a tested recipe.
Pressure Canning Method
A pressure canner is required for canning low-acid foods like vegetables (including canned green beans), meats, and poultry to prevent foodborne illnesses. Steps include:
Preparing the pressure canner by placing two to three inches of water at the bottom and heating it.
I am filling sterilized jars with food, leaving recommended headspace, and wiping jar rims.
Sealing jars with lids, placing them in the pressure canner, and locking the lid.
Regulating the pressure according to the altitude and recipe, with the contents being heated to at least 240°F to eliminate botulism spores.
Cooling the canner to zero pressure naturally before removing the jars and allowing them to seal as they cool.
Alternative Preservation Techniques
Aside from canning, homesteaders employ various other techniques to preserve their harvest. These include:
Dehydrating: Removing moisture from foods like herbs to extend their shelf life.
Freezing: Slowing down the decomposition process by converting residual moisture into ice.
Fermentation: Using the fermentation process to preserve foods like sauerkraut (how long does sauerkraut last?) through controlled bacterial growth.
Salting and Vinegar Pickling: Utilizing salt and/or vinegar to inhibit bacterial growth in foods such as pickled beets.
Freeze-Drying: Removing moisture under a vacuum after freezing, ideal for preserving complex products like full meals.
Root Cellaring: Storing produce like carrots and potatoes in controlled, cool, high-humidity environments for extended periods.
Drying: Using warm, dry air to remove water from food items such as rhubarb jam, allowing for safe storage without refrigeration.
These methods have distinct principles and practices, yet they collectively provide a spectrum of options for homesteaders to effectively manage and store their yield.
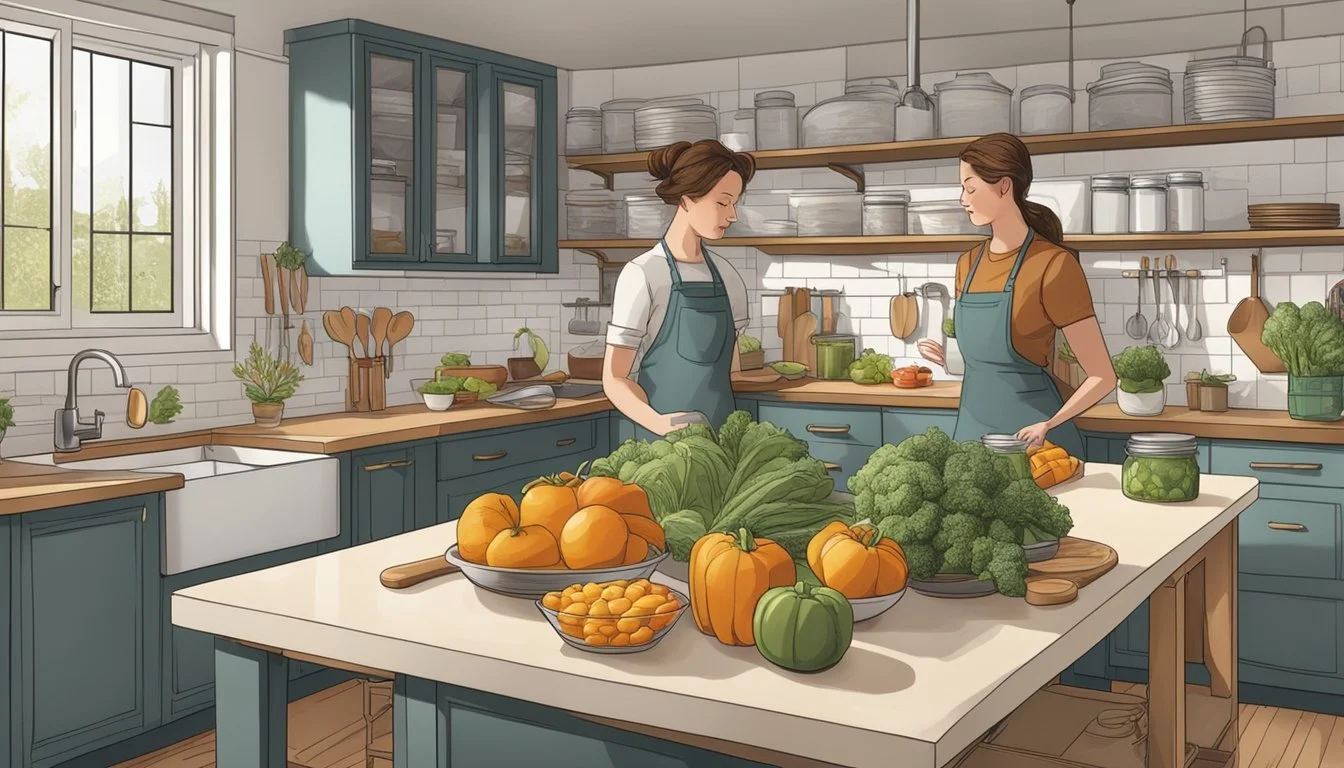
Preparing Your Ingredients
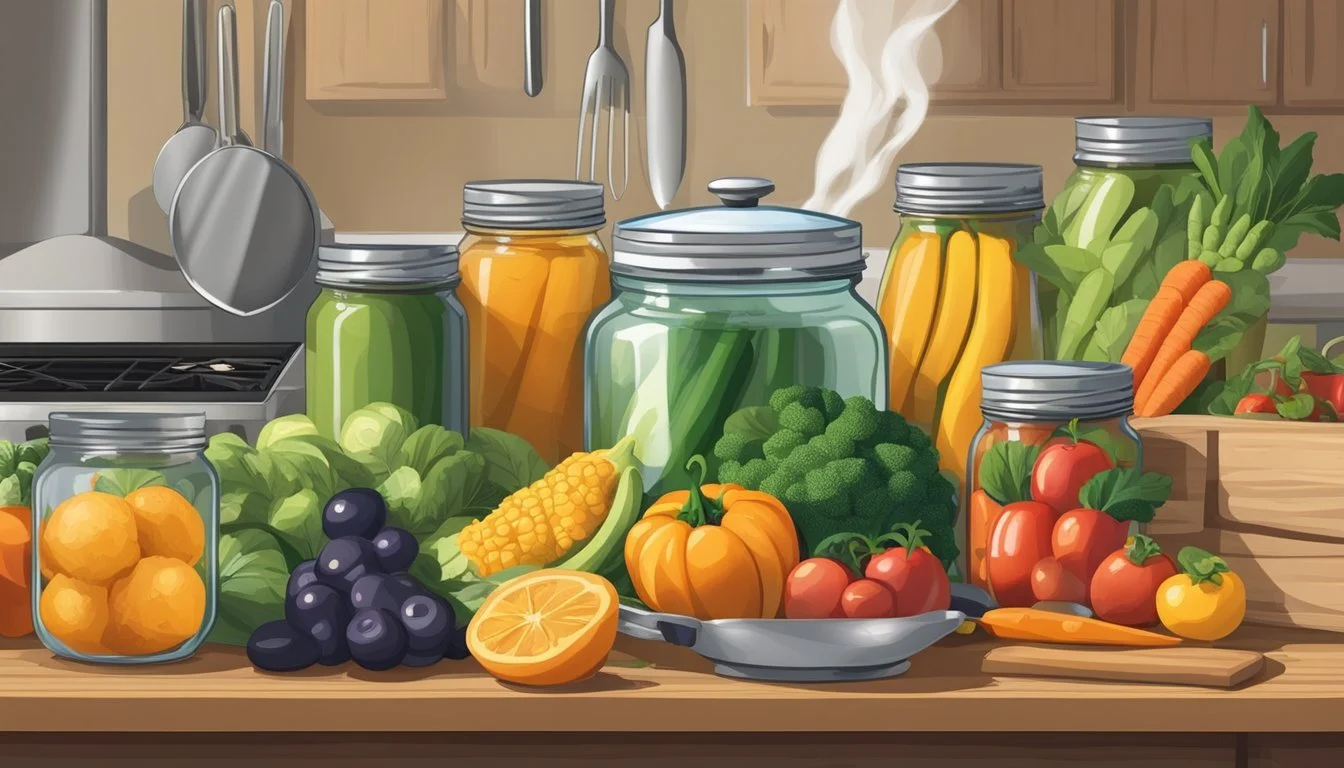
Proper preparation of ingredients is critical in canning to ensure safety and preserve the flavors of the harvest. This preparation starts right from the garden and extends to pre-canning treatments. Each step is important to achieve the best results in preserving garden bounty.
Harvesting should be done at the peak of ripeness to ensure the highest quality and nutritional value. For vegetables, this means they are firm and vibrant in color without bruises or signs of decay. Fruits should give slightly to a gentle squeeze and have a full, fragrant aroma, indicative of ripeness. Herbs should be picked in the morning after the dew has evaporated for the best flavor concentration.
Vegetables: Look for firmness, vibrant colors, and the absence of blemishes.
Fruits: Seek out fragrant fruits and give slightly under pressure.
Herbs: Harvest in the morning when oils are concentrated.
Before canning fruits and vegetables or meat, all produce should be washed thoroughly under running water without soaps or detergents. They can then be peeled, pitted, or sliced according to the recipe instructions. Meats should be trimmed out of excess fat and cut to the appropriate size. One should also remove bones if the canning process does not call for them.
Vegetables and Fruits: Rinse well, then slice or chop as directed.
Meats: Trim fat and remove bones if necessary.
Blanching and Other Pre-Canning Treatments
Blanching is a vital step for many vegetables as it helps to preserve their color, texture, and flavor. It involves a brief cook in boiling water followed by an ice water bath. This procedure also helps in peeling certain fruits and tomatoes more easily. For meats, brining or curing might be necessary before canning to enhance flavor.
Blanching: Boil briefly, then plunge into ice water.
Meats: Cure or brine if the recipe or preservation method requires.
By following these preparation steps, homesteaders can ensure their canned goods are of the highest quality and safe for consumption.
Canning Recipes and Varieties
The following subsections provide a range of canning recipes and methods to turn fresh foods into long-lasting staples.
Classic Jams and Preserves
Jams: A homesteader's pantry often showcases an array of jams, highlighting seasonal fruits like figs and blackberries. A must-try DIY Fig Jam (how long does fig jam last?) provides a sweet spread long after fig season ends. Similarly, Low Sugar Blackberry Jam captures the essence of summer without the need for added pectin (how long does pectin last?).
Preserves: For those preferring spreads with chunks of fruit, preserves such as Homemade Apple Butter can be a delightful addition to one's breakfast table. This canning recipe embraces the natural sweetness and rich texture of apples, making it a hit among all ages.
Canning Vegetables and Soups
Vegetables: Low-acid vegetables such as peas and green beans require specific canning recipes to ensure safety and longevity. Pressure canning is most suitable for these types of produce, ensuring that they are preserved at the proper temperature.
Soups: Hearty options like Beef Stew can also be canned for future use. Beef broth (how long does beef broth last?), combined with fresh vegetables and tender chunks of meat, seals in the flavors for a quick and nutritious meal.
Innovative Canning Ideas and Mixes
Salsas and Relishes: For those looking to add a kick to their canning repertoire, Spicy Canned Apricot Salsa provides a unique twist on traditional salsa recipes. Another innovative choice is a Sweet Pickle Relish, offering a balance of sweet zing to burgers and hot dogs.
Mustards and Condiments: An unexpected yet delightful addition to any pantry is the DIY Lemon Sage Mustard. It combines the zesty flavor of lemon with the earthy notes of sage, perfect for sandwiches and marinades.
By exploring classic, vegetable, and innovative canning recipes, homesteaders can enjoy a diverse range of flavors year-round, ensuring their pantries are well-stocked and their meals are full of homegrown goodness.
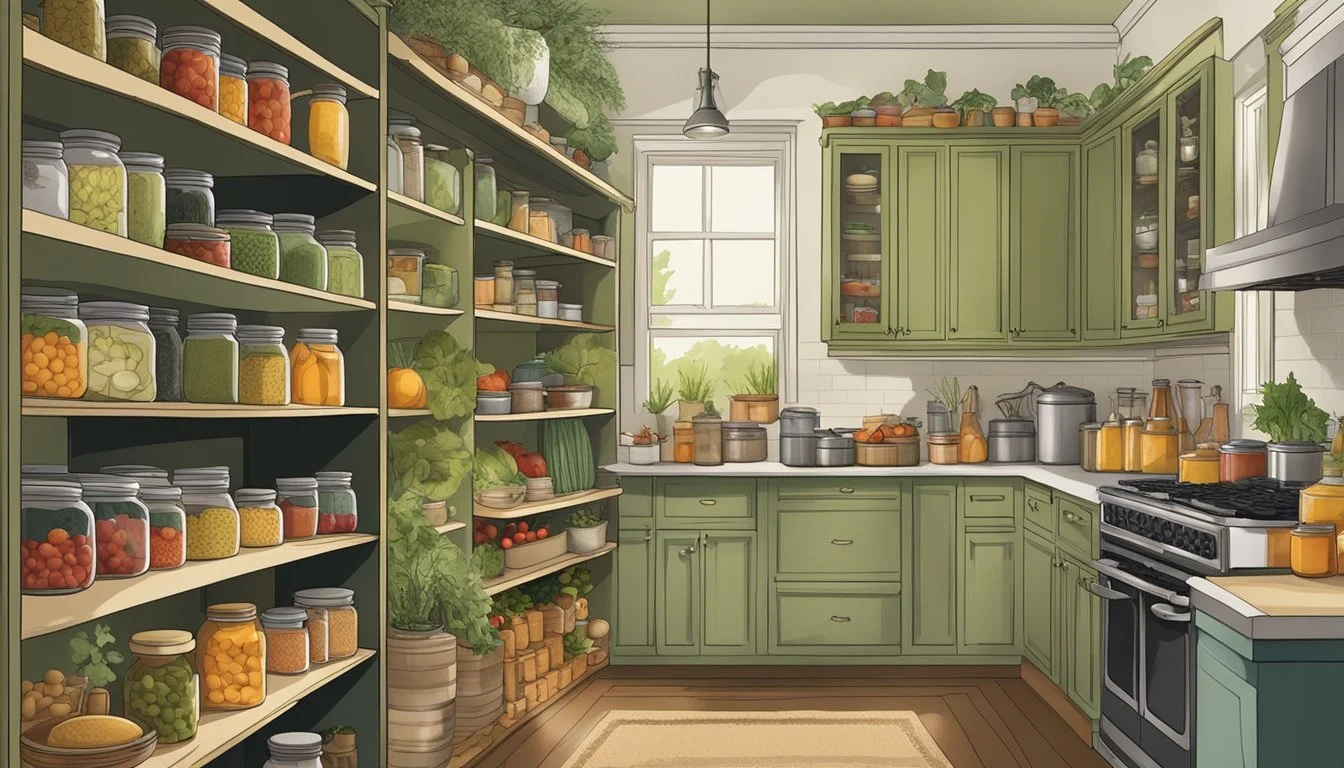
Storing and Organizing Your Pantry
A well-organized pantry ensures that home canned foods maintain their quality and are easily accessible. It also plays a crucial role in optimizing space for a variety of preservation methods.
When designing a home pantry, the layout should prioritize ease of use and the preservation needs of various foods.
Shelves should be adjustable to accommodate jars of different sizes, from canned jams to larger preserves. Cupboards can be utilized for items sensitive to light, while transparent containers allow for quick inventory checks of dried spices and herbs.
An abundant pantry is not just about having plenty of food, but also about having the right storage conditions that extend shelf life and preserve nutritional value. You also need to take into account the space required for storing the canning equipment when it is not in use.
A root cellar is an invaluable asset for a homesteader's pantry, specifically for storing produce that requires cool, humid conditions. It's essential for items like root vegetables and winter squashes which don't require canning or freezing.
Managing a root cellar involves regular temperature checks and monitoring humidity levels to combat spoilage. Items with a longer shelf life should be placed in the back, while those with a shorter shelf life should be near the front for easier access.
Shelf Life and Rotation of Canned Goods
Proper rotation of canned goods is necessary to prevent waste and ensure quality. Homesteaders should organize their pantries so that the oldest jars are in the front and the newest in the back. A simple First-In, First-Out (FIFO) system ensures that no jar is forgotten. Regarding shelf life:
Canned jams typically last up to two years when stored in a cool, dark place.
Freezer jams have a shorter shelf life and should be kept frozen until ready to use.
Regularly inspecting canned items for signs of spoilage is paramount for safety.
By adhering to these specific storage and organizational practices, homesteaders can achieve a well-managed and efficient pantry that supports their self-sufficiency goals.
Advanced Topics in Canning
When diving deeper into the world of canning, one uncovers the intricacies involving unique ingredients, dietary considerations, and solving puzzling canning issues. Mastery of these elements enhances both the safety and palatability of preserved foods.
As one's experience with canning grows, incorporating fermented tomatoes or kombucha can be an adventurous step.
One can start by adding herbs or spices to standard recipes, then gradually move to ferment vegetables, such as tomatoes, which not only introduce a vibrant flavor but can also boost the health benefits due to natural probiotics.
When fermenting or experimenting with non-traditional recipes, always refer to guidelines from established authorities like the National Center for Home Food Preservation to ensure safety.
Canning for Dietary Restrictions
For those with dietary needs, canning can be a tailored way to manage their diet. Whether it's reducing sugar, omitting preservatives, or canning low-sodium foods, it allows control over what goes into the jar. One must be cautious, however, as changing ingredients can affect canning safety and the risk of botulism. Recipes from the National Center for Home Food Preservation are advisable as they account for such variations without compromising on safety.
Troubleshooting Common Canning Problems
When problems arise, they often do so in the form of seal failure or texture issues. Understand that canning safety is paramount, and any sign of compromised integrity, such as bulging lids or off-odors, should be a red flag. Addressing common issues with methodical troubleshooting can prevent nutrient loss and spoilage. For instance, ensuring the use of fresh produce and adhering to prescribed processing times minimizes the cons while maximizing the pros of flavor and nutrient retention.
Beyond Canning: Other Aspects of Homesteading
While canning is a pivotal skill in preserving the harvest, homesteading encompasses a broad spectrum of practices aimed at self-reliance and sustainable living.
Building Community Through Homesteading
Homesteading is not done in isolation. Building a strong community network is a vital part of the lifestyle.
Homesteaders often share resources, trade goods, and exchange skills with neighbors and local markets. They might swap preserving techniques, organize seed exchanges, or participate in community-supported agriculture (CSA) programs. This communal engagement fosters relationships and creates a network of support, which is invaluable for both new and experienced homesteaders.
Skill Sharing: Hosting workshops on preserving, building, or gardening.
CSAs: Joining or starting a CSA to distribute the harvest among community members.
By integrating these practices, homesteaders work toward a sustainable, resilient, and communal way of life, honoring the traditions of the past while innovating for the future.
Resources and Continuing Education

For homesteaders looking to deepen their canning knowledge, a wealth of resources and educational opportunities exist. They range from authoritative literature to hands-on workshops and are supplemented by digital media such as podcasts.
The homesteader seeking to expand their canning expertise should start with the National Center for Home Food Preservation. This center offers comprehensive guidance and is a cornerstone for safe canning practices. It partners with organizations like the USDA's National Institute of Food and Agriculture to develop resources, including the "USDA's Complete Guide to Home Canning," which is a treasure trove of research-based recommendations.
Recommended Resources:
USDA's Complete Guide to Home Canning
NCHFP website
Workshops and courses offer a more interactive approach to learning home canning. Community centers, local homesteading groups, and extension services frequently host events where one can receive hands-on instruction. These practical sessions often cater to a range of skill levels, from beginners to those looking to master more advanced techniques.
Learning Opportunities:
Local Homesteading Workshops
Extension Service Canning Courses
For ongoing learning, homesteaders can turn to podcasts that regularly release content on preserving food at home. Homesteading Family provides a podcast that includes episodes on canning, often accompanied by a transcript. These media resources are perfect for those who prefer auditory learning or wish to stay updated with the latest discussions and innovations in preservation.
Media to Follow:
Homesteading Family's Canning 101 podcast series
