
Home Canning for Beginners
Home canning is a valuable skill that allows individuals to preserve fresh produce from their gardens, local farms, or even grocery stores, extending the shelf life of their favorite fruits and vegetables. By mastering the art of canning, beginners can ensure that they have a supply of nutritious and delicious food available throughout the year while also reducing waste and saving money.
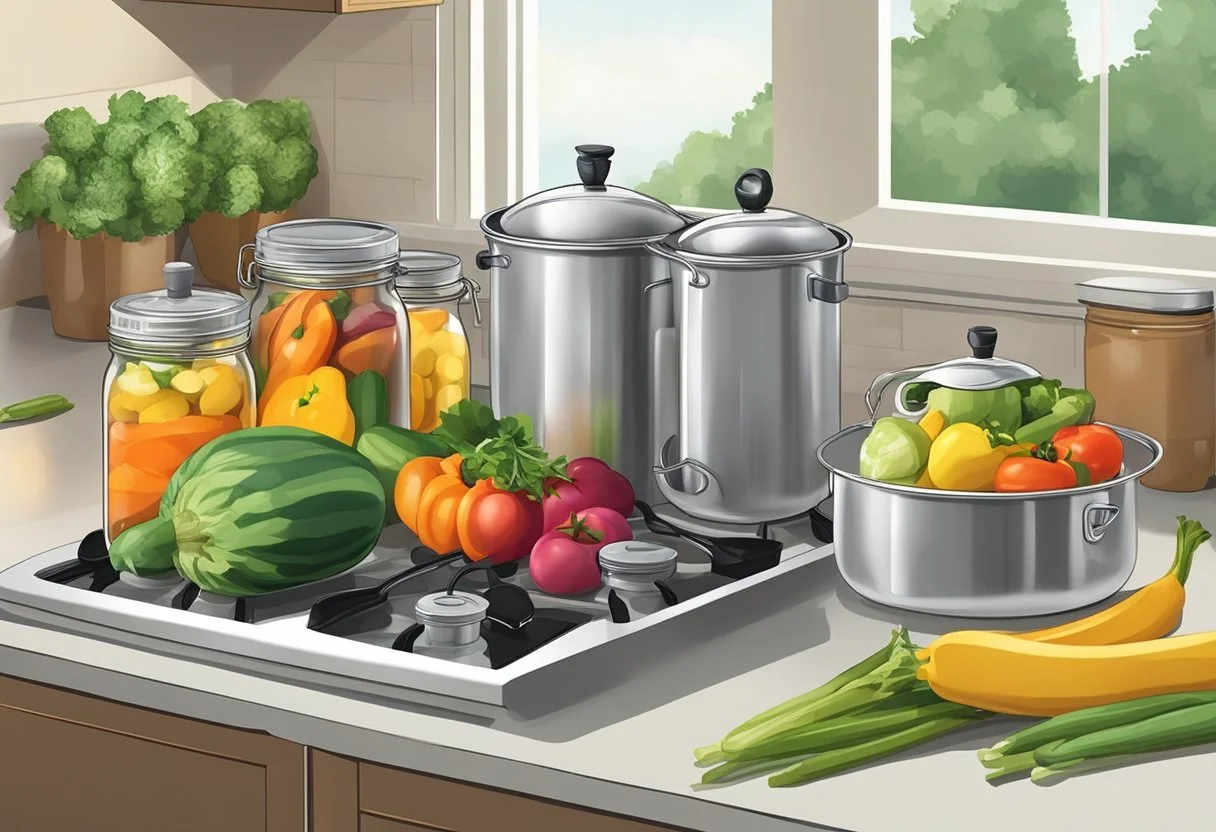
The two primary methods of home canning are water-bath canning and pressure canning. Water-bath canning is typically used for high-acid foods, such as fruits, tomatoes, pickles, jams, and jellies. This method involves boiling filled jars in a large pot of water, ensuring the food inside is properly preserved. On the other hand, pressure canning is suited for low-acid foods, like vegetables and meats, which require higher temperatures to kill any bacteria, making them safe for long-term storage.
Before embarking on the home canning journey, beginners should research reliable recipes that adhere to USDA safety guidelines, acquire the necessary equipment, and familiarize themselves with proper sterilization and storage techniques. By doing so, they can create shelf-stable foods that are both safe and tasty to enjoy at any time of the year.
Understanding Home Canning
Home canning is a popular method of food preservation that allows you to enjoy seasonal produce year-round. By using heat to kill bacteria, yeasts, and molds that can cause food spoilage, canning effectively extends the shelf life of various food items. This technique is versatile, enabling you to preserve a wide range of foods, including fruits, vegetables, pickles, jams, and fruit juices.
There are two primary methods of home canning: water bath canning and pressure canning. Both methods involve placing food in jars and sealing them with airtight lids. The difference lies in the processing, which depends on the acidity of the food.
Water bath canning is ideal for high-acid foods, such as fruits, tomatoes, pickles, jams, and jellies. In this method, jars are placed in a large pot filled with water, ensuring they are fully submerged. The water is brought to a boil, which heats the food inside the jars, killing any harmful microorganisms and forming a vacuum seal as the jars cool down.
Pressure canning is recommended for low-acid foods, like vegetables, meats, and poultry. This method requires a specialized pressure canner that uses steam to create high pressure and generate temperatures above boiling point (240°F). This process destroys dangerous heat-resistant bacteria like Clostridium botulinum, which can cause foodborne illnesses.
To ensure safe and successful home canning, follow these general guidelines:
Select the appropriate canning method based on the acidity of the food items.
Use fresh, high-quality produce and ingredients to ensure better taste and longevity.
Clean and sanitize all equipment, including jars, lids, and canning tools.
Carefully follow processing times specified for each recipe, as under-processing can result in spoilage and over-processing may affect food quality.
In addition to safety measures, mastering home canning allows for creativity and resourcefulness. Experiment with various recipes and flavor combinations to make your preserved items a delightful assortment for you and your family to enjoy year-round.
Necessary Canning Equipment
Tools for Canning
To begin canning at home, you'll need some essential tools. These include:
Canning jars: Mason jars are the most popular choice for home canning. They come in various sizes, and it's essential to choose the right size depending on your recipe.
Lids and rings: Proper sealing is crucial for preserving food. Make sure you have compatible lids and rings for your jars.
Canner: A pressure canner or water bath canner is necessary for processing canned foods.
Canning rack: A canning rack keeps jars off the bottom of the canner and facilitates even heating during the process.
Jar lifter: This tool allows you to safely remove hot jars from the canner after the process is complete.
Canning funnel: A funnel helps you transfer food into jars without making a mess.
Ladle: A large ladle is useful for portioning hot food into jars.
Selection and Use of Canning Jars
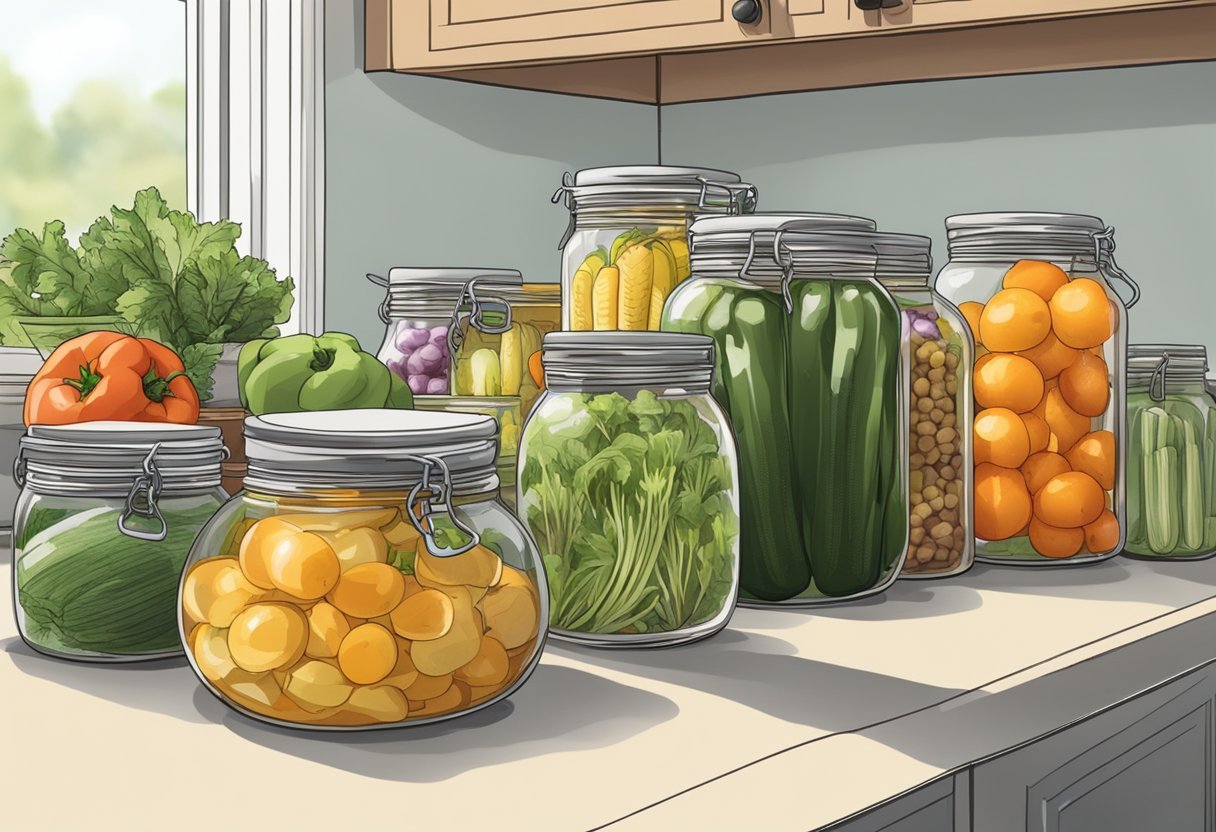
When selecting canning jars, opt for sturdy, high-quality jars like Mason jars. These come in various sizes, such as 4-ounce, 8-ounce, 16-ounce, and 32-ounce, suitable for different types of food. Always inspect jars for any chips or cracks before using them, as compromised jars can lead to spoilage or breakage during the canning process. Be sure to clean and sterilize your jars before filling them and to follow your recipe's instructions regarding headspace (the empty space between the top of the food and the jar's lip).
A Look at Lids and Rings
Lids and rings play a vital role in sealing and preserving canned foods. A two-piece canning lid consists of a flat metal disc with a sealing compound on the underside and a separate metal screw band to hold the lid in place during processing. Before use, inspect the lids for any dents or damage and ensure they fit correctly on your jars. Do not reuse old lids, as their sealing compound may be compromised. Screw bands, on the other hand, may be reused as long as they remain in good condition and do not show any signs of rust or damage.
Pressure Canners Versus Water Bath Canners
There are two primary methods for canning at home: pressure canning and water bath canning. The choice between these techniques will depend on the type of food you wish to preserve.
Pressure canning is suitable for low-acid foods such as vegetables, meats, and poultry. This method uses a pressure canner to process jars at a high temperature (240°F / 116°C) under pressure, ensuring the destruction of harmful bacteria, like Clostridium botulinum, which can cause botulism.
Water bath canning is appropriate for high-acid foods like fruits, pickles, and jams. In this method, jars are submerged in boiling water (212°F /100°C) and processed for a specific amount of time. The high acidity and heat of boiling water are sufficient to preserve these foods safely.
Ensure that you follow the recommended canning method and processing times for your recipe, as these factors are crucial in achieving a safe and successful home canning experience.
The Canning Process
Proper Preparation
Before starting the canning process, it's essential to prepare all the necessary equipment and ingredients. Clean and sterilize the jars, lids, and bands by boiling them in water for at least 10 minutes. Also, wash and prepare the produce you will be using. When using fruits, it's often necessary to add pectin (how long does pectin last?) to help set jams and jellies. Prepare any recipes and have all tools and equipment ready before you begin the process.
Filling of Jars
When filling jars, ensure that the produce is packed evenly and tightly to avoid air bubbles. However, do not overpack, as it may cause inadequate sealing. Use a funnel to aid in filling jars neatly while minimizing spills. Pour the hot canning liquid (syrup, brine, or water) over the produce, maintaining a continuous flow to minimize splashing and to ensure even distribution.
Ensuring Suitable Headspace
Headspace is the gap left between the top of the food or liquid and the jar's rim. Proper headspace is crucial in ensuring a strong vacuum seal. Follow the recipe's specified headspace, typically about 1/4 inch for jams and jellies and 1/2 inch for pickles and fruits. Use a non-metallic spatula or bubble freer to remove any trapped air bubbles.
Sealing and Processing
Place the lids on the jars, making sure they are centered. Apply the bands and screw them on until they are fingertip tight - do not overtighten. Different types of canning require specific methods: water-bath canning for high-acid foods and pressure canning for low-acid foods.
For water-bath canning, submerge the jars entirely in boiling water to kill microorganisms and create a vacuum seal. The processing time depends on the specific recipe and altitude. While pressure canning utilizes pressure and heat to eliminate bacteria and ensure proper sealing, it requires a pressure-canner. Consult your recipe for the precise processing time and procedures for your chosen method.
Remember to allow proper ventilation while processing jars, and always follow safety precautions. Once the processing is complete, carefully remove the jars from the canner and let them cool undisturbed for 12 to 24 hours. Check the seals, store the jars in a cool, dark place, and enjoy your homemade canned goods!
Types of Foods to Can

Understanding High-Acid and Low-Acid Foods
When embarking on home canning, it's important to know which foods are classified as high-acid and low-acid. High-acid foods have a pH level below 4.6, whereas low-acid foods have a pH level above 4.6. Foods like fruits, tomatoes, pickles, and jams typically fall into the high-acid category, while vegetables, meats, and seafood are considered low-acid. This distinction impacts the canning method you should use for each type of food.
Canning Fruits
Fruits are generally high in acid, making them well-suited for water-bath canning. Here's a list of common fruits that can be canned:
Apples
Plums
Peaches
Pears
Grapes
You can preserve these fruits as whole, sliced, or crushed, depending on your preference and intended use. Additionally, you might choose to make jams, jellies, or fruit juices for long-term storage.
Preserving Vegetables
Most vegetables are considered low-acid foods, requiring the use of a pressure canner to ensure safe processing. However, tomatoes are a notable exception, as they are high-acid and can be water-bath canned.
Before canning vegetables, make sure they are cleaned, peeled (if necessary), and cut into the desired size. Popular vegetables to can include:
Green beans
Carrots
Peas
Corn
You can also pickle certain vegetables, such as cucumbers, which increases their acidity and makes them suitable for water-bath canning.
Canning Meats and Seafood
Meats and seafood are low-acid foods, so they must be canned using a pressure canner to ensure proper preservation and eliminate the risk of harmful bacteria growth. Examples of meats and seafood that can be canned include:
Prior to canning meats and seafood, make sure to trim any excess fat, remove bones (depending on your preference), and cut the meat into appropriate portions. Additionally, it's essential to follow specific canning guidelines for each type of meat, as temperature and processing times may vary.
Specialty Canning

Canning Jellies and Jams
Canning jellies and jams is an ideal way to preserve the flavors of seasonal fruits. To begin, prepare the fruit by washing, peeling, and chopping as necessary. Cook the fruit with sugar and pectin (a natural thickening agent) to achieve the desired consistency. Fill sterilized jars with the hot jam or jelly, leaving 1/4-inch headspace. Wipe the jar rims clean and apply the two-piece lids snugly. Process the jars in a boiling water bath for 10 minutes. Allow the jars to cool for 12 to 24 hours before checking the seals.
Preserving Pickles
Pickles are a popular and versatile canning option. They are made by preserving vegetables (such as cucumbers) in a vinegar brine, which provides a tangy, acidic flavor. There are many variations to try, from dill (how long does dill last?) pickles to sweet gherkins. To begin, wash and slice the vegetables as desired. Prepare a brine from vinegar, water, and pickling salt, heated until the salt dissolves. Fill sterilized jars with the vegetables and hot brine, leaving 1/2-inch headspace. Wipe the jar rims clean and apply the two-piece lids. Process the jars in a boiling water bath for 10 to 15 minutes. Allow the jars to cool for 12 to 24 hours before checking the seals.
Making Salsas
Canning salsas is a great way to preserve the flavors of summer tomatoes and peppers. Prepare the ingredients by washing, peeling, chopping, and seeding as necessary. Combine the tomatoes, peppers, onions, garlic, herbs, and spices in a saucepan. Bring the mixture to a boil and simmer, uncovered, until the desired thickness is achieved. Fill sterilized jars with the hot salsa, leaving 1/2-inch headspace. Wipe the jar rims clean and apply the two-piece lids. Process the jars in a boiling water bath for 15 to 20 minutes. Let the jars cool for 12 to 24 hours before checking the seals.
Preparing Relishes
Finally, relishes offer a flavorful accompaniment to meals. They are made by preserving chopped or grated vegetables and/or fruits in a spiced vinegar mixture. They can be sweet or savory, with endless flavor combinations. To begin, prepare the ingredients by washing, peeling, chopping, and grating as necessary. Combine the vegetables, fruits, vinegar, sugar, and spices in a saucepan and bring the mixture to a boil. Simmer until the desired consistency is achieved. Fill sterilized jars with the hot relish, leaving 1/2-inch headspace. Wipe the jar rims clean and apply the two-piece lids. Process the jars in a boiling water bath for 10 to 15 minutes. Allow the jars to cool for 12 to 24 hours before checking the seals.
Food Preservation Alternatives
Freezing 101
Freezing is a quick and easy method for preserving food while retaining its nutritional value, flavor and texture. To freeze food properly, follow these simple steps:
Choose suitable containers: Use food-grade plastic bags, airtight containers or vacuum-sealed bags designed for freezing.
Pre-treat certain foods: Some fruits and vegetables require treatments such as blanching or dipping in lemon juice to prevent browning and maintain quality.
Label and date: Clearly label your containers with contents and the date they were frozen to ensure proper rotation and usage.
Freeze promptly: Freeze food as soon as possible to preserve freshness and prevent bacterial growth.
Organize your freezer: Keep similar items together and create a system that promotes air circulation, which enhances the freezing process.
Remember, when freezing food, it's important to maintain a consistent temperature of 0°F (-18°C) or lower. Ensure your freezer's thermostat is set accordingly and monitor it regularly to maintain the desired temperature.
Understanding Dehydration
Dehydration is another excellent alternative to canning for preserving certain food items, such as fruits, vegetables and meats. This process involves removing moisture from the food, which inhibits the growth of bacteria and other microorganisms, resulting in a longer shelf-life.
To dehydrate food effectively, follow the guidelines below:
Select the right dehydrator: Invest in a good quality food dehydrator with adjustable temperature settings and adequate air circulation.
Prepare your food: Clean, slice and arrange food items on the dehydrator trays, ensuring that they don't overlap.
Set the proper temperature: Choose the appropriate temperature based on the type of food you're dehydrating, as different items require varying heat levels.
Check for doneness: Dehydration times may vary depending on factors like thickness, humidity, and temperature settings. Check your food periodically and look for an even, uniform texture before removing it from the dehydrator.
Store properly: Once your food is dehydrated, store it in airtight containers or vacuum-sealed bags to prevent moisture absorption.
In summary, freezing and dehydration offer effective alternatives to canning for home food preservation. Both methods help maintain the nutritional value and taste of your food, while extending its shelf-life to provide a reliable food supply for your household.
Servicing and Storing of Canned Foods
Checking for Proper Seals
After the canning process, it's important to ensure that the jars have sealed properly to maintain food safety. To check for a proper seal, press the center of the jar lid. If it doesn't move or create a popping sound, the jar is sealed correctly. For additional safety, visually inspect the seal, ensuring there is no leakage or bulging on the lid.
Labeling and Storing
To efficiently maintain your canned goods, be sure to label each jar with the contents and the canning date. This will help you keep track of your inventory and ensure that you consume the food within its safe shelf life.
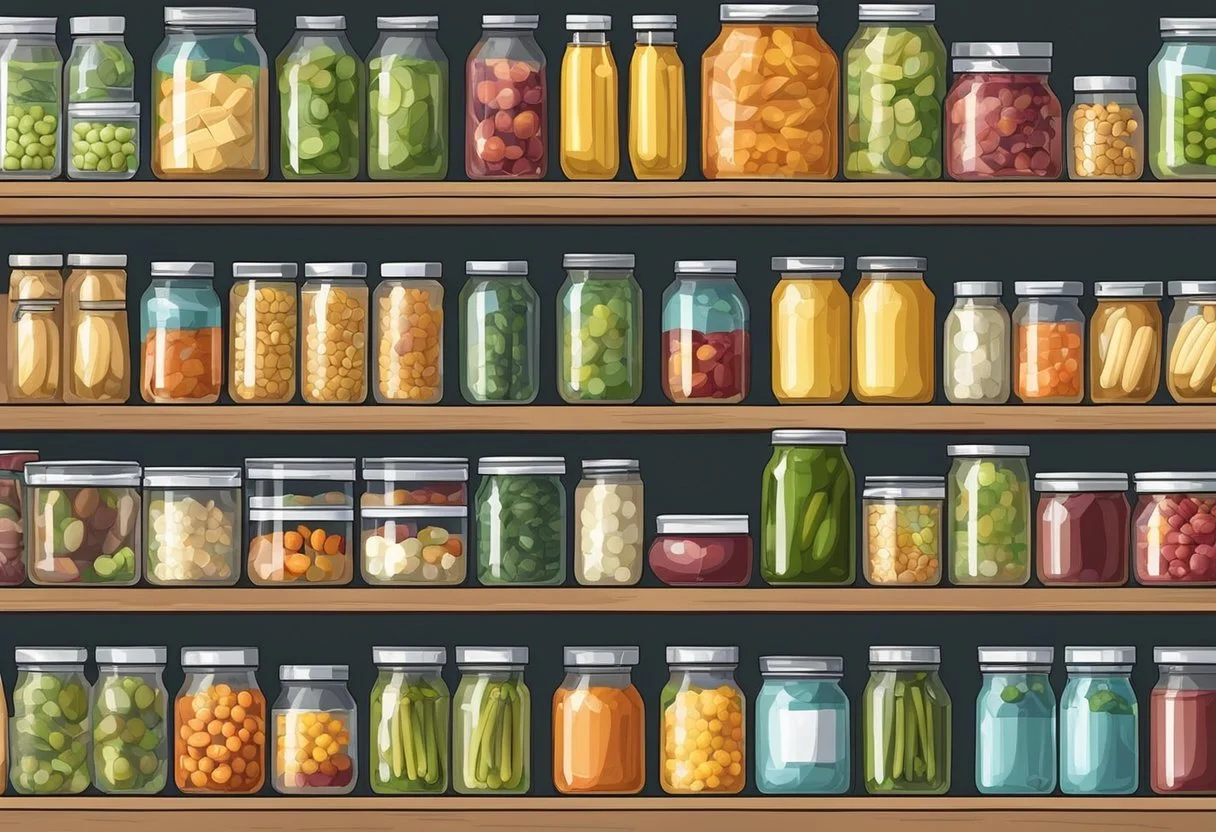
When storing your canned foods, choose a cool, dark place with a temperature between 50°F-70°F (10°C-21°C). Avoid storing jars near direct sunlight or in high-temperature areas such as near ovens or heaters. A pantry or basement can be ideal for storage.
Proper shelving should also be considered. Place heavier jars on lower shelves and lighter jars on upper shelves. Always keep jars upright to maintain the integrity of the seal.
Determining Shelf Life
The shelf life of home-canned foods can vary depending on factors such as the type of food, canning method, and storage conditions. In general, high-acid foods like fruits and pickles can last up to 12-18 months, while low-acid foods like vegetables and meats can last up to 2-5 years.
To ensure food safety, it's essential to check the jars for signs of spoilage before consumption. Signs may include bulging lids, foul odors, or discoloration. Always discard jars with suspected spoilage to avoid foodborne illness.
Keep in mind, these are rough estimates, and the quality of the food may decline over time. It's best to consume canned foods within a reasonable time frame for optimal taste and nutrition.
Common Canning Challenges and Their Solutions

Canning is a great way to preserve food and minimize waste, but it can come with its share of challenges. In this section, we will discuss some common canning issues and their solutions to help beginners overcome these obstacles.
Issue 1: Sealing Failures
This issue occurs when the jar lid does not seal properly, allowing bacteria, mold, and yeasts to enter and spoil the food. To prevent this, make sure to clean the jar rims thoroughly before applying the lids and bands. Also, ensure that the lids are not damaged or reused, as they may not create an airtight seal.
Issue 2: Discolored Food
Discoloration can be caused by minerals in the water, air exposure, or a reaction between the food and jar materials. To address this, use distilled water, ensure proper headspace to minimize air exposure, and avoid using metal utensils which can scratch the jar surface.
Issue 3: Floating Food
Floating is common in water-bath canning because some foods, like fruits and vegetables, are less dense than the canning liquid. To minimize floating, pack food evenly and firmly without crushing it and use a proper canning rack to keep jars in place.
Issue 4: Cloudy Liquid
Cloudiness can be a sign of bacteria, yeasts, or molds, or can be caused by minerals in the water or the natural starches of some vegetables. To eliminate the risk of spoilage, ensure clean and fresh ingredients and follow the recommended processing times.
Issue 5: Food Waste
To minimize food waste during the canning process, follow a trusted recipe and ensure proper recommended canning methods (water-bath or pressure canning). Also, consistently measure headspace and process times, and promptly refrigerate any spoiled or leaking jars.
By understanding and addressing these common canning challenges, beginners can confidently produce safe and high-quality preserved foods.
Recipes and Resources for Home Canning
Home canning is an excellent way to preserve fresh produce and create delicious, homemade meals. For beginners, it can be daunting to find easy and reliable recipes for canning. Thankfully, there are various sources available that provide a wide range of canning recipes for beginners.
One noteworthy resource is the National Center for Home Food Preservation. This organization offers an extensive collection of canning recipes, tips, and techniques. They also provide a free online course, which is great for individuals looking to learn the fundamentals of home canning. Visit their website here for more information and to access their recipes.
Another valuable resource for canning recipes and guidelines is the USDA. They have published a comprehensive guide for home canning called the "Complete Guide to Home Canning." This publication consists of numerous canning recipes, along with information on proper canning methods and equipment. The guide is available for free online, making it accessible to anyone interested in home canning.
For those looking for easy and beginner-friendly canning recipes, here are a few recommended sources:
101 Easy Canning Recipes For Beginners - Homestead Survival Site
Home Canning Recipes for Beginners. Safe, easy step by step.
These websites offer recipes for various types of preserved foods, including jams, jellies, pickles, chutneys, sauces, and many more. The recipes include easy-to-follow instructions, making them an ideal starting point for those new to canning.
Here is a brief list of some beginner-friendly recipes from the mentioned sources:
Russian Dill Pickles
Bread and Butter Pickles
Apple Sauce
Marinara Sauce (how long does marinara sauce last?)
Salsa
For beginners, it is essential to ensure proper methods and techniques are used in home canning to prevent the growth of bacteria and toxins. Always follow the guidelines and safety measures outlined by reputable sources like the National Center for Home Food Preservation and the USDA. With the right resources and recipes, beginners can feel confident and knowledgeable in successfully mastering the art of home canning.
