
How to Measure the Right Amount of Liquid for Perfect Jelly Consistency Every Time
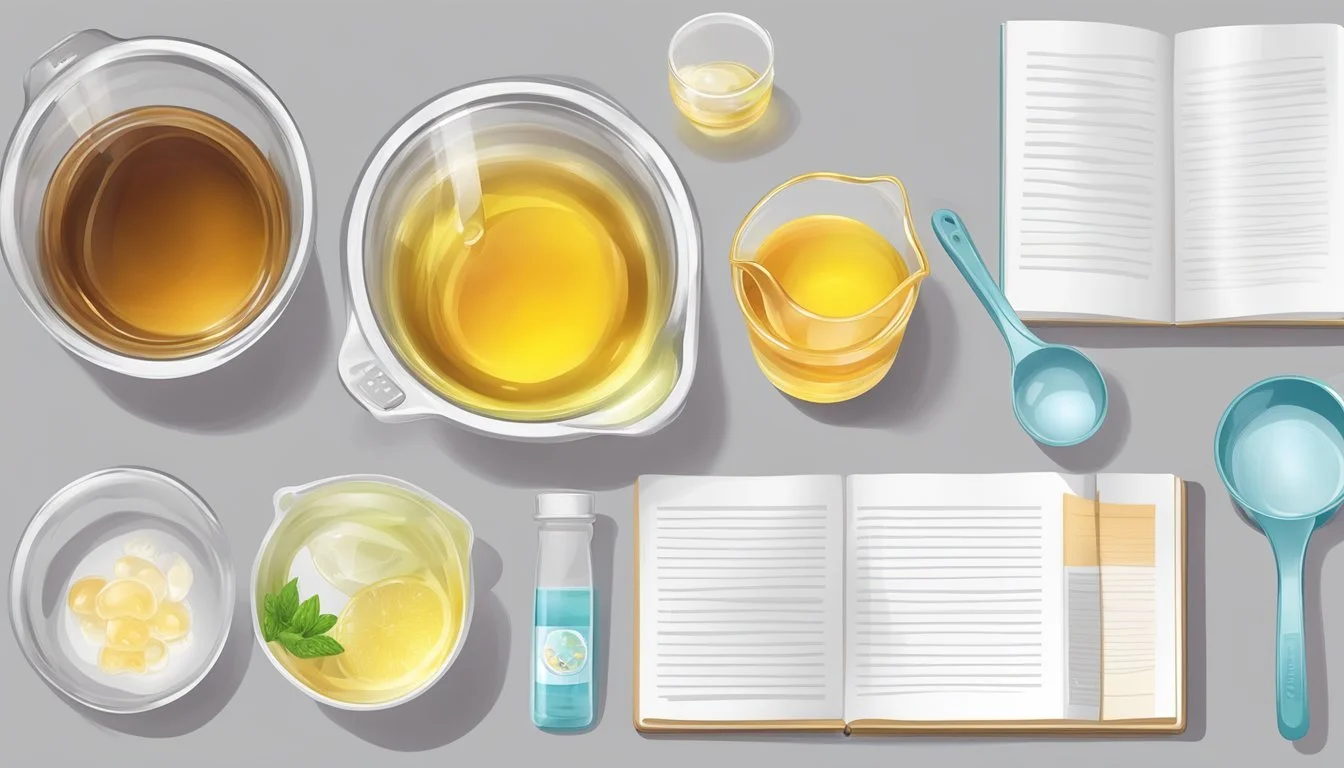
Measuring the correct amount of liquid is crucial in jelly making, as the balance of ingredients affects the texture and firmness of the final product. Precision ensures that the jelly sets properly without becoming too firm or remaining too liquid. Liquid measuring cups are the tools of choice for this task, providing the accuracy required for successful jelly-making.
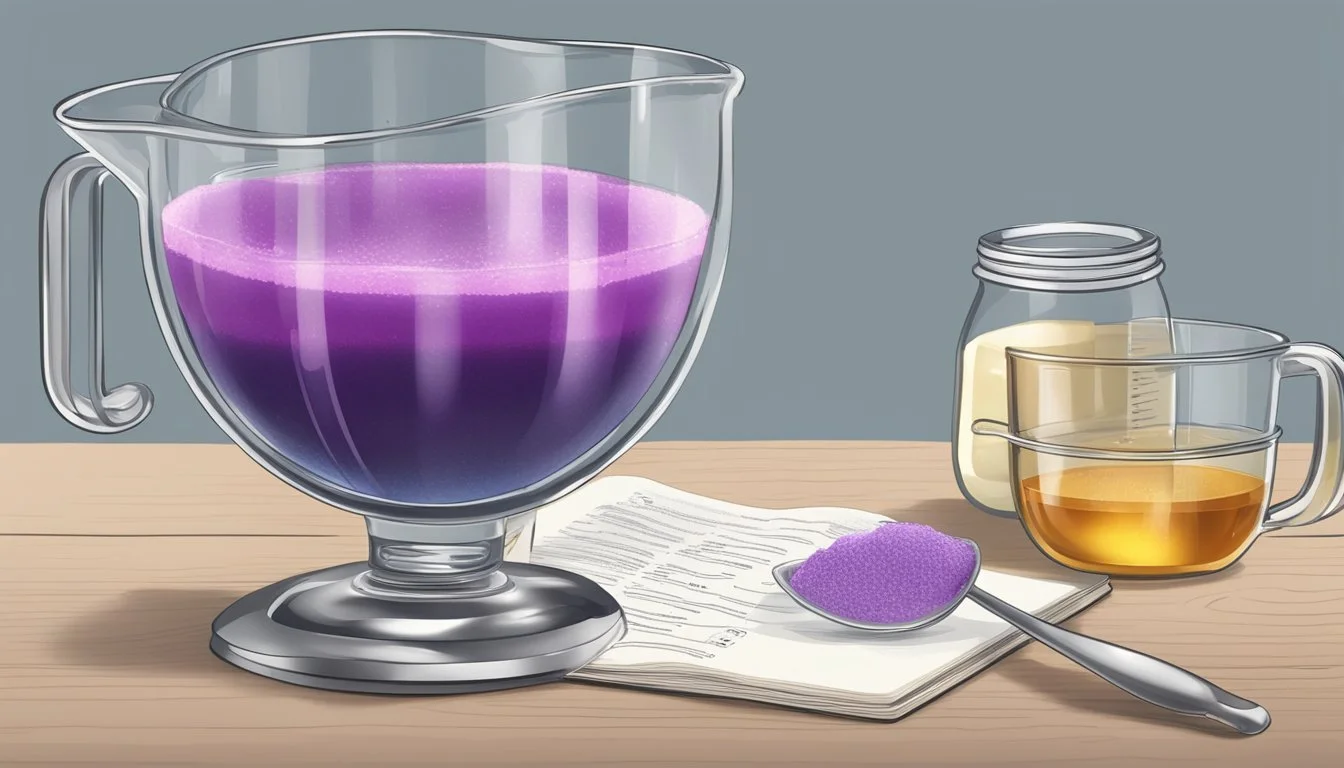
Careful measurement involves pouring the liquid into the measuring cup and checking the amount at eye level. The lowest point of the liquid's curve, known as the meniscus, should align with the desired measurement marking on the cup. This technique minimizes errors and helps cooks achieve the consistency needed for high-quality homemade jelly.
Understanding Jelly Ingredients
In crafting jelly, the proportion and quality of the fruit, sweeteners, pectin, and acid are pivotal in achieving the perfect set and flavor profile.
The Role of Fruit in Jelly Recipes
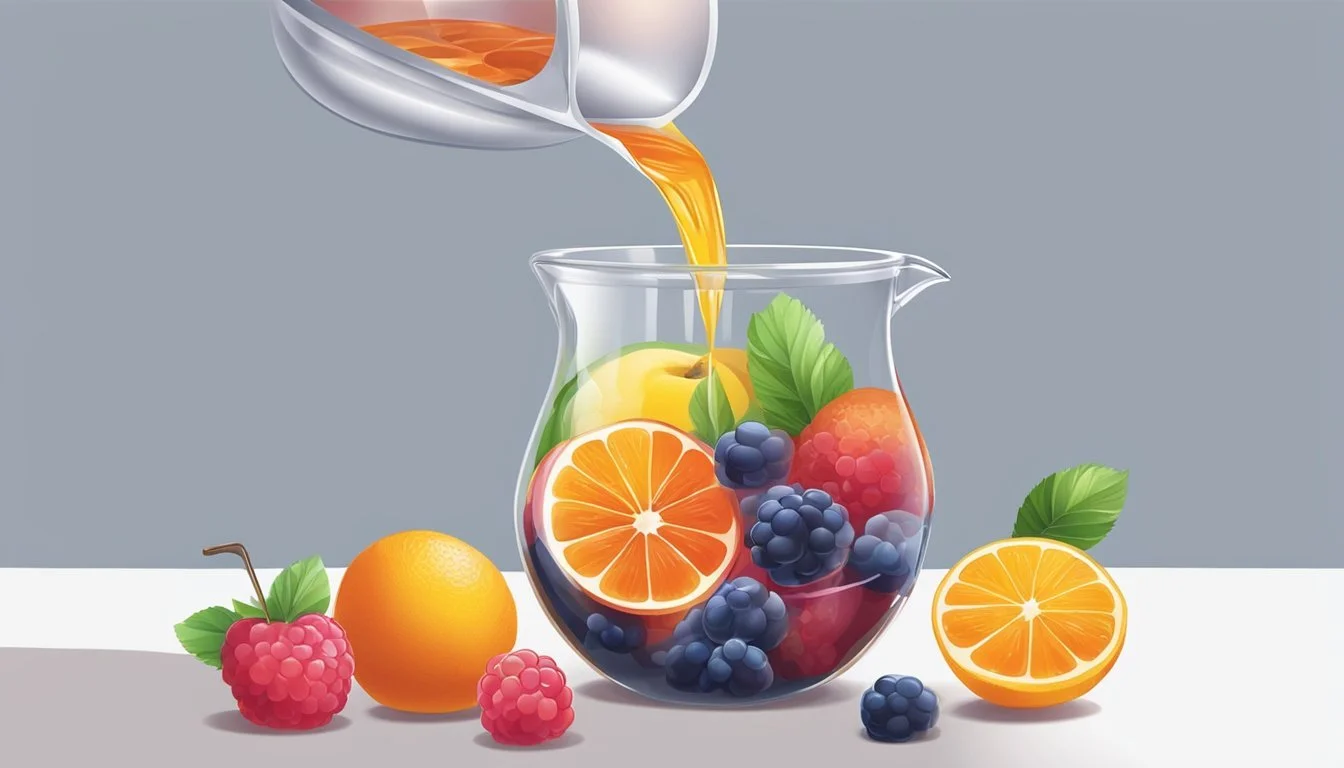
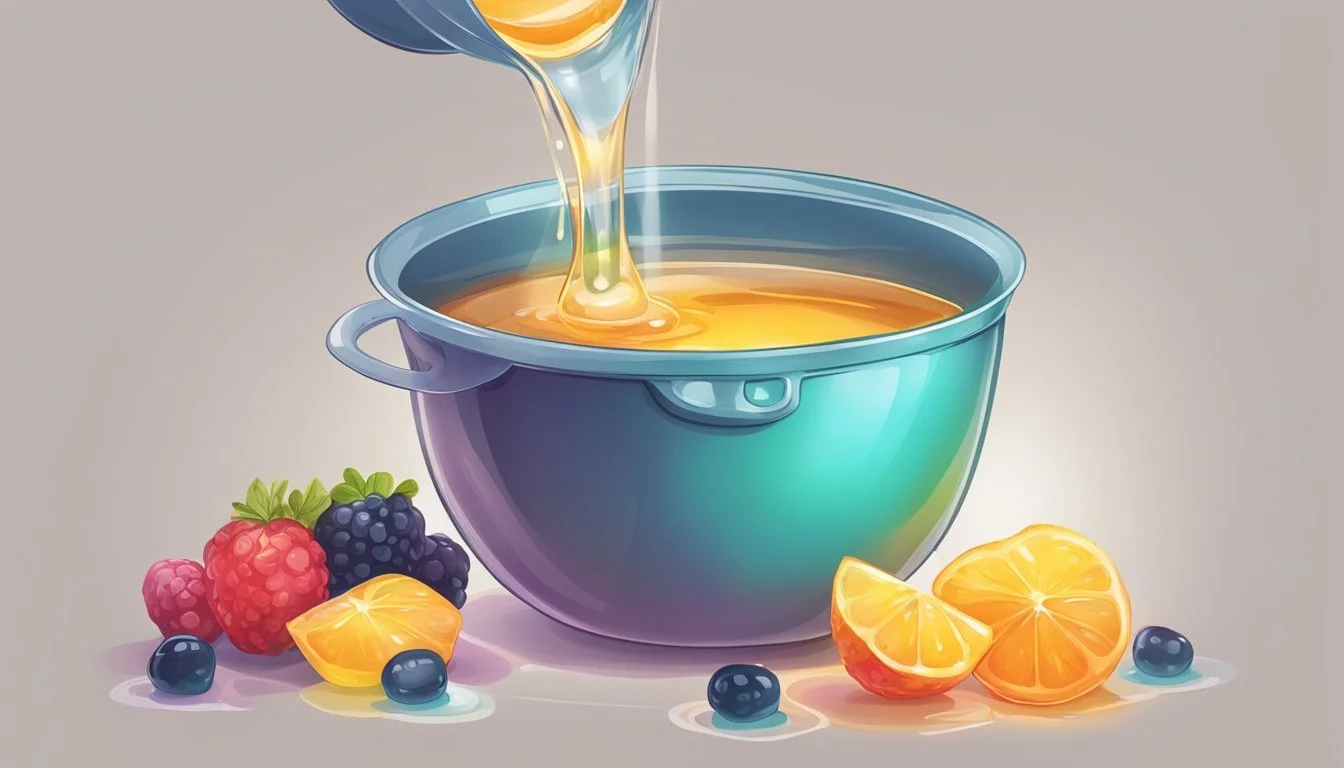
Fruit serves as the foundation of jelly, providing the essential flavors and natural pectin. Berries like raspberries, strawberries, and blackberries are common choices due to their pronounced taste and high pectin content. Apples and crabapples are also favored for their natural pectin levels. Some fruits, such as peaches, apricots, and pears, may require additional pectin to ensure proper gelling due to their lower pectin content.
Types of Sweeteners
Sweeteners not only enhance flavor but also help in preserving the jelly. The most widely used sweetener is sugar, which can be employed in varying quantities depending on the desired sweetness. Alternatives like corn syrup or honey can impart different flavors and textures. For those preferring less sweetness, low-sugar pectin options are available that can gel with reduced sugar quantities.
Pectin and Acid in Gelling
Pectin is a natural substance in fruit that causes jelly to set. It is present in high amounts in certain fruits like citrus fruits and cranberries, but for others, added pectin may be necessary. Pectin comes in forms such as liquid fruit pectin and powdered pectin. The gelling process also requires an acidic environment, which is often naturally present in fruit. If not, added acid, typically in the form of lemon juice, is crucial to achieving the desired consistency.
Preparation Techniques for Jelly Making
Accurate liquid measurement and proper preparation of equipment and ingredients are critical to creating high-quality jelly. The following steps outline key techniques.
Cleaning and Sterilizing Jars
To ensure jelly safety and longevity, one must start with sterilized jars. This can be achieved by washing the jars in hot soapy water and then placing them in a boiling water bath for at least 10 minutes. Alternatively, one can run canning jars through a dishwasher on a sterilize cycle if available.
Preparing the Fruit and Juice
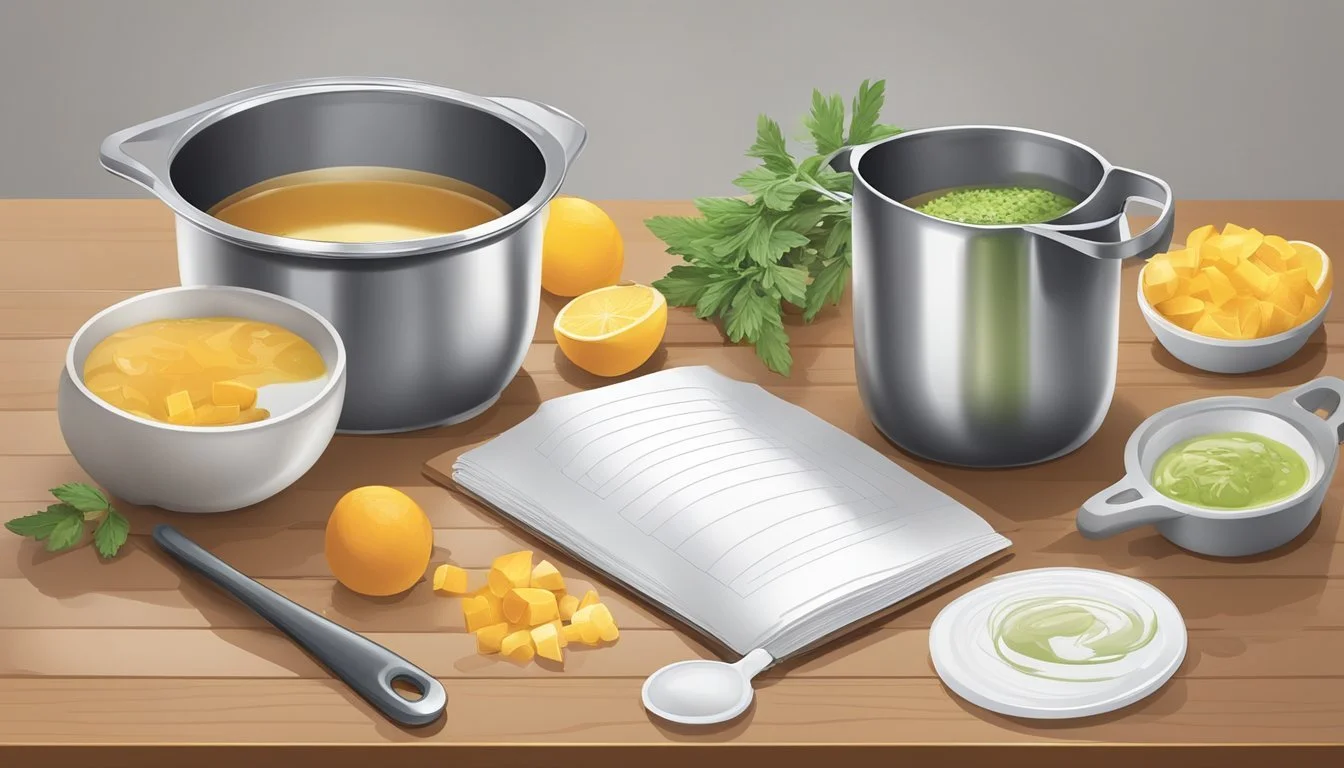
Selection and preparation of the fruit will directly influence the flavor and consistency of the jelly. To extract fruit juice, one should wash the fruit thoroughly, cut it if necessary, and simmer it with water until it softens. The cooked fruit is then strained through a jelly bag or multiple layers of damp cheesecloth over a sieve to separate the juice without pressing too hard, which could make the jelly cloudy.
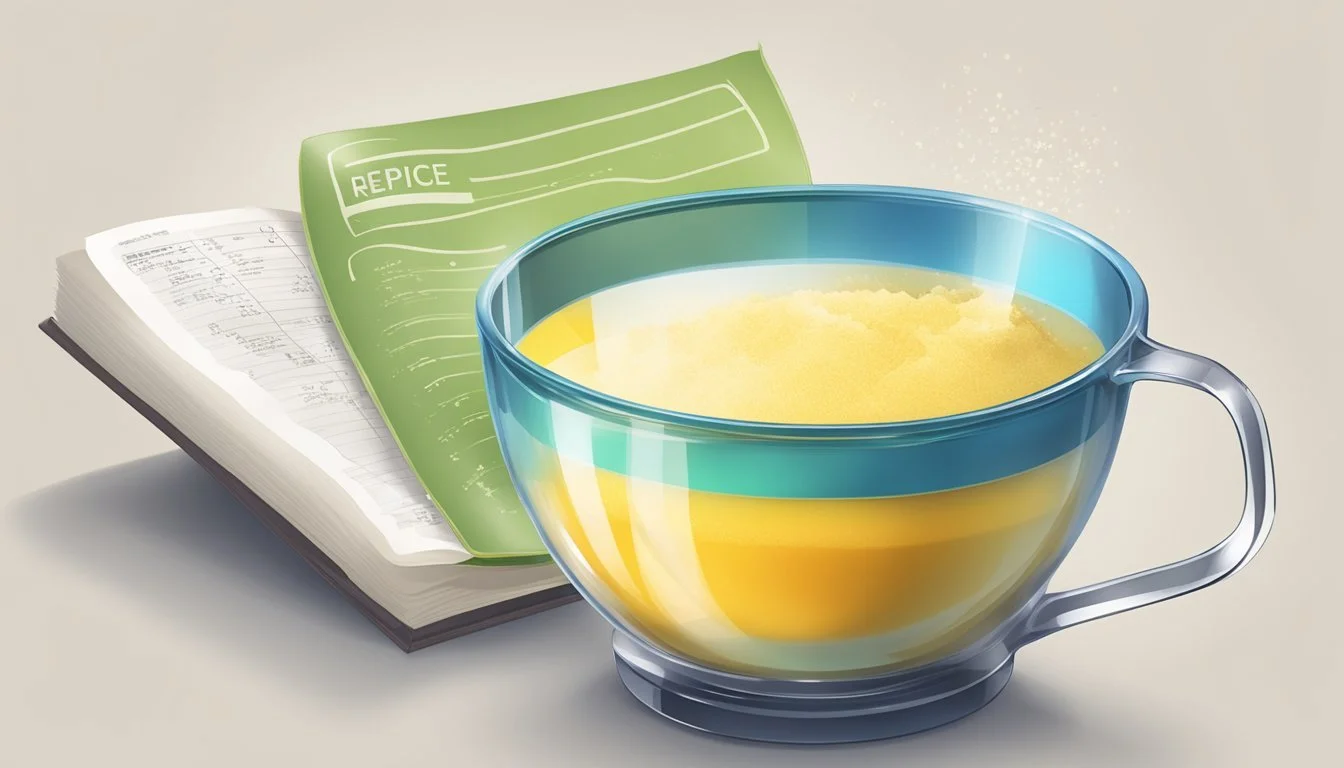
Cooking the Jelly Mixture
Once the juice is prepared, cooking the jelly begins. It involves mixing the juice with sugar and sometimes pectin, then bringing the mixture to a boil. A key test for doneness is the "sheeting test," where the jelly drips off the spoon in a sheet rather than individual drops. The cooking time until it reaches this stage varies but usually includes a rapid boil before reducing to a simmer, ensuring that the jelly has reached the correct temperature and consistency for setting.
Canning and Preservation Process
The precision of measuring liquids for jelly recipes is crucial in the canning and preservation process. One must ensure proper fill levels and processing times to achieve safe, long-lasting preserves.
Filling and Sealing Jars
Jelly jars should be filled to 1/4 inch from the top. A funnel aids in careful pouring and prevents spills. After filling, one should wipe the rim of each jar with a clean, damp cloth to remove any residuals that could interfere with the seal. Use lids that have a sealing compound and position them firmly onto the cleaned jar rims. Screw bands should be applied until fit is fingertip tight to allow air to escape during the sealing process.
Understanding the Water Bath Canning Method
A water bath canner is used for high-acid foods, like jelly. It involves submerging filled jars in boiling water and processing them for a predetermined time. The canner should have a rack to prevent jars from touching the bottom. Jars need to be covered by at least 1 inch of water during the process. It's vital to start the timer only when the water has reached a rolling boil, and maintain that boil for the entire processing time.
Storage and Shelf Life
After processing, jars should be removed from the canner and placed on a towel or rack without tilting, to cool undisturbed for 12 to 24 hours. Seals should be checked by pressing the center of the lid; if it doesn't flex, the seal is good. Jars with proper seals can be stored in a cool, dark place. Typical shelf life for home-canned jelly is one year. Unsealed jars should be refrigerated and used first, or one can reprocess within 24 hours, or alternatively freeze the contents using suitable freezer containers.
Troubleshooting Common Jelly Issues
When making jelly, cooks might encounter issues such as a failure to set, crystallization, overabundant foam, or unwelcome cloudiness and mold. Knowing how to address these problems is key to achieving perfect jelly consistency and clarity.
Addressing Setting Problems
The right set in jelly is a dance of pectin, acid, and sugar. If jelly isn't setting properly, it may lack one of these components. Adding two tablespoons of lemon juice per quart of jelly can increase acidity, aiding the setting process. Ensuring the jelly boils for 3 to 4 minutes can help achieve the desired consistency. If it remains runny, continuing to boil in one-minute increments and testing regularly is advised.
Preventing Crystallization and Foam
Crystallization often occurs due to excessive sugar or incomplete dissolving. To prevent this:
Measure sugar accurately and ensure it's fully dissolved before boiling.
Use the correct cooking time; do not rush the process.
To combat foam, one can:
Skim off any foam after boiling.
Add a small amount of butter or margarine to the mixture as it boils.
Dealing with Cloudiness and Mold
Cloudiness might indicate impurities or improper cooking. Straining the juice through a coffee filter before cooking can lead to a clearer jelly. For mold prevention, ensure that jars are sterilized and the jelly is processed in a boiling water bath for the time recommended in the recipe. If mold occurs, discarding the jelly is the safest course of action.
Advanced Jelly Variations and Techniques
Creating Low Sugar and No-Sugar Jellies
For those watching their sugar intake, low sugar and no-sugar jellies allow enjoyment of homemade preserves without guilt. Low-sugar pectins and natural pectins found in high-pectin fruits can reduce or eliminate the need for sugar. These special pectins thicken jellies effectively with less or no added sugar. It's possible to substitute sugar with alternatives such as honey, but adjustments are necessary to maintain the proper set.
Low-Sugar Pectin: Follow manufacturer's instructions for the correct amounts.
Honey: Start with 7/8 cup honey for every cup of sugar and adjust to taste.
Equipment: A reliable candy thermometer helps in achieving the correct temperature for setting without excess sugar.
Incorporating Unique Ingredients
Experimenting with unique ingredients can elevate the standard jelly to gourmet status. Wine, flavoring extracts, and even savory elements like tomato can be incorporated into jellies for a complex taste profile.
Wine Jellies: Replace some liquid with wine, being careful of the added liquid's acidity and sugar levels.
Flavoring: Pure extracts and spices can be used sparingly to enhance fruit jellies.
Choosing the right equipment is essential here, as a jam pot ensures even heat distribution for a consistent set.
Jelly Making Equipment
Quality equipment can greatly impact the success of jelly making. Essential tools include a thermometer, a jelly bag or muslin, and a proper jam pot.
Thermometer: A candy thermometer is crucial for monitoring the jellying point.
Jelly Bag: Use a muslin or cotton flannel jelly bag to strain fruit mixtures and achieve a clear jelly.
Having the right equipment helps in creating jellies with precision and enhances the overall quality of the final product.
Conclusion
Accurate measurement of liquids in jelly-making is crucial to obtain the desired consistency and flavor. When one prepares homemade jelly, whether it be raspberry jelly, strawberry jelly, or an artisanal blueberry jam, it is important to follow the specifics of the recipe.
For beginners embarking on the adventure of canning recipes, using a precision scale can be helpful. One should remember that a pound of fruit typically requires a specific amount of water or other liquids, as outlined in their chosen jelly or jam recipe. Maintaining the correct ratio of fruit to liquid ensures that jellies and jams set properly.
When making raspberry jam or cranberry sauce, meticulousness is key. Utilize the freshest berries available, and adhere to recipe liquids, adjusting measurements for potential evaporation during cooking as necessary. It is often recommended to leave 1/4 inch headspace when canning raspberries and other fresh berries to allow for expansion.
In the case of strawberry jam or jelly recipes, the role of pectin—either natural or added—is paramount. One must balance the liquid with sugar and pectin to ensure a proper set without compromising flavor. Each type of fruit, be it strawberry, raspberry, or blueberry, comes with its unique pectin content and liquid requirements.
To conclude, taking the time to measure accurately, following closely with the specifics of the recipe, and adjusting for variables such as the type of fruit and method of canning, will invariably lead to successful and delicious homemade jams and jellies.
