
How to Measure Ingredients for a Homemade Jam Recipe
Precision for Perfect Spread

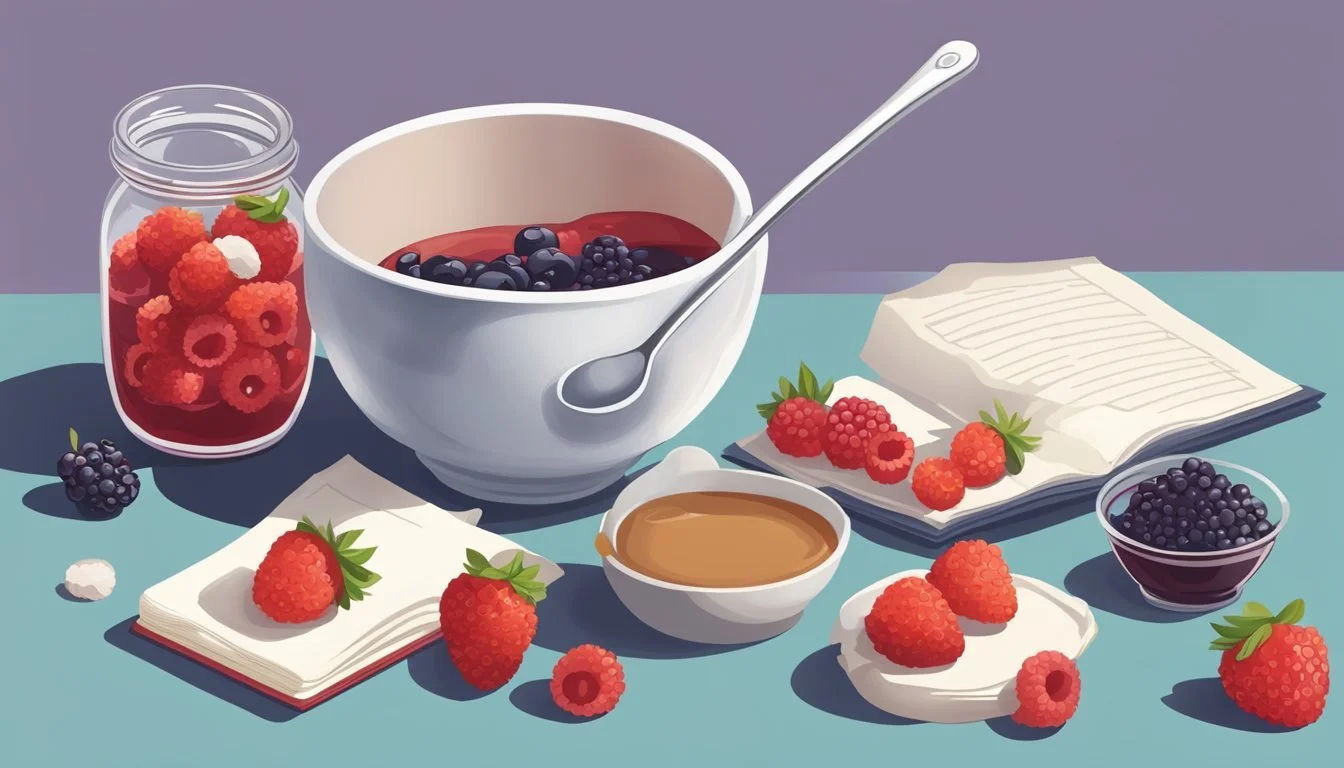
Making homemade jam is a delightful way to preserve the bounty of the season and enjoy your favorite flavors year-round. Precision in measuring ingredients is crucial to ensure the perfect balance of sweetness and texture. A successful jam recipe hinges on the ratio of fruit, sugar, acid, and pectin, which work in concert to achieve the jam's signature gel.
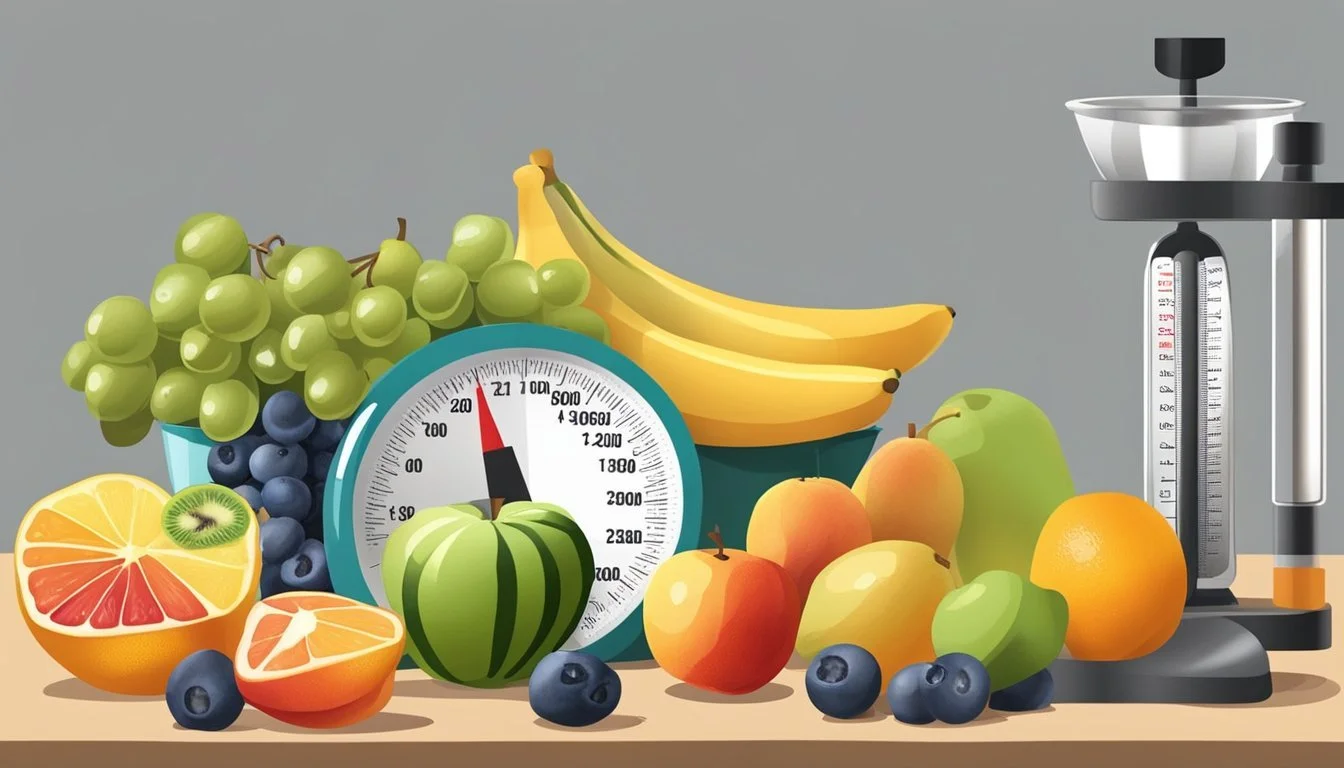
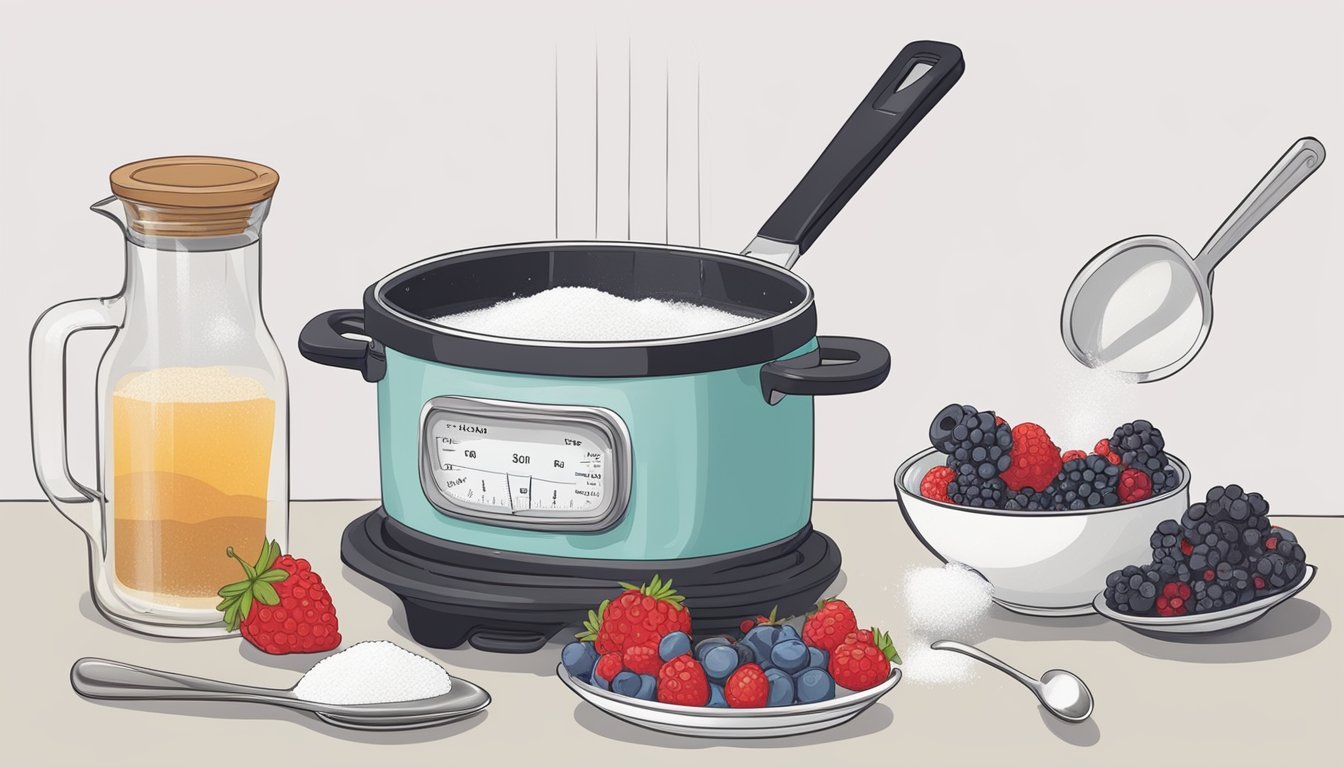
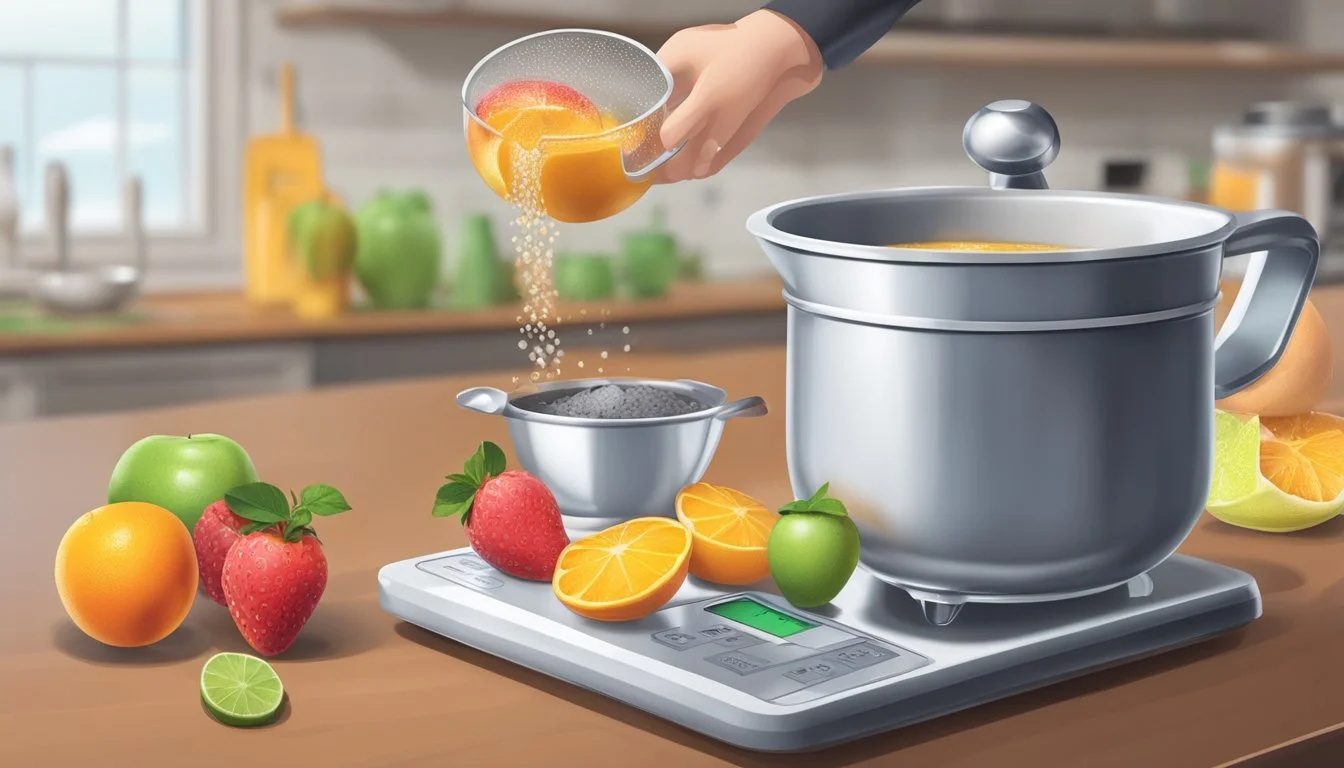
When it comes to making jam, the use of kitchen scales is encouraged for weighing ingredients, as this method provides more accuracy than using volume measurements. The fruit should be prepared and measured after mashing to account for the change in volume. Sugar often varies in granularity, so by weighing it, a consistent sweetness can be ensured. Cooking jam is more science than art, and exact measurements are one of the keys to achieving perfect results every time.
Food enthusiasts embarking on the jam-making journey should not be daunted by the perceived complexity of the process. Careful attention to measurement is the first step toward mastering the craft of jam-making. Whether the goal is to create a traditional berry jam or to experiment with unique flavor combinations, starting with the precise amount of each ingredient lays the foundation for a delicious homemade jam.
Selecting Ingredients

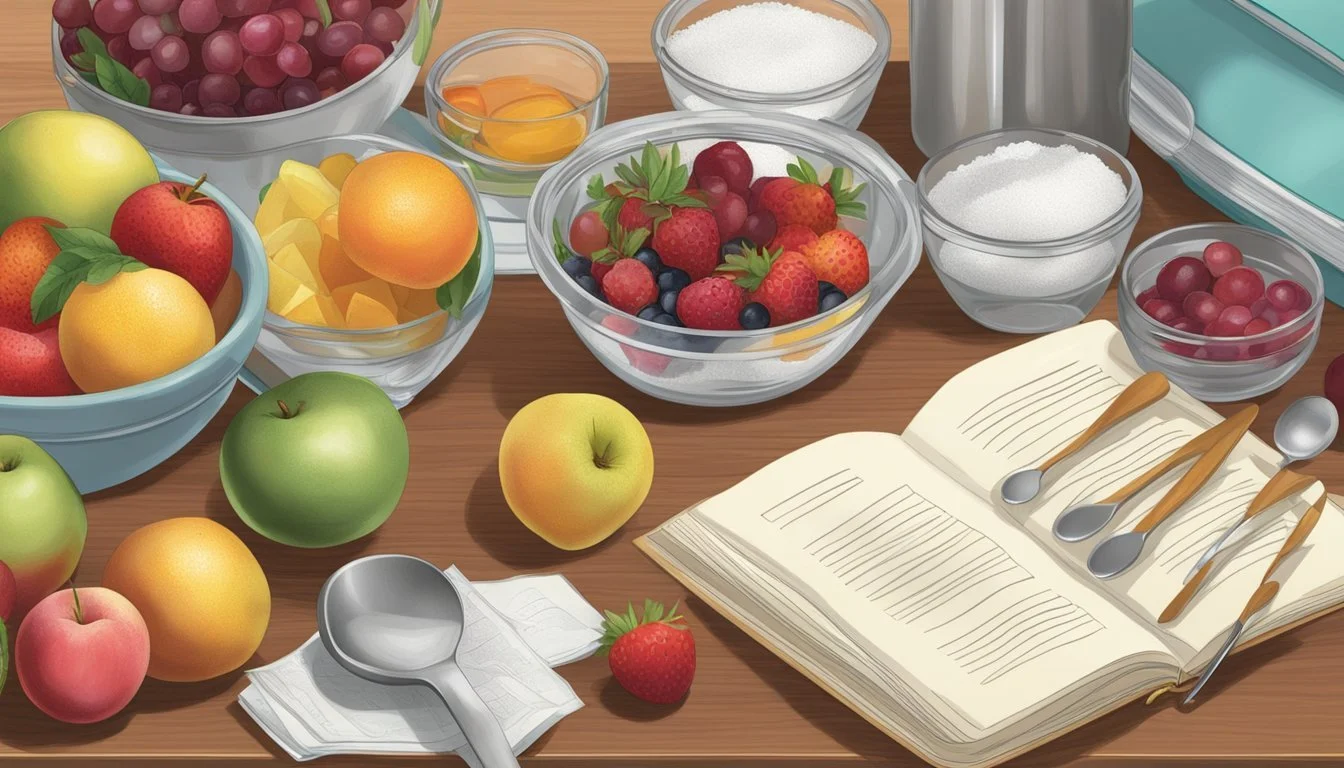
The success of a homemade jam hinges on the quality and balance of its ingredients. This section delves into how to select the best ingredients to ensure a flavorful and set jam.
Choosing the Right Fruit
The foundation of any jam is the fruit. For jam making, it's imperative to use fresh fruit that's ripe but not overripe, as this ensures a natural sweetness and robust flavor. Preferred fruits (What wine goes well with fruits?) include strawberries, raspberries, peaches, and apricots. Stone fruits like cherries and peaches should be pitted and chopped to uniform size for even cooking.
Understanding Sugar's Role
Sugar acts as a preservative and plays a vital role in helping jam set. Granulated sugar is commonly used in jam recipes, as it dissolves easily and yields a clear, shiny jam. The quantity of sugar varies depending on the fruit's sweetness; for tart fruits like raspberries or cherries, more sugar may be necessary.
The Importance of Pectin
Pectin is a natural gelling agent found in fruits. Commercial fruit pectin can be added to achieve the desired consistency, especially for fruits low in natural pectin. For jams using high-pectin fruits like apricots or peaches, additional pectin may not be required, but for others, such as strawberries, it's essential to ensure setting.
Additional Flavor Enhancers
To enhance the taste and acidity of jam, lemon juice is often added. It can brighten flavors and help in the setting process. Other flavor enhancers, such as vanilla or almond extract, can be used conservatively to complement the primary fruit flavors without overpowering the jam.
Equipment and Utensils
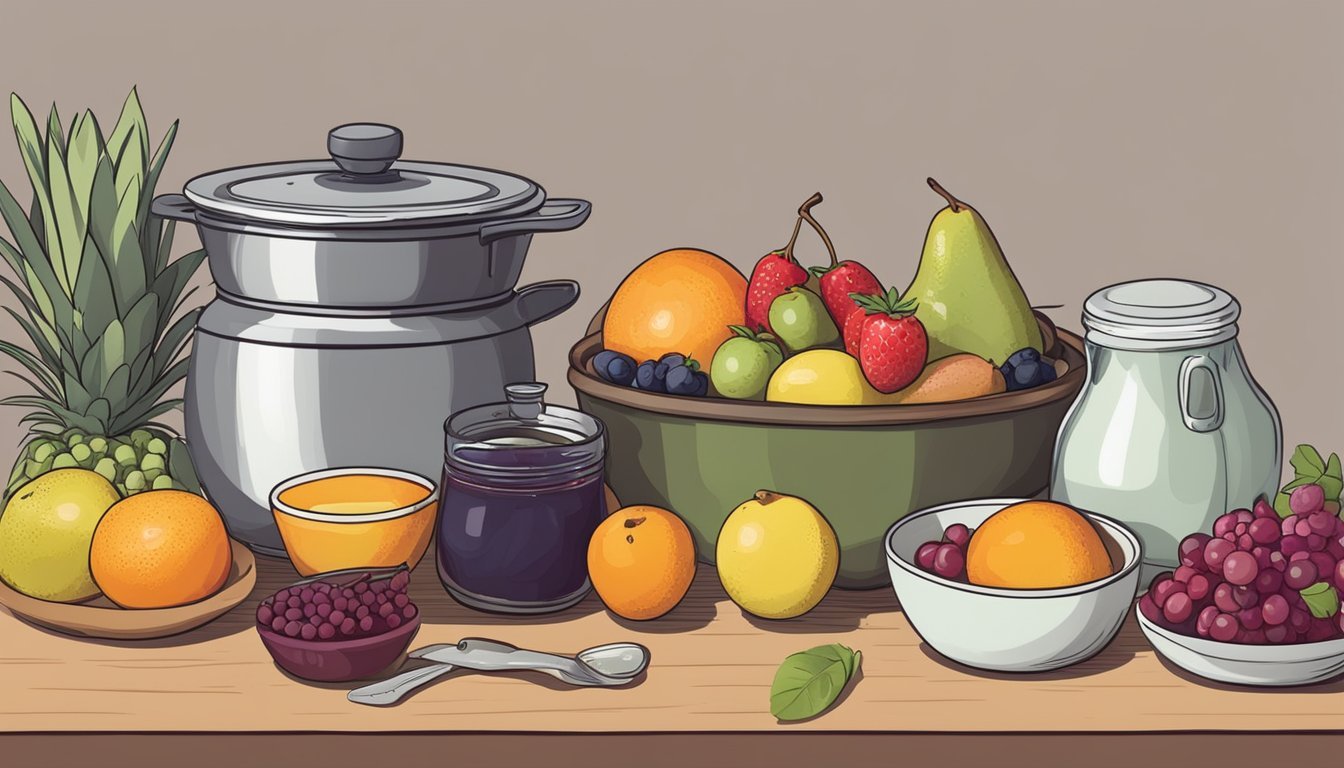
In the process of homemade jam making, the right equipment and utensils are crucial to ensure both the quality and the preservation of the finished product. Accurate measurements and proper handling are facilitated by a selection of specialized tools.
Choosing Suitable Jars
For homemade jam, jars must be suitable in both size and material. Glass jars are preferred due to their non-reactive nature and ability to withstand the heat of the canning process. Airtight jars are necessary to ensure longevity. A common size used is pint jars which are a general-purpose size, or half-pint jars, optimal for smaller batches.
Pint jars (16-ounce): General use
Half-pint jars (8-ounce): Ideal for gifting
4-ounce jars: Specialized for small samples
Glass jars should be free from cracks and chips to maintain a seal during the canning process.
Preservation Tools
Preserving jam properly involves the use of water-bath canning equipment. A large pot should be able to submerge jars fully in water by at least an inch. To remove jars safely, one should use canning tongs. Moreover, to check if jam has reached the gel point, a thermometer like ThermoWorks Thermapen is beneficial.
Canning pot: For a water bath
Canning tongs: To handle hot jars
Thermometer: To test for gel point
Preparation Accessories
The preparation process requires accessories that simplify the transformation of fruit into jam. A food processor can be utilized to chop or puree fruit, while a potato masher offers control to achieve the desired consistency. For transferring jam into jars, a stainless steel funnel is indispensable to avoid spills, and a ladle helps in pouring jam.
Food processor: Chopping fruit
Potato masher: Mashing fruit
Stainless steel funnel: Filling jars cleanly
Ladle: Pouring jam
These tools ensure precision and ease throughout the jam making process, from preparation to preservation.
Preparing the Fruit
When making homemade jam, preparing the fruit is a critical step to ensure the best flavor and consistency. One should begin by carefully selecting fresh fruit. For berries such as strawberries and raspberries, they must be ripe but not overly so. With stone fruits like peaches, one should ensure they are just yielding to pressure, indicative of peak ripeness.
Before proceeding, all fruit needs a thorough washing under cold water to remove any dirt or residues. After washing, take these additional steps based on the type of fruit:
Berries: Simply hull strawberries, removing the green leafy cap and any stem. Raspberries require gentle handling to avoid crushing.
Stone Fruits: They necessitate pitting. For peaches, one can score an “X” at the bottom and blanch them in boiling water for easy skin removal.
The quantity of fruit to be used will differ depending on the recipe, but a general guide is as follows:
Fruit Quantity for Standard Batch Strawberries 2 cups, hulled and crushed Raspberries 2 cups, gently mashed Peaches 2 cups, pitted and chopped
After preparation, measure the fruit accurately to maintain the fruit-to-sugar ratio essential for proper setting and preservation. This meticulous approach ensures flavors are showcased effectively in the final product.
Cooking Process

The cooking process for making homemade jam is a straightforward but crucial part of jam making. It involves careful combination of ingredients and attentive cooking to achieve the jam's perfect consistency.
Combining Ingredients
Ingredients:
Fruit: The foundation of any jam. Use fresh or frozen, ensuring it is properly cleaned and prepared.
Sugar: Acts as a preservative and sweetener.
Water: Typically used to help dissolve the sugar and cook the fruit.
Pectin (optional): A natural gelling agent that aids in setting the jam.
Prepare the fruit: Crush or chop the fruit to the desired texture.
Mix sugar and fruit: Combine the fruit and sugar in a large, non-reactive pot.
Add water and pectin: If the recipe calls for water or pectin, add them to the pot.
Directions:
Start with a high heat to bring the mixture to a boil while stirring continuously to dissolve the sugar.
Once boiling, reduce the heat to a simmer.
Reaching the Perfect Consistency
Cook the mixture: Maintain a steady simmer, often for 10 to 30 minutes, depending on the jam recipe. Frequent stirring prevents sticking and burning.
Test the jam's consistency:
Plate Test: Drop a small spoonful of jam onto a chilled plate. If it wrinkles when pushed, it's ready.
Temperature Test: Cook the jam to 220°F (104°C), the gelling point for jam.
Tips:
Foam: Skim off any foam that forms to ensure a clear jam.
Thickness: Remember the jam will continue to thicken as it cools.
By following these steps carefully and using precise measurements, one can create delicious homemade jam with the right balance of flavor and consistency.
Canning and Preservation
When making homemade jam, canning and preservation are vital steps to ensure food safety and extend the shelf life of the final product. The reader should understand the proper techniques of filling the jars, sealing and sterilizing them, and storing them for longevity to make their preserves shelf stable.
Filling the Jars
A key element in canning jam is transferring the prepared jam into clean glass jars. One should use a ladle and a funnel to avoid spills and ensure a clean jar rim. Each jar must be filled leaving an appropriate headspace, typically a 1/4 inch for jams, to allow for expansion during the canning process. This practice is crucial to achieving a proper seal.
Sealing and Sterilizing
After filling, the jars must be sealed and sterilized to preserve the jam. Firstly, wipe the rims with a clean, damp cloth to remove any residue. Place the lids on the jars and screw on the bands until they're fingertip tight. Then, place the jars in a canning rack and lower them into a boiling water bath. For pint jars, the water should cover the jars by at least an inch. Process for the time specified by the recipe, ensuring the water remains at a full boil.
Storing for Longevity
Once jars have been processed and cooled, check seals and then store the canned jam in a cool, dark place to maintain quality. Unsealed jars should be refrigerated and used first or re-processed within 24 hours. Properly canned and sealed jam can be stored on the shelf and remain good for up to a year. Before using, jars should be inspected for any signs of spoilage.
Freezer Jam Variations
Exploring freezer jam variations provides delightful alternatives to traditional preserves. Each fruit offers its own unique taste and texture when transformed into freezer jam, ensuring a spread that is fresh-tasting and maintains the integrity of the fruit's natural flavor.
Strawberry Freezer Jam
Strawberry freezer jam is a classic choice, beloved for its bright, summery flavor. To make it:
Ingredients:
Fresh strawberries, hulled and crushed
Granulated sugar
Pectin
Method:
Mix the crushed strawberries with a proportional amount of sugar; the exact proportions will depend on the pectin's instructions.
Stir the mixture and let it sit, allowing the sugar to partially dissolve and draw out the juice from the fruit.
After following the pectin package's boiling instructions, combine it with the fruit mixture.
Stir well, then transfer the jam into freezer-safe containers, leaving space for expansion during freezing.
Tips: When freezing jam, ensure that it is at room temperature before placing it in the freezer. Strawberry freezer jam should maintain its best quality for up to one year when properly stored in the freezer.
Raspberry Freezer Jam
Raspberry freezer jam carries a delightful balance between tart and sweet. It's made similarly to strawberry jam, with the following adjustments:
Ingredients:
Fresh raspberries, gently crushed
Granulated sugar
Pectin
Method:
Combine the raspberries with sugar as directed by the pectin instructions.
Allow the mixture to rest, enabling the sugar to dissolve and meld flavors.
Boil the pectin according to its instructions, then mix it into the fruit.
Pour into containers, leaving headspace, then freeze.
Tips: Raspberry seeds can be removed by passing the crushed fruit through a sieve for a smoother jam. As with strawberry jam, raspberry freezer jam should be kept in the freezer and is best used within one year.
Peach Jam Techniques
Peach jam offers a mellow, sweet addition to the freeze jam repertoire. Its technique involves:
Ingredients:
Fresh peaches, peeled and crushed
Granulated sugar
Pectin
Method:
Skin and pit the peaches, then crush them to your desired consistency.
Mix with sugar and let sit, this will start to form your jam's base.
Prepare the pectin by boiling, if necessary for your recipe, then add to the peach mixture.
Once thoroughly combined, distribute the jam into freezer containers with space for expansion.
Tips: The high pectin content in peaches may require less added pectin. Peaches should be ripe but firm for best results. Like other freezer jams, peach jam keeps best in the freezer for up to a year.
Serving Suggestions
Homemade jam enhances a variety of dishes with its sweet and fruity flavors. When considering serving options, one should think about the type of jam used, such as strawberry or mixed berry, and the complementary food items to bring out the best taste experience.
Pairing with Breakfast Foods
Homemade jams, including strawberry jam and mixed berry preserves, can elevate the taste of many breakfast foods. For toast or English muffins, a light spread provides a sweet start to the day:
Toast: Apply a thin layer of strawberry jam to bring a fruity burst to the breakfast table.
Pancakes: Dollop mixed berry preserve on top for a tangy twist.
English Muffin: Spread evenly to seep into all the nooks and crannies.
Dessert Combinations
Incorporating jam into desserts adds a delightful fruitiness that complements sweet treats. Here's how one might integrate different types of jam into dessert recipes:
Cake: Swirl mixed berry jam within the layers to add a moist, fruity element.
Ice Cream: A spoonful of strawberry jam can be drizzled as a topping to enhance plain flavors.
Adding to Dairy Products
Jam and dairy are a classic pair. The creaminess of dairy products helps balance the sweetness and tartness of jams:
Yogurt: Stir in strawberry jam to a bowl of plain yogurt to infuse flavor and color.
Cheese: Serve a dollop of mixed berry preserve on a cheese platter for a sophisticated twist.
Special Considerations
When measuring ingredients for homemade jam, one must account for dietary requirements and the availability of seasonal produce. Precise measurements ensure flavor consistency and proper setting of the jam.
Dietary Preferences
Vegans and vegetarians should ensure that any added pectin is free from animal derivatives, which are sometimes used in pectin products. For a gluten-free diet, verifying that all purchased ingredients are certified gluten-free is crucial to prevent cross-contamination.
Vegan: Use pectin from citrus peels or apples.
Vegetarian: Agar-agar can be an alternative gelling agent.
Gluten-Free: Confirm the absence of gluten in commercial pectins.
Seasonal Choices
The best-quality jams are made from produce at its peak season. For instance, tomatoes and other vegetables are suitable for savory jams when harvested ripe. Here's a guide to preserve the freshness based on peak seasons:
Tomatoes: Late summer provides the best harvest for tomato jams.
Vegetables: Depending on the type, they may be best in spring or fall.
Storing homemade jam varies based on the ingredients and method used:
In the refrigerator: usually lasts up to 3 weeks.
In jars properly processed in a water bath: can last up to a year in a cool, dark place.
Marketing Your Homemade Jam
When entering the jam market, it’s crucial to leverage online platforms and be transparent about affiliations to build trust with your customer base. These strategies can broaden your reach and establish your brand.
Utilizing Social Media
With Facebook, one can create a business page for their homemade jam and post high-quality images and engaging content to attract a following. They can use Facebook's targeted advertising to reach potential customers who have shown interest in homemade goods or similar products. Regular updates about the jam varieties, special offers, and customer testimonials can keep the audience engaged.
On Instagram, one can showcase their jams through beautiful photography and interactive stories. Using hashtags related to jam making and home canning can help them appear in search results, making it easier for jam enthusiasts to find them. They can also collaborate with food bloggers and influencers to broaden their reach.
Disclosing Affiliate Links
When partnering with other brands or influencers, it’s important to disclose affiliate links. Transparency is key, and they should clearly indicate if a post includes affiliate links. This can be done with a simple disclaimer at the beginning or end of a post or within the caption itself. This not only complies with advertising regulations but also fosters trust with the audience.
