
How to Measure Ingredients for a Homemade Ice Cream Recipe
Precision for Perfect Scoops
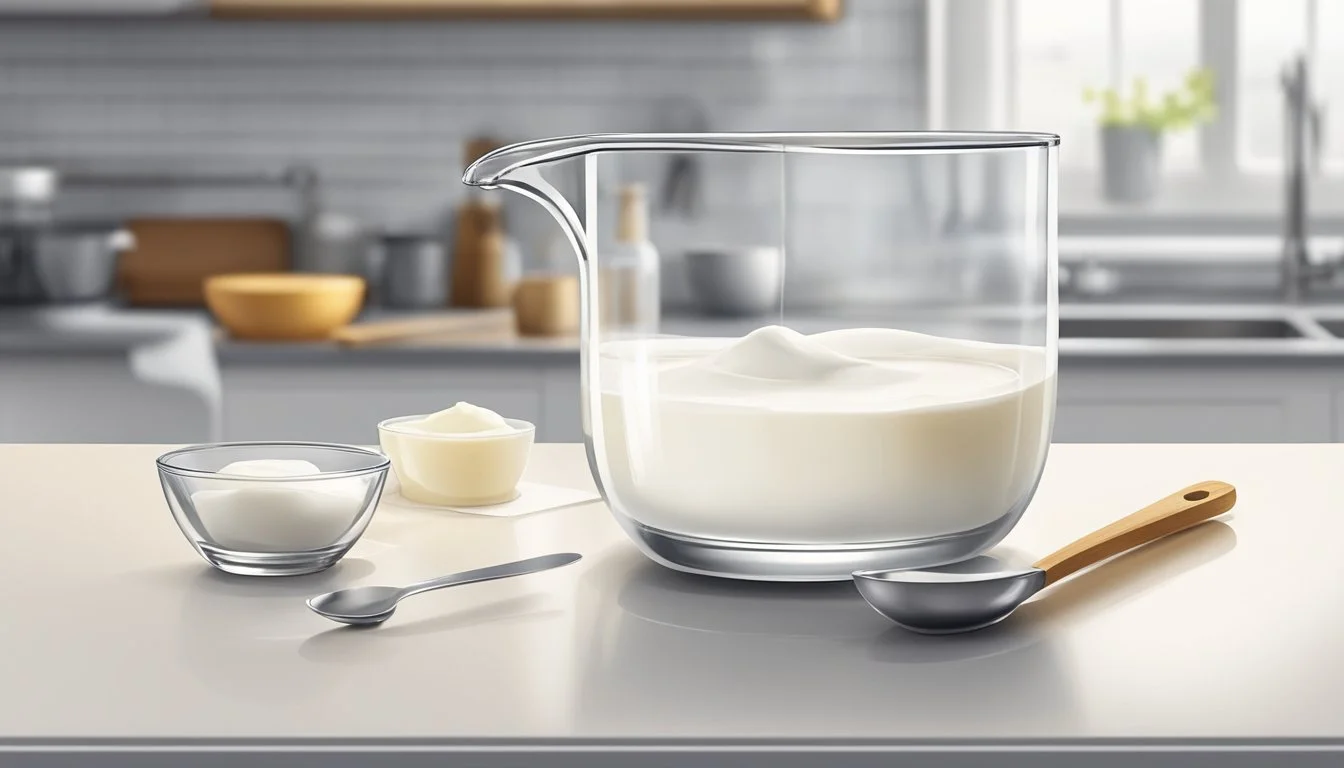
Measuring ingredients with precision is crucial when crafting homemade ice cream. The delicate balance of sugar, cream, and flavorings determines the texture and taste of the final product. Too much sugar can lead to an overly sweet ice cream, while an insufficient amount may result in a less enjoyable dessert. Cream, the foundation of richness in ice cream, must be measured accurately to achieve the desired creaminess without tipping the scales towards a buttery consistency.
Accuracy in measuring also affects the ice cream's ability to freeze properly. Homemade ice cream recipes are often sensitive to the ratio of solid to liquid ingredients. A misstep in measuring can lead to ice cream that is either too hard or fails to set, with an icy texture instead of a smooth and creamy one. Therefore, using the right tools, such as kitchen scales and precise measuring cups, is essential to ensure that all components are portioned correctly.
Understanding the different characteristics of ingredients can also guide the measurement process. For instance, the choice between granulated sugar and a liquid sweetener can affect both the measurement and the structure of the ice cream. Granulated sugar, when dissolved properly, can play a role in lowering the freezing point, thus giving homemade ice cream its signature softness, whereas liquid sweeteners might require different considerations for volume and sweetness intensity.
Understanding Ice Cream Basics

The foundation of crafting homemade ice cream lies in the precise measurement of its key components: milk, cream, and sugar. These ingredients are the building blocks that determine the creaminess and texture of the final product. A successful ice cream recipe hinges on a delicate balance between the fat content and sugar content.
Fat Content is crucial as it provides the creamy texture ice cream is known for. The fat in the cream ensures a smooth and rich consistency. For best results, one should use:
Heavy cream: Higher in fat, avoiding the formation of ice crystals.
Whole milk: For body and richness.
Sugar Content plays a dual role. Not only does it sweeten the ice cream, but it also lowers the freezing point. This results in a softer texture that's easier to scoop straight from the freezer. The sugar should be completely dissolved within the mixture before freezing to avoid graininess.
To summarize, measure the following with precision:
Cream: For a sumptuous mouthfeel.
Milk: Adds body without excessive iciness.
Sugar: Ensures sweetness and manageable freezing.
In terms of equipment, use an appropriately sized freezer bowl to prevent issues during the churning process. A bowl too small may lead to over-churning and an oily texture. Conversely, an oversized bowl can cause slow freezing times, resulting in an icier dessert.
Remember, precision is key. Tailoring the fat and sugar content to one’s preference and following the recipe closely will yield the perfect batch of homemade ice cream.
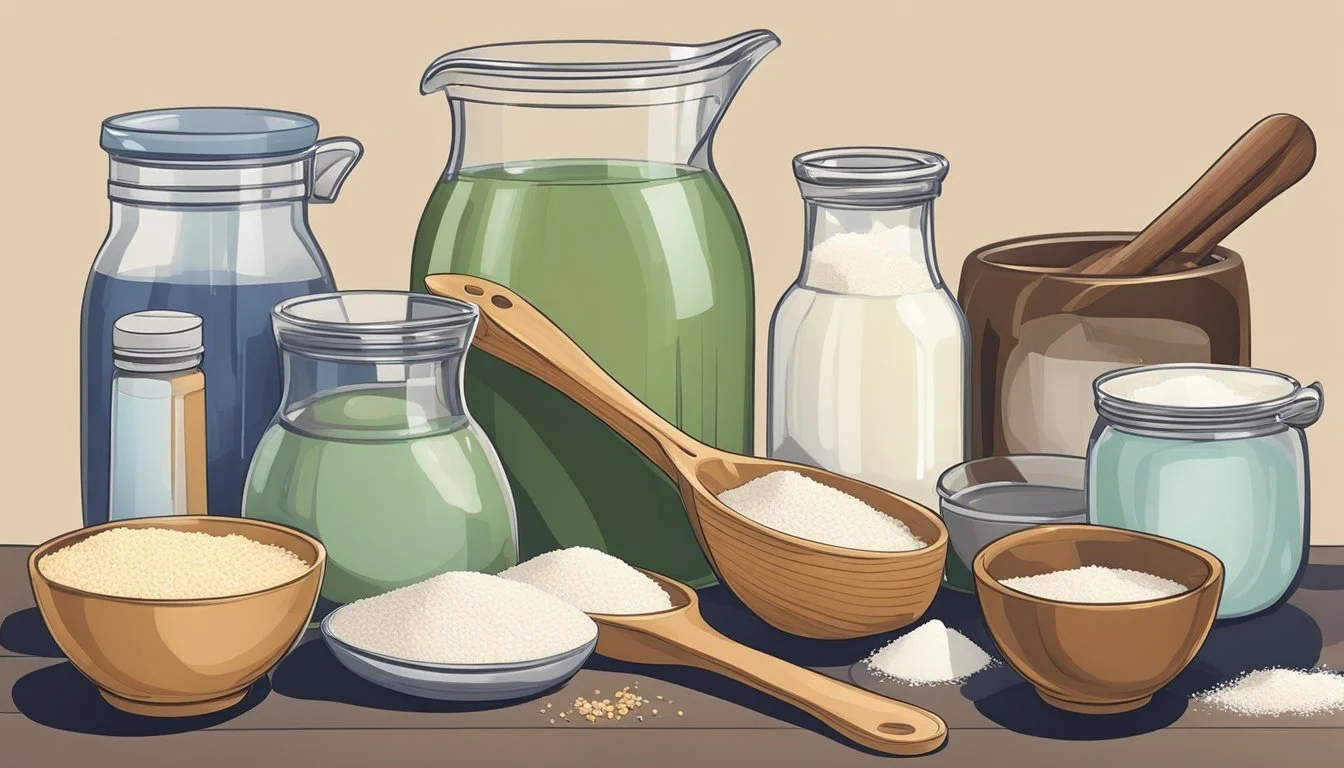
Selecting Ingredients
In crafting homemade ice cream, precision in measuring ingredients is vital for balanced texture and flavor. The purity of the components contributes to the richness of the final product, so choosing quality ingredients is paramount.

Dairy: Cream and Milk
High-quality dairy is the backbone of ice cream. Heavy whipping cream and whole milk are preferred for their fat content, which adds creaminess. For lighter ice cream, whipping cream can be used. It's crucial that:
Heavy whipping cream is measured accurately to avoid an oily mouthfeel.
Whole milk should be fresh to impart a clean, creamy flavor.
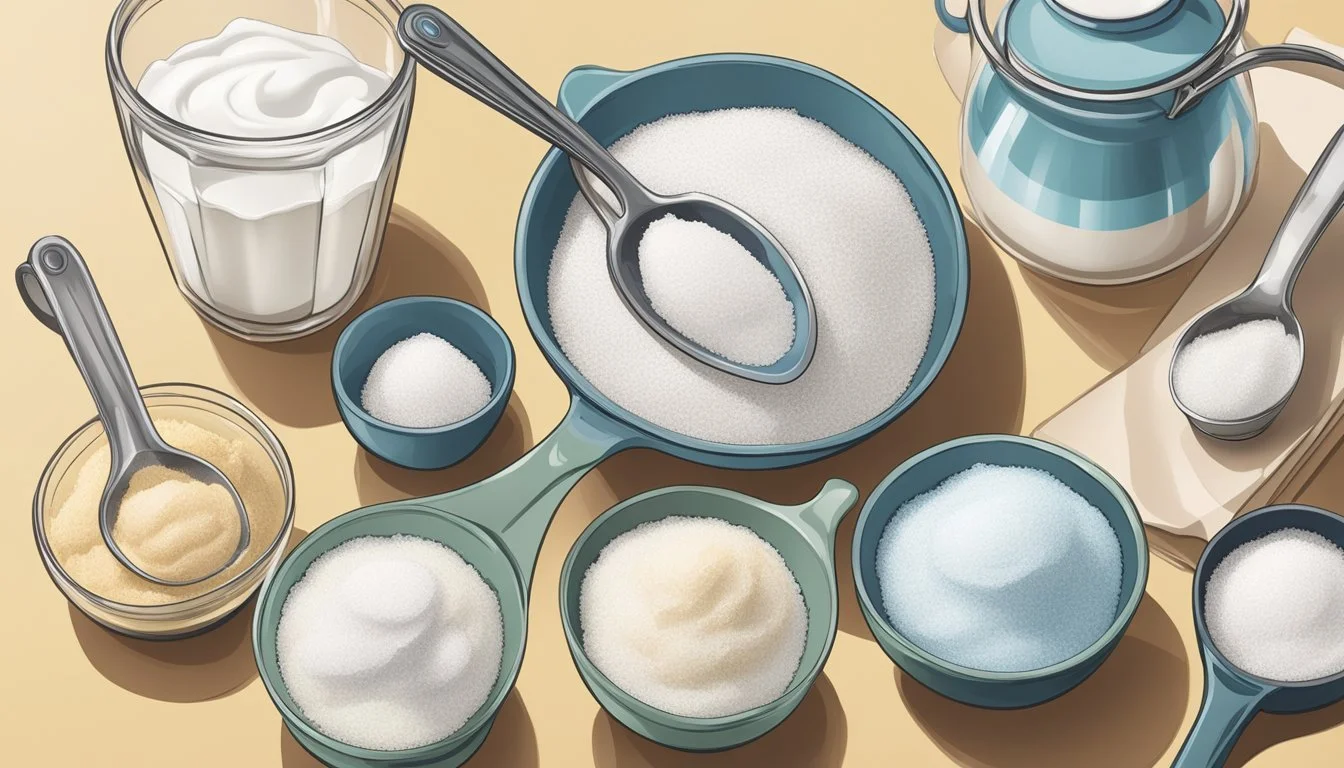
Sweeteners
The type of sweetener affects both taste and texture. Granulated sugar is a standard choice for its ability to dissolve readily, especially when warmed. Alternatives include:
Sweetened condensed milk, which adds a rich consistency.
Sugar measurements should be precise as it also acts as an anti-freeze.
Flavorings and Extracts
Flavoring agents provide the distinctive taste of the ice cream. Pure vanilla extract or vanilla bean paste is essential for classic vanilla flavor, while alternatives can include:
Fresh fruit like strawberries or purees for berry flavors.
Cocoa or chocolate chips for chocolate varieties.
Stabilizers and Thickeners
Stabilizers such as egg yolks can be used to create a custard base, improving creaminess and longevity. They must be:
Combined with the dairy in proper ratios.
Cooked to the right temperature to avoid curdling.
Mix-ins and Additives
Finally, mix-ins like nuts, chocolate chunks, or candy pieces are added after the base is churned. Introduce them:
In moderation to prevent overwhelming the primary flavor.
When the ice cream is semi-solid to distribute evenly.
Ice Cream Making Equipment
Before starting your homemade ice cream venture, it's essential to have the right equipment. This includes choosing a suitable ice cream-maker, understanding alternative methods without a machine, and having additional tools at hand for precise measurement and mixing.

Choosing an Ice Cream Maker
One's choice of ice cream maker can greatly influence the texture and quality of the final product. Electric ice cream makers are popular for their ease of use and consistent results. Many models come with a freezer bowl that must be chilled in advance. High-end machines may feature built-in refrigeration units, eliminating the need for pre-freezing. For those opting for a more hands-on approach, manual ice cream machines that require churning by hand are also available. They often use rock salt and ice to achieve the low temperatures necessary for making ice cream.
Alternative Methods Without a Machine
Making ice cream without a machine is entirely possible and can yield delicious results. One method involves using an ice bath, where the ice cream mixture is placed in a zip-lock bag and then into a larger bag or bowl filled with ice and rock salt. This requires occasional shaking and massaging of the bag to help churn the ice cream. Another machine-free method includes freezing the ice cream mixture in a loaf pan or airtight container, stirring every 30 minutes to break up ice crystals until the desired soft serve consistency is achieved.
Additional Tools
Accurate measuring of ingredients is crucial in ice cream making. A set of measuring cups and spoons is indispensable. To mix the ice cream base, one needs a mixing bowl and a whisk or electric mixer for whisking the eggs and sugar, if making a custard-based ice cream like Philadelphia-style. To ensure proper storage and prevent freezer burn, the ice cream should be transferred to an airtight container before placing it in the freezer for final firming.
Preparing Your Ice Cream Base

When making homemade vanilla ice cream, one must carefully measure ingredients to ensure the ideal balance between flavor and texture. The base sets the foundation for the ice cream's final quality, whether opting for a luxurious custard-style or a simpler Philadelphia-style ice cream.
Custard-Style (French) Base
The custard-style ice cream base, also known as French base, involves cooking to create a rich and creamy texture. Begin by heating a mixture of heavy cream, milk, and vanilla extract in a saucepan until it steams with small bubbles forming around the edge — typically, this takes about 8 minutes. In a separate bowl, whisk egg yolks with sugar until smooth. Gradually temper the yolks by adding one-third of the hot cream mixture, whisking constantly to prevent curdling. Then, return the combined mixture to the saucepan and heat until it coats the back of a spoon. Strain the base before chilling it thoroughly, which is essential for a smooth frozen custard.
Ingredients for heating:
1 cup heavy cream
1 cup milk
1 tsp vanilla extract
Tempering mixture:
6 large egg yolks
3/4 cup sugar
Philadelphia-Style Base
For those preferring a no-egg recipe, the Philadelphia-style base is simpler and doesn't require cooking. Combine milk, sugar, and a pinch of salt in a bowl. Use a whisk or mixer on a low setting to dissolve the sugar completely. Afterward, incorporate heavy cream and vanilla extract into the mixture. Cover and refrigerate for at least 1-2 hours; this is crucial for the flavors to meld and the mixture to cool, which will help in churning a smoother Philadelphia-style vanilla ice cream.
Mixture ingredients:
2 cups heavy cream
1 cup milk
3/4 cup sugar
1 pinch salt
2 tsp vanilla extract
Vegan and Non-Dairy Alternatives
Vegan and non-dairy versions of ice cream often substitute the dairy with plant-based milks such as almond, coconut, or soy milk. The key is to maintain a creamy consistency comparable to traditional ice cream bases. Thickeners such as cornstarch or pureed silken tofu can be used to mimic the texture that eggs provide in the custard-style base. Sweeteners like agave or maple syrup may be used in place of sugar. These alternatives should be mixed and chilled just as carefully as dairy varieties to ensure a delightful vegan vanilla ice cream experience.
Non-dairy base examples:
Coconut milk for richness
Almond milk for lighter texture
Cornstarch or silken tofu as thickeners
Agave or maple syrup for sweetness
Each ice cream base offers a different mouthfeel and level of richness, allowing one to craft a homemade vanilla ice cream to personal preference or dietary requirements. Proper measurement and meticulous mixing are paramount in achieving the perfect consistency and flavor.
Mixing and Flavoring

Precise mixing and the timing of flavoring are critical to creating a superior homemade ice cream. Adding flavorings and mix-ins at the right stage ensures that the ice cream base incorporates these elements uniformly, without compromising the creamy texture or causing unwanted ice crystallization.
Incorporating Solid Add-Ins
Solid add-ins such as chocolate chips, cookie dough, crumbled cookies, and marshmallows should be added after the ice cream has been churned to a soft-serve consistency. This typically occurs in the last couple of minutes of churning. To evenly distribute these solid elements:
Pause the ice cream machine: Right before the ice cream is fully churned, interrupt the process.
Add the mix-ins: Sprinkle the solid add-ins evenly over the semi-frozen mixture.
Resume churning: Allow the machine to run for a few more minutes to distribute the add-ins without crushing them.
Add-In Type Suggested Amount Timing Chocolate Chips 1/2 cup Last 2 minutes of churn Cookie Dough 3/4 cup Last 2 minutes of churn Cookies 1/2 cup crumbled Last 2 minutes of churn Marshmallows 1/2 cup Last 2 minutes of churn
Blending in Syrups and Sauces
For liquid add-ins like chocolate syrup, salted caramel sauce, and hot fudge, the key is to create a marbled effect or a uniform flavor without overmixing. These should be added after the churning process is complete. For a marbled look:
Layer your ice cream: Spoon a layer of the churned ice cream into your storage container.
Drizzle the sauce: Add a thin layer of your chosen syrup or sauce.
Repeat: Continue the layering process, finishing with a layer of ice cream on top.
Swirl gently: Use a knife or a skewer to swirl the sauce into the ice cream carefully.
When blending for a uniform flavor:
Pour in the sauce: When the churned ice cream variety allows for it, pour in the liquid add-in.
Fold gently: With a spatula, fold the sauce into the ice cream until just combined.
In both methods, take care not to overmix to prevent the ice cream from becoming soupy.
Syrup/Sauce Type Suggested Amount Method Chocolate Syrup 1/4 cup Swirling Caramel Sauce 1/4 cup Swirling Hot Fudge 1/4 cup Uniform Mixing
Freezing and Churning

When making homemade ice cream, understanding the freezing point and churn dynamics is crucial. As one churns ice cream, they facilitate the incorporation of air, resulting in a smoother texture. The process also prevents the formation of large ice crystals by dispersing water molecules evenly throughout. A proper balance between freezing and churning is essential for superior ice cream texture.
Key Steps in Freezing and Churning:
Pre-freeze your ice cream maker canister for at least 24 hours, unless instructions specify otherwise; this ensures the mixture begins freezing immediately upon churning.
Keep the base mixture chilled before pouring it into the canister, as a cold base freezes more efficiently and uniformly.
Table for Churn Duration and Consistency:
Churn Time (minutes) Consistency 15-20 Soft serve 25-30 Firm, ready for deep freeze
Churn Tips:
Do not overfill the churner. Leave room for the mixture to expand.
Aim to churn until the mixture resembles soft serve. This usually takes about 20-30 minutes depending on the machine.
If the mixture appears buttery or oily, it may be over-churned; stop the machine and transfer to a container for freezing.
The freezing process is a delicate dance, with the goal being to lower the temperature of the mixture just enough so the water molecules turn to ice without creating a block. Ideally, initiate freezing at a temperature slightly below the water's freezing point, but monitor closely to avoid the mix becoming too hard.
By maintaining control of temperature and churn consistency, one ensures the creation of delectable and creamy ice cream.
Achieving Desired Texture
The texture of homemade ice cream is pivotal to its enjoyment, and it can be controlled through the manipulation of fat content, air incorporation, and ice crystal size.
Manipulating Fat and Air
The amount of fat and the process of aeration play significant roles in achieving a creamy texture. Recipes with a custard base, which include egg yolks, tend to yield richer, creamier textures due to the added emulsifying properties of the yolks. Heavy cream or whipping cream should be used judiciously; too much can cause the mixture to morph into a butter-like consistency during churning.
Incorporating air into the mixture, also known as overrun, is crucial for a light texture. To maximize aeration:
Use an ice cream maker to churn the mixture, as it freezes to create small air pockets.
Whip cream prior to incorporation to introduce more air, but do so gently to maintain the structure.
Controlling Ice Crystal Size
Smaller ice crystals result in a smoother texture, while larger crystals can render the ice cream grainy. To control ice crystal size:
Ensure the base is well-chilled before churning to promote rapid freezing.
Add a pinch of fine sea salt to lower the freezing point and foster a smooth, creamy consistency without detectable ice crystals.
Incorporating a tablespoon or two of vodka or another spirit can inhibit ice crystal formation, as alcohol freezes at a much lower temperature than water.
To summarize, maintain the balance of fat, carefully incorporate air to create creaminess, and manage ice crystal size with temperature control and additives like salt or alcohol. These factors are paramount in achieving the desired creamy texture in homemade ice cream.
Storing and Serving
To ensure homemade ice cream remains at its peak flavor and creamy texture, one must employ correct storage methods and serve it in a way that complements its taste.
Proper Storage Techniques
Homemade ice cream should be stored in shallow, airtight containers to minimize exposure to air and prevent ice crystal formation. This helps maintain a smooth consistency akin to soft serve. The ideal storage temperature is at -18°C. Containers must be labeled with the date to track freshness, and ice cream should be consumed within three months for best quality. It is not advisable to store ice cream in the freezer door due to fluctuating temperatures.
Serving Suggestions
For optimal enjoyment, homemade ice cream should be allowed to thaw for a few minutes at room temperature before serving. This makes scooping easier and enhances the creaminess. Use a warmed scoop for a clean, easy release. Serve ice cream in chilled dishes to slow down melting. Top with fresh fruit, whipped cream, or a sprinkle of crushed cookies to elevate the experience.
Pairing with Desserts
To create a delectable dessert pairing, consider the flavor profile of the homemade ice cream.
Peach Cobbler: Pair it with a velvety vanilla or cinnamon ice cream.
Strawberry Shortcake: Complement it with a scoop of strawberry or classic vanilla ice cream.
Brownies: Serve them warm with a side of chocolate or rocky road ice cream.
Oreo: Offer a cookies and cream ice cream with oreo pieces for the perfect match.
Candy: Mix in candy pieces into the ice cream for a fun twist.
One can include these accompaniments directly on top of the ice cream or serve them side-by-side for an interactive dessert experience.
