
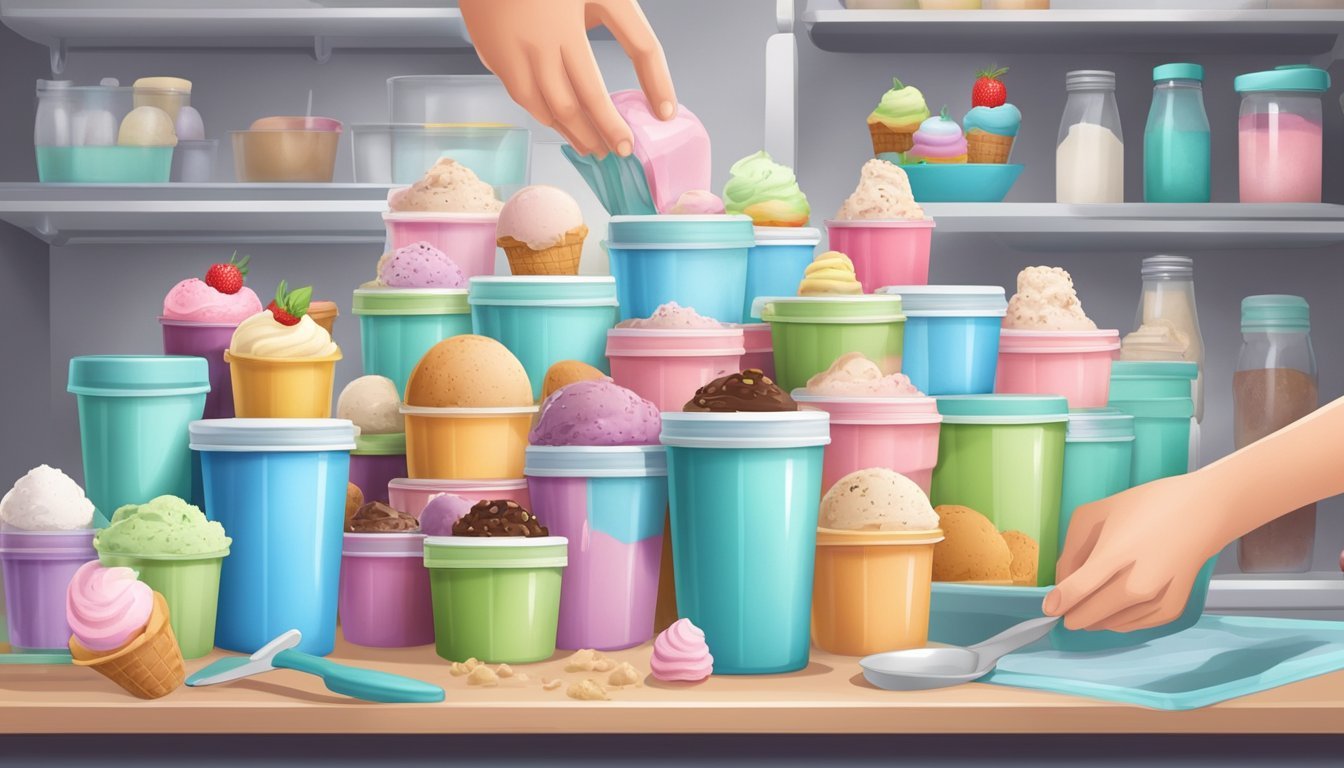
No Ice Cream Maker? No Problem!
Handcrafting Delicious Frozen Treats
Many ice cream aficionados might think they need a dedicated machine to create their favorite frozen treats at home. However, making homemade ice cream without a churn is not just possible; it is also a delightful way to enjoy a custom ice cream experience with minimal equipment. The popularity of no-churn ice cream has soared in recent years, offering a simple and accessible method for crafting creamy, frozen desserts in the comfort of one’s own kitchen.
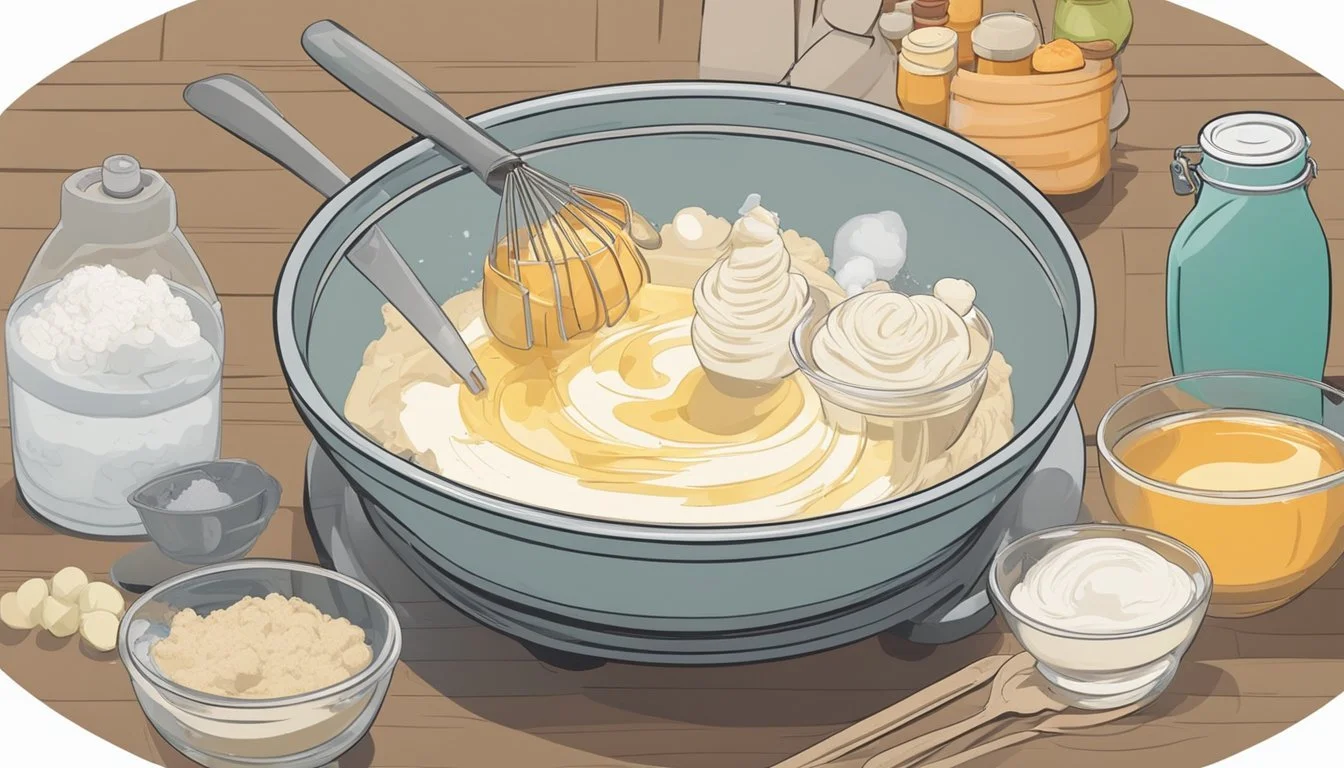
No-churn ice cream involves a few basic techniques and ingredients, often requiring only a good whisk, a handful of kitchen staples, and a freezer. The secret lies in creating a stable base that retains air and creaminess when frozen. Heavy cream and sweetened condensed milk are frequently used as the foundation, negating the need for an ice cream maker. These ingredients are whipped up, flavored, and then frozen until they reach the perfect consistency.
The flexibility of no-churn ice cream is one of its greatest appeals. It allows for endless creativity in flavors and add-ins, from classic vanilla bean to inventive combinations featuring cookies, fruits, and even spices. Without the need for specialized equipment, people can easily experiment with ingredients and elevate their homemade dessert repertoire to include ice cream that rivals that of any ice cream parlor.
Understanding the Basics of Ice Cream

When indulging in the creamy delight that is ice cream, it's worth noting that it's not just about taste but also texture and body. The foundational elements of ice cream include milk, cream, sugar, and flavorings, which are crucial for its structure and mouthfeel.
Components of Ice Cream
Ice cream primarily comprises milk and cream, which provide the liquid base. Different recipes may vary these proportions to adjust creaminess and fat content. Sugar is essential for sweetness and also plays a role in lowering the freezing point of the mixture. Flavorings and add-ins like vanilla, chocolate, or fruit are included to diversify the range of ice creams. In addition to these:
Stabilizers like guar gum can be added to prevent ice crystal formation
Emulsifiers like lecithin help in mixing fat evenly throughout the mixture
These components work together to create the signature texture and flavor of ice cream.
The Role of Fat and Air
Fat, primarily found in cream, is crucial as it adds richness and creaminess to ice cream. It helps in the stabilization of air bubbles incorporated during the churning process.
Air is a silent component but significantly affects the final product. When ice cream is churned by hand or machine, air is incorporated into the mixture, giving it a lighter texture and helping it to stay somewhat soft, even when frozen. This incorporation of air is known as overrun, and it's vital for the desirable mouthfeel of ice cream.
The balance between fat and air is what gives ice cream its structure and is key to achieving the creamy consistency it is famous for, even without the use of an ice cream maker.
The Science of Freezing
Creating smooth and creamy frozen desserts without a machine hinges on understanding how freezing works and the methods for preventing undesirable ice crystals.
How Freezing Works
Freezing transforms a liquid into a solid through a process where the temperature drops below its freezing point, usually 0°C (32°F) for water. When making ice cream by hand, the goal is to lower the temperature of the base mixture until it solidifies. This is achieved by placing the mixture in an environment well below freezing, such as a household freezer, which operates at around -18°C (0°F). As the liquid in the mixture cools, ice crystals begin to form.
The size and distribution of ice crystals affect the texture of the ice cream. Smaller, more numerous crystals result in a smoother and creamier product. To achieve this texture without a machine, periodic stirring is crucial during the freezing process because it breaks up ice crystals that are forming and allows for air to be incorporated.
Preventing Ice Crystals
Key Strategies to inhibit large ice crystals:
Stirring: Regular stirring of the ice cream base during freezing is one of the primary methods to disrupt ice crystal formation. By stirring the mixture every 30 to 45 minutes, one ensures that any crystals that begin to form are broken into smaller pieces, aiding in a smoother texture.
Temperature Control: Maintaining a consistent freezing temperature prevents the melting and refreezing cycle that can lead to larger, crunchier ice crystals.
Ingredients:
Fat: Fat acts as a barrier to ice crystal formation. High-fat contents, as found in heavy cream, help to create a smoother texture.
Sugar: Sugar lowers the freezing point of water, which makes it harder for large ice crystals to form. Additionally, the use of inverted sugar or sweetened condensed milk contributes to a creamier consistency by providing a bond that hinders crystal growth.
By considering these scientific principles, even those without an ice cream maker can create delectable frozen treats that boast a desirable smooth and creamy consistency.
No-Churn Ice Cream Essentials
No-churn ice cream simplifies the frozen dessert-making process by eliminating the need for an ice cream maker. This method focuses on a few key ingredients and techniques to achieve a creamy texture.
Base Ingredients
No-churn ice cream typically relies on two pivotal ingredients:
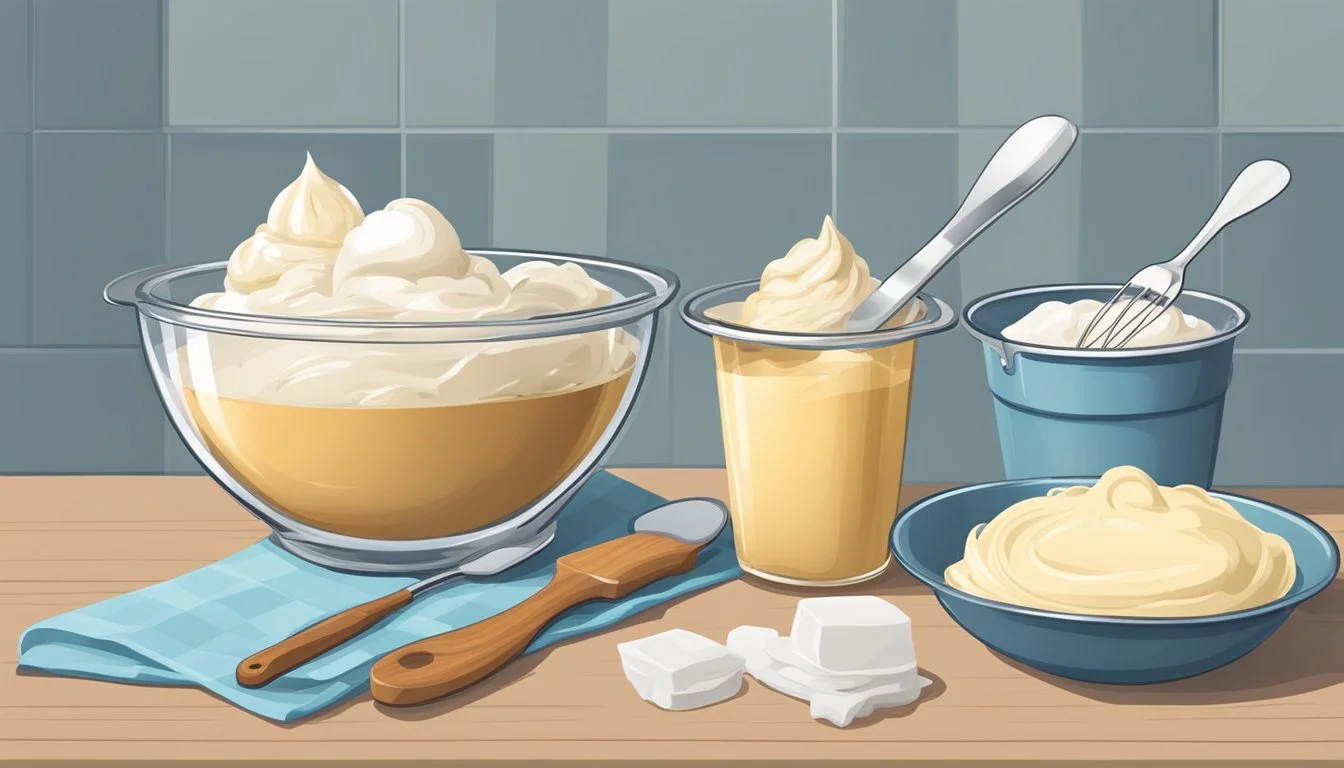
Condensed milk: This is the sweet base of the ice cream and helps give no-churn ice cream its smooth texture without the need for eggs or cooking.
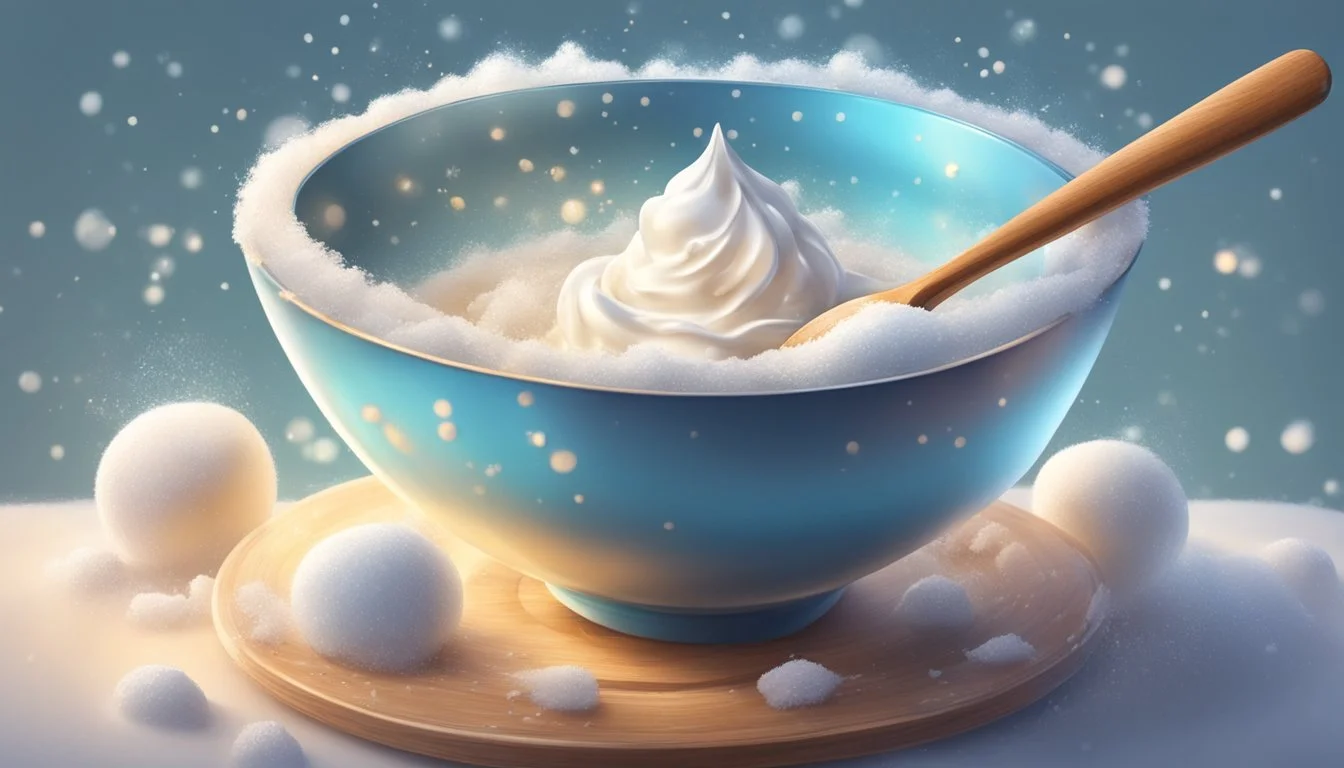
Heavy cream: When whipped, it introduces air into the base, which is crucial for the light, creamy texture that characterizes ice cream.
Additional ingredients include:
Sugar: Often present in the condensed milk, it can also be added for extra sweetness.
Vanilla extract: A common flavor enhancer; it adds depth to the overall taste.
The base ingredients for no-churn ice cream can be summarized as follows:
Ingredient Purpose Common Measurement Condensed milk Sweet base, texture enhancer 1 can (14 ounces) Heavy cream Adds air and creaminess when whipped 2 cups Sugar Additional sweetness if needed To taste Vanilla extract Flavor enhancement 1 teaspoon
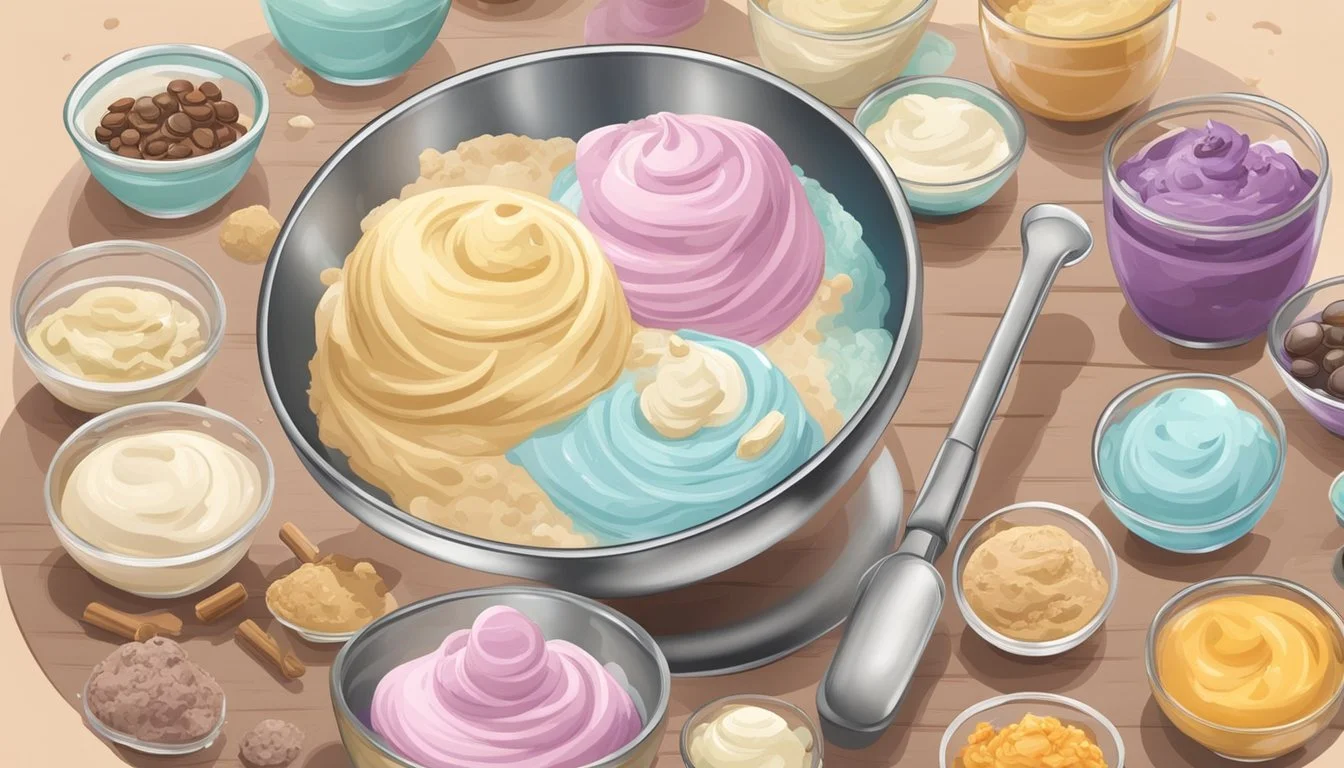
Creating the Ice Cream Base
To create the no-churn ice cream base, one begins by whipping the heavy cream to stiff peaks, taking care not to overwhip. Meanwhile, they combine the vanilla extract with condensed milk in a separate bowl.
The next step involves carefully folding the whipped cream into the condensed milk mixture to keep the air in the cream intact, which is what offers the dessert its characteristic lightness. This base can then be used as a blank canvas for various flavors and mix-ins such as fruit purees, chocolate chips, and nuts.
Alternative Methods Without an Ice Cream Maker
Crafting homemade ice cream without a machine is manageable using simple kitchen tools and a bit of ingenuity. These methods primarily involve manual churning techniques or utilizing common kitchen appliances to create that creamy texture.
Whipping and Folding Techniques
To achieve a creamy consistency without an ice cream maker, one can employ whipping and folding techniques to incorporate air. The process starts with a rich custard base, which is then cooled. Once cooled, the maker whips cream to soft peaks and gently folds it into the custard. This mixture is in a shallow pan and placed in the freezer. The key is to stir the mixture every 30 minutes to break up ice crystals until it's uniformly frozen.
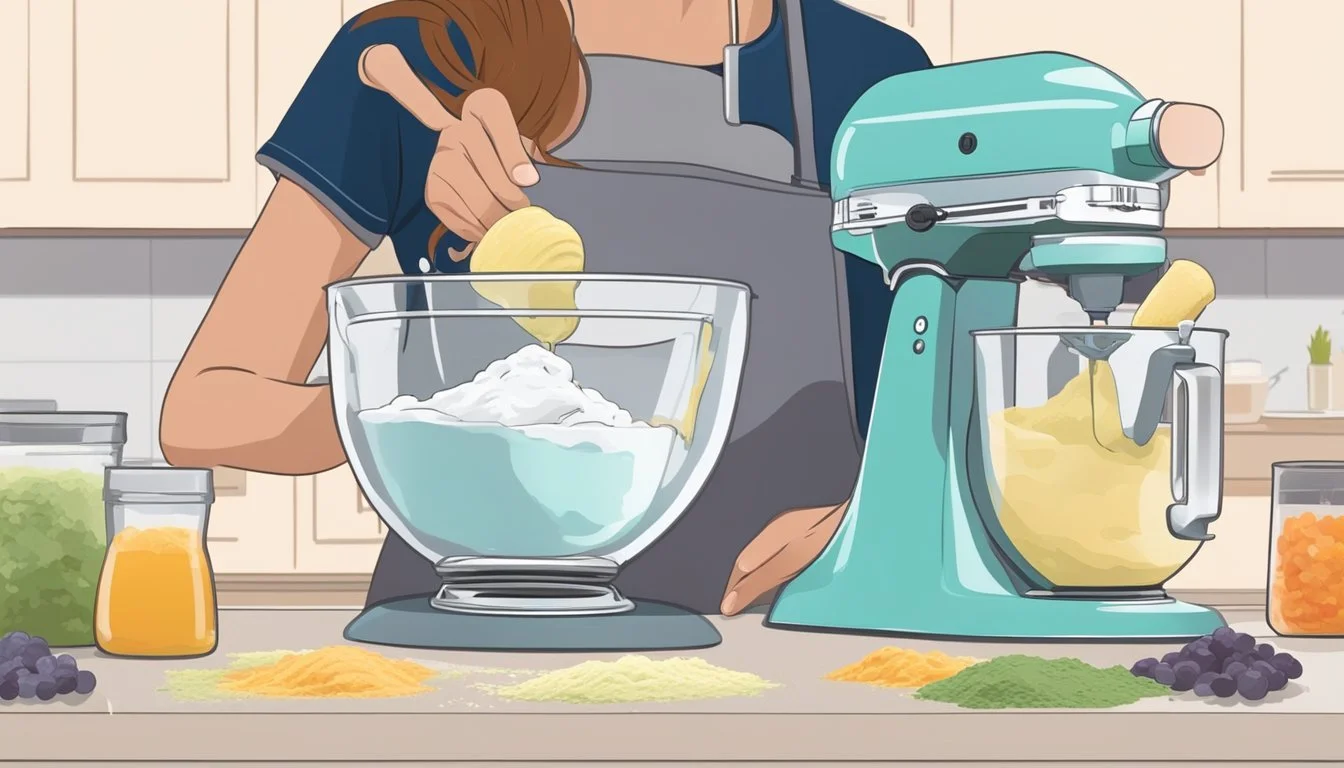
Using Kitchen Tools
For those without specialized ice cream equipment, a hand mixer or food processor can be instrumental. After preparing the base, one can pour it into a cold, deep dish and let it freeze for about 45 minutes. Once the edges start to solidify, the mixture should be stirred vigorously with a hand mixer, returning it to the freezer afterward. They should repeat this step every 30 minutes until the ice cream is smooth and creamy.
Alternatively, a blender or food processor can be used to pulse the semi-frozen mixture, ensuring even churning and aeration, vital for that authentic ice cream texture. Regular checks and blends over a few hours will yield the best results.
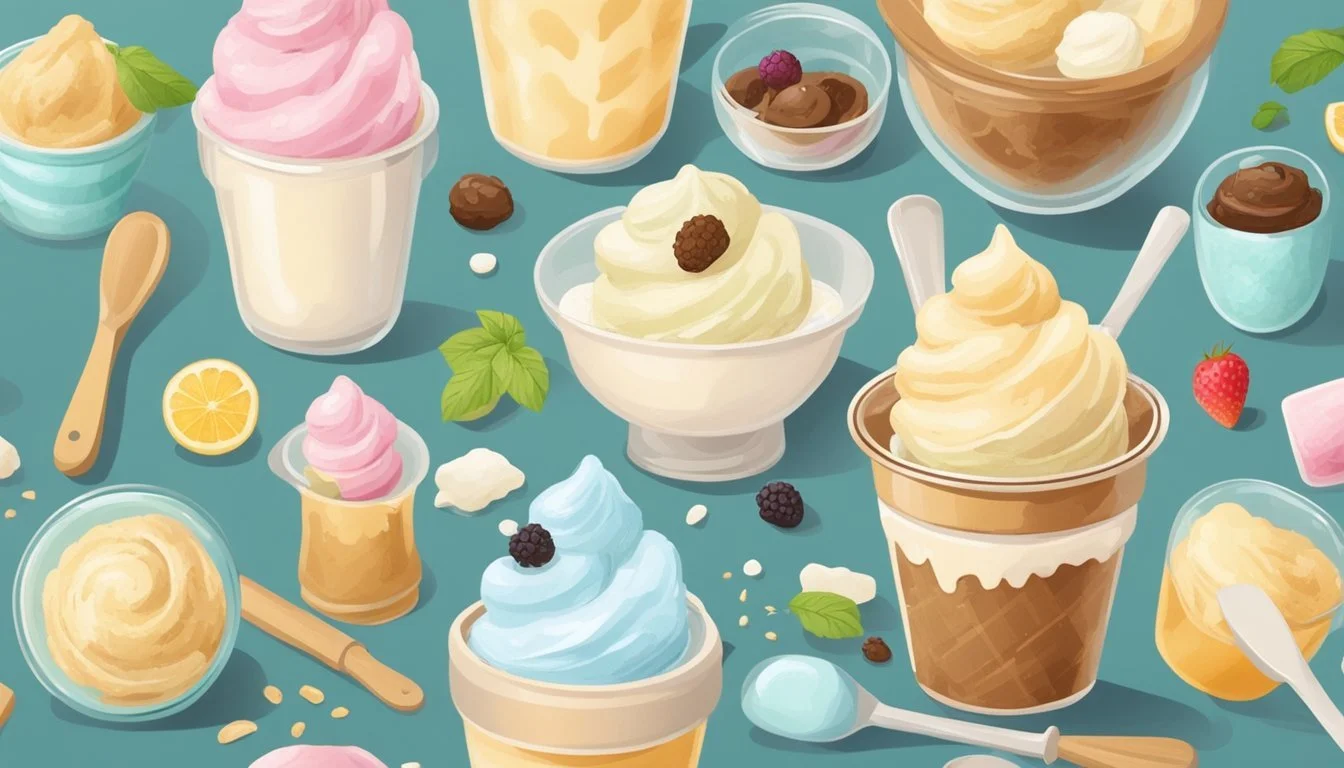
Mix-Ins and Flavor Variations
Crafting homemade ice cream without a machine allows for flexibility in flavors and mix-ins. By understanding which ingredients to use and how they impact the texture and taste, one can create an endless variety of frozen treats.
Classic and Popular Flavors
When it comes to classic flavors, vanilla and chocolate stand as the quintessential bases for no-churn ice cream. For a rich vanilla flavor, incorporating a high-quality vanilla extract is crucial. Chocolate ice cream, on the other hand, benefits from the use of melted chocolate or cocoa powder to achieve a deep and indulgent taste.
Vanilla: Use pure vanilla extract for a traditional taste.
Chocolate: Cocoa powder gives a strong chocolate flavor, while melted chocolate lends creaminess.
Other popular flavors include:
Strawberry: For a natural berry flavor, blend fresh or frozen strawberries into the base mixture.
Peanut Butter: Incorporate creamy peanut butter for a rich and savory twist.
Incorporating Fruits and Nuts
Fruits and nuts add texture and a unique taste to homemade ice cream. When adding fruits like peaches, bananas, or strawberries, one can either mix them directly into the base or swirl them through to create distinct flavor pockets. Nuts should be toasted and chopped to enhance their flavor and add crunch.
Fruit Tips:
Fruits should be pureed or chopped into small pieces to avoid hard, icy chunks.
Certain fruits like bananas can also act as a natural sweetener.
Nut Considerations:
Always toast nuts before adding to the ice cream to bring out their oils and nutty essence.
Finely chopped nuts distribute more evenly throughout the mixture.
For an extra layer of taste and texture, consider these mix-ins:
Chocolate Chips: For a classic pair with fruits or just added richness.
Extracts: Like almond or peppermint, to elevate the base flavors.
Bold flavors, such as a ripple of fruit compote or a swirl of caramel, enable personalization and variety, ensuring that the no-churn ice cream experience is both full-flavored and exciting.
Freezer Storage and Serving Tips
Utilizing proper storage techniques for homemade ice cream ensures it remains smooth and creamy until it's ready to be served. Knowing the right ways to store and serve can make all the difference in your frozen dessert experience.
How to Store Homemade Ice Cream
When one has taken the time to create ice cream without a machine, ensuring its texture and flavor are preserved in the freezer is crucial. They should store the homemade ice cream in an airtight container to prevent freezer burn, which can create ice crystals and result in a grainy texture. Placing a piece of plastic wrap directly on the surface before sealing can provide additional protection against air exposure.
It's advisable to:
Store the ice cream at the back of the freezer where the temperature is most consistent.
Keep it beneath other frozen items to further insulate and shield from temperature changes.
One should avoid:
Storing ice cream on the freezer door due to more frequent temperature fluctuations.
Serving for Optimal Enjoyment
To serve the homemade ice cream, they should take the container out of the freezer and allow it to thaw for a few minutes to soften. This makes the ice cream easier to scoop and helps it achieve the desirable creamy texture. Using a scoop warmed with hot water can make serving easier, but they should be careful to dry the scoop completely to prevent the ice cream from melting too quickly.
Key points for serving include:
Let the ice cream sit at room temperature for a short period until it's just soft enough to scoop.
Use a dry, warm scoop for easy serving, ensuring not to let it sit out too long to avoid becoming too soft.
Advanced Homemade Ice Cream Techniques
Creating refined homemade ice cream goes beyond simple mix-and-freeze methods. This section covers sophisticated techniques for crafting custard-based ice creams and refreshing non-dairy alternatives like sorbet, tapping into the rich flavors and creaminess that only advanced methods can provide.
Custard-Based Ice Cream
For a creamier texture and richer flavor, custard-based ice cream is the gold standard. The custard foundation starts with egg yolks, where they act as an emulsifier to thicken the base and yield a smooth consistency. One begins by whisking egg yolks with sugar until light and creamy. Simultaneously, milk and cream are heated to a simmer, not boiled. This mixture is then gradually added to the yolks, ensuring the eggs do not cook and scramble.
Ingredients:
Egg yolks
Sugar
Milk
Cream
Flavoring (vanilla extract, cocoa powder, fruit purees)
Process:
Whisk yolks and sugar
Heat milk and cream; temper into yolk mixture
Return to heat; stir until thick
Strain, chill, then churn by hand or freeze and stir method
To deepen the flavor, ingredients such as cocoa powder can be incorporated during the milk heating phase. Strain the finished custard to remove any lumps before chilling. Once cold, the mixture can be hand-churned in a cold pan, ensuring movement every 30 minutes to break up ice crystals, or frozen and stirred periodically until the desired consistency is reached.
Sorbet and Other Non-Dairy Alternatives
Sorbet provides a fruit-forward and dairy-free alternative, relying on the purity of fruit flavor and sugar to define its taste and structure. It starts with a simple syrup—water and sugar boiled until the sugar dissolves. This syrup is combined with fruit puree, and the addition of citrus juice can enhance both flavor and consistency.
Base composition for sorbet:
Simple syrup (sugar and water)
Fruit puree (berries, citrus, tropical fruits)
Acid (lemon or lime juice)
To introduce complexity, a chef might integrate coconut milk for texture in non-dairy frozen desserts. This ingredient adds a subtle tropical essence and creamy consistency without the use of traditional dairy. After combining all ingredients, the mixture is poured into a shallow tray and placed in the freezer, with periodic stirring to break up the ice formation, until it reaches a smooth, scoopable consistency.
Decorating and Presentation Ideas
In the art of serving hand-churned ice cream, presentations play a crucial role in elevating the overall experience. From selecting the perfect garnishes to plating for that Instagram-worthy shot, the details matter. They aim to complement both the flavor and aesthetics of the frozen treats they accompany.
Garnishes and Toppings
The right garnish not only adds a pop of color but also introduces textural contrast and layers of flavor. A sprinkle of chopped chocolate provides a rich, decadent touch, while a few leaves of fresh mint contribute a burst of refreshing aroma and color. For those with a penchant for sweetness and complexity, a drizzle of gooey caramel creates a stunning visual and taste. To balance the sweetness, a pinch of sea salt can be sprinkled over the top, giving a trendy salted finish that enhances the ice cream's flavor profile.
Chopped Chocolate: Adds richness and a visual appeal with its contrasting color.
Mint: Offers a fresh color contrast and a zesty fragrance.
Caramel: Delivers a luscious and captivating design.
Sea Salt: Provides a subtlety that contrasts and accentuates the ice cream's sweetness.
Plating and Social Media
Plating is not just about the ice cream itself but also how it's positioned for the perfect photo. For social media appeal, every angle and element must be considered. Utilizing contrasting colors and interesting textures can make a dish stand out. When aiming for that social share on platforms like Instagram, utilizing natural light and simple, clean backgrounds help the ice cream to become the hero of the shot. A top-down angle often works well to showcase the array of toppings and the smooth texture of the ice cream. It's all about creating a visual story around the ice cream that invites viewers to engage and indulge.
Use Natural Light: Enhances the ice cream’s color and texture.
Simple Backgrounds: Draws attention to the ice cream.
Interesting Textures: Highlights the creaminess against crisp or crumbly elements.
Top-Down Angle: Captures the full array of garnishes and the beautifully plated ice cream.
Tips for Perfecting Your Homemade Ice Cream
Making homemade ice cream without an ice cream maker is not only possible, but it can also yield delightfully creamy results. Here are some practical tips to ensure success:
Use The Right Ingredients: A basic no-churn ice cream recipe requires only a few ingredients. Sweetened condensed milk and heavy whipping cream are the foundations for a rich texture. The condensed milk acts as the sweetener and base, while the heavy cream, when whipped, incorporates air and volume.
Preparation is Key: Before beginning, make sure that the bowl and whisk are chilled in the fridge for at least 15 minutes. This aids in whipping the heavy cream to medium-stiff peaks, ensuring the mixture holds its structure.
Freezing Method: After combining your ingredients, transfer the mixture to a cold pan. Use this freeze-and-stir technique:
Freeze the mixture for about 20-30 minutes.
Once the edges start to harden, stir vigorously.
Repeat this process every half hour to break up ice crystals, enhancing creaminess.
Shake Technique:
In a sealed container, mix the buttermilk base with your flavors.
Shake the container vigorously for approximately 15 minutes.
Periodically check, adding more ice and salt if necessary during the process.
Consistency Matters: Regularly scraping and mixing the ice cream prevents ice crystal formation and yields a smoother dessert. Beating the mixture with a hand mixer or by hand ensures an evenly creamy texture.
By adhering to these tips, anyone can craft a luscious homemade ice cream. Experimenting with different recipes and flavors can lead the way to customizing the perfect sweetened, no-churn dessert.
Specialty Ice Creams and International Inspirations

Crafting no-churn ice cream opens a world of possibilities, featuring flavors and methods from around the globe. This section offers a glimpse into exotic ice creams and cultural variations of frozen desserts, emphasizing unique ingredients and indigenous techniques.
Exotic Flavors and Techniques
Green tea and matcha form the cornerstone of many Asian-inspired ice creams. The finely ground powder lends a vibrant color and distinct flavor. Notably, matcha ice cream is a popular variant, combining the antioxidant-rich matcha with creamy, sweet bases.
Example of Matcha Ice Cream Base:
1 cup of heavy cream
1/2 cup of sweetened condensed milk
2 tablespoons of matcha powder
The technique involves whisking matcha with a small amount of hot water to form a paste, then blending it into the sweetened condensed milk. Finally, fold in the whipped heavy cream gently for a smooth texture.
Pistachio ice cream, often associated with Middle Eastern and Mediterranean regions, highlights the nutty flavor of pistachios within the creamy dessert. It typically comprises finely chopped or ground pistachios incorporated into the base.
Flavor Inspiration: Raspberry Pistachio
Fresh or frozen raspberries provide tartness, a vivid color, and complement the nuttiness of pistachios.
Cultural Variations of Frozen Desserts
Many cultures have their own take on frozen desserts, often prepared without fancy equipment. Fried ice cream is a novelty from the crossroads of American and Mexican cuisine, where the creamy core encounters a warm, crispy exterior. The key lies in coating a frozen ball of ice cream in a breaded or cereal-based crust and quickly deep-frying it to create a contrast in temperatures and textures.
Dessert Variations:
Mexican Fried Ice Cream: Vanilla ice cream coated in crushed cornflakes, deep-fried, and often served with cinnamon.
Asian-Style Fried Ice Cream: Ice cream balls wrapped in a thin layer of dough or bread, followed by a quick fry.
By employing simple techniques and incorporating international inspiration into recipes, no-churn ice cream enthusiasts can create a diverse array of frozen treats that satisfy any palate. The union of traditional ingredients and innovative methods ensures a delightful exploration of tastes and textures.
