
How to Make Non-Dairy Milks in Your Blender
Easy Homemade Alternatives
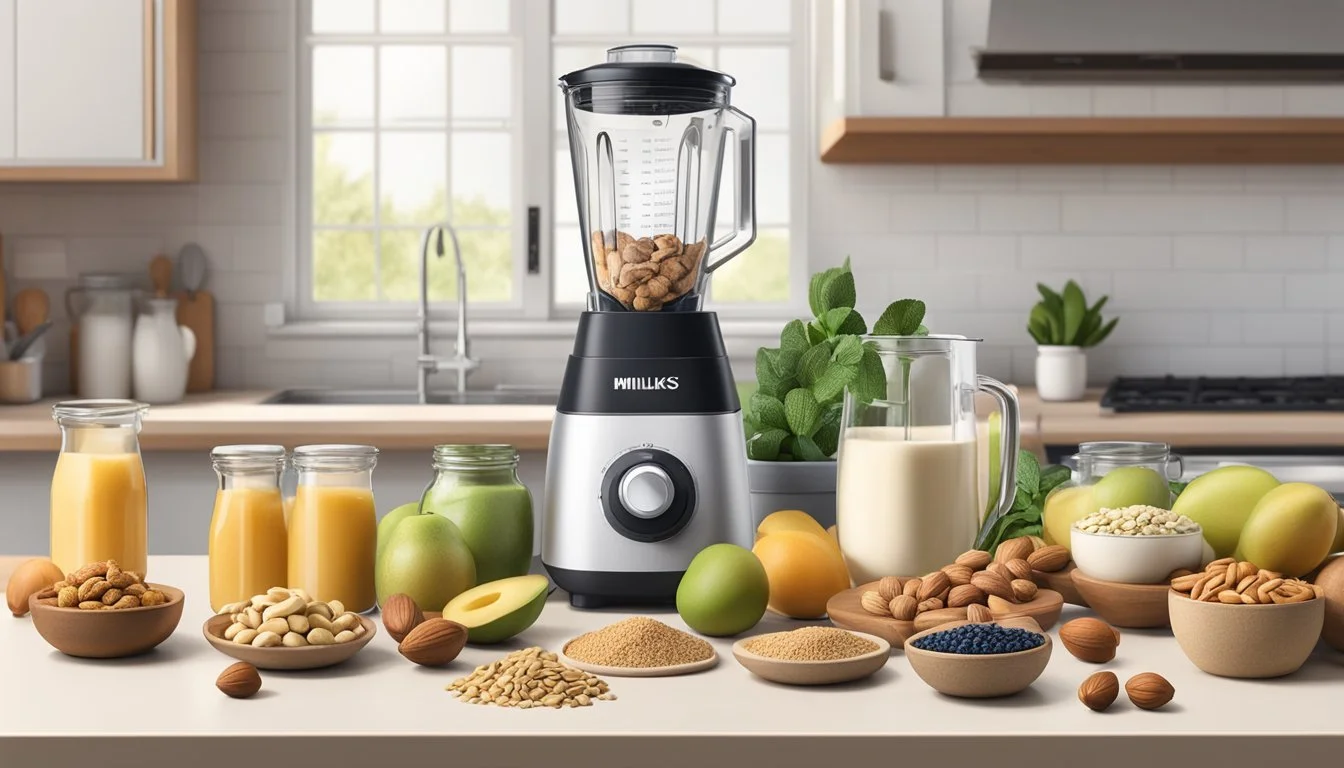
Making non-dairy milk at home is a simpler process than many might expect. With the rise of lactose intolerance, vegan diets, and other dietary preferences, dairy-free milk alternatives have become a common staple in the contemporary kitchen. These milk alternatives can be made from a variety of sources such as nuts (What wine goes well with nuts?), seeds, or grains, providing a versatile range of flavors and nutritional profiles. Homemade versions offer the advantage of being customizable, allowing individuals to adjust sweetness, consistency, and flavor to their liking.
To produce these milk alternatives, one typically needs only a handful of ingredients and a reliable blender. The process usually involves soaking the base ingredient—such as almonds, soybeans, oats, or rice—in water, then blending it until smooth. The resulting mixture is then strained to separate the milk from the solid remnants, resulting in a fresh, clean-tasting liquid. This method not only allows for the creation of dairy-free milks that are devoid of additives and preservatives often found in store-bought varieties, but it also presents an economical advantage, as making milk substitutes at home can be more cost-effective in the long term.
Each type of non-dairy milk has its own distinct set of nutritional benefits and culinary uses, making them highly adaptable to different recipes and dietary needs. For instance, cashew milk provides a creamy texture and subtle nutty flavor, with little need for straining, while almond milk is a low-calorie option that pairs well with cereals and smoothies. Regardless of the choice, homemade non-dairy milks are a rewarding endeavor for those looking to explore the world of milk alternatives.
Understanding Non-Dairy Milks
Non-dairy milks offer a plant-based alternative to traditional dairy, providing a range of nutritional benefits and versatility in use. Selecting the appropriate blender can enhance the texture and quality of these milks.
Nutritional Benefits
Non-dairy milks are celebrated for their nutritional profiles, which often include essential vitamins and minerals such as calcium, potassium, and magnesium. For example, almond milk is a good source of vitamin E, while soy milk offers a protein content comparable to that of cow's milk. Hemp milk provides both omega-3 fatty acids and a substantial amount of plant-based protein.
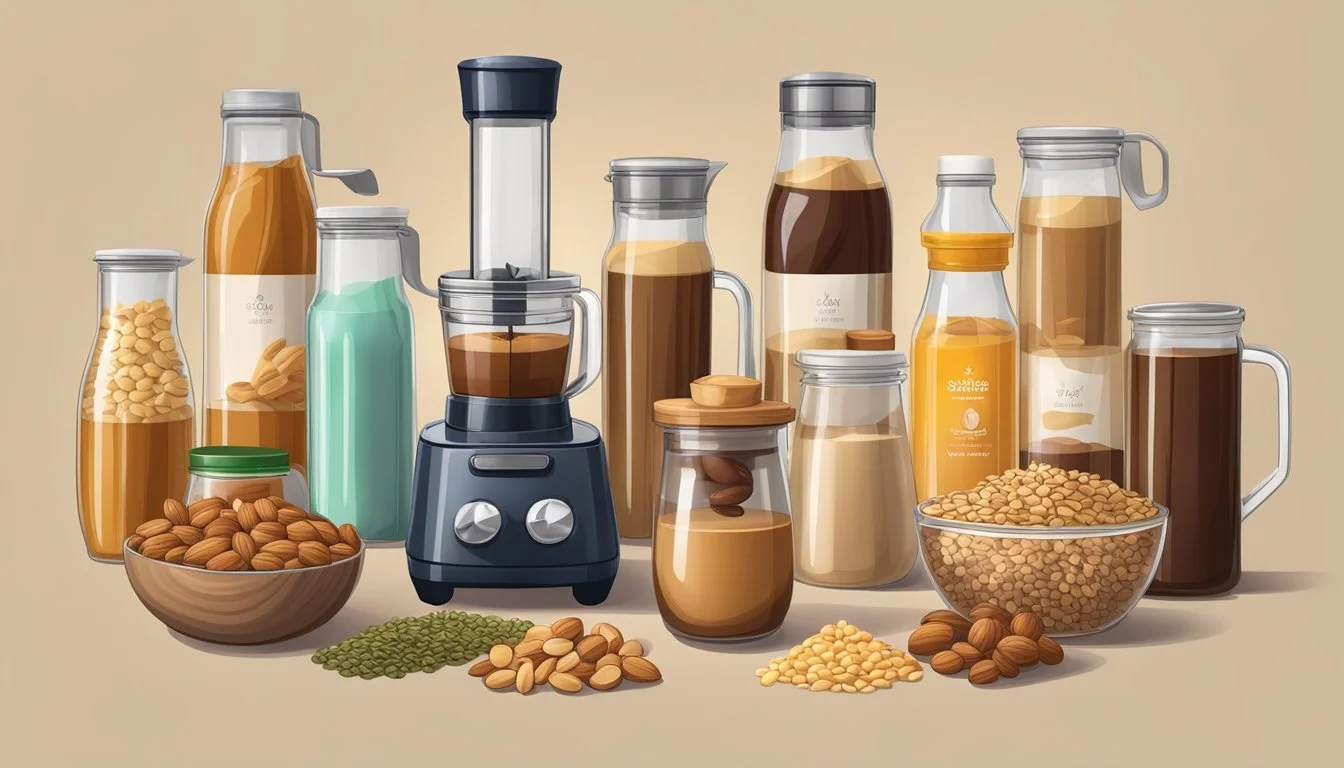
Common Types of Non-Dairy Milks
There is a wide array of non-dairy milks available, each with distinct flavors and properties:
Almond milk: Known for its light texture and nutty flavor.
Soy milk: Offers a creamy consistency and is rich in protein.
Coconut milk: High in fat, adding richness to dishes.
Oat milk: Has a naturally sweet taste and is high in fiber.
Rice milk: The most hypoallergenic of all non-dairy milks.
Hemp milk: Provides a strong source of omega-3 fatty acids.
Cashew milk: Its creaminess is ideal for smoothies and coffee.
These milks can be easily made using a high-speed blender such as a Vitamix, which can pulverize nuts and grains to a smooth consistency.
Applications and Uses
Non-dairy milks are incredibly versatile and can be used in various culinary applications:
Coffee: Add creaminess without dairy.
Smoothies: Provide a dairy-free base.
Baking: Replace dairy milk at a 1:1 ratio.
Their use extends beyond consumption, as they can also contribute to the creaminess of sauces and other dishes without the use of traditional dairy.
Choosing the Right Blender
To achieve the desired smoothness of non-dairy milks, it's critical to use an appropriate blender. Blenders vary in their capabilities:
High-speed blenders, such as a Vitamix, are powerful and can handle harder ingredients like nuts with ease.
Food processors may be used but tend to be less effective at achieving a silky texture.
For optimum results, a high-speed blender is recommended to ensure that nut milks are finely strained and free of grittiness.
Preparation Essentials
Creating homemade non-dairy milk involves selecting the right ingredients, understanding the soaking process, and mastering the blending techniques. These steps are vital for achieving the desired flavor and consistency.
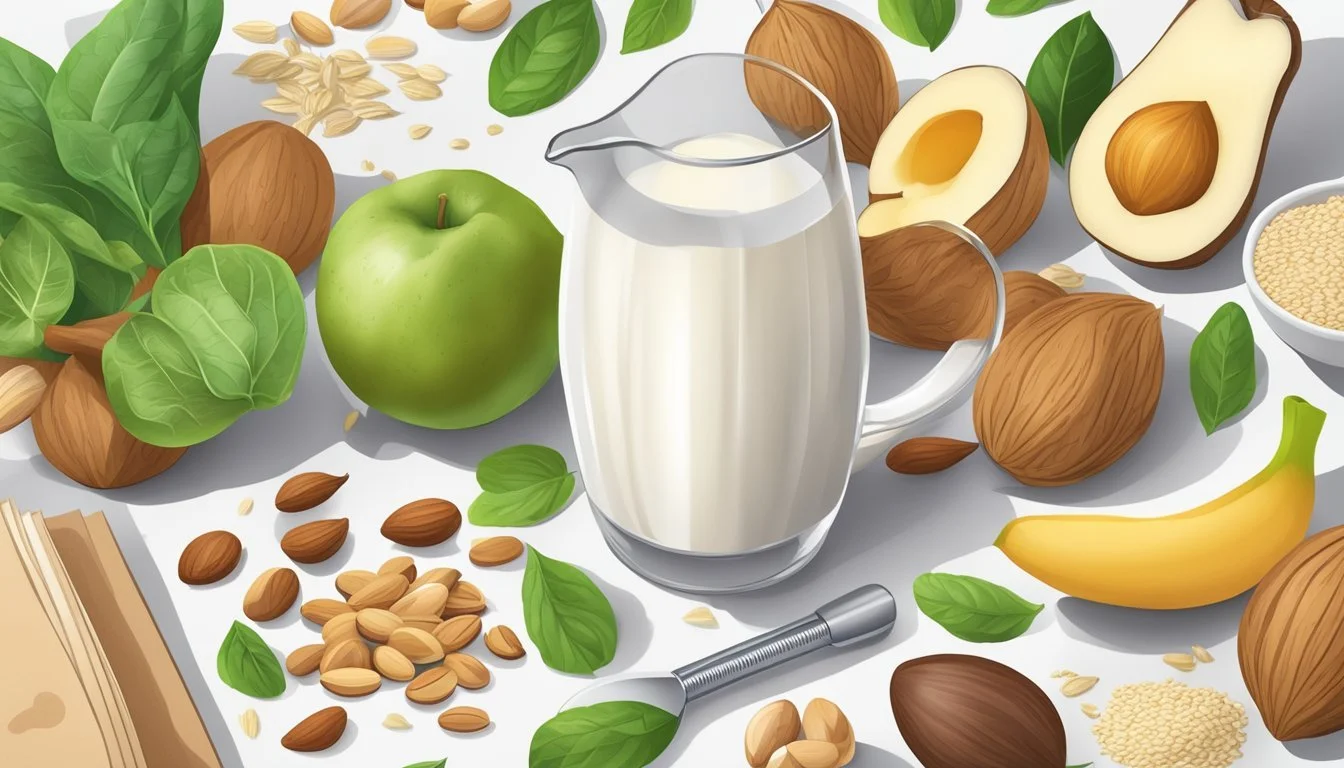
Ingredients Selection
For homemade non-dairy milk, a recipe typically includes nuts or other bases such as almonds, macadamia nuts, or oats. Add-ins like shredded coconut, dates, vanilla extract, cinnamon, and a pinch of salt can enhance the flavor. One should always use fresh and high-quality ingredients for the best results. For almond milk, one might use:
Almonds: Whole and raw.
Water: Preferably filtered to avoid impurities affecting the taste.
The Importance of Soaking
Soaking nuts like almonds or macadamia nuts overnight is crucial—it softens them, which improves consistency and makes them easier to blend. Soaking also helps in removing phytic acid, which can inhibit the absorption of minerals. The recommended soaking time for almonds is typically around 8-12 hours.
Blending Techniques
After soaking, drain and rinse the nuts before adding them to a high-speed blender with fresh, filtered water. Blend on high until the mixture is very smooth. The usual water to nut ratio for a creamy consistency is about 4 cups of water to 1 cup of soaked nuts. If a sweeter taste is desired, ingredients like dates or vanilla extract can be added during the blending process.
Flavoring and Sweetening
In the creation of non-dairy milks, flavoring and sweetening are key components to enhancing taste. The careful selection of ingredients for sweetness and flavor can transform a bland milk alternative into a delightful beverage.
Natural Sweeteners
Natural sweeteners offer a health-conscious means to enhance the sweetness of non-dairy milks without artificial additives. Two popular natural sweeteners include:
Maple Syrup: A versatile syrup that adds a rich, caramel-like sweetness to any non-dairy milk. For a subtle sweetness, one can start with a tablespoon and adjust according to taste.
Dates: These fruits impart a deep, caramel-like sweetness and also contribute to the milk's creaminess. Typically, a couple of pitted dates per quart of milk will suffice.
When adding sweeteners to non-dairy milk, it is best to blend them with the milk to ensure seamless incorporation.
Flavor Enhancements
Flavor enhancement in non-dairy milks can be achieved through a variety of natural additives. Some distinct flavoring agents include:
Vanilla Extract: A splash of vanilla extract can infuse mild yet aromatic flavors, making it a staple for most flavored milk recipes.
Cinnamon: Besides its health benefits, a dash of cinnamon can introduce a warm and comforting note.
Pinch of Salt: A small pinch of salt can significantly elevate the overall taste profile, making the flavors pop without overwhelming the palate.
By starting with these fundamental enhancements, one can then experiment with additional flavors to suit their preferences. It's important to introduce flavors conservatively and incrementally taste to prevent overpowering the non-dairy milk's natural essence.
Straining and Storing
Creating non-dairy milks involves a critical step of straining to achieve the desired consistency and to ensure a pleasant texture. Once strained, proper storage is key to maintaining the freshness of the milk, especially since homemade versions lack preservatives.
Using a Nut Milk Bag
After blending, one should pour the milk through a nut milk bag over a bowl to separate the pulp from the liquid. The milk's consistency can be controlled by the amount of pressure applied when squeezing the bag. To ensure a smooth texture, one might need to strain the milk more than once.
Storage Practices
The freshest non-dairy milk is stored in an airtight container in the refrigerator. One must transfer the strained milk to a container, seal it to prevent air exposure, and promptly refrigerate it. A glass jar with a screw-top lid is often recommended.
Shelf Life and Preservation
Without additives or preservatives, homemade non-dairy milk typically lasts 3-5 days in the refrigerator. Signs of spoilage include sour smell, off-taste, and separation, prompting one to discard the milk. It is best consumed within the first few days for optimal freshness.
Special Considerations
When crafting non-dairy milks in a blender, one must account for dietary needs and nutritional content.
Allergies and Dietary Restrictions
Non-dairy milks cater to various dietary restrictions, but careful selection of ingredients is paramount to avoid allergens. For those with nut allergies, options such as rice milk or oat milk are preferable. Individuals requiring gluten-free alternatives must ensure that oats are certified gluten-free to avoid cross-contamination. A paleo diet typically excludes grains and legumes, which makes almond milk and coconut milk suitable choices.
Enhancing Nutritional Value
While dairy-free milks are free from lactose, they may lack essential nutrients found in cow's milk, such as protein, calcium, and certain vitamins. To enhance nutritional value, one can fortify homemade nut milks by adding the following:
Protein: Add a scoop of dairy-free protein powder or use hemp seeds rich in protein.
Calcium: Include a fortified dairy-free milk base or mix in a calcium supplement.
Vitamin Enrichment: Blend in fruits or vegetables high in vitamins, or use vitamin drops for fortification.
For balanced nutrition, consumers should consider the macronutrient content of the base ingredients to align with their dietary needs.
Advanced Tips and Tricks
Crafting non-dairy milks in your blender can yield exceptional results with nuanced flavors and textures. Expanding one's repertoire with these advanced techniques can enhance both creaminess and taste, and optimize the blending process.
Creating Creamier Milks
To achieve ultra-creaminess in non-dairy milks, one can utilize a high-speed blender such as a Vitamix. The use of soaked nuts or oats provides a richer texture, and for an even silkier mouthfeel, adding a few dates can work wonders. In the case of coconut milk, blending fresh coconut meat rather than desiccated coconut will produce a thicker, more luxurious milk.
Flavor Experimentation
Diversifying the flavor profile of homemade milks creates exciting variations. Experimenting with cinnamon can transform simple rice milk into horchata, a traditional sweetened beverage. Enhancing almond milk with vanilla extract or a pinch of sea salt sharpens its flavor, making it ideal for both sweet and savory dishes. A food processor may be utilized for initial chopping of harder ingredients before transferring to a Vitamix blender for ultimate smoothness.
High-Efficiency Blending
Operating a blender at high speed for shorter durations can protect the integrity of ingredients and save time. To avoid heating and potentially altering the flavor of the milk, blend for 20-30 seconds and then pause to assess consistency. For those using a Vitamix, its powerful motor is specifically designed to handle tough ingredients quickly, reducing the need for prolonged operation.
By utilizing these refined techniques, one can tailor the creation of non-dairy milks to meet discerning tastes and textural preferences, ensuring every batch is as delightful as it is nutritious.
Non-Dairy Milks in Recipes
When incorporating non-dairy milks into recipes, one should consider the distinct characteristics of each type, such as flavor and consistency, to best complement the dish or beverage.
Baking with Non-Dairy Milks
For baking, the protein content in soy milk provides structure, making it ideal for cakes and breads where firmness is desired. Soy milk also contributes to a desirable browning effect akin to that achieved with dairy milk. When substituting, a 1:1 ratio with regular milk generally applies. However, other non-dairy milks like oat milk and almond milk can also be used, each bringing a unique taste and texture to baked goods.
Non-Dairy Milks in Hot Beverages
In hot beverages, such as coffee, oat milk stands out for its creamy consistency and its ability to foam, making it a favorite for lattes and cappuccinos. Almond milk offers a nutty flavor and is lighter, which can be preferable in teas or for those seeking a subtler taste. It's important to heat non-dairy milks gently to prevent separation or curdling.
Breakfast and Smoothies
For breakfast bowls and smoothies, non-dairy milks add flavor without the need for dairy. Almond milk is a popular choice for its calcium content and creamy texture. It's particularly delightful in fruity or green smoothies. For a richer, slightly sweet option, one might choose cashew milk. It's also easy to blend into a smooth consistency, eliminating the need for straining.
Additional Resources
For enthusiasts looking to expand their skills in creating non-dairy milks, a wealth of resources is available. The following subsections provide a variety of materials ranging from online tutorials to community discussions, offering indispensable insight into the art of homemade nut milk preparation.
Online Tutorials and Guides
A multitude of easy-to-follow online tutorials can be found on platforms like YouTube, where experts share step-by-step instructions on making various non-dairy milks. These tutorials provide both visual guidance and practical tips for creating rich and flavorful milks using nuts, oats, or other plant-based ingredients. For example:
Minimalist Baker Recipes offers a guide for making dairy-free milk with options such as almond and cashew.
The Blender Girl shares techniques for blending smooth and creamy plant-based milk at home.
Books and Print Guides
Dedicated books and print guides delve into the craft of non-dairy milk creation. These resources offer detailed recipes, nutritional information, and customization ideas to suit different tastes and dietary needs. They are a great investment for those who prefer a tangible source of information that can be revisited as needed. Key titles include:
DIY Nut Milks, Nut Butters & More by Melissa King
The Ultimate Guide to Milk Alternatives by Jane Milton
Communities and Forums
For personal experiences and support, communities and forums provide a shared space where individuals can engage with fellow non-dairy milk makers. On platforms such as Reddit or specialized food forums, users exchange recipes, troubleshoot issues, and offer encouragement. These communities are invaluable for:
Gaining insights from others' experiences.
Accessing a wide range of opinions on the best methods and ingredients for homemade non-dairy milks.
Conclusion
Homemade non-dairy milk offers a versatile and health-conscious alternative to traditional dairy. With a blender and a few simple ingredients, anyone can create a variety of dairy-free milks tailored to their flavor preferences and dietary needs. These milk alternatives are not only cost-effective but also customizable in sweetness and consistency, leading to an overall freshness that often surpasses store-bought varieties.
Nut-based Milks:
They, like almond or cashew milk, provide a creamy texture and are enriched with nutrients. Remember, most will require straining for a smoother consistency, except for cashew milk.
Grain and Seed-based Milks:
Options like oat or rice milk are excellent nut-free alternatives. They tend to be lighter and are suitable for those with nut allergies.
Coconut Milk:
Preparation is straightforward, often requiring only coconut and water, yielding a rich, tropical flavor suitable for both sweet and savory dishes.
A few tips to enhance the homemade non-dairy milk experience:
Soaking: Enhances the texture and blendability of nuts and seeds.
Sweeteners: Adjust sweeteners such as dates, honey, or maple syrup to your taste.
Straining: Use a nut milk bag for a smoother consistency, particularly with nut-based milks.
By equipping oneself with knowledge and a high-speed blender, one can easily integrate a variety of dairy-free milks into their culinary repertoire, contributing to a sustainable and lactose-free lifestyle.
