
Canning Chicken at Home
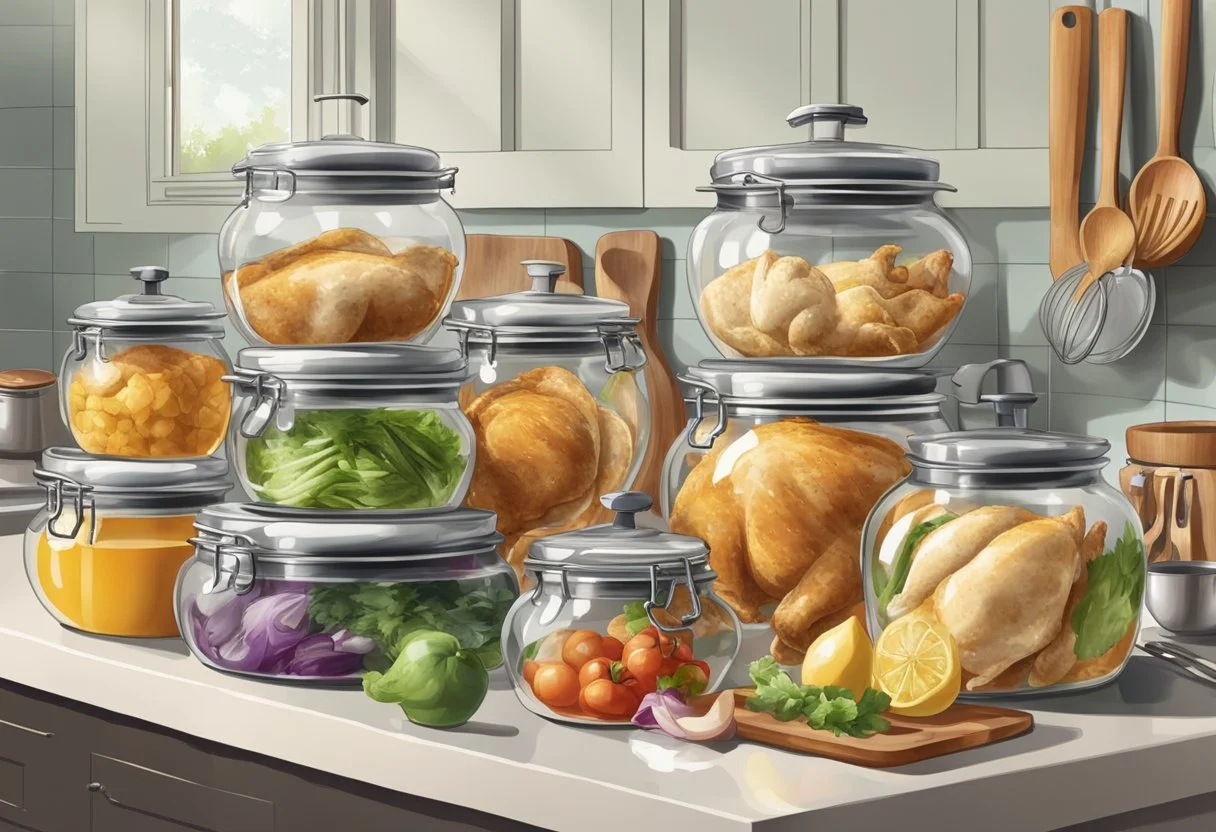
Canning chicken (how long does chicken last?) at home has become an increasingly popular method for preserving meat and stocking up the pantry. Not only does it offer a cost-effective and efficient way to store a surplus of chicken, but it also simplifies meal preparation by providing ready-to-use cooked chicken for many recipes such as tacos, pizza, pasta (how long does pasta last?), and more.
To ensure the hygienic canning of chicken, it is essential to follow tested home canning recipes and proper techniques. Pressure canning is the recommended method for canning chicken, as it subjects the chicken to the required high temperatures, ensuring the elimination of all harmful bacteria. For beginners, it is recommended to completely familiarize yourself with pressure canning guidelines before starting your own first batch.
When canning chicken, you can choose between bone-in or boneless cuts and whether to use the raw pack or hot pack chicken method. Your individual preferences of the canned chicken (how long does canned chicken last?) will play a significant role in making these decisions. Regardless of the chosen method, it is crucial to adhere to proper canning procedures to ensure good hygiene practices and the quality of the preserved chicken.
Preparations

Before you begin the process of canning chicken at home, there are a few important preparation steps to ensure the best results. These include choosing quality chicken, gathering the necessary canning supplies, and preparing the chicken to be canned.
Choosing Quality Chicken
Selecting high-quality chicken is essential for the successful process of how to can chicken. Look for raw chicken that is fresh, free of bruises or signs of spoilage and odor free. Ideally choose dressed fresh chicken since it has already been cleaned and prepared for cooking. A whole chicken or larger chicken pieces can be used in the pressure canning chicken process, but remember that the size of the pieces will affect the final product and the physical amount of chicken that will fit into the canning jars.
Gathering Canning Supplies
How to can chicken at home, you will need the following canning supplies and equipment:
Pressure canner
Canning jars (quart or pint-sized, depending on your preference)
Lids and bands for jars
Jar lifter
Funnel
Bubble remover or non-metallic spatula
Ensure all of your supplies are clean and in good condition before beginning canning chicken.
Preparing Chicken
Once you have selected your raw chicken, follow these steps to prepare the chicken:
Remove any excess fat and skin from the raw chicken, as fat, in particular, can interfere with the canning process.
If using a whole chicken, cut it into smaller pieces, like chicken thighs (What wine goes well with chicken thighs?) or chicken legs. This will make it easier to fit the meat into canning jars.
Rinse the chicken legs and thighs under cold water and pat them dry with paper towels.
After completing these preparation steps, you will be ready to proceed with the pressure canning chicken process to create home-canned chicken that is both safe and full of flavor.
Packing Methods
Raw Pack Method
For canning chicken, the raw pack chicken method involves packing raw chicken meat into jars without any pre-cooking. First, cut the raw pack chicken into desired sizes – you may leave the bones in or remove them according to your preference. The raw pack method relies on the heat of the pressure canner to thoroughly cook the raw pack chicken. Cooked chicken meat with the bone in will be more juicy and tender than chicken meat without bones. Lightly season the raw pack meat with salt and pepper to taste. Tightly pack raw chicken pieces into clean pint jars or quart jars, leaving about 1-inch headspace at the top.
After the raw chicken is in place with the raw pack method, use a bubble remover or a clean spatula, to work free any trapped air bubbles by running it around the inside edges of the jar. This step is crucial in ensuring that the raw pack meat is preserved safely. Afterward, carefully wipe the jar rims with a clean cloth to remove any residue. Place the lids onto the pint jars or quart jars, and then process them in a pressure canner.
Hot Pack Method
The hot pack method requires you to partly pre-cook the chicken before packing it into jars. Boil the chicken pieces until they are partially cooked. Remove the chicken from the water, reserving the liquid for later use. Some recipes suggest frying the boneless chicken lightly for the hot pack method to create extra flavor through browning. If desired, you can debone the cooked chicken or leave the bones intact or alternatively use boneless chicken or chicken breast (What wine goes well with chicken breast?).
Next, hot pack the chicken pieces into pint jars or quart jars, leaving approximately 1-inch headspace. Pour the reserved hot chicken broth (how long does chicken broth last?) over the chicken pieces, maintaining the 1-inch headspace. At this point, you may add salt or other seasonings to taste.
As with the raw pack method, use a bubble remover or a spatula around the canning meat to release any trapped air bubbles. Be sure to clean the jar rims with a cloth before placing the lids and processing them in a pressure canner.
Both the raw pack or hot pack methods have advantages but both are suitable for canning chicken at home. Choose the method that best fits your personal preferences and intended use of the canned chicken.
Filling and Sealing Jars
Adding Salt and Water
Prepare the brine by dissolving salt in water. You can use plain water or opt for chicken broth for added flavor. Add 1 teaspoon of salt per quart-sized jar or 1/2 teaspoon per pint-sized jar. Then, heat the water or broth until it reaches a boiling point to use as hot broth later in the process.
Removing Air Bubbles
Once the jars are filled with chicken, it's essential to remove air bubbles. This process ensures an accurate headspace and a proper seal. To fill the jars, follow these steps:
Place a clean canning funnel on a jar.
Pack chicken pieces into the hot jars, leaving around 1 4 inch headspace at the top.
Pour hot chicken broth over the canning meat, still preserving the 1 4 inch headspace.
To remove air bubbles, run a bubble remover or a non-metallic utensil like a plastic knife along the jar's sides. This action releases trapped air, ensuring proper preservation.
Sealing Jars
After removing air bubbles, it's time to seal the jars properly with canning lids. This process involves placing canning lids and rings on the jars to create an airtight environment. Follow these steps:
Wipe the rim of each jar with a damp cloth to clean any residue.
Use a magnetic lid lifter to place a lid on top of each jar, ensuring that they're properly centered.
Position a canning ring on each jar and tighten the rings just enough to hold the lid in place without applying extreme force.
Once the jars are sealed, they're ready for the pressure canning process. By following these steps and maintaining the appropriate 1 4 inch headspace, you can ensure safe and successful canning of chicken at home.
Processing

Using a Pressure Canner
When canning chicken at home, it is essential to use a pressure canner for safe and proper processing. Pressure canning ensures that the chicken reaches a high enough temperature to kill harmful bacteria and creates a vacuum seal on the jars. There are two types of machine for pressure canning: dial-gauge and weighted-gauge pressure canners.
Dial-gauge pressure canners have a gauge that constantly indicates the pressure inside the pressure canner, allowing you to monitor and adjust the heat accordingly. A weighted-gauge pressure canner uses a weight on the vent port to maintain the pressure inside the pressure cooker. The weight will either jiggle or emit a hissing sound when the pressure inside reaches the desired level.
Before starting, inspect the canner and gasket for any damages, clean the vent pipe, and make sure the safety valve is functioning properly. After preparing the raw or hot pack chicken and filling the pint jars or quart jars, place them in the pressure canner with a rack to prevent direct contact between the jars and the base of the canner. Add water according to the manufacturer's instructions, usually 2-3 inches.
Determining Processing Times
Working out the processing times for how to can chicken will vary depending on the type of canner used, whether you're using pint jars or a quart jar, and whether you're canning chicken breast, boneless chicken thighs or bone in chicken. Here are some general guidelines for processing times:
Boneless fresh chicken
Pints: 75 minutes
Quarts: 90 minutes
Bone in Fresh Chicken
Pints: 65 minutes
Quarts: 75 minutes
For dial-gauge pressure canners, consult the specific manufacturer's instructions to determine the appropriate processing times and PSI for your altitude. For weighted-gauge pressure canners, the processing pressure is typically 10 PSI for altitudes of 1,000 feet or lower, and 15 PSI for altitudes above 1,000 feet.
Following the appropriate processing times and pressure is crucial for ensuring the safety and quality of your canned chicken. Once the processing is complete, turn off the heat and let the pressure canner cool down naturally before opening it. Remove the jars carefully using a jar lifter, and allow them to cool and seal for 12-24 hours before checking the seals and storing the canned chicken.
Storage
Cooling and Storing Jars
After the pressure canning process is complete, carefully remove the jars from the canner using a jar lifter and place them on a clean towel or cooling rack. Make sure to keep some space between each jar to allow for proper air circulation. Let the jars cool down for at least 12-24 hours at room temperature. During this time, the cooling process will create a vacuum, which helps to form a proper seal.
While the jars are cooling, it is important to avoid tightening the rings or pressing on the lids, as this could interfere with the sealing process. Once the jars have cooled, it's time to check the seals and store them properly.
Checking Seals
To ensure the food remains safe and well-preserved, checking the seals on the jars is a crucial step. First, remove the rings from the jars carefully. Next, press down on the center of each lid with your finger. If the lid does not flex or pop back up, then the seal is secure. You can also test the seal by lifting the jar by the edge of the lid. If the lid holds securely, then the seal is good.
For any jars with unsuccessful seals, refrigerate the contents and consume them within a few days. It is not safe to store these jars on the pantry shelf.
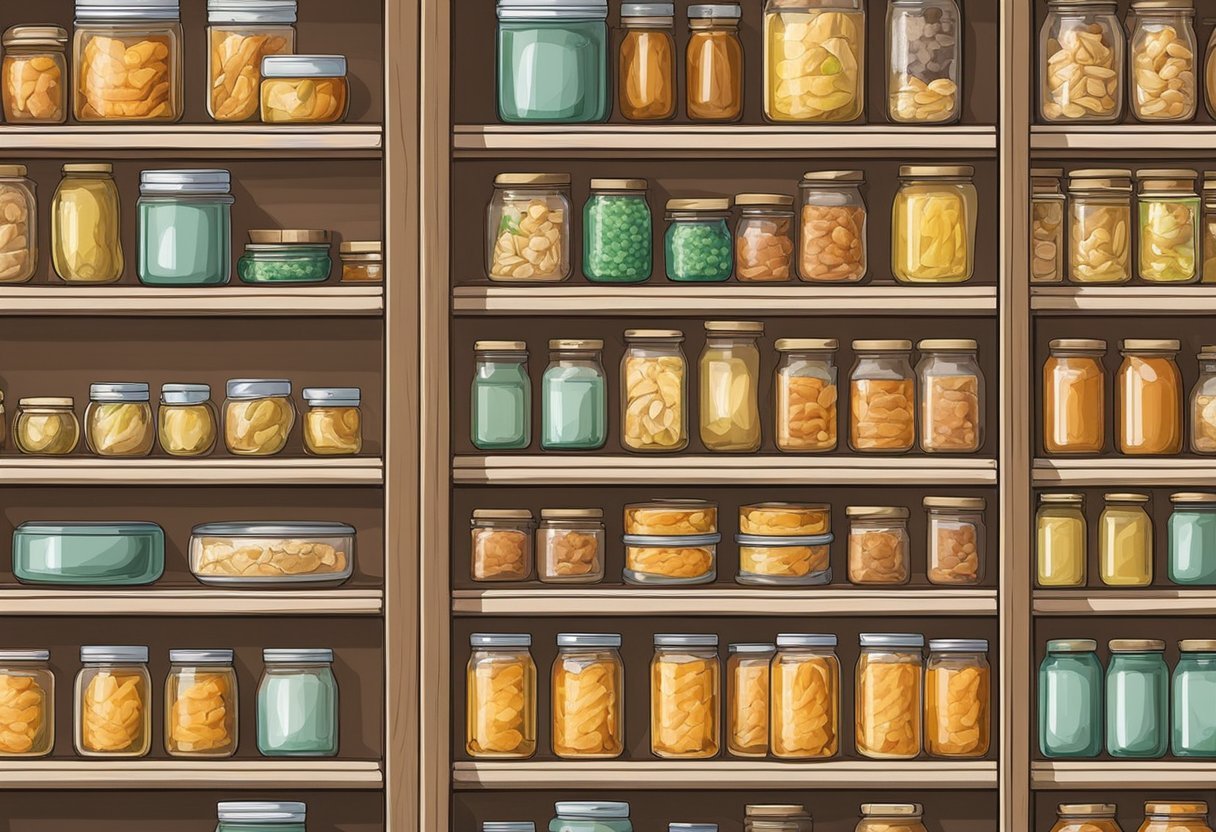
Once you have verified the seals, wipe down the jars and label them with the contents and the date they were canned. Properly sealed jars can be stored in a cool, dark, and dry pantry or cupboard, away from heat or direct sunlight. Store canned chicken on a pantry shelf, as it keeps them organized and frees up valuable freezer space. The recommended storage temperature is between 50-70°F (10-21°C). With proper storage conditions, canned chicken can last for up to 3 years.
Remember, always use clean equipment, fresh lids, and ensure proper sealing to achieve the best results when canning chicken at home. By following these guidelines and taking necessary precautions, you'll enjoy a well-stocked pantry and the satisfaction of preserving food safely for your family.
Use of Home-Canned Chicken
Recipe Suggestions
Home-canned chicken is a versatile ingredient that can be used in various recipes. Here are a few recipe suggestions:
Tacos: Use the canned chicken as a filling, and combine it with your favorite taco ingredients, such as lettuce, cheese, and salsa.
Casserole: Combine the chicken with pasta, vegetables, and a creamy sauce to create a delicious casserole.
Enchiladas: Shred the chicken and mix with cheese, then wrap it in tortillas, and top with enchilada sauce and more cheese before baking.
Homemade soup: Incorporate the chicken into a homemade soup, along with vegetables, noodles, or rice.
In addition to these recipes, you may experiment with other dishes using home-canned chicken.
Chicken for Various Dishes
When using canned chicken for various dishes, consider some factors to enhance the flavor and texture of your recipes:
Shredded chicken: For recipes like tacos, enchiladas, or casseroles (What wine goes well with casseroles?), it's best to shred the chicken after removing it from the jar. Shredded chicken absorbs flavors better and blends well with other ingredients.
Juices: When canning chicken, it's important to preserve the juices within the jar. These juices impart a rich flavor to dishes, so use them along with the chicken for soups, casseroles, or sauces.
Bones in or bones out: Canned chicken can be prepared with or without bones. Boneless chicken is suitable for dishes where a clean and easy-to-eat presentation is desired. On the other hand, if you prefer juicier and more tender chicken, opt for canning chicken with bones.
In conclusion, home-canned chicken can be a handy and versatile ingredient in various dishes. By using it wisely, you can save time and effort in meal preparation, while still enjoying delicious meals.
Safety Considerations

Dealing with Spoilage
Canning chicken at home requires careful attention to safety. Chicken is a low-acid food, which means it's more susceptible to spoilage. Properly canning chicken can destroy microorganisms that cause food spoilage, allowing the chicken to safely last for about 2 years.
Low-acid food: Chicken, like other meats, is a low-acid food. This makes it necessary to use a pressure canner, as a regular boiling-water canner will not reach a high enough temperature to safely preserve the chicken.
Salt: While not necessary for preservation, adding salt to the canning process can enhance the flavor of the chicken. Be cautious with the amount of salt used, as it can also affect the texture of the chicken.
Water: Make sure to use clean, sterilized water when canning chicken. Water quality is important, as impurities in water can affect the taste and safety of the chicken.
Canning Safety Measures
When canning chicken at home, follow these safety measures to ensure a safe and successful canning process:
Use a pressure canner: The use of a pressure canner is essential for safely preserving low-acid foods like chicken. This type of canner reaches higher temperatures than a boiling-water canner, effectively killing spoilage microorganisms. If you're unsure about using a pressure canner, seek a tutorial or guidance from reliable sources.
Avoid air pockets: Ensure all air pockets are removed from the jar before sealing. Gently tap the jars on the counter, use a non-metallic utensil to release trapped air, and follow proper canning guidelines for adequate headspace.
Sterilize jars and utensils: Clean and sterilize all jars, lids, and utensils before use. This helps reduce the risk of bacterial contamination during the canning process.
FAQ
What is the shelf life of canned chicken? When properly canned and stored, canned chicken can last for about 2 years.
Is it safe to use a water bath canner for chicken? No, it is not safe to use a water bath canner for chicken. The low acidity of chicken requires a pressure canner to reach the necessary temperatures to effectively kill any harmful microorganisms.
By following these safety considerations, you can confidently can chicken at home, ensuring a delicious and safely preserved food source for your pantry.
Frequently Asked Questions
Can Other Poultry Be Canned?
Yes, canning other poultry like duck, turkey, and rabbit is possible in a similar fashion as canning chicken. The process for each of these meats is quite similar, involving the creation of a brine or liquid, placing them in canning jars, and processing them in a pressure canner. It is essential to ensure that the proper processing time, pressure, and jar size are followed for the specific type of poultry. Note that additional safety measures may be needed for fatty birds like ducks, as excessive fat can interfere with the sealing process.
How to Deal with Power Outage?
A power outage during canning can cause some concerns, especially if the pressure canner is in use. Here are some tips to deal with a power outage during the canning process:
Do not open the canner or remove jars: Keep the canner closed to maintain the internal pressure and heat as long as possible. Removing jars during a power outage may lead to underprocessing and unsafe food.
Wait for the pressure to drop naturally: Allow the canner to cool down, and let the pressure decrease naturally. This may take longer than usual due to the sudden loss of heat.
Resume canning if power returns within 20 minutes: If the power comes back on within 20 minutes, you may continue the process, making sure the pressure and temperature return to the appropriate levels.
If power is out for more than 20 minutes: In this case, the food may be underprocessed. Ideally, you should remove the jars from the canner when it is safe to do so, refrigerate them, and reprocess them within 24 hours. This ensures the highest safety and quality.
Remember that canning is a precise method of food preservation, and following steps and guidelines carefully ensures a tasty, safe, and long-lasting product.
