Canning Fish at Home
Canning fish (What wine goes well with fish?) at home is a practical and efficient method to preserve freshly caught fish for long-term use. With a pressure canner and some essential supplies, it's possible to have a stockpile of delicious canned fish for periods of time when fresh fish is not readily available. The process of pressure canning fish not only provides a way to store fish without using a freezer or a power supply, but it also imparts a unique, rich flavor to the canned fish that enhances the taste of any dish.
Many varieties of fish are suitable for pressure canning at home, including salmon, trout, mackerel, blue herring, and other fatty fish. The key to success in pressure canning fish is selecting high-quality, fresh fish and following proper preparation and canning techniques to maintain food safety and flavor. Cleaning, gutting, and deboning the fish are essential steps to optimize the quality of the final product.
Using a pressure canner is the recommended method for canning most fish due to the low acid content of most fish. This process involves heating the jars of fish in a high-pressure environment, ensuring the destruction of any harmful bacteria, spores, or enzymes, and providing a safe, shelf-stable product that can be enjoyed for months or even years to come.
Selection and Preparation of Fish
When canning fish at home, it's crucial to select the freshest and best quality fish available. Suitable fish for canning include a variety of fatty fish, although certain freshwater fish like bass, walleye, perch, and panfish are also great options.
While selecting fish, look for clear eyes, firm flesh, and a fresh smell. Avoid fish with a strong odor, slimy texture or dull gills. Seek out fish that have been kept chilled or on ice right up until you take them home, as this will help maintain freshness.
You can now begin the preparation process begins:
Cleaning: Remove all scales by scraping with a fish scaler or the back of a knife. Rinse well.
Removing the head: Cut the head off just behind the gills. This step is optional if using smaller fish such as trout or panfish, which can be canned whole.
Eviscerate: Make a shallow incision along the belly, starting from the head and proceeding towards the tail. Carefully remove all the guts and rinse the fish well.
Trimming fins: Cut off the fins and tail using a pair of scissors.
Splitting and skinning (optional): You might want to remove the skin for fish with thick skin, like tuna (What wine goes well with tuna?) or rockfish. Place a sharp knife at a slight angle between the skin and flesh, and gently slide the blade along the skin, separating the flesh away. It's also helpful for some fish to split the fish lengthwise down the middle, then remove the backbone and any remaining smaller bones.
Rinsing: Thoroughly rinse the fish inside and out under cold water. Make sure to remove any remaining blood, scales, or traces of organs.
Canning Supplies and Equipment
When canning fish at home, it is essential to have the proper supplies and equipment to ensure good food safety and product quality. This section will cover the necessary tools and supplies for canning.
To start with, you'll need a pressure canner, which operates on the same principal as a pressure cooker. Pressure canners are specifically designed for preserving low-acid foods, such as fish, by reaching high temperatures and pressures, just like a pressure cooker, that kill bacteria and other harmful microorganisms. Two types of pressure canners are available: dial-gauge pressure canner and weighted gauge pressure canner. Dial-gauge pressure canners measure pressure with a dial, while weighted-gauge canners use a weight to regulate pressure. Both types are effective, but weighted gauge pressure canners are generally considered more reliable as they're less affected by altitude changes.
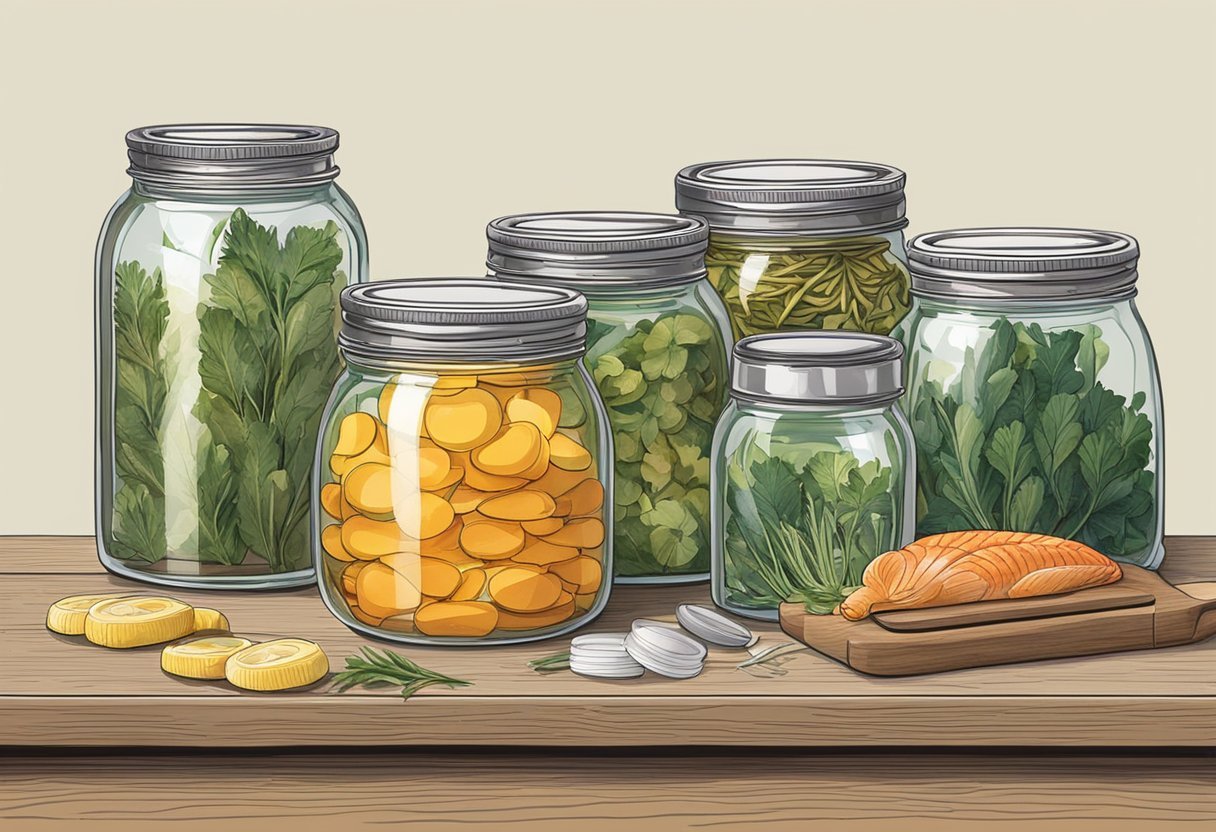
In addition to a pressure canner, you'll need canning jars of appropriate sizes. Fish can be canned in half pint and pint jars, depending on your preference. Choosing jars specifically designed for canning is essential to avoid breakages or seal failures during cooking. Make sure you have enough lids and rings for all jars as well.
Here's a list of additional canning supplies you may need:
Jar lifter: To safely lift hot jars from the canner after cooking
Bubble remover: To remove air bubbles from jars before sealing them
Funnel: To pour fish and cooking liquid into jars without spillage
Kitchen scale: To measure the accurate amount of fish per jar
Clean cloths or paper towels: To wipe jar rims before sealing
Before starting the canning process, cleaning and sterilizing the jars, lids, and rings following the manufacturer's instructions is crucial. This step ensures no contaminants are introduced during canning and helps achieve a strong seal on the jar.
Canning Method and Processing
When canning meat or fish at home, it is essential to use a pressure canner to ensure safe food preservation. Pressure canning is the only recommended method for canning low-acid foods like fish, as it reaches high temperatures required to kill bacteria and ensure safety.
To begin, carefully clean and prepare the fresh fish, removing any scales bones and trimming excess fat. Once the fish is prepared, you can pack it into half pints or pint jars with the skin against the glass. Be sure to leave a 1-inch headspace at the top of each of the half pints for proper sealing.
When packing fish, you may choose to add additional flavors, such as a mild vinegar or a mixture of canning salt and water to create a brine solution. This step is optional and depends on personal taste preferences.
It is crucial to adjust the pressure and processing time for your specific altitude to ensure safety. Here's a brief guideline for adjusting the pressure according to altitude:
For processing time, a general recommendation is to process fish for 100 minutes in pint jars. However, always refer to a reputable source like the National Center for Home Food Preservation for specific processing times based on the type of fish, jar size, and altitude.
Safety Measures and Concerns
When canning fish at home, it is important to be aware of potential risks and take the necessary precautions to ensure food safety. One of the primary concerns when preserving fish is the risk of botulism, a rare but serious illness caused by the Clostridium botulinum bacteria. This toxin can develop in low-oxygen environments, such as those found in improperly canned foods. To minimize the risk of botulism and other foodborne illnesses, follow these safety measures recommended by the National Center for Home Food Preservation and the USDA.
Use proper canning techniques: Employ safe canning practices as outlined in the USDA Complete Guide to Home Canning. Adhering to the instructions in this guide is crucial for avoiding contamination.
Choose top-quality fresh seafood: Select fresh fish and preserve it as soon as possible after catching or buying it. The longer you wait, the poorer the quality will be. Keep fish and shellfish (What wine goes well with shellfish?) cold, on ice or in your refrigerator, to prevent spoilage.
Clean your catch: Handling your catch of the day begins with cleaning and icing or freezing the fish as soon as possible. Make sure the fish is stored at 40°F to maintain its freshness.
Handle raw seafood carefully: Raw seafood may contain microorganisms that cause food poisoning. Be cautious when handling it and always clean your hands, utensils, and work surfaces thoroughly before and after handling raw fish.
Use tested recipes: Only use recipes and cookbooks that follow the steps in the USDA guide. Do not use other recipes, even if they come from trusted friends or family members.
Monitor processing time and pressure: Follow the recommended processing times and pressures for the specific type of fish you are canning. This will eliminate dangerous bacteria and ensure the safety of your canned fish.
Post-Canning Procedures and Storage
After the canning process is complete, it is crucial to follow proper post-canning procedures and storage for home-canned fish. This ensures the utmost safety and quality of the canned fish, whether it's canned tuna (how long does canned tuna last?), salmon, or any other seafood product.
Once the canning process is finished, carefully remove the jars from the canner using a jar lifter. Place them on a towel or a wooden surface to cool down and prevent sudden temperature changes that could break the jars. Allow the jars to cool for 12 to 24 hours before handling them further.
As the jars cool, the lids should be drawn downward, creating a vacuum seal. After the jars have cooled completely, inspect the lids for a proper seal. A well-sealed lid will appear concave and not move when pressed with a finger. If a lid isn't properly sealed, you can either reprocess the jar within 24 hours or refrigerate it and consume the contents within a few days.
Before storing, it is essential to wash the jars to remove any residue that may have been released during the canning process. Gently wash the jars with warm, soapy water and dry them thoroughly. To make it easier to identify the contents, label each jar with the type of fish and the canning date.
Store the home-canned fish in a cool, dark, and dry place to maintain its quality and increase shelf life. Ideal storage conditions are between 50°F and 70°F (10°C and 21°C) with a relative humidity of around 60%.
Using Canned Fish
Canning fish is a popular method of preserving and storing this valuable source of protein. When properly canned, fish can be stored for an extended period without refrigeration. They can be incorporated into a variety of dishes, adding both flavor and nutritional value. Let's explore some common ways to use canned fish in your everyday meals.
Sandwiches: Canned fish, such as salmon or tuna, works well as a sandwich filling. It can be mixed with mayonnaise, chopped celery, and seasonings to create a delicious and nutritious sandwich spread. Alternatively, you can try using canned fish with avocado, lettuce, and tomato for a healthy and satisfying meal.
Salads: Canned fish is an excellent addition to various salads. For instance, a traditional Niçoise salad can be prepared using canned tuna, boiled potatoes, green beans, tomatoes, and olives. Another option is adding canned fish to a simple green salad with a light, lemon-based dressing that complements the flavor of the fish.
Pasta dishes: Enhance your pasta dishes with the incorporation of canned fish. It can be combined with a light tomato sauce, olives, capers, (What wine goes well with capers?) and garlic for a Mediterranean-style meal. Moreover, canned fish can easily be mixed with a creamy Alfredo sauce or added to a pasta salad with fresh vegetables.
Casseroles and pies: Canned fish serves as a convenient and flavorful base for a variety of casseroles and pies. Combine fish with vegetables, rice, or potatoes bound with a creamy sauce, and top with breadcrumbs or pastry for a comforting, satisfying dish.
When using canned fish, it is important to drain and rinse it before consumption to reduce the overall sodium content. Additionally, opt for fish that is canned in water or olive oil, as opposed to those packed in heavy sauces.
Remember, canned fish is not only a convenient and versatile ingredient but also an excellent source of omega-3 fatty acids, protein, and essential nutrients.
Alternatives to Canning
While canning is a popular method for preserving fish, there are several effective alternatives, each with their own set of benefits. These methods can be utilized depending on the type of fish, personal preference, and availability of resources.
Freezing: As a simple and widely-used preservation method, freezing maintains the flavor and texture of fish well. To ensure the best results, it's important to wrap and store the fish properly. Vacuum-seal or tightly wrap the fish in plastic wrap, followed by aluminum foil. Label and store it in a freezer set at 0°F or below. For optimal quality, consume frozen fish within 3 to 6 months.
Drying: Drying fish is an ancient preservation technique that reduces moisture content, inhibiting bacterial growth. Fish can be air-dried, sun-dried, or dehydrated in an electric food dehydrator. The drying process may take days or weeks, depending on the method and environmental conditions. It's crucial to store dried fish in a cool, dry place in an airtight container.
Air-drying: Hang fish strips in a well-ventilated area, protected from insects and direct sunlight.
Sun-drying: Place fish on clean racks or screens, cover with a cheesecloth, and expose to direct sunlight.
Dehydrator: Follow the manufacturer's instructions for fish dehydration.
Smoking: Smoking involves exposing fish to smoke from burning wood, which not only preserves it, but also imparts a rich and smoky flavor. There are two main methods: hot smoking and cold smoking. Hot smoking requires a temperature range of 150-200°F, while cold smoking is done at temperatures below 85°F. Both methods require a smoker or a smokehouse to properly smoke fish, and the process can take from a few hours to several days.
Pickling: Pickling fish involves immersing it in a solution of vinegar, salt, spices, and sometimes sugar. The acidic environment created by the vinegar prevents bacterial growth, preserving the fish. Pickling takes time, with most recipes calling for a refrigeration period of at least a few days before consumption. Once pickled, fish should be stored in a refrigerator in a non-reactive, airtight container.
By providing various flavors and textures, these alternative preservation methods cater to different preferences and situations.


