
Mastering the Art of Homemade Chicken Jerky
Your Step-by-Step Tutorial

Mastering the art of homemade chicken jerky means walking the line between science and culinary creativity. This complete guide is designed for individuals seeking to perfect their craft in making this protein-rich snack from the comfort of their own kitchen. With an emphasis on food safety and flavor maximization, homemade chicken jerky presents a delicious opportunity to preserve chicken in a form that's both convenient and satisfyingly chewy.
To begin, the process demands attentiveness to slicing the chicken properly and ensuring even dehydration. Marinating the chicken plays a pivotal role in developing deep, robust flavors and tenderizing the meat before it undergoes the drying process. Each step, from the initial preparation of the meat to the final dehydration, reinforces the importance of precision and patience.
A versatile recipe allows cooks to tailor their jerky to personal taste preferences, incorporating various marinades and post-dehydration heat treatments to guarantee not only a delectable result but also food safety. As culinary enthusiasts explore the nuances of creating homemade chicken jerky, they embark on a journey that hones their skills and expands their repertoire of homemade delights.
Choosing the Right Chicken

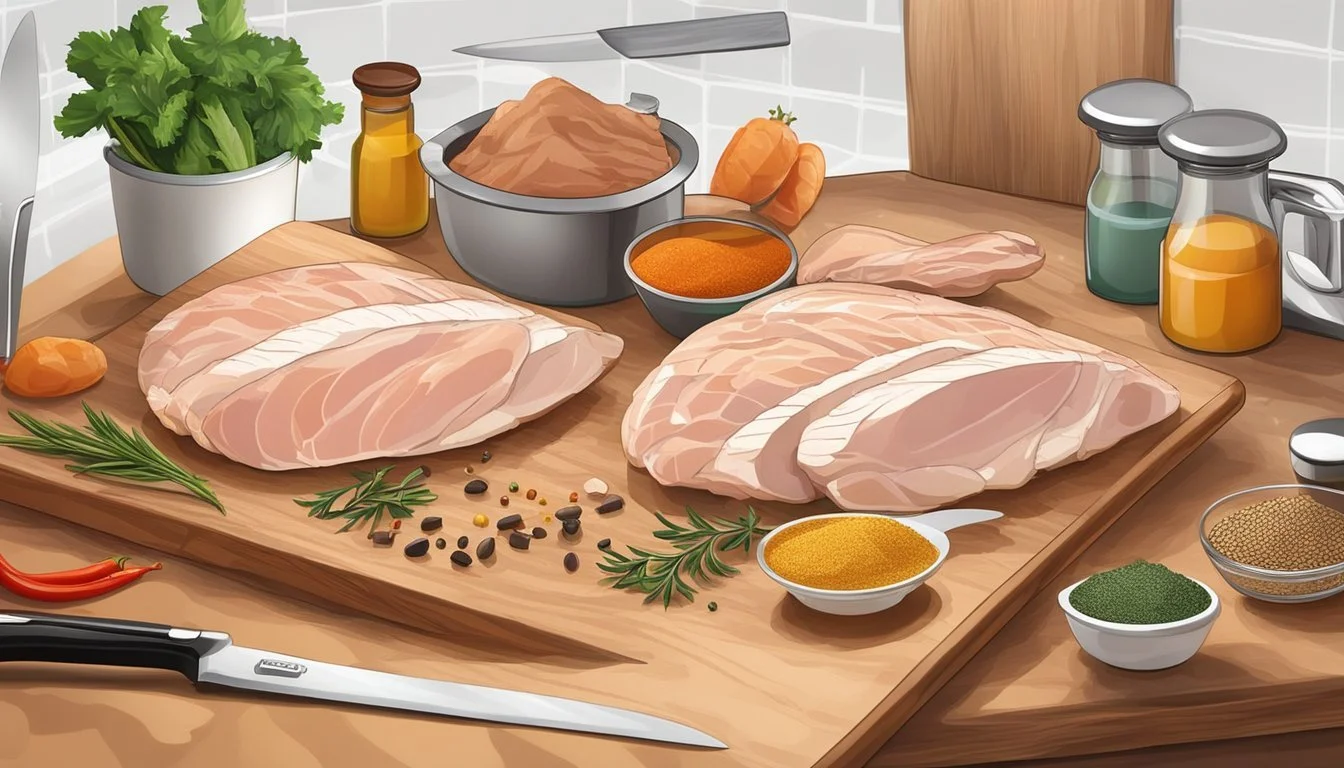
The foundation of delicious homemade chicken jerky lies in selecting the optimal cut of chicken and preparing it with precision for even slicing.
Selecting Quality Chicken
One should opt for boneless and skinless chicken breasts as they are lean and consistent in texture. It's crucial to pick fresh chicken for both taste and safety; fresher meat ensures a better-quality jerky. They should look for chicken that's moist and has a soft pink hue, indicating freshness. If one prefers more flavor and is willing to carefully handle additional fat, chicken thighs can also be considered.
Preparation for Slicing
To prepare the chicken for slicing, one must first remove all visible fat, as fat does not dehydrate well and can cause the jerky to spoil faster. The chicken should then be partially frozen, which typically takes about one to two hours. This makes the meat firmer, facilitating easier slicing.
Slicing Techniques
Utilizing a sharp knife and a stable cutting board, one can begin slicing the chicken. They should aim for a consistent thickness of about 1/4 inch to ensure even dehydration. Slicing the chicken against the grain will result in a jerky that is easier to chew. If one desires a tougher jerky, they can slice along the grain of the meat.
Creating the Marinade

When preparing homemade chicken jerky, the marinade is where flavors are built and personalized. A well-crafted marinade not only tenderizes but also infuses the chicken with a depth of flavor that enhances the final product.
Balancing Flavors
A flavorful marinade achieves a balance between savory, sweet, spicy, and tangy elements. Soy sauce or low-sodium alternatives provide a savory base, while honey or maple syrup can introduce sweetness. For heat, black pepper and chili garlic sauce give a distinctive kick. Apple cider vinegar or a hint of citrus can add the necessary tang to round out the flavor profile.
Savory: Soy sauce, Worcestershire sauce
Sweet: Honey, maple syrup
Spicy: Black pepper, chili garlic sauce, optional red pepper flakes
Tangy: Apple cider vinegar
Including Homemade Touches
Homemade touches can elevate the marinade from standard to exceptional. Garlic and onion powders lay a foundational aroma, while fresh minced garlic and ginger offer a zesty, fresh contrast. Experimenting with homemade spice blends can lend a unique twist to each batch of jerky.
Aromatics: Garlic powder, onion powder, minced garlic, ginger
Homemade Spice Blends: Custom combinations of dried herbs and spices
Marinading Process
The key to marinating lies in ensuring that the chicken is thoroughly coated and given proper time to absorb the flavors. Place the chicken strips in a ziplock bag, pour in the marinade, and seal, making sure to expel excess air. A thorough mix ensures every piece is evenly seasoned. The chicken should then rest in the refrigerator, marinating for a minimum of two hours to allow the flavors to penetrate deeply.
Marinating Time: At least 2 hours
Storage: Refrigerator
Container: Ziplock bag
Dehydrating the Jerky
Proper dehydration is crucial for creating safe and flavorful chicken jerky. The process involves removing moisture at controlled temperature settings to prevent bacterial growth, while also ensuring the jerky reaches the necessary internal temperature for safe consumption.
Setting Up Your Dehydrator
To begin dehydrating, one must first preheat the dehydrator to 160 degrees F. This temperature is optimal to ensure the safety and proper drying of the chicken. Arrange the marinated chicken strips on the dehydrator trays, ensuring they do not overlap, to promote even airflow and dehydration. The chicken should be sliced to a uniform thickness, preferably 1/8 to 1/4 inch, for consistent drying.
Using the Oven as an Alternative
If a dehydrator is not available, an oven can serve as an alternative. Set the oven to the lowest temperature setting, ideally around 200 degrees F, and use a wire rack placed over a baking sheet lined with parchment paper to mimic the dehydration environment. The low temperature and air circulation around the chicken are key to dehydrating effectively in an oven.
Understanding the Dehydration Process
The dehydration must run until the jerky reaches a minimum internal temperature of 165°F, indicating it is fully cooked and dry. The process typically takes between 5 to 8 hours but can vary depending on the slice thickness and the dehydrator's performance. It's essential to check the jerky for doneness: it should be dry, leathery, but still pliable. A successful dehydration process will have removed all the moisture, preventing bacterial growth and making the jerky safe to store and consume.
Flavor and Texture Enhancement
To create exceptional homemade chicken jerky, one must pay meticulous attention to the seasoning blend and the dehydration process, both of which significantly impact flavor and texture.
Experimenting with Seasonings
Working with seasonings offers the maker creative control over the flavor profile of the chicken jerky. A foundational blend often includes soy sauce and Worcestershire sauce, which provide a base of umami. To this, one may add smoked paprika for a subtle smokiness, and garlic and onion powders for savoriness. Cayenne pepper and black pepper bring a welcome heat that can be adjusted according to taste. Seasoning should not be an afterthought; it’s a cornerstone of jerky's appeal. A combination of salt and sugar is essential to both taste and preservation. Dry spices like thyme can offer aromatic notes that make each batch distinctive.
Classic savory mix:
1 Tbsp smoked paprika
2 Tbsp garlic powder
1 Tbsp onion powder
1 Tbsp ground black pepper
1-2 tsp cayenne pepper (optional for heat)
Sweet and spicy twist:
2 Tbsp brown sugar
1 Tbsp thyme
1 tsp cayenne pepper
1 Tbsp black pepper
Achieving Desired Chewiness
The texture, specifically the chewiness of jerky, hinges on the cut and the drying time. Chicken should be sliced thinly, typically a quarter-inch in thickness, to facilitate even dehydration without becoming too tough. By marinating these slices in the chosen seasonings, not only is flavor imparted, but the marinade also tenderizes the meat. When drying, the aim is to hit a moisture content of about 10% to 15%, which can be checked by the bend test. The jerky should bend slightly without breaking, indicating the perfect chewy texture. Over-dehydrating can lead to a brittle texture, while under-dehydrating presents food safety risks and diminishes flavor.
Dehydration guidance:
Slice chicken: 1/4-inch thick
Ideal moisture content: 10%-15%
Test for doneness: Perform the bend test after dehydration
Storing the Chicken Jerky

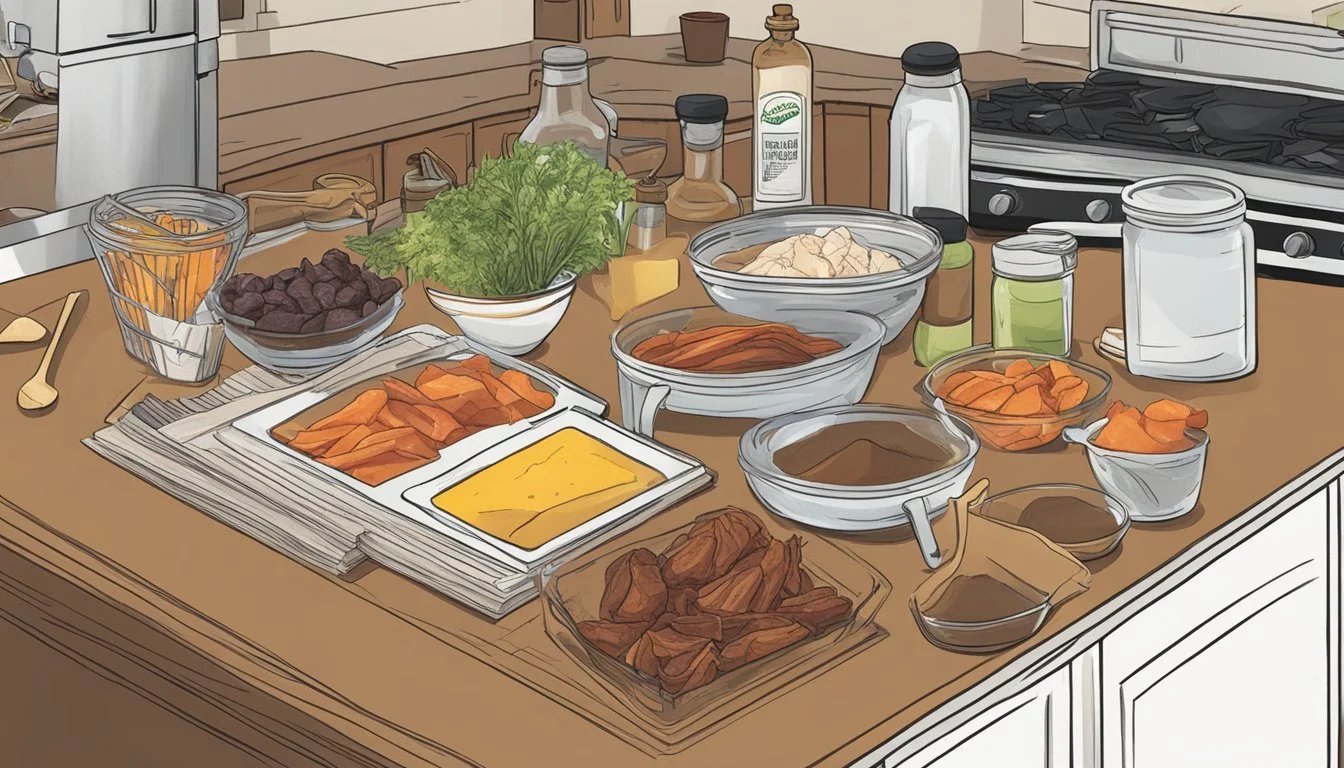
Proper storage is crucial to maintain the safety and extend the shelf life of homemade chicken jerky. Once the jerky is dehydrated and cooled, one should follow specific steps to ensure it remains fresh and safe for consumption.
Ensuring Safety and Freshness
Cooling Down: After dehydration, the jerky must be allowed to cool completely before storage. Warm jerky can lead to condensation when packaged, which increases the risk of bacterial growth.
Packaging: Once cooled, the jerky should be placed in a clean, airtight container or resealable bag to protect it from air and moisture. Food safety protocols recommend using a vacuum sealed option if available to enhance longevity.
Refrigeration: Refrigerating the jerky is encouraged for long-term storage. One should refrigerate the well-sealed jerky to reduce the risk of spoilage organisms developing.
Optimizing Shelf Life
Room Temperature Storage:
Duration: Homemade chicken jerky can generally be stored at room temperature for up to 2 weeks if kept in a cool, dry place.
Containers: Use airtight containers or vacuum-sealed bags.
Refrigerator:
Duration: When refrigerated, the shelf life extends to about 1 month.
Tip: Constant refrigeration is key; avoid leaving the jerky out for extended periods.
Freezer Storage:
Duration: For long-term storage, chicken jerky can be frozen for up to 6 months.
Process: It's essential to use freezer-safe bags or containers to freeze the jerky, prevent freezer burn, and maintain quality.
One must routinely check the jerky for any signs of spoilage such as off odors or mold. If in doubt, it is better to err on the side of safety and discard any suspect jerky.
Nutritional Insights
Homemade chicken jerky is renowned for its high protein content, making it an excellent snack for those seeking a protein-rich dietary option. Protein is crucial for muscle repair and growth, which is why chicken jerky is often favored by fitness enthusiasts.
For individuals monitoring their fat intake, homemade chicken jerky stands out due to its low fat content. When prepared properly, the dehydration process helps to minimize the fat, resulting in a healthy snack that can be enjoyed without the guilt associated with more calorie-dense foods.
The snack is also packed with various nutrients that are essential for maintaining a balanced diet. Chicken is a source of essential vitamins and minerals, contributing to the overall nutritional value of the jerky.
Here's a brief overview of the nutritional benefits of chicken jerky:
High in Protein: Supports muscle maintenance and growth.
Low in Fat: Makes for a lighter alternative to traditional snacking options.
Nutrient-Dense: Provides essential vitamins and minerals to complement a well-rounded diet.
It's important to note that while chicken jerky is a healthy snack option, it should be consumed as part of a diverse diet to ensure a wide range of nutrients are consumed.
Serving and Usage Ideas

Homemade chicken jerky is a versatile snack that offers both convenience and flavour. It serves as an excellent protein-rich option that suits various dietary needs. One of the key advantages of DIY jerky is the ability to tailor the taste to personal preferences, making it a trustworthy choice for diverse palates.
When serving, consider these ideas:
On-the-Go Snack: Pack chicken jerky in individual bags for a convenient snack. It fits easily into backpacks, gym bags, or lunchboxes.
With Cheese and Crackers: Pair the jerky with a selection of cheeses and whole-grain crackers for an uncomplicated yet satisfying hors d'oeuvre.
Accompaniment to Salads: Add a boost to salads by topping greens with small strips of chicken jerky. It can add a smoky, savory twist to fresh vegetables.
Protein Source for Grains: Complement grain bowls, such as rice or quinoa, with jerky pieces for a well-rounded meal.
Here's a simple serving table for reference:
Serving Context Suggestion Quick Snack Solo or with nuts and dried fruits Appetizer Cut into bite-sized pieces and serve with dips Meal Enhancement Mix into omelets or sprinkle over soups
To store homemade jerky appropriately, keep it in an airtight container. This maintains its texture and flavor, ensuring that when it's time to enjoy, the jerky remains as delicious as when it was first prepared.
Health and Safety Considerations

When making homemade chicken jerky, it is essential to consider health and safety to prevent foodborne illnesses. The main areas of focus should be understanding food preservation methods and managing correct temperatures throughout the process.
Understanding Food Preservation
Food preservation involves a variety of techniques to prevent food spoilage and ensure it remains safe to eat over time. Homemade jerky requires removing moisture to inhibit the growth of pathogens. Preservatives such as curing salt, which contains sodium nitrate, can be added to help prevent bacterial growth. However, the use of curing salt must be carefully measured to maintain a safe sodium content in the final product.
The following list outlines key preservation elements:
Moisture Removal: Essential for limiting bacterial growth.
Curing Salts: May contain nitrates and nitrites—use sparingly due to potential health risks and regulatory limits.
Salt: Acts as a natural preservative; it draws moisture out and helps prevent spoilage.
Temperature Management
Temperature control is critical to food safety during jerky making. The dehydration must be thorough enough to remove sufficient moisture but not so intense as to overcook the chicken.
Here are specific temperature guidelines:
Stage Temperature Range (°F) Purpose Dehydration 145 - 155 Remove moisture to inhibit bacterial growth. Post-Drying Heat 275 Ensure internal temperature reaches a safe level for consumption.
The jerky should reach an internal temperature high enough to destroy any pathogens. The USDA recommends that after jerking, the meat should be heated to 275°F for 10 minutes to ensure food safety. Monitoring with a reliable meat thermometer is advised to ensure the meat has reached the proper internal temperature. This is especially important because low temperatures during the drying process might not eliminate all bacteria.
It is essential that the maker follows these guidelines closely to produce chicken jerky that isn't just delicious but also safe to consume.
Alternative Jerky Options
While homemade chicken jerky is a delicious and healthy snack, there are several other types of jerky that can be enjoyed. Each offers a distinct flavor and can cater to different dietary preferences and needs.
Exploring Other Meats
Beef: Beef jerky is perhaps the most traditional type, known for its robust flavor and widespread popularity. A classic beef jerky often involves a marinade of soy sauce, Worcestershire sauce, and seasonings like black pepper, garlic powder, and onion powder marinated for several hours.
Turkey: Turkey jerky is a leaner alternative with a milder taste and a tender texture. It proves to be a substantial option for those seeking lower fat content without compromising on the protein-rich snack quality.
Vegetarian and Vegan Alternatives
Vegetarians and vegans don't have to miss out on the joy of jerky. There are plant-based options that imitate the texture and flavors of traditional jerky:
Mushroom Jerky: Mushrooms, especially varieties like portobello or shiitake, make excellent jerky thanks to their meaty texture. They absorb flavors well, making them ideal for savory marinades.
Soy-Based Jerky: Products like tempeh or tofu can be sliced and dehydrated with a mixture of savory sauces and spices to create a texture similar to meat-based jerky.
Each alternative offers a unique taste experience and expands the world of jerky beyond chicken, making it an inclusive snack for various diets and lifestyles.
Conclusion

Making chicken jerky at home is an accessible and rewarding process. The steps provided guide one through marinating, dehydrating, and post-dehydration heating to ensure delicious and safe results.
Key points to remember include:
Marinate: For optimal flavor, marinate the chicken strips for 6 to 24 hours.
Dehydration: Set the dehydrator to 160°F (71°C) and dry the strips for 4 to 6 hours, checking for doneness periodically.
Post-Dehydration Heating: To kill any remaining bacteria, it is advisable to heat the jerky to 275°F for ten minutes.
Following these steps ensures that the chicken jerky is well-seasoned, properly dried, and safe to consume. The recipes can be customized with various ingredients according to personal taste preferences.
It's important for individuals to use fresh, quality chicken and adhere to the recommended temperatures and time frames to prevent any foodborne illnesses. Practicing patience during the marinating and drying phases rewards with a nutritious, portable, and satisfying snack. Homemade chicken jerky allows for control over the ingredients, ensuring a healthier option compared to many store-bought alternatives.
By sticking to these guidelines, anyone can produce their own homemade chicken jerky with confidence and become proficient in this age-old preservation technique.
