
Homemade Duck Jerky
Your Comprehensive Guide to Crafting Gourmet Snacks at Home

Homemade duck jerky offers an appealing alternative to store-bought snacks, catering to those who appreciate a hands-on approach to crafting their own flavorful treats. This comprehensive guide aims to navigate the intricate process of making duck jerky, providing a step-by-step method that ensures a balance of savory taste and proper food safety techniques. The journey from selecting the right cut of duck to the nuances of dehydration is demystified, making it accessible for both novices and seasoned home chefs alike.
Preparation is crucial when making duck jerky, starting with slicing the meat into consistent, thin strips that will allow for uniform drying. A marinade is then prepared, which can vary in ingredients and flavors, to infuse the duck with a depth of flavor. Attention to detail during the marinating stage can affect the final outcome, the goal being to achieve a fusion of taste without overpowering the natural duck flavors.
The drying process is where the magic happens, slowly removing moisture to preserve the meat and concentrate the taste. The use of a dehydrator or an oven set to a low temperature can achieve this. It is essential to maintain a controlled environment during this stage to prevent bacterial growth, ensuring that the duck jerky is not only delicious but also safe to consume. The result is a rich, high-protein snack that is perfect for on-the-go indulgence or as a homemade gourmet gift.
Benefits of Homemade Jerky
Making jerky at home offers several benefits, especially when considering health and customization. Here are some key advantages:
Healthier Alternative: Homemade jerky is a healthier option compared to store-bought varieties. It contains fewer preservatives and artificial additives, which can be detrimental to health. By preparing duck jerky at home, individuals can select high-quality, lean meat, reducing the intake of unhealthy fats.
Control Over Ingredients:
Salt content can be adjusted to personal preference or dietary needs.
Choice of natural and fresh marinating ingredients to enhance flavor.
Ability to avoid allergens found in commercial products.
Nutrient Retention: The dehydration process used in making jerky preserves many of the nutrients in the duck meat, including protein, which is essential for muscle repair and growth. It also retains minerals such as iron and zinc without the need for additional preservatives.
Homemade jerky, if dried and stored properly, can last for a considerable amount of time.
It is an excellent snack for outdoor activities where refrigeration is not available.
Ease of Preparation: While it might seem complex, the process of making duck jerky at home can be straightforward and rewarding. Individuals can use a food dehydrator or a conventional oven to create this snack.
Customization of Flavors:
Experiment with a variety of spices, herbs, and marinades.
Create unique flavor profiles that are not readily available in stores.
Tailor the level of spiciness and sweetness to individual tastes.
In conclusion, homemade duck jerky serves as a nutritious, customizable, and convenient snack option. The capability to monitor and select ingredients lends itself to a lower-calorie and healthier alternative to pre-packaged snacks.
Selecting Your Duck
When embarking on the journey of making homemade duck jerky, the choice and preparation of the duck breast are critical for achieving the best flavors and textures.
Choosing the Right Duck Breast
It is essential to select high-quality duck breasts for making jerky. One should aim for fresh duck with a firm texture and a consistent, rich color free from bruises or blemishes. The breasts can come from either wild or farmed ducks, but it must be ensured they are skinless; the absence of skin allows for better absorption of the marinade which contributes significantly to the jerky’s final taste.
Table 1: Duck Breast Selection Criteria
Criteria Description Freshness The duck should be as fresh as possible, with no signs of spoilage. Color & Texture Look for breasts with a smooth texture and uniform color. Skinless Use skinless breasts for better marinade penetration.
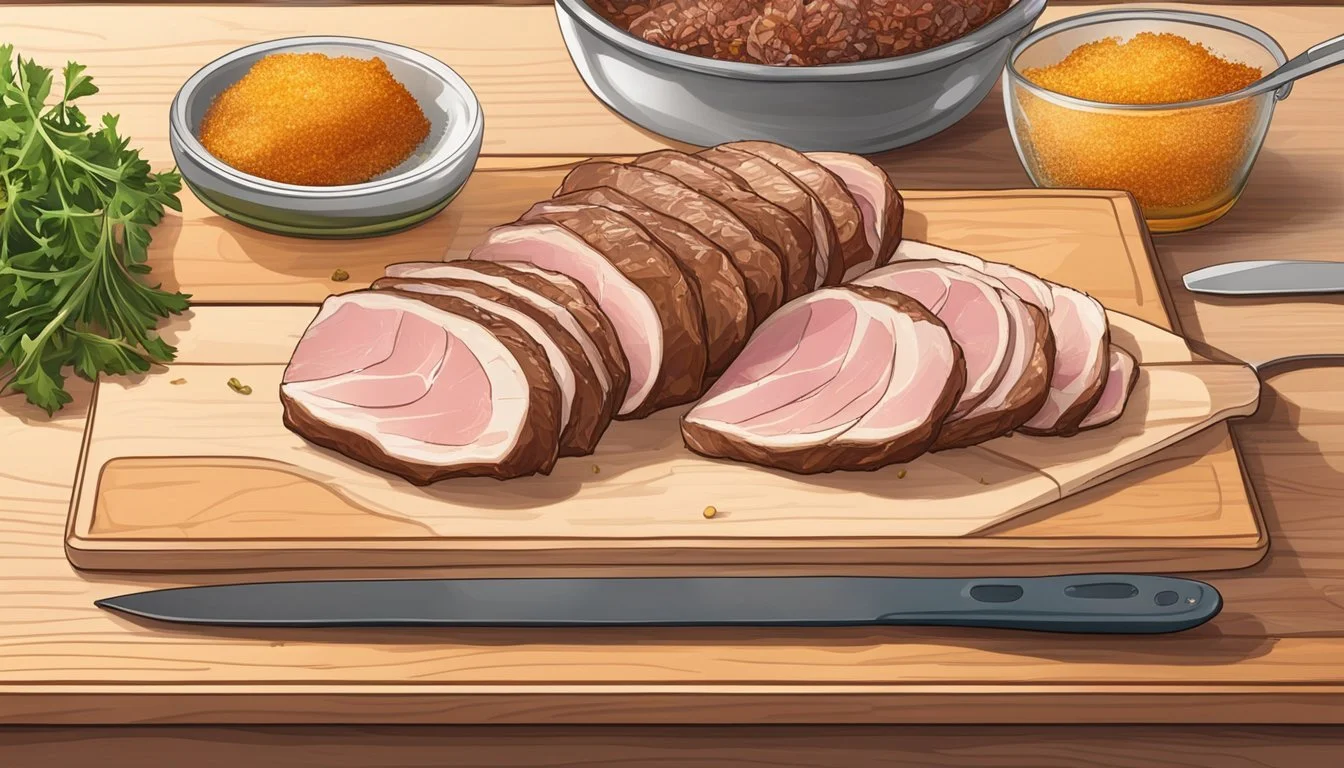
Trimming and Preparation
Prior to marinating, one should properly trim the duck breast. The aim is to remove any excess fat, which can spoil the jerky over time and create an undesirable texture. This step is crucial as fat does not dehydrate well and could affect the shelf-life of the jerky. In preparation, the duck breasts must be sliced into consistent, thin strips. This uniformity is key for even dehydration and ensures that each piece of jerky will dry at the same rate, preventing some pieces from becoming too tough or chewy.
List: Preparation Steps
Trim any excess fat from the duck breast to improve the quality of the jerky.
Slice the breast into even, ¼ inch thick strips to ensure even drying.
Make sure the pieces are of consistent thickness and avoid any leftover film or sinew that will not dry well.
Remember to season well with salt and garlic if desired, as these will not only enhance the flavor but also aid in the preservation of the duck jerky.
Ingredients for Duck Jerky
The selection of ingredients is foundational to crafting flavorful and satisfying duck jerky. Attention to detail during the process of choosing spices and creating the marinade will influence the final taste and quality of the jerky.
Essential Spices
For a robust flavor profile, one must carefully measure and mix the spices. The basics include:
Salt: It's critical for both flavor and preservation. Kosher salt is preferred for its pure taste.
Black Pepper: Freshly ground pepper adds a warm, aromatic kick.
Garlic Powder & Onion Powder: These complementary powders provide a savory depth.
Red Pepper Flakes & Cayenne: For those who favor a spicy edge, these add a zesty heat.
Thyme: This herb infuses an earthy and floral tone.
Creating the Marinade
A dynamic marinade ensures the duck jerky is not only tender but also delectably seasoned. Use the following ingredients:
Brown Sugar: It balances the savory elements with sweetness and assists in the curing process.
Soy Sauce & Worcestershire Sauce: These provide a salty-umami base.
Teriyaki Sauce: Incorporate it for a sweeter, tangy flavor.
Beer: An optional ingredient for an added malty note.
BBQ Sauce: Another optional addition for a smoky, rich profile.
Liquid Smoke: A few drops will impart a smoky essence, simulating traditional wood smoking.
To marinate, mix the spices and liquids thoroughly until homogeneous, ensuring the meat is evenly coated before being refrigerated to absorb the flavors.
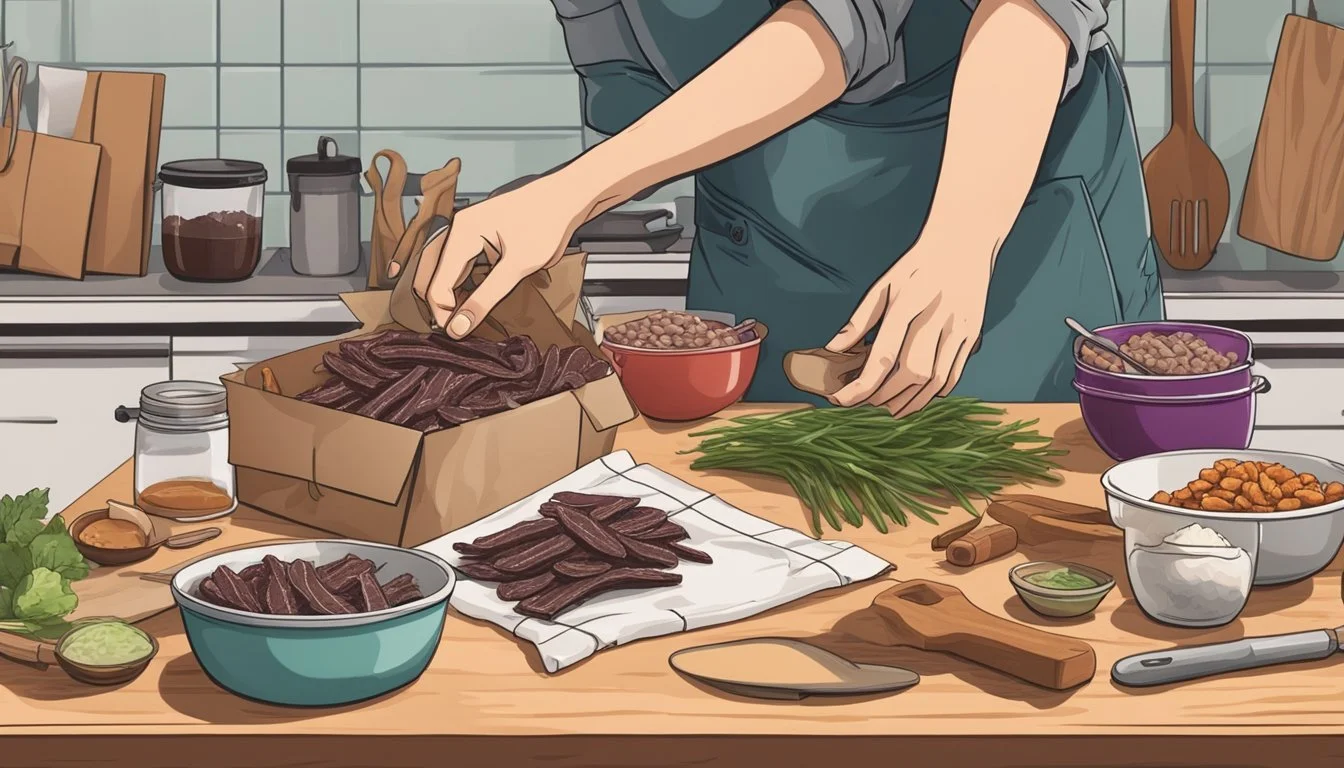
The Marinating Process

The marination process is critical in making homemade duck jerky, as it infuses the meat with flavors and begins tenderizing it. Proper marination involves a meticulous combination of ingredients, an adequate timeframe, and effective techniques to ensure the flavors fully permeate the meat.
Combining Ingredients
To start, one must carefully select and combine the marination ingredients in a large bowl. The balanced integration of soy sauce, honey, sesame oil, and spices like ginger and garlic, along with black and red pepper, ensures a robust depth of flavor. Ingredients should be whisked until they are thoroughly mixed, ensuring a uniform taste throughout the marinade.
Marination Timeframe
Once the marinade is prepared, the duck meat slices should be submerged in the mixture. The duck should typically marinate for at least 24 hours, but not exceeding 48 hours, to achieve optimal tenderness and taste. This process should occur in the refrigerator to maintain food safety and prevent bacterial growth.
Optimizing Flavor Absorption
For the flavors to fully absorb, one should massage the marinade into the duck meat, ensuring each piece is well-coated. After sealing the meat in a bag or covered container, it's recommended to occasionally rotate it within the refrigerator, which assists in evenly distributing the marinade. Letting the meat sit at room temperature for a short period before dehydrating can also enhance flavor uptake, but one should limit this step to a maximum of two hours to adhere to safe food handling practices.
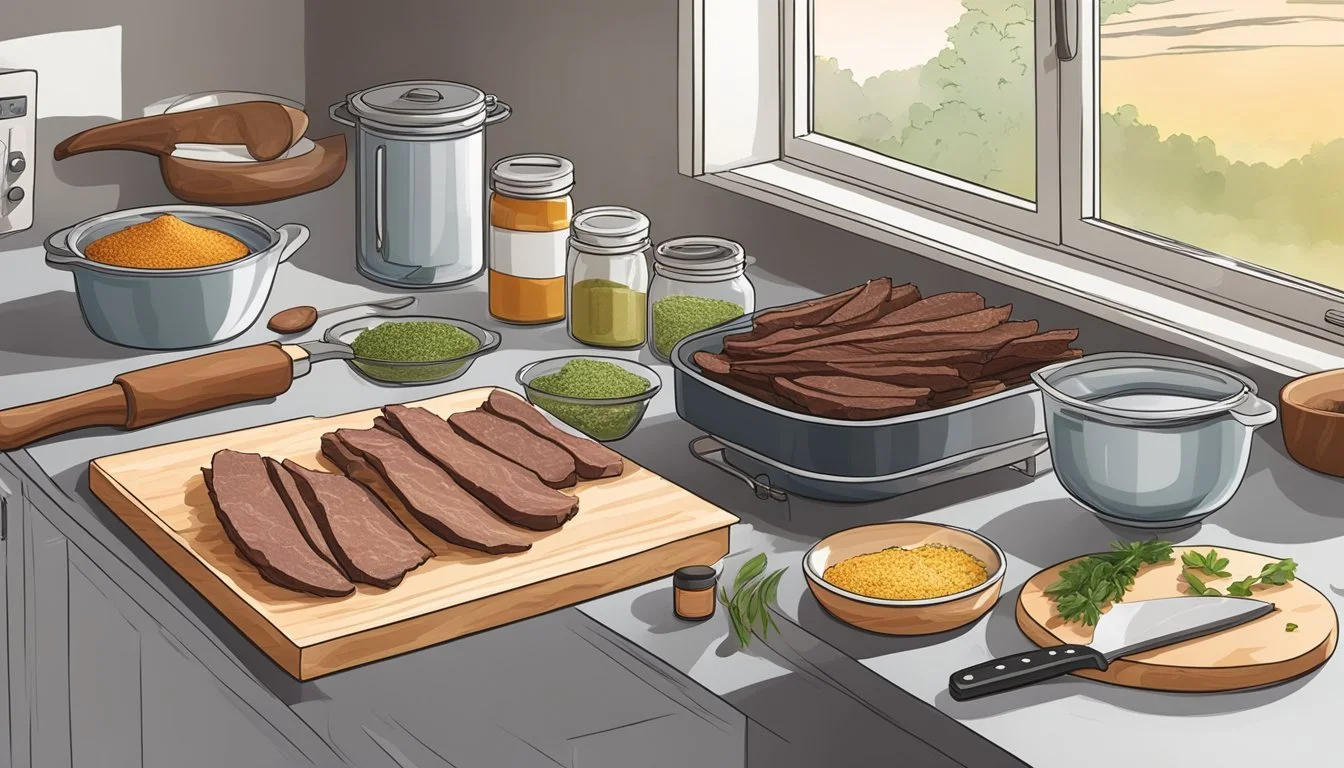
Drying the Duck Jerky
Drying duck jerky is a critical step in the preservation process, where the emphasis is on removing moisture to inhibit bacterial growth and ensure long shelf life. The method chosen, preparation, and close monitoring are key to achieving the desired dryness and texture.
Choosing a Drying Method
There are primarily three methods to dry duck jerky: using a food dehydrator, an oven, or a smoker. Each method has its advantages and is suitable for different preferences and available equipment.
Dehydrator: Ideal for consistent drying, as it circulates air at a controlled temperature. It is the most common method for making jerky at home.
Oven Drying: Accessible for those without a dehydrator, it can be done in any kitchen oven. Set the temperature to 165 degrees Fahrenheit and use the convection setting if available.
Smoker: For those who prefer a smoky flavor, you can add wood chips and carefully maintain a low, steady temperature.
Preparing for Drying
Ensure meat strips are evenly cut for uniform drying. Prepare dehydrator trays or oven racks by arranging the meat in a single layer without touching to allow for proper air flow. Marinated meat should be patted dry to remove excess liquid before drying.
Preheat dehydrator to 165 degrees Fahrenheit.
Arrange meat on trays with space in between for air circulation.
Oven Preparations:
Preheat oven and consider propping open the door slightly to improve air flow.
Place meat on wire racks set over baking sheets to catch drips.
Smoker Preparations:
Preheat smoker to no more than 165 degrees Fahrenheit.
Hang meat strips or lay them on smoker racks.
Monitoring the Drying Process
Regular checks are necessary to ensure the jerky dries evenly and reaches the desired doneness. The drying process can take anywhere from 4 to 8 hours depending on the thickness of the meat and the drying method used.
In a dehydrator, jerky is often ready in 4 to 6 hours.
Oven drying might take closer to 6 to 8 hours.
When using a smoker, times can vary widely based on temperature control and smoker design.
Jerky should feel firm and be dry to the touch, but still pliable. Once cooled, store in an airtight container to keep out moisture and preserve freshness. It's important to cool jerky completely before storing to prevent condensation, which can lead to mold.
Storing Duck Jerky

Proper storage is crucial for maintaining the flavor and safety of homemade duck jerky. It ensures the jerky remains dry, flavorful, and safe for consumption over time.
Ideal Storage Conditions
To preserve your duck jerky, it must be stored in airtight containers to prevent moisture and air from spoiling the meat. An ideal storage temperature is at or below room temperature. The location should be cool, dark, and away from direct sunlight to prevent degradation.
Airtight Container: Locks out moisture and air.
Cool, Dark Place: Protects against temperature fluctuations and light exposure.
Shelf Life of Jerky
When stored correctly, duck jerky can last up to 1-2 months at room temperature. For extended shelf life up to 6 months, placing it in an airtight container within the refrigerator is recommended. Monitoring for any signs of spoilage is important, even when the jerky is refrigerated.
Room Temperature: 1-2 months.
Refrigerator:
Step 1: Place in airtight container.
Step 2: Store in the refrigerator.
Result: Can last up to 6 months.
Serving and Usage Tips
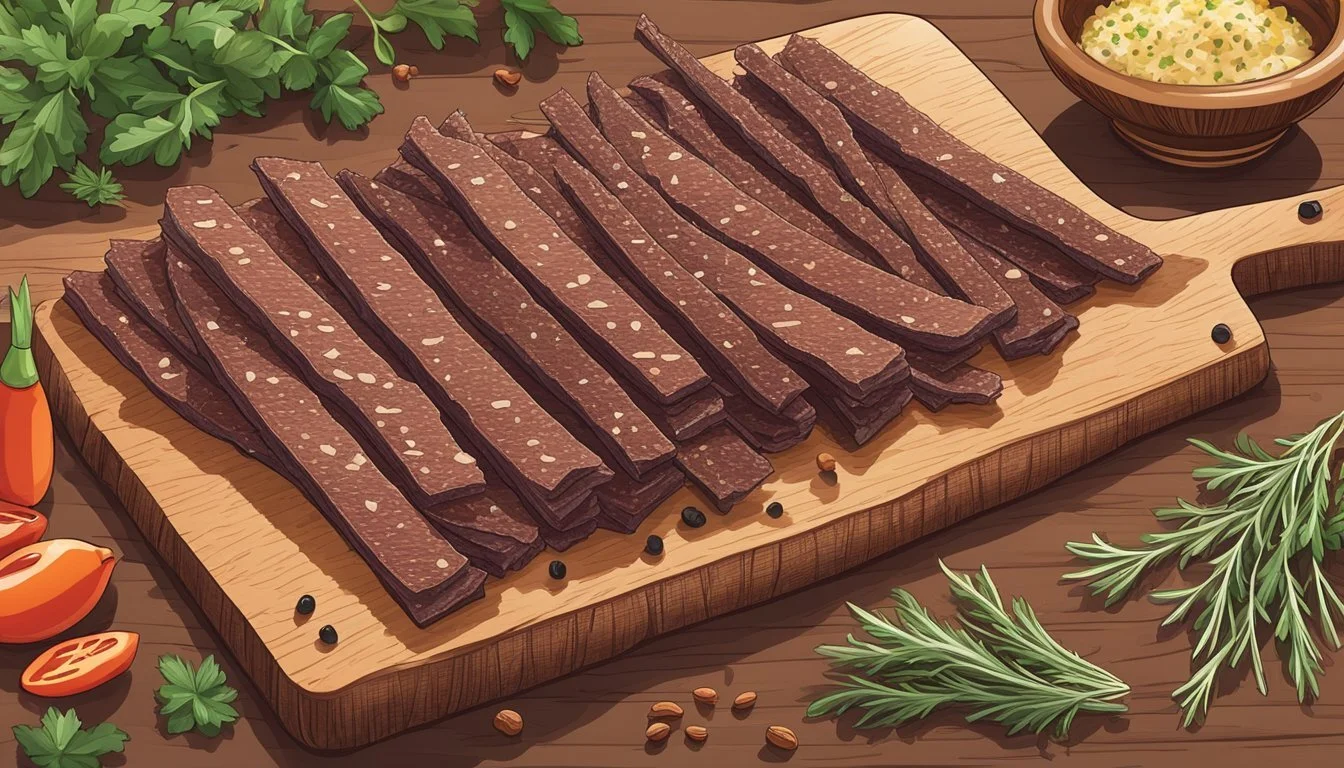
When serving homemade duck jerky, presentation is part of the enjoyment. Serving Suggestions:
On a Platter: Display the jerky on a charcuterie board alongside cheeses, fruits, and nuts.
With Beer: Offer a selection of beers, as the robust flavors of duck jerky complement lagers, ales, and stouts splendidly.
Garnish: Add a dash of Tabasco to individual pieces for guests preferring a spicy kick.
Usage Tips:
Storage: Keep jerky in an airtight container to maintain freshness. It can last up to 2 weeks at room temperature or longer if refrigerated.
Portioning: Consider slicing into bite-sized pieces for easier consumption, especially when serving in a social setting.
Pairings: Duck jerky pairs well with a crisp, cold beer. The carbonation of the beer can cut through the rich, savory flavor of the jerky.
Use these guidelines to ensure the duck jerky is enjoyed to its fullest and to impress guests with thoughtful pairings and presentation. Whether it's a sophisticated soiree or a casual get-together, homemade duck jerky served with complementary items creates a memorable tasting experience.
Safety and Health Considerations

Making duck jerky at home is a popular way to create a tasty and protein-rich snack. However, it's crucial to prioritize safety and health to prevent foodborne illnesses. Here are key safety tips to consider:
Choice of Meat: Always choose lean cuts of duck meat. Fat does not dry well and can cause the jerky to spoil faster.
Marination: Once sliced, marinate duck strips properly, ensuring they are well-coated. Use a refrigerator to marinate meat to inhibit bacterial growth.
Drying Temperature: A critical step in making safe jerky is drying it at a high enough temperature. Use an oven or dehydrator set to at least 165°F to effectively kill pathogens like Salmonella and E. Coli.
Testing Dryness: Jerky must be dehydrated until it bends and cracks but does not break. This ensures moisture content is low enough to prevent bacteria.
Storage: Store jerky in airtight containers to keep out moisture and contaminants. For longer shelf life, refrigeration is recommended.
Contamination Prevention: Handwashing and kitchen sanitization are critical before and after the jerky-making process to prevent cross-contamination.
Spoilage Recognition: Inspect your jerky for any signs of spoilage, such as off odors or mold, before consumption.
Health Guidelines: Follow all health guidelines and recommendations to ensure the homemade jerky is safe for consumption.
By strictly adhering to these protocols, individuals can enjoy homemade duck jerky with peace of mind regarding its safety and healthfulness.
Exploring Variations

When making homemade duck jerky, there are myriad ways to vary the flavor and spice levels to suit any palate, ranging from the type of meat to the seasonings used. Adapting recipes to incorporate different meats or adjust the spiciness can result in a jerky that's uniquely tailored.
Other Meats and Flavors
Using duck as the base for jerky is just the beginning. Chefs can experiment with goose breast, which can be a succulent alternative offering a similar texture. Other meats like venison or beef can also be good candidates for jerky, each bringing their distinctive taste profiles.
For a smoked duck jerky variation, incorporating a hint of applewood or hickory in the smoking process can add a deep, complex flavor that enhances the duck's natural richness.
Flavor profiles can also be varied through meticulous selection of spices and seasonings. Recipes might include:
Sweet: A touch of honey or brown sugar.
Savory: Garlic powder or garlic salt for a pop of umami.
Herby: Dried herbs such as thyme or rosemary for fragrance.
It's crucial to maintain a balance in flavors to complement, rather than overpower, the meat.
Adjusting Spice Levels
Adjusting the spice levels in a jerky recipe can transform the snacking experience from mild to fiery. For those who enjoy a milder taste, reducing the quantity of bold spices like chili powder or black pepper will lower the heat without sacrificing flavor. Conversely, fans of spicier jerky can enhance their recipes with extra chili flakes or hot sauce for an added kick.
A handy guide for spice levels could look like this:
Mild: 1/4 tsp chili powder per pound of meat.
Medium: 1/2 tsp chili powder and a pinch of chili flakes.
Hot: 1 tsp chili powder, 1/4 tsp garlic salt, and a generous addition of chili flakes.
One should always start with a small amount of spice and adjust upwardly after tasting, as it's impossible to remove heat once added. A well-rounded duck jerky recipe allows the flavors to harmonize, creating a robust yet palatable experience.
Troubleshooting Common Issues
When creating homemade duck jerky, crafters may encounter issues with texture and consistency or flavor imbalances. Understanding how to address these common problems is crucial for achieving the desired quality in the final product.
Texture and Consistency Problems
Overly Tough Jerky: If the jerky turns out too tough, it may be due to over-dehydration or slicing the meat improperly. Jerky should be dehydrated until it bends and cracks but does not break. Meat should be sliced approximately 1/4 inch thick consistently to promote even drying. Using a meat tenderizer can help ensure that the muscle fibers are broken down properly, making the jerky more tender.
Under-dried Jerky: Should the jerky be too soft or under-dried, it's often an issue of insufficient drying time. It's important to follow dehydration instructions closely, usually drying at 160°F (70°C) for around 5-7 hours, and ensuring the jerky cools down after dehydration to accurately assess its texture.
Flavor Imbalances
Overly Salty Jerky: An excessively salty flavor can result from an overconcentration of salt in the marinade. One should measure salt carefully according to the recipe, and consider using low-sodium soy sauce if available.
Lack of Flavor Depth: If the jerky lacks complex flavor, it may be due to insufficient marinating time or a lack of flavoring ingredients. For a rich taste, marinate the meat for at least 4 hours, though overnight is preferable. Additionally, a balanced combination of ingredients like Worcestershire sauce, garlic powder, black pepper, and a hint of sweetness can create a well-rounded flavor profile.
