
How to Clean and Descale Your Coffee Maker
Essential Maintenance Tips

Regular maintenance of a coffee maker is essential for ensuring the best tasting brew and prolonging the life of the machine. Over time, coffee oils and residue can accumulate within a coffee maker, leading to bitter-tasting coffee and potential clogging. Additionally, hard water can leave mineral deposits, known as scale, which can impair the machine's heating efficiency and the overall taste of the coffee.
To address these issues, it is important to clean and descale the coffee maker regularly. Cleaning typically involves removing coffee grounds, wiping down surfaces, and washing removable parts. Descaling, however, is a deeper clean that targets mineral buildup within the machine's internal mechanisms. A mixture of equal parts water and white vinegar is commonly used as an effective and natural descaling solution. After running this solution through the coffee maker, it should be followed by a few cycles of fresh water to rinse any remaining vinegar taste.
Both cleaning and descaling are straightforward processes that do not require specialized equipment. These simple maintenance steps not only enhance the performance and longevity of the coffee maker but also ensure that each cup of coffee is as fresh and flavorful as possible.
Understanding Your Coffee Maker
Before diving into the maintenance of your coffee maker, it's essential to understand its components, functionality, and the importance of adhering to the manufacturer's guidelines for optimal performance and longevity.
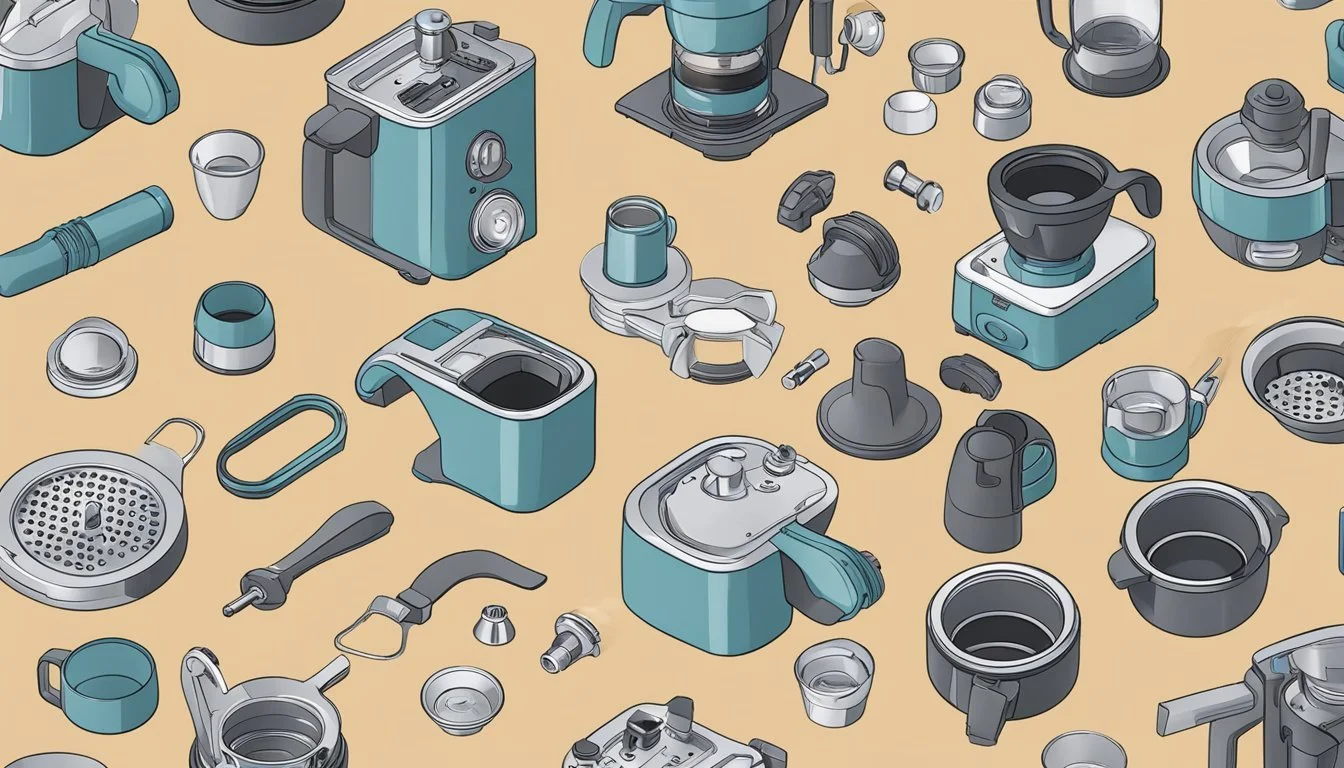
Identifying the Parts
A coffee maker is typically composed of several key parts: a reservoir for water, a heating element, a water chamber, and a carafe or thermal carafe to hold the finished coffee. Additionally, many models feature a drip tray and may come with a reusable or disposable filter.
Function and Mechanism
The primary function of a coffee maker is to heat water from the reservoir and distribute it evenly over ground coffee. The water chamber plays a critical role here, as it must heat the water to the correct temperature. For machines with a thermal carafe, the coffee is kept warm without a heating plate, thus preserving flavor and conserving energy.
Manufacturer Recommendations
Manufacturers often provide specific recommendations for cleaning and descaling their appliances. It's crucial to consult the user manual for the particular coffee maker in question. Products for cleaning and descaling the coffee maker should be compatible with the appliance as per the manufacturer's suggestion to avoid damage and ensure safety.
Preparing to Clean and Descale
Before one begins the cleaning and descaling process, it's important to gather all the materials needed and understand the safety precautions to avoid damage to the coffee maker or personal injury.
Gathering Necessary Materials
To effectively clean and descale a coffee maker, one needs specific materials:
White vinegar or distilled white vinegar, known for its descaling properties.
If preferred, lemon juice can be a natural alternative to vinegar.
Baking soda, useful for scrubbing away stubborn residues.
Clean water for rinsing the machine after descaling.
A cleaning solution if opting for a commercial descaler over household items.
A soft cloth or sponge for wiping surfaces.
Mild dish soap for cleaning external components.
Safety Precautions Before Starting
Safety should always be a priority when handling electrical appliances and cleaning substances:
Unplug the coffee maker from the power source to prevent the risk of electric shock.
Wait for the appliance to cool down before cleaning to avoid burns.
Do not use abrasive materials that could scratch or damage the coffee maker.
Dilute vinegar or lemon juice properly with water to prevent damage to the internal parts from overly acidic solutions.
Always rinse the coffee maker thoroughly with clean water after descaling to remove any residual cleaning agents.
Routine Cleaning Process
The routine cleaning process for a coffee maker involves two main tasks: cleaning the carafe and maintaining the removable parts. These steps should be carried out regularly to ensure the longevity and optimal performance of the coffee maker.
Cleaning the Carafe
To clean the carafe, one must remove any leftover coffee or wet grounds immediately after use. The carafe should be washed with warm, soapy water and a soft sponge or brush to remove any stains or buildup. For a deeper clean, one can fill the carafe with a mixture of warm water and mild detergent, allowing it to soak before rinsing thoroughly. It is vital to ensure that the carafe is completely rinsed with clean water to avoid any soap residue that could affect the taste of the coffee.
Fill carafe with warm soapy water
Scrub gently with a sponge or brush
Deep Clean: Soak with detergent mixture if needed
Rinse thoroughly with clean water
Cleaning Removable Parts
Regularly, the removable parts such as the filter basket, drip tray, and water reservoir should be detached and cleaned. They can typically be washed in the sink with warm, soapy water, using a brush to get into any crevices where coffee oils and particles might collect. After washing, each part should be rinsed under clean water and dried before reassembly. It’s also beneficial to replace the paper filter after each cycle to prevent any flavor transfer from old grounds.
Detach and wash filter basket, drip tray, and water reservoir with soapy water
Use a brush for detailed cleaning of hard-to-reach areas
Rinse all parts under clean running water
Dry thoroughly before reassembling
Replace paper filter after each use
Descaling to Remove Mineral Buildup
Regular descaling is crucial to maintain the longevity and performance of a coffee maker. It removes mineral buildup primarily caused by calcium and magnesium found in hard water.
Understanding the Need to Descale
Mineral buildup from hard water can significantly hinder a coffee maker's efficiency and affect the taste of the coffee. Over time, minerals like calcium and magnesium accumulate within the machine, leading to clogs and corrosion. This process is inevitable in coffee makers as hot water evaporating leaves behind these minerals, necessitating regular descaling to ensure optimal functionality.
Choosing a Descaling Solution
The descaling solution for a coffee maker should be effective at dissolving these mineral deposits without harming the machine's interior components.
Vinegar-Water Solution: A popular and natural descaling option involves mixing equal parts of white vinegar and water. This acidic solution is effective at breaking down mineral buildup.
Commercial Descalers: These are specifically formulated to tackle hard water deposits and are often recommended by manufacturers for their effectiveness and safety for use in their machines. It is important to follow the instructions closely to avoid any damage to the coffee maker.
By utilizing either a homemade vinegar-water solution or a commercial descaler, one can efficiently remove the unwanted mineral buildup and maintain their coffee maker's performance.
Step-by-Step Descaling Cycle
The descaling cycle is essential for eliminating mineral buildup and ensuring optimal coffee maker performance. This process should be done regularly using a descaling solution, which is often a mixture of water and white vinegar.
Preparing the Descaling Solution
Prior to starting the descaling cycle, one must prepare the descaling solution. The solution typically consists of equal parts water and white vinegar. In some cases, a specialized descaling powder can be used, following packet instructions to dissolve it in water completely.
Proportions: Use a 50/50 mix of white vinegar and water.
Volume: Ensure the total volume matches the coffee maker's capacity.
Running the Descaling Cycle
For the descaling cycle, the solution is poured into the coffee maker's water reservoir. It's then run through a brew cycle. During this phase, the acidic nature of the solution breaks down limescale and mineral deposits.
Fill: Pour the prepared descaling solution into the water reservoir.
Start: Activate the brew cycle without a coffee pod or filter in place.
Wait: Allow the solution to run through the machine completely.
Rinsing After Descaling
After the descaling cycle is complete, it's crucial to rinse the system to remove any remaining vinegar residue. This typically involves running one to two full cycles with plain water.
Flush: Fill the reservoir with fresh water and run another brew cycle.
Repeat: Perform at least two complete cycles with just water.
Addressing Stubborn Residues
In maintaining the performance and taste quality of a coffee maker, it's vital to remove residues that normal cleaning might miss. These include oils that can turn rancid and mold or yeast that can pose a health risk.
Tackling Coffee Oils and Stains
Coffee oils can accumulate and lead to bitter flavors. For deep cleaning to remove these stubborn oils:
Use a solution of equal parts water and white vinegar.
Fill the water chamber to capacity with this solution.
Run the coffee maker through a half brew cycle and let it sit for an hour to loosen the oils.
Complete the cycle, then run two full cycles with clean water to rinse any remaining vinegar.
For more persistent stains or oils, a damp cloth with a small amount of baking soda can be used to scrub the carafe gently.
Eliminating Mold and Yeast
Mold and yeast thrive in moist environments and can affect the healthfulness of the coffee maker.
Disassemble removable parts and clean them separately using hot water and soap.
To sanitize the water reservoir and other non-removable parts, one may run a brewing cycle with a mixture of water and 3% hydrogen peroxide.
Allow this sanitizing solution to sit for 30 minutes before finishing the cycle.
Run two additional cycles with just water to ensure all cleaning agents are removed.
Special attention should be paid to non-visible areas, such as the water reservoir and internal tubes, where mold spores might hide. Using a mixture of water and vinegar or hydrogen peroxide can help reach and eliminate these hidden contaminants.
Rinse and Reassemble
After thoroughly cleaning the coffee maker, the remaining steps involve a careful rinse to remove any cleaning product residues and the precise reassembly of the parts to ensure the machine functions correctly for the next use.
Final Rinsing Steps
Rinsing with Clean Water: She needs to fill the water reservoir with fresh, clean water. Running a full brew cycle without coffee should flush out any remaining cleaning solution.
Use Warm Water: If the coffee maker had a significant buildup, they should repeat the rinse cycle using warm water to ensure all descaling agents are completely washed away.
Reassembling After Cleaning
Dry Component Parts: Before reassembling, it is essential that all parts are thoroughly dried to prevent mold or bacteria growth. The components should be laid out on a clean, dry towel, allowing air to circulate and aid the drying process.
Reassemble Methodically: They must follow the manufacturer’s instructions for reassembling the coffee maker. They should start by placing the brew basket back, ensuring the filter is in place, then proceed to reattach the water reservoir lid and any other removable parts. Proper reassembly is crucial for the coffee maker to operate safely and effectively.
Maintaining Your Coffee Maker
To ensure the longevity and optimal performance of a coffee maker, maintaining it post-cleaning is vital, as is adhering to a regular maintenance schedule.
Post-Cleaning Maintenance Tips
After cleaning, one should ensure that all components are dried thoroughly before reassembling to prevent mold growth. Parts such as the carafe, filter basket, and permanent filters should be air-dried. Regularly wiping down the exterior and the warming plate with a damp cloth will help to keep the coffee maker looking new and operating efficiently.
Regular Maintenance Schedule
For a coffee maker to function effectively, a maintenance schedule should be followed. Below is a suggested timetable:
Every use: Empty grounds; rinse carafe, lid, and filter basket.
Weekly: Wash removable parts with warm, soapy water.
Monthly: Decalcify with a vinegar-water solution or as recommended by the manufacturer.
Every 3-6 months: Replace water filtration disk if your model has one.
By adhering to this routine, one can prevent unexpected malfunctions and flavor contamination, ensuring that each cup of coffee tastes fresh.
Troubleshooting Common Issues
When maintaining a coffee maker, users may encounter operational problems or issues related to water and heating. Understanding how to effectively resolve these can ensure that the coffee maker continues to function optimally.
Solving Operational Problems
Coffee Maker Won't Start: First, ensure the coffee maker is plugged in and the outlet is functional. If it still isn't working, inspect the power cord for damage. A broken power cord needs replacement.
Weak Coffee: If the coffee produced is weaker than expected, it may be due to a clogged water line or spray head. Clean these parts thoroughly to restore the coffee strength.
Dealing with Water and Heating Issues
Water Leaks: Check the water reservoir for any cracks or positioning issues. A misaligned or damaged reservoir requires repositioning or replacement.
Inconsistent Water Temperature: Should the coffee not be hot enough, it might indicate scale buildup or heating element issues. Descale the coffee maker to remove buildup. If the problem persists, the heating element might need inspection or replacement.
Slow Brewing: This can often be a sign that the coffee maker needs descaling. Use a descaling solution or a homemade mixture of equal parts water and vinegar to run through the brewing cycle. Rinse thoroughly afterward.
Conclusion
Maintaining one's coffee maker through regular cleaning and descaling is a simple yet essential aspect of ensuring the longevity and performance of the appliance. It not only preserves the quality of coffee but also keeps the machine running efficiently.
Routine Cleaning: It is recommended that after each use, the removable parts should be washed with warm soapy water, rinsed thoroughly, and dried.
Descaling: On a monthly basis, or as often as the manufacturer suggests, one should descale their coffee maker. The descaling process involves running a 1:1 mixture of white vinegar and water through the coffee maker, which helps to remove mineral buildup.
Post-Descaling Steps:
After the descaling solution has been run through, it is crucial to run at least one or two cycles of fresh water before brewing coffee. This step ensures no residual vinegar taste is left.
Regular descaling can prevent clogging and prolong the coffee maker's life.
Remember, the specific details may vary slightly depending on the coffee maker's model and type. Consumers should always refer to the user manual for the most accurate guidance tailored to their particular model. With consistent care, one can enjoy better-tasting coffee and a more reliable coffee maker.
