
How to Clean a Stand Mixer Effectively
A Step-by-Step Guide

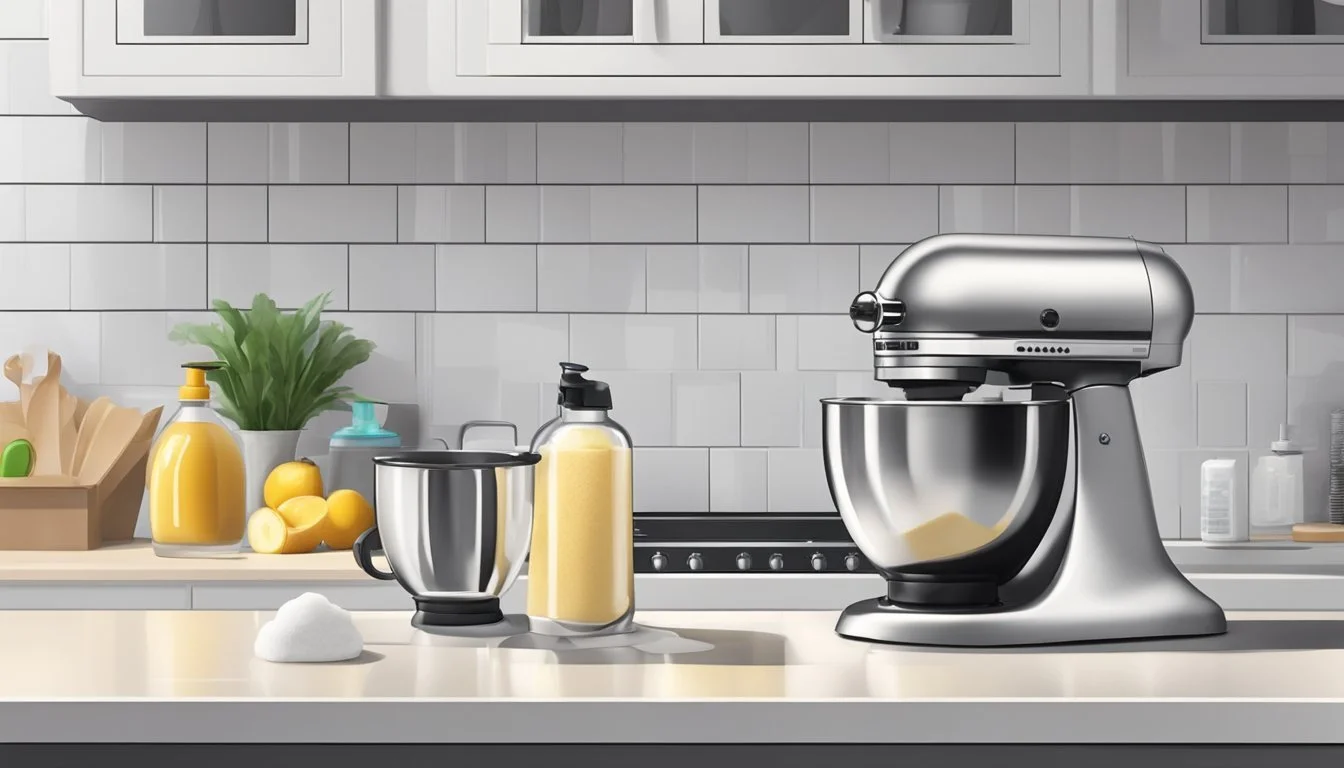
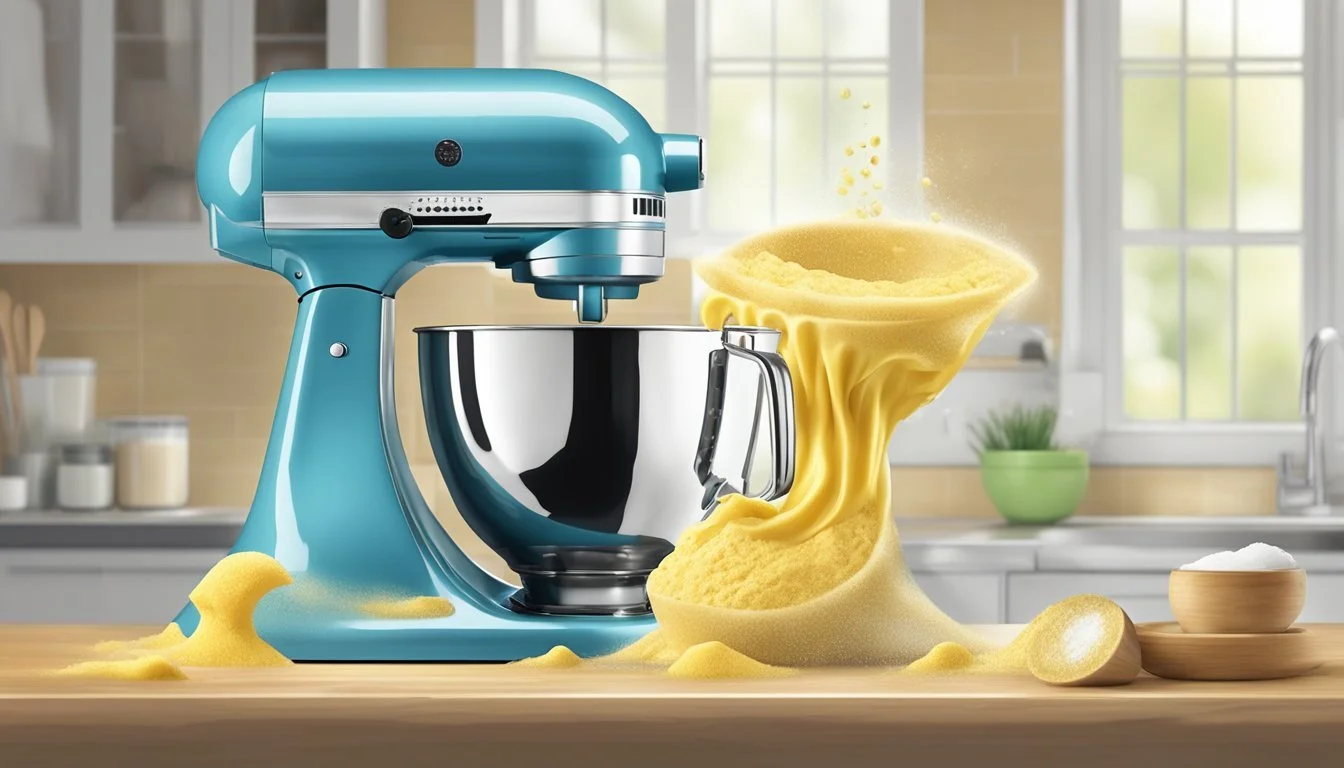
Maintaining kitchen appliances is essential for their longevity and performance, particularly when it comes to a stand mixer. A well-kept stand mixer not only ensures the consistency and quality of culinary creations but also upholds kitchen hygiene. Over time, flour dust, sticky dough, and batter can accumulate in the nooks and crannies of the mixer, potentially affecting its function and cleanliness. Therefore, it is imperative to clean the stand mixer regularly and thoroughly to prevent food residue build-up and to keep the appliance in optimal working condition.
A stand mixer, being a versatile and commonly used kitchen appliance, requires a cleaning regimen that addresses both the exterior surfaces and the various attachments. Unplugging the appliance is the first and most crucial safety step before any cleaning procedure begins. When cleaning, special attention should be given to disassembling the removable parts such as the bowl, beaters, and dough hooks, which need individual cleaning to ensure no remnants are left behind. The base and the main body of the mixer, often forgotten, require routine wiping to keep the entire unit sanitary and functioning seamlessly.
Pre-Cleaning Preparation
Proper preparation is essential for cleaning a stand mixer safely and effectively. Ensuring the mixer is not connected to a power source and removing all attachments are the preliminary steps to avoid potential hazards and facilitate a thorough clean.
Unplugging the Mixer
The user must always unplug the stand mixer from its power source before cleaning. This is a crucial safety measure to prevent any risk of electrical shock or accidental activation of the mixer during the cleaning process.
Removing Attachments
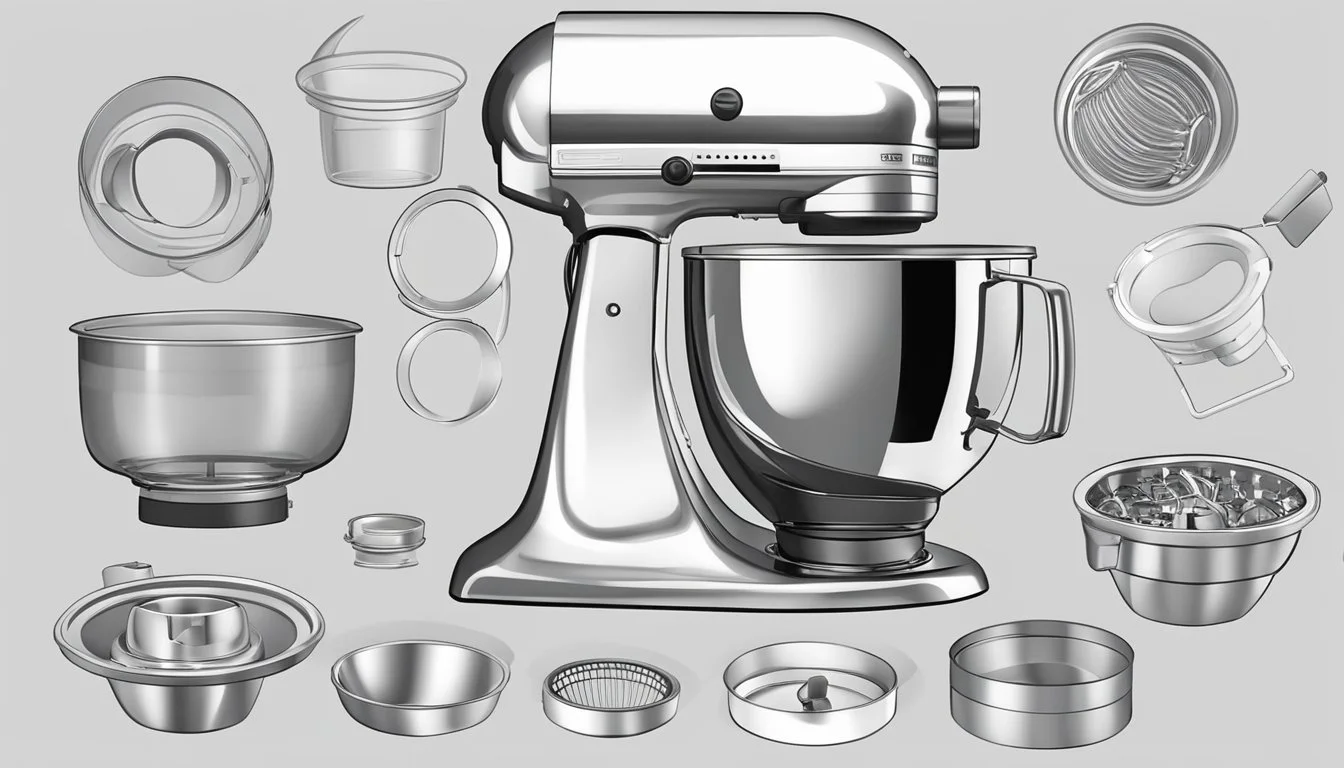
Next, one should carefully remove all attachments such as the mixing bowl, beaters, dough hooks, or any other accessories. These components are typically detachable to allow for individual cleaning. Once removed, they can be soaked in warm, soapy water to loosen debris.
Cleaning the Mixer Base
Maintaining a stand mixer involves careful cleaning of the mixer base to ensure the longevity of the appliance. The following subsections outline the specific steps for effective cleaning.
Wiping the Exterior
One should begin by using a damp cloth to gently wipe down the exterior of the mixer base. It's important to avoid contact with any electrical components.
Cleaning the Vents
The vents on the mixer base require careful attention. With a dry toothbrush or compressed air, delicately remove any dust or residue that could obstruct the airflow to the motor head.
Dusting the Foot Pads
The foot pads should be inspected for any accumulated dust and debris. One should wipe them down with a clean, dry cloth, ensuring the stand mixer remains stable and doesn't slide on the countertop.
Handling the Power Cord
The power cord must be treated with care. It should be wiped with a lightly dampened cloth and then dried immediately. One must ensure the power cord is not frayed or damaged during cleaning.
Caring for the Bowl
Maintaining the stand mixer's bowl is essential for its longevity and ensuring it remains safe for food preparation. Regular cleaning prevents residue buildup and maintains the bowl's luster.
Washing the Bowl
The bowl should be washed after each use with warm water and a mild soap. If the bowl is dishwasher-safe, one can place it in the dishwasher for convenience. For hand-washing, use a soft sponge or cloth to avoid scratching the surface. Carefully wash the interior and exterior to remove any food particles or grease.
Removing Residue
Occasionally, the bowl may have caked-on residue that requires additional attention. To tackle this, the bowl can be soaked in warm, soapy water for a longer period, allowing the residue to soften. For stubborn spots, a non-abrasive scrub pad can be used gently.
Drying the Bowl
After washing, the bowl should be thoroughly dried with a clean dish towel or allowed to air dry. This is crucial to prevent water spots and to ensure that it is completely dry before the next use. One should avoid stacking other kitchenware in the wet bowl, as trapped moisture can promote bacterial growth.
Maintaining Attachments and Accessories
Proper maintenance of stand mixer attachments and accessories is pivotal for their longevity and performance. Careful scrubbing, thorough deep cleaning, and adequate drying are essential steps in this process.
Scrubbing Attachments
Stand mixer attachments, which include beaters, wire whips, and flat beaters, should be hand-washed using warm water and dish soap. For scrubbing off stuck-on food particles, one should use a soft brush or toothbrush, ensuring that nooks and crannies are clean.
Recommended Tools:
Soft brush or toothbrush
Warm, soapy water
Deep Cleaning Attachments
Once scrubbing is complete, a deep clean may be necessary for the attachments, especially if they are used frequently. A mixture of water and baking soda can be used to soak the attachments, particularly for those with tougher grime like the dough hook.
Deep Clean Solution:
Water
Baking soda (optional)
Drying Attachments
After cleaning the attachments, they should be dried immediately with a soft towel to avoid rusting. A thorough air dry is recommended if they are not completely dried with the towel. Store the attachments in a dry place to prevent any moisture buildup.
Drying Tips:
Use a soft towel
Allow air drying if necessary
Addressing the Beater Shaft and Attachment Hub
Proper cleaning of the beater shaft and servicing the hub is crucial to maintaining a stand mixer's functionality. Accumulated grime can affect the mixer's performance, while regular maintenance ensures longevity.
Cleaning the Shaft
The beater shaft is prone to residue build-up from frequent use. Users should first remove any attachments and inspect the shaft for grime. A toothpick can be effective for dislodging stubborn bits stuck in crevices, while a damp cloth can wipe away loosened debris. It's important not to introduce excess moisture into the mechanism, and to ensure the shaft is dry before reattaching beaters or other accessories.
Servicing the Hub
The attachment hub, which facilitates the connection of different accessories, requires routine checks to keep it functioning smoothly. Regular cleaning can prevent the build-up of food particles and oils that might otherwise compromise the mixer's performance. One should gently clean around the hub using a soft cloth and, if necessary, a mild detergent diluted in water. After cleaning, the hub should be thoroughly dried to avoid the risk of rust or corrosion.
Reassembling and Storing the Stand Mixer
After ensuring the individual components of the stand mixer are clean and dry, it’s critical to reassemble the device correctly to maintain its functionality. Storing the mixer properly is equally important to protect it from damage and ensure it's ready for its next use.
Reassembling After Cleaning
Once the stand mixer’s parts are completely dry, they should be reassembled in the reverse order of disassembly. Attach the bowl securely onto the base, ensuring it clicks into place or sits firmly, depending on the model. The beaters, hooks, or other attachments should slide or snap back into their designated slots without force—misalignment can damage the mechanism if turned on. Double-check that each piece is properly attached to prevent any operational mishaps.
Proper Storage Tips
Stand mixers should be stored in a clean, dry place, away from any direct heat sources or potential for spills. If the stand mixer is used infrequently, it may be prudent to cover it to prevent dust accumulation. The cord should be wrapped loosely to avoid strain on the wire, and ideally, the mixer should be stored in an upright position to save space and keep it in the best condition. The mixing bowl, if stored inside the mixer, must be clean and dry to prevent any potential for mold or odors.
Special Considerations for Stand Mixers
When cleaning a stand mixer, attention to detail is paramount. One must navigate hard-to-reach areas, select appropriate cleaning materials, and maintain the appliance's aesthetic integrity. These considerations ensure a stand mixer remains functional and visually pleasing.
Dealing With Hard-to-Reach Areas
Stand mixers often have crevices and components that are difficult to access but critical to clean for optimal performance. Regular maintenance includes tipping the mixer head back to reach the underside, using tools like a dry toothbrush or toothpicks to dislodge food particles. For the beater shaft crevice, cotton swabs can be effective.
Tools for Hard-to-Reach Areas:
Dry toothbrush
Toothpicks
Cotton swabs
Using Safe Cleaning Materials
The materials used should safeguard the mixer's functionality and longevity. Mild dish soap and warm water are usually sufficient for most parts. A damp microfiber cloth proves useful for a streak-free clean and avoiding scratches on surfaces. For stubborn stains or food residue on stainless steel areas, a designated stainless steel cleaner can be employed. One should never use abrasive materials or harsh chemicals that could damage the finish or components of the mixer.
Recommended Cleaning Materials:
Mild dish soap
Warm water
Microfiber cloth
Stainless steel cleaner (if needed)
Caring for Stand Mixer Aesthetics
A stand mixer's exterior should be treated with care to maintain its appearance. Using gentle cleaning agents and avoiding abrasive pads preserves the mixer's finish. For maintaining its shine, stainless steel parts can occasionally be polished with a cleaner made specifically for stainless steel. Spot cleaning after each use can prevent the buildup of grime and keep the mixer looking its best.
Aesthetic Maintenance:
Use gentle, non-abrasive cleaners
Polish stainless steel parts as needed
Regular spot cleaning
Troubleshooting Common Cleaning Issues
When cleaning a stand mixer, users often encounter problems such as stubborn grime, lingering odors, or potential damage to the appliance. This section provides clear and specific solutions to address these issues without the use of harsh chemicals that could harm the mixer.
Removing Persistent Grime
If a stand mixer has residue that is difficult to remove, it's recommended to create a paste with baking soda and water. Apply the paste to the affected areas and allow it to sit for a few minutes before scrubbing gently with a soft brush. The abrasive nature of the baking soda can help lift grime without scratching the mixer’s surface.
Addressing Unpleasant Odors
Over time, stand mixers can develop foul odors from food particles that get lodged in hard-to-reach areas. To neutralize these smells, one effective method is to wipe down the mixer with a solution of equal parts water and white vinegar. After cleaning, it’s important to thoroughly dry the mixer to prevent the development of new odors.
Preventing Damage During Cleaning
To avoid damage while cleaning a stand mixer, always ensure the appliance is unplugged and never immerse the main unit in water. Use only soft cloths or sponges to wipe down the machine, as abrasive materials or scrubbers can cause scratches. Additionally, avoid using excessive amounts of water near the motor or electronic control panel to prevent electrical damage.
Long-Term Maintenance and Care

To ensure a stand mixer performs effectively over its lifespan, regular adherence to the manufacturer's maintenance guidelines and a scheduled cleaning routine are paramount. Maintenance not only preserves the mixer’s condition but also prevents performance degradation.
Regular Cleaning Schedule
A stand mixer requires routine cleaning to maintain its efficacy. They should:
Weekly: Wipe the mixer with a damp cloth after each use to prevent build-up. Ensure it is unplugged before starting.
Monthly: Wash the attachments and bowl with warm, soapy water to remove residue. If dishwasher-safe, one can place these parts in the dishwasher for convenience.
Bi-Annually: Conduct a thorough cleaning, reaching crevices with a dry toothbrush and wiping with a damp cloth.
Checking for Wear and Maintenance
Over time, a stand mixer might show signs of wear which can affect its performance. Owners should:
Inspect the mixer: Regularly assess the mixer for any loose or damaged parts, particularly the beaters and the attachment hub.
Refer to the manual: Always consult the manufacturer’s manual for specific maintenance instructions and follow them to troubleshoot common issues.
Seek professional service: If the stand mixer shows significant wear or deterioration, one should seek professional maintenance or contact the manufacturer for advice.
Safety Precautions and Best Practices
When cleaning a stand mixer, ensuring the safety of both the user and the appliance is paramount. Specific precautions around electrical components, the use of appropriate cleaning agents, and safe methods for drying and reassembly are fundamental to maintaining the mixer's longevity and functionality.
Electrical Safety
Before embarking on any cleaning task, the user must unplug the stand mixer from any electrical source. This step is crucial to prevent any risk of electrical shock. Additionally, it is important to avoid submerging the mixer or any of its electrical components in water as this can lead to electrical malfunctions or safety hazards during subsequent use.
Cleaning Agents to Avoid
The use of harsh chemicals or abrasive cleaners should be avoided to prevent damage to the mixer’s finish and components. Instead, warm soapy water should suffice for most cleaning needs. For tougher grime, a baking soda paste may be used, being cautious to apply to only the affected areas.
Drying and Reassembling Safety
After cleaning, ensure all components are thoroughly dried before reassembling to prevent any moisture from reaching electrical circuits. Each piece should be carefully inspected to ensure it is completely dry. Reassemble the stand mixer by following the manufacturer's instructions to ensure all attachments and parts are fitted securely, preventing potential accidents during use.
Advanced Cleaning Techniques
Advanced cleaning techniques for stand mixers involve a thorough deep-clean of the interior, meticulous polishing of the exterior surface, and proper lubrication of the moving parts to ensure the appliance operates smoothly and maintains its longevity.
Deep-Cleaning the Interior
For a comprehensive interior clean, one must first unplug the stand mixer. They can then remove any detachable parts, and use a small brush to dislodge and remove crumbs and hardened dough from the mixer's interior. Users should pay close attention to areas around the motor and where the beaters attach, as these are common spots for debris to accumulate. If needed, gently clean with a damp cloth and mild detergent, but ensure no liquid enters the motor or electronic components.
Polishing the Exterior Surface
To buff the exterior to a shine, users can use a soft, microfiber cloth slightly dampened with water or a non-abrasive cleaner. It's important to avoid harsh chemicals that can damage the mixer's finish. For stainless steel surfaces, one can use a specialized stainless steel cleaner to enhance the shine. After cleaning, it's essential to buff the exterior with a dry cloth to prevent streaks and maintain the mixer's aesthetic appeal.
Lubricating Moving Parts
Lubricating a stand mixer's moving parts is crucial for its maintenance. Users should consult their mixer's manual to identify which parts require lubrication. Typically, a small amount of food-grade grease applied to gears and mechanisms can help to prevent wear and tear. It's vital not to over-grease, which can attract dust and debris, or the use of incorrect lubricant, as this can cause damage. When tightening any screws during this process, ensure they are secure but not overtightened, which could strip the threads.
Stand Mixer Cleaning FAQ
Maintaining a stand mixer involves routine cleanings and understanding the specifics for dishwasher-safe parts and model-specific care. Here are some frequently asked questions to help ensure that the process is performed correctly and efficiently.
Cleaning Frequency
How often should one clean a stand mixer? One should clean the exterior of their stand mixer after each use with a damp cloth to remove any splashes and spills. A more detailed cleaning that includes washing the bowl and attachments should be done as needed, depending on usage.
Dishwasher Use
Are all stand mixer parts dishwasher safe? Not all stand mixer parts are dishwasher safe. Users should consult their stand mixer's manual to determine which parts can be placed in the dishwasher. Typically, stainless steel bowls and some attachments can go in the dishwasher, while others, particularly those with a coating, should be hand-washed.
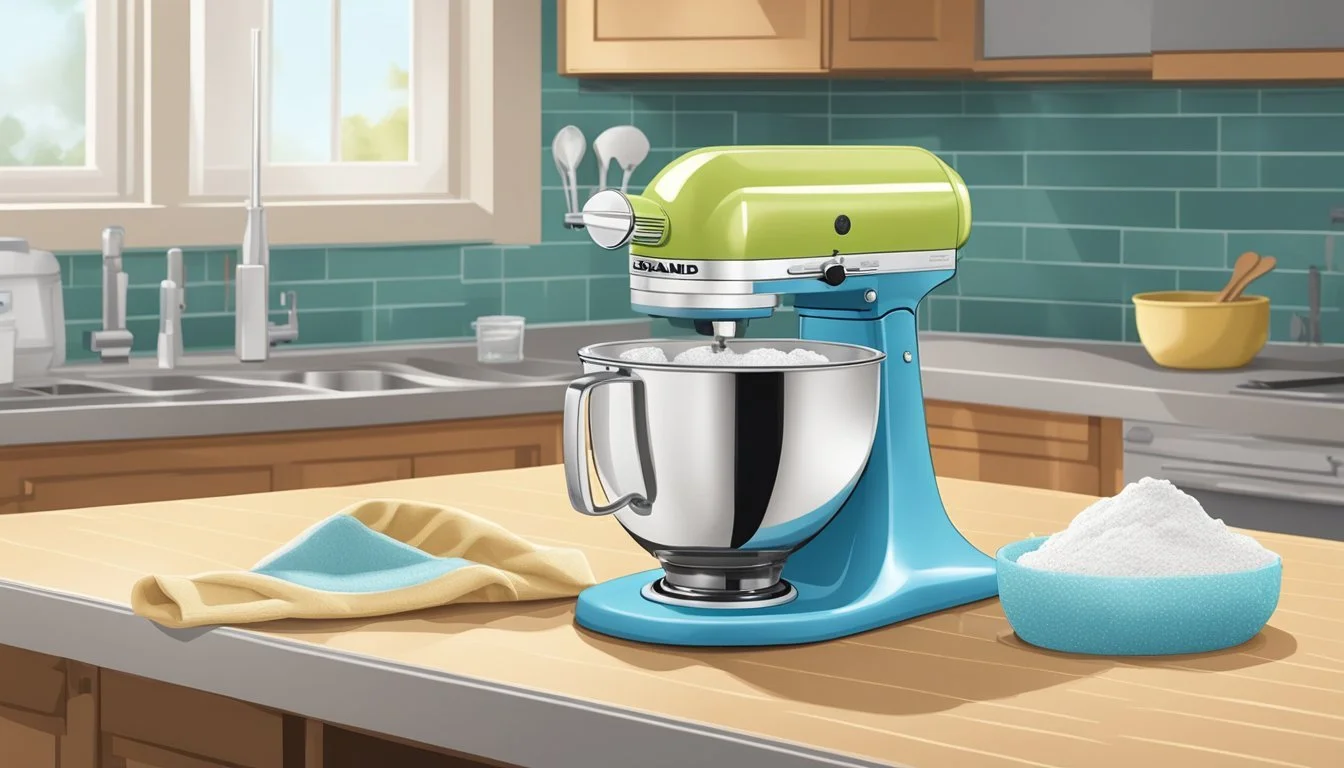
Caring for Specific Mixer Models
How does one care for different stand mixer models like KitchenAid? For KitchenAid stand mixers and other brands, users should refer to the manual for specific care instructions. For tilt-head models, it is important to clean the area where the head meets the stand, as food residue can accumulate here. Users should use a soft cloth or brush to clean difficult-to-reach spots and ensure that the mixer is unplugged before any cleaning begins.
