
How to Make a Simple Electric Mixer Cleaning Hack
Effortless Techniques for Spotless Results
Maintaining kitchen appliances is essential for both their performance and the safety of food preparation. An electric mixer is specifically an indispensable tool for many cooks, offering the convenience of mixing ingredients quickly and efficiently. To ensure its longevity and optimal functioning, a clean electric mixer is crucial. Over time, mixers can accumulate food residue and grease, which can interfere with their operation and potentially harbor bacteria.
Cleaning an electric mixer need not be a complex or time-consuming task. With the right approach, one can easily remove stubborn stains and buildup, restoring the mixer to a pristine condition. Regular cleaning not only enhances the mixer's functionality but also maintains its appearance, ensuring it remains an asset in the kitchen for years to come. By following simple cleaning hacks, users can keep their electric mixers sparkling clean with minimal effort, ready for whenever they need to whip up their next culinary creation.
Understanding Your Electric Mixer
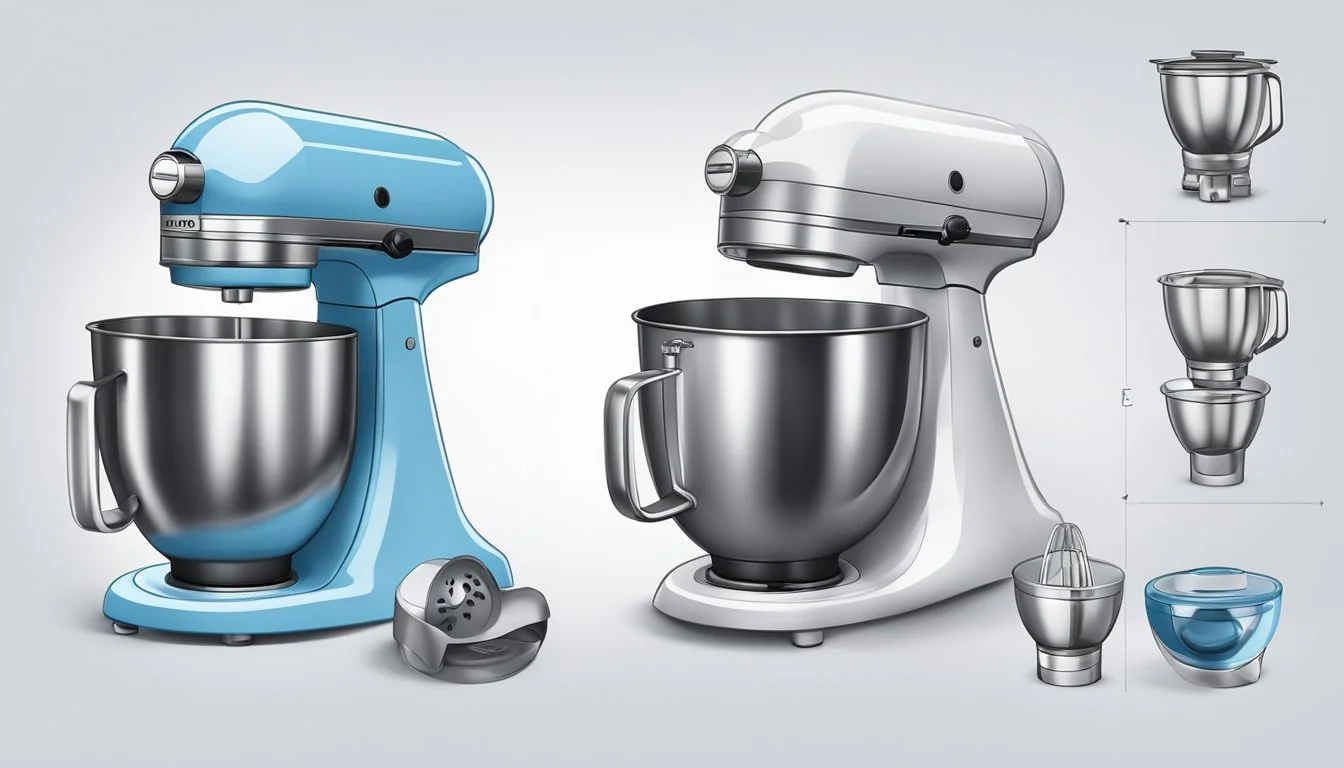
Electric mixers, encompassing both stand mixers and hand mixers, are invaluable tools in the kitchen for a variety of mixing tasks. The primary difference between the two is that a stand mixer includes a base and a dedicated mixing bowl, while a hand mixer is portable and can be used with any bowl.
Stand Mixers are robust, often coming with a powerful motor housed in the base. They stand on their own and include a bowl that is locked into place during operation. Attachments like paddles, whisks, or dough hooks are inserted into the head of the mixer and can be interchanged based on the recipe's requirements.
Motor: Provides the torque needed to mix ingredients.
Attachments: Interchangeable tools for various mixing tasks.
Bowl: A container secured to the base to hold ingredients.
In contrast, Hand Mixers are lightweight and designed for smaller tasks. They are equipped with a pair of beaters and are manually guided through the mixing bowl. Hand mixers offer flexibility and are easy to clean as they don't have a static bowl or base.
Prospective buyers should consider that while hand mixers afford convenience, stand mixers deliver stability and more power for demanding tasks. The attachments for both devices are typically detachable and can be soaked and scrubbed clean. Electric mixers simplify kitchen prep and are a testament to the ingenuity of modern culinary appliances.
Preparation Before Cleaning
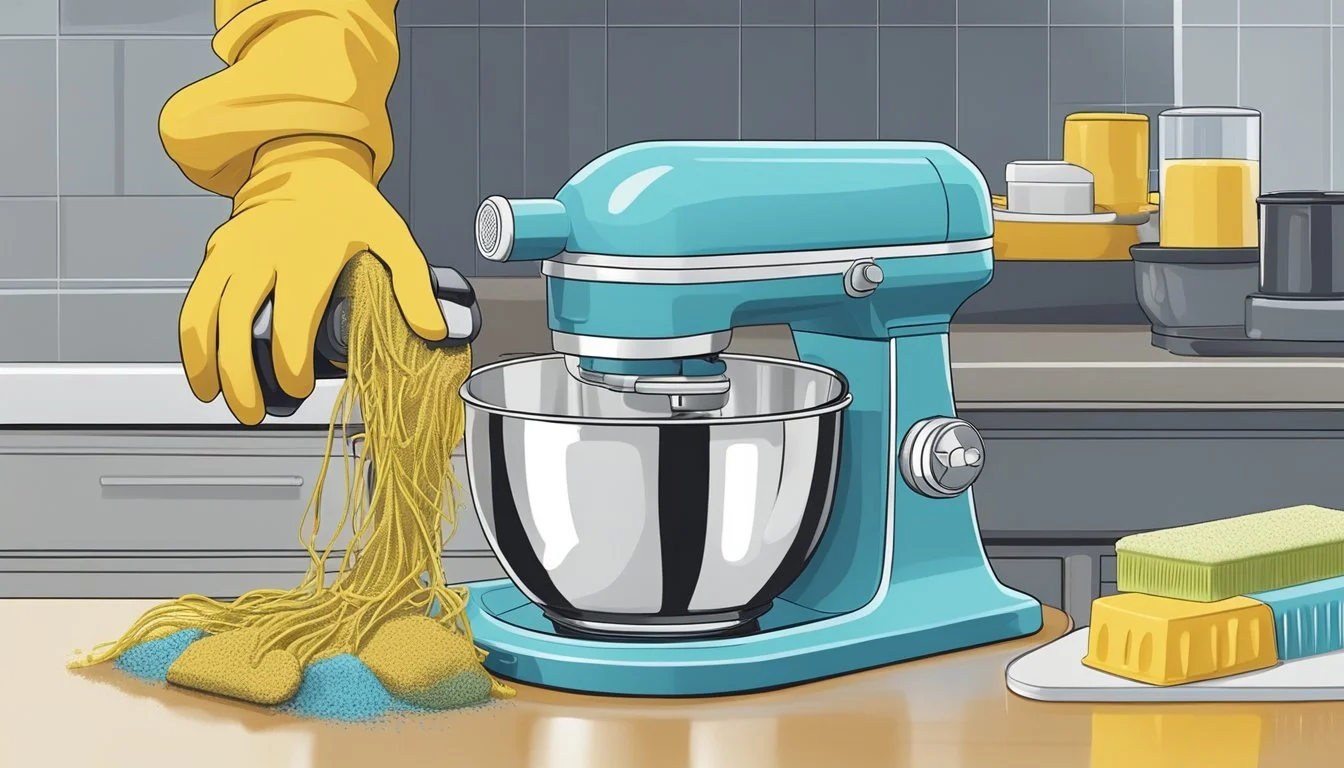
Before one begins the process of cleaning an electric mixer, safety must be the foremost consideration. First, the mixer should be unplugged to avoid the risk of electrical shock or the appliance accidentally turning on during the cleaning process.
The individual should ensure that all attachments are detached from the mixer, including beaters, hooks, and the pouring shield. These components often require separate cleaning and should be set aside for washing. Here are the steps to prepare the cleaning:
Disconnect and remove attachments.
Wipe loose crumbs and residue.
Assemble cleaning materials.
Having the correct cleaning tips and materials at hand enhances efficiency when dealing with kitchen appliances. One should gather a soft cloth, mild dish soap, and a soft towel before commencing. Below is a table summarizing the needed supplies for an effective cleanup:
Supply Use Soft cloth Wiping down the exterior Mild dish soap Removing grease Soft towel Drying to prevent water spots
Once these steps are completed, the cleaner can then proceed to the actual cleaning of the electric mixer, confident that they have prepared adequately to ensure both their safety and the maintenance of the appliance.
Daily Cleaning Routine

To maintain an electric mixer in pristine condition, one should adopt a daily cleaning routine post usage. This not only prolongs the life of the mixer but also ensures it's ready for the next use.
Firstly, unplug the mixer to guarantee safety. Remove the beaters or attachments and soak them in warm soapy water. While they soak, a damp sponge can be used to wipe down the mixer's body. Special attention should be given to areas where splatter and food particles might collect.
Next, clean the bowl with warm soapy water using a sponge or cloth. If the bowl is dishwasher-safe, one can opt to clean it in the dishwasher for convenience.
Rinsing thoroughly is pivotal to avoiding soap residue. After the beaters and bowl have been washed, they should be rinsed carefully under warm water, ensuring all soap is removed.
The final step includes drying all parts with a clean dish towel. This prevents water spots and lingering moisture, which can be detrimental over time.
The following table summarizes the daily cleaning routine:
Step Action Notes 1. Unplug mixer Safety first 2. Remove and soak beaters/attachments Use warm, soapy water 3. Wipe down body Damp sponge, target splatter and particles 4. Clean bowl Use sponge and soapy water/dishwasher 5. Rinse beaters, attachments, and bowl No soap residue should remain 6. Dry with dish towel Prevent water spots and moisture buildup
Adhering to this succinct daily cleaning routine will keep one's electric mixer ready for future baking endeavors.
Removing and Cleaning Attachments
Before starting the cleaning process, one must ensure the electric mixer is disconnected from any power source. The attachments, including beaters, dough hooks, and other mixing tools, are usually detachable for easy cleaning.
Beaters and Dough Hooks
Beaters and dough hooks typically receive the most buildup and require thorough cleaning after each use. If the attachments are dishwasher-safe, they can be placed in the top rack of the dishwasher for convenient cleaning. For hand washing, soak them in warm water with a few drops of dish soap to loosen any debris, then scrub gently with a soft brush or sponge and rinse well.
Wire Whip
The wire whip, designed for incorporating air into mixtures, is more delicate and must be handled with care. It is often not dishwasher-safe due to its material and construction. Wash the wire whip by hand using warm soapy water, carefully working between the wires to remove any residue, and rinse thoroughly. Pat dry with a towel immediately to prevent water spots and rusting.
Flat Beater
The flat beater is a versatile attachment, used for a range of mixing jobs and often easier to clean due to its shape. If it is marked dishwasher-safe, place it on the top rack of the dishwasher. Otherwise, wash the flat beater with warm, soapy water, scrubbing any stuck-on ingredients gently with a sponge or soft brush before rinsing and drying it completely.
Addressing Stubborn Residue and Stains
When confronting stubborn residues and stains on an electric mixer, one must take a methodical approach to ensure a thorough clean without damaging the appliance's surfaces. The following steps incorporate the use of common household items to tackle even the most persistent problems.
Firstly, baking soda stands out as a gentle yet effective abrasive. Users should create a paste with three parts baking soda to one part water and apply it to the stained area. Let it sit for about 10-15 minutes.
Secondly, scrubbing plays a crucial role in the removal of set-in dirt. For areas with intricate details, a toothbrush can dislodge grime without causing scratches. Here is a simple process for using these tools:
Apply the baking soda paste to the stain.
Gently scrub with a toothbrush in circular motions.
Wait for the mixture to dry.
Soap residue can be problematic, but a solution of warm water mixed with a grease-cutting detergent is quite effective. This should be used after the initial baking soda treatment:
Rinse the area thoroughly with the detergent solution.
Wipe it clean using a soft cloth or sponge.
It is important to ensure that all cleaning substances are completely removed post-cleanup:
Rinse the area with clean water.
Swipe over with a damp cloth to pick up any leftover baking soda or detergent.
Dry with a lint-free cloth to prevent water spots.
By judiciously applying these steps, individuals can efficiently address stubborn stains on their electric mixers, restoring them to their former glory.
Deep Cleaning the Mixer
When one opts for a deep cleaning of their electric mixer, it's important to address all the nooks and crannies where dust and grime can accumulate. Regular deep cleaning prevents buildup and maintains the mixer's functionality and hygiene.
Initial Preparation:
Unplug the mixer: Safety first, always start by disconnecting the mixer from the power source.
Detach all removable parts: Bowls, beaters, dough hooks, and any other attachments should be removed.
Cleaning Process:
Clean the Attachments:
Immerse the detachable parts in warm, soapy water.
Thoroughly scrub to remove any residue then rinse and dry.
Address the Mixer Body:
Use a damp cloth with mild detergent to wipe the main body.
For sticky spills, a soft-bristled brush can dislodge grime without scratching the surface.
Special Focus Areas:
Vent Cleaning: A dry toothbrush or compressed air can dislodge dust from ventilation slots without pushing the dirt further inside.
Crevice Care: A toothpick or a small brush is useful for dislodging built-up grime in crevices.
Rinsing & Drying:
Once cleaned, all parts should be thoroughly dried to prevent rust or mold growth before reassembly.
In executing these steps, one will have effectively deep-cleaned their electric mixer, ensuring it operates smoothly and remains in good hygienic condition until its next use.
Drying and Reassembling the Mixer
After cleaning the stand mixer and its attachments, the next critical step is ensuring they are dried properly. Users should start by taking a soft, absorbent towel and gently patting down the attachments, ensuring to reach every nook where water might be hiding. Attachments should then be laid out on a clean, dry cloth to air dry.
It is important that the users allow attachments to air dry completely, as residual moisture can lead to water stains or corrosion over time, especially on metal components. Users should consider placing the attachments in an area with good air circulation to expedite drying.
Once the attachments are completely dry, it is time to reassemble the mixer. Users should proceed with caution and ensure they attach each piece correctly according to the manufacturer's instructions. Attachments generally include beaters, dough hooks, and whisks that slot or snap into place seamlessly when they are oriented correctly.
Reassembling should be done carefully to avoid damaging the mixer's mechanism:
Align the attachments with the designated ports or hinges on the stand mixer.
Gently insert each component, making sure they are securely attached.
Upon reassembly, users are advised to perform a quick check by running the mixer at a low speed to ensure everything is working as it should be. This check ensures that the attachments are fixed in place and the mixer is ready for its next use.
By following these steps, users ensure their stand mixer's longevity and optimize it for future culinary endeavors.
Maintenance and Storage Tips
When it comes to storing an electric mixer, one should ensure that it is properly cleaned and dried prior to being put away. Stainless steel attachments, for example, are best hand-washed and dried thoroughly to prevent rusting and maintain their condition. The exterior of the mixer should be wiped down with a cleaning cloth to remove any residue or food particles.
Foot pads of the mixer may collect crumbs or spills. Gently lift the mixer and use a cleaning cloth to wipe the pads. This helps in preventing slips and vibration during use. Once the unit is clean, it should be stored in a dry area to avoid any moisture buildup, which could lead to electrical issues or corrosion.
For organizational convenience, consider the following table for quick maintenance reference:
Part Cleaning Method Storage Suggestion Attachments Hand wash with mild detergent; dry promptly Store in a dry location Exterior Wipe with a damp cloth; dry thoroughly Cover to prevent dust Foot Pads Clean with a damp cloth Ensure device is level when placing down
Storing the electric mixer correctly extends its lifespan and keeps it ready for the next use. A cover can also help to prevent dust accumulation when the mixer is stored on the countertop. Users should avoid wrapping cords around the device, which can strain the wires; instead, they should coil the cord loosely next to the mixer.
By employing these simple maintenance and storage tips regularly, users can ensure their electric mixer remains in top working condition.
Troubleshooting Common Cleaning Issues
When cleaning an electric mixer, individuals may encounter a variety of issues such as water spots, rust, mold, mildew, and stubborn stains. Addressing these problems effectively requires specific strategies.
Water Spots: To prevent water spots, one should dry the mixer immediately after washing it with a soft towel. If water spots have already formed, wiping the surface with vinegar and then rinsing with water can help remove them.
Rust: Rust can be tackled by applying a paste made from baking soda and water directly to the affected area. Allow it to sit for an hour, then scrub gently with a brush, and rinse thoroughly.
Mold and Mildew: In the presence of mold or mildew, it is essential to clean the area with a solution of bleach diluted in water. One should apply the solution, let it sit for a few minutes, then scrub and rinse off.
Stain Removal: For stubborn stains, using a cloth dampened with a mixture of mild dish soap and water is advised. Gentle rubbing of the stained area followed by a thorough rinse should remove the stain without damaging the mixer's surface.
It is crucial to always unplug the electric mixer before any cleaning procedure to ensure safety. After cleaning and troubleshooting these common issues, maintaining the cleanliness of the mixer by regular wiping after each use can prevent their reoccurrence, keeping the appliance in optimal condition.
Eco-Friendly Cleaning Alternatives

When tackling the task of cleaning an electric mixer, one can opt for several eco-friendly alternatives that are just as effective as commercial cleaners, minus the harsh chemicals. These natural options are not only better for the environment but often safer for use around food preparation areas.
Mild Dish Soap: A go-to cleaner for greasy surfaces, mild dish soap is effective and gentle. Users can create a soapy mixture by combining a few drops of the soap with warm water for a non-abrasive cleaning solution.
Vinegar: Vinegar's acidic nature makes it a versatile cleaning agent. It can be diluted with water to clean and deodorize the mixer. However, caution should be taken to avoid using vinegar on rubber or plastic parts as it can cause deterioration over time.
Ingredient Use-case Ratio Baking Soda Scrubbing agent As needed Lemon Degreasing and freshening 1:1 with water Microfiber Cloth Wiping without scratching N/A
Lemon: A natural degreaser, lemon juice can be applied to eliminate tough grime. The citric acid helps break down grease, and its fresh scent leaves the mixer smelling clean.
Baking Soda: For stubborn residue, a paste made from baking soda and water can be applied to the area. The mild abrasive provides scrubbing power without scratching the surface.
Lastly, using a microfiber cloth is recommended for a lint-free and scratch-free finish when wiping down the mixer. It effectively traps particles and moisture, leading to a streak-free and polished look. These eco-friendly cleaners are not only efficient but also contribute to a healthier home and planet.
Maximizing Mixer Performance Through Cleanliness
Maintaining cleanliness is crucial for an electric mixer's performance, especially when it consistently churns out diverse recipes from sauces to stiff peaks for buttercream frosting. Below are steps to ensure one's mixer runs effectively:
Regular Cleaning Routine
A regular cleaning routine is vital. After each use, one should clean the mixer bowl with warm, soapy water, scrubbing away residue with a sponge. A thorough rinse and complete drying prevent water spots and ensure the mixer is ready for the next batch of ingredients.
Exterior Maintenance
To protect the motor and maintain the mixer's aesthetics, one should gently wipe the exterior with a damp cloth. Remove any crumbs or splatters promptly to prevent grime build-up that could interfere with the mechanical parts. A clean exterior also ensures contaminants don't mix with the components of delicate recipes such as meringue or dough for cookies and brownies.
Frequency of Deep Cleaning
On a less frequent basis, but nonetheless important, a deep clean to remove flour or grease build-up is advised. This can be done by disassembling the mixer to clean each part separately, ensuring no flour or grease clogs the mechanisms that could affect the mixer’s ability to reach stiff peaks in meringue or thoroughly mix cookie dough.
Attention to Attachments
Finally, it is essential to give special attention to the beaters or dough hooks:
Beaters: Ensure these are free from old batter to maintain optimal performance for tasks like whipping up buttercream frosting.
Dough Hooks: Clean hooks are critical for effectively kneading dough without leaving any residue that could affect subsequent recipes.
By adhering to these cleanliness standards, one safeguards their mixer’s longevity and performance in all culinary endeavors.
Safety Precautions When Cleaning Electrical Appliances
When maintaining kitchen appliances like electric mixers, safety should never be overlooked. Before commencing any cleaning procedure, ensure the appliance is unplugged. This eliminates the risk of electric shock, safeguarding the individual from harm and the appliance from potential damage.
General Tips:
Inspect the appliance for damage before cleaning. Look for frayed cords or damaged switches.
Keep liquids away from the mixer's motor and electrical outlet to prevent any electrical incidents.
Cleaning Steps:
Unplug the electric mixer from the outlet, ensuring it has no electrical current running.
Use a damp cloth to wipe down surfaces, avoiding any direct water contact with electrical components.
For thorough cleaning, apply a mixture of mild detergent on a sponge or cloth and carefully clean the mixer's body, avoiding the motor housing.
After cleaning, let the mixer dry completely before using it or returning it to the outlet.
It's essential to avoid submerging the mixer or any of its electrical components in water. Should there be a need to clean mixers with persistent residue, use a baking soda paste applied with a soft brush to gently scrub the area.
When cleaning in the kitchen, a person must prioritize their safety and the integrity of their appliances. By following these recommended steps, they can keep their mixer clean and extend its service life without compromising safety.
Conclusion
Maintaining the cleanliness of an electric mixer, whether a stand or hand mixer, is essential for kitchen hygiene and the longevity of the appliance. They should routinely wipe down the exterior with a damp cloth to remove crumbs and splatters. Stubborn stains or grease can be tackled with a mild dish soap before a final rinse to prevent residue.
It is critical to thoroughly dry the mixer to avoid water spots. Users may also pay close attention to the underside and attachment areas, as these are common spots for grime accumulation. A regular cleaning schedule ensures the electric mixer performs at its best and stands ready for any kitchen task.
Lastly, here are easy reminders for cleaner equipment:
Always unplug the mixer before cleaning.
Use a soft towel to prevent scratches while drying.
Address spills and splatters promptly to prevent them from hardening.
Avoid direct water sprays or submersion to prevent electrical damage.
By adhering to these straightforward and effective cleaning practices, one can ensure that their electric mixer remains a reliable and hygienic tool in the kitchen.
