
How to Make a DIY Grease Cleaner
Effective Solutions for Kitchen Surfaces
Cleaning kitchen surfaces can be a challenging task, especially when dealing with stubborn grease build-up. Commercial degreasers may offer a solution, but they often contain harsh chemicals that can be abrasive on surfaces and have a high environmental impact. As an alternative, DIY grease cleaners present an effective and eco-friendly solution. They utilize readily available household ingredients that are gentler on surfaces and safer for the home environment.
Homemade grease removers are not only cost-effective but also customizable. People can infuse them with their preferred scents using essential oils and adjust the strength according to the level of grease accumulation. By leveraging simple ingredients like vinegar, baking soda, and dish soap, they are capable of cutting through tough grease and grime without leaving harmful residues.
The methodology for making a DIY grease cleaner is quite straightforward. A combination of acidic elements, such as vinegar or lemon juice, with a base like baking soda creates a reaction that effectively lifts grease from kitchen surfaces. The addition of a surfactant, such as dish soap, aids in breaking down grease particles, making them easier to wipe away, ensuring that kitchen surfaces are left clean and grease-free with minimal effort.
Understanding Grease on Kitchen Surfaces
Grease buildup on kitchen surfaces is a common challenge faced by many. It often accumulates as a thin layer that, over time, can become a stubborn film, especially on frequently used areas such as the stovetop, oven, and backsplash. The origins of this greasiness are evident—it stems from cooking oils, food splatters, and steam that settle on surfaces during the cooking process.
Key Areas Prone to Grease Accumulation:
Stovetop: Repeated frying and sautéing contribute to splatter.
Oven: Baked-on grease results from oven heat solidifying splatters.
Backsplash: Located close to the cooking area, it's often hit by oily splatters.
Understanding how to manage grease is essential for maintaining a clean kitchen. A proper cleaning routine is vital for removing grease buildup effectively and preserving the aesthetic and hygiene of the kitchen. Distinct surfaces may require different approaches; however, regular attention and the use of appropriate cleaning agents can prevent the labor-intensive task of degreasing less frequently but more heavily soiled areas.
The characteristics of grease make it sticky and hydrophobic, demanding more than just a water rinse. Kitchen surfaces can be kept in prime condition with a combination of regular wiping, use of suitable degreasers, and the application of a little elbow grease during cleaning sessions.
The Benefits of DIY Grease Cleaners
Creating grease cleaners at home using natural ingredients presents numerous advantages. DIY formulas are often cost-effective, taking advantage of everyday household items that are significantly cheaper than commercial products.
Safety is another compelling benefit of homemade cleaners. They do not contain the harmful chemicals typically found in industrial cleaners, reducing the risk of skin irritation, allergies, or respiratory problems. This aspect makes them a non-toxic alternative, providing peace of mind for households, especially those with children and pets.
Homemade cleaners usually include materials like baking soda, vinegar, and lemon juice. These ingredients are known for their degreasing capabilities and are readily biodegradable, making these solutions more environmentally friendly as they minimize pollution.
Economic Benefits
Homemade cleaners are often more affordable than store-bought alternatives.
Utilizes common household items, reducing the need to purchase specialized products.
Health and Safety
They are free from harsh synthetic chemicals.
Ideal for those with sensitivity to industrial cleaning products.
Environmental Impact
Ingredients are natural and biodegradable.
Decreases the household's chemical footprints.
Lastly, the efficacy of homemade grease cleaners is tried and tested, with many users reporting excellent results in cutting through kitchen grime. In addition to their cleaning power, many DIY cleaners can be boosted with essential oils, offering a pleasant aroma without artificial fragrances.
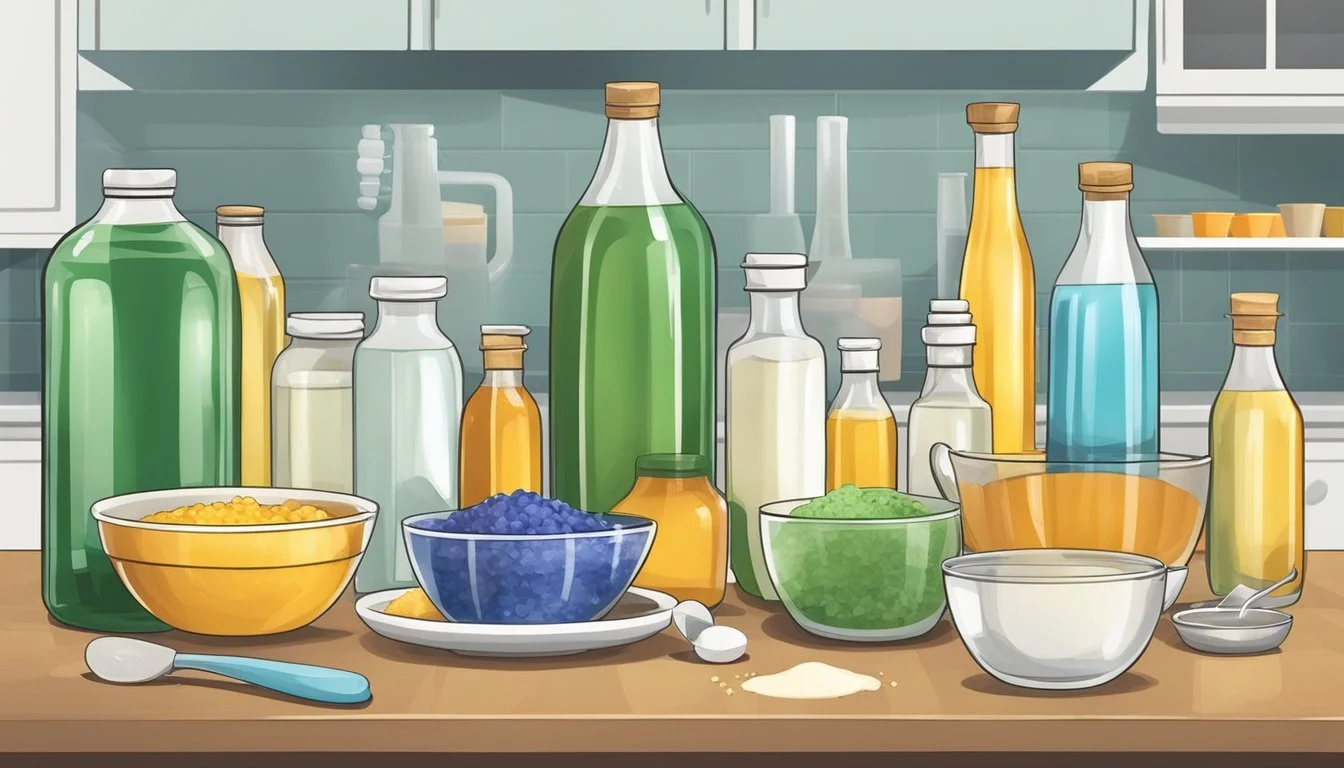
Essential Ingredients for DIY Grease Cleaners
Creating effective DIY grease cleaners for kitchen surfaces requires a combination of ingredients that work together to cut through grime. Each component plays a distinct role in the cleaning process, from dissolving grease to providing a pleasing scent.
Vinegar: A Powerful Degreaser
Vinegar, particularly white vinegar, contains acetic acid which is excellent for cutting through grease. A simple mixture often involves diluting vinegar with water, as its acidity is what enables it to break down oily residues. White vinegar is favored for its grease-dissolving properties without leaving behind any stains.
Baking Soda: The Gentle Abrasive
Baking Soda serves as a gentle abrasive, making it perfect for scrubbing away tough spots without scratching surfaces. When mixed with water, it forms a paste that can be applied directly to greasy areas. Its natural, fine grains help lift and remove hardened spills and splatters.
Castile Soap: The Versatile Cleaner
Castile Soap is a plant-based cleanser that can effectively emulsify grease and dirt. This versatile cleaner works well on a variety of surfaces and pairs seamlessly with other natural ingredients, such as vinegar and baking soda, enhancing their cleaning power without harmful chemicals.
Essential Oils: For Fragrance and Cleaning Power
Essential oils like orange and lemon essential oil not only add a pleasant fragrance to DIY grease cleaners but also come with additional cleaning benefits. Citrus oils, for instance, contain compounds that contribute to dissolving stubborn grime and can leave surfaces with a fresh, clean scent.
Tools and Equipment for Making DIY Cleaners
Creating your own grease cleaner for kitchen surfaces requires several key tools and equipment to ensure a safe and effective crafting process. Homeowners should gather these items prior to embarking on their DIY cleaner venture.
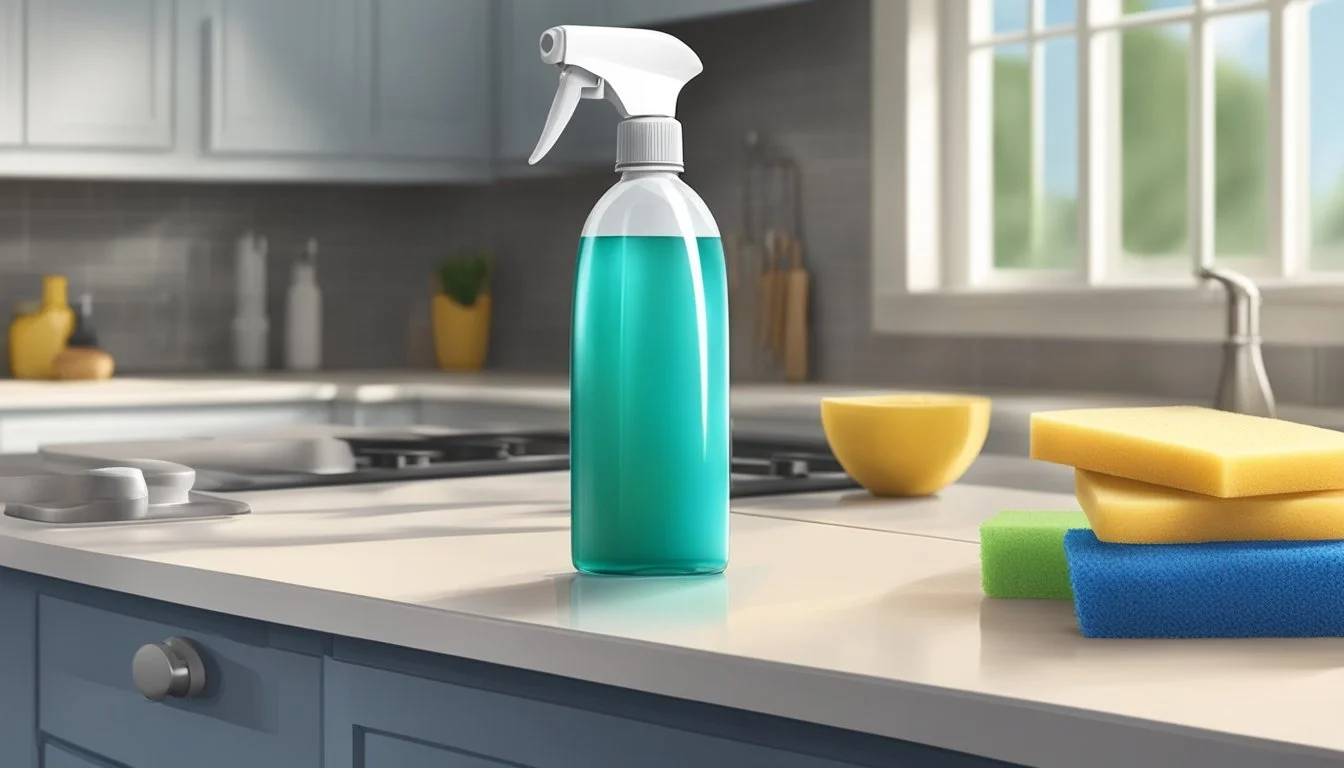
Spray Bottles: A glass spray bottle is recommended for long-term use as it does not degrade over time and can withstand acidic cleaning solutions without leaching. They also make applying the DIY grease cleaner efficient and easy.
Funnels: Using a funnel is crucial when transferring liquids to prevent spills and ensure that the ingredients reach the bottle safely and cleanly.
Microfiber Cloths: A microfiber cloth is an ideal companion for wiping down surfaces after application of the cleaner. Its fine fibers provide a non-abrasive tool that effectively removes grease without scratching delicate surfaces.
Labels: Properly labeling your DIY cleaner is important for safety and convenience. A label can provide information such as the contents, the date it was made, and any warnings or instructions for use.
Here is a simple checklist for gathering your tools and equipment:
Spray Bottle Options:
Glass spray bottle (preferred)
Plastic spray bottle (if glass is unavailable)
Application Tools:
Microfiber cloth
Preparation Tools:
Funnel
Measuring cups and spoons
Labeling and Storage:
Waterproof label
Permanent marker
Before starting, one should ensure their glass spray bottle is clean and dry to prevent contamination of the DIY cleaner. Additionally, it's advisable to have several microfiber cloths at the ready for use after the cleaner is applied.
Step-by-Step Guide to Making a Kitchen Grease Cleaner
Creating a DIY kitchen grease cleaner is a simple process that requires only a few household ingredients. Here's a step-by-step guide to making an effective homemade degreaser:
Ingredients:
1 cup of warm water
2 tablespoons of baking soda
1 tablespoon of Castile soap or dish soap
10-20 drops of lemon or orange essential oil (optional)
Instructions:
Prepare the Bottle:
Choose a clean, empty spray bottle for your degreaser.
Mix Water and Baking Soda:
Pour the warm water into the bottle.
Add the baking soda.
Add Soap:
Introduce the Castile or dish soap into the mix.
Add Essential Oil (Optional):
For a pleasant scent and additional cleaning properties, infuse the mixture with lemon or orange essential oil.
Shake to Combine:
Secure the spray bottle's cap and shake vigorously until all the ingredients are thoroughly mixed.
Usage:
Spray the cleaner onto the kitchen surface with grease build-up.
Leave the solution to sit for a few minutes to break down grease.
Wipe the surface with a cloth or sponge to clean.
For tougher spots, add a couple of drops of essential oil directly to the area and spray again before wiping.
By following this guide, anyone can create a homemade degreaser that effectively tackles kitchen grime using simple ingredients and clear instructions.
Using Your DIY Grease Cleaner
When tackling kitchen grease, the approach varies depending on the surface and severity of the grime. For routine cleaning, the spray and wipe technique works effortlessly, whereas tougher accumulations on your stovetop and oven may require more attention with soaking and scrubbing.
Spray and Wipe Technique for Counters and Tables
For daily grease management on kitchen counters and tables, one should employ a straightforward two-step process:
Spray: Thoroughly mist the greased area with the DIY degreaser, covering all the spots for uniform effect.
Wipe: Use a microfiber cloth or paper towel to wipe away the grease. For more stubborn areas, let the solution sit for a minute before wiping clean.
Remember to spray just enough cleaner to cover the greasy surfaces without oversaturating, as excess moisture could damage certain materials.
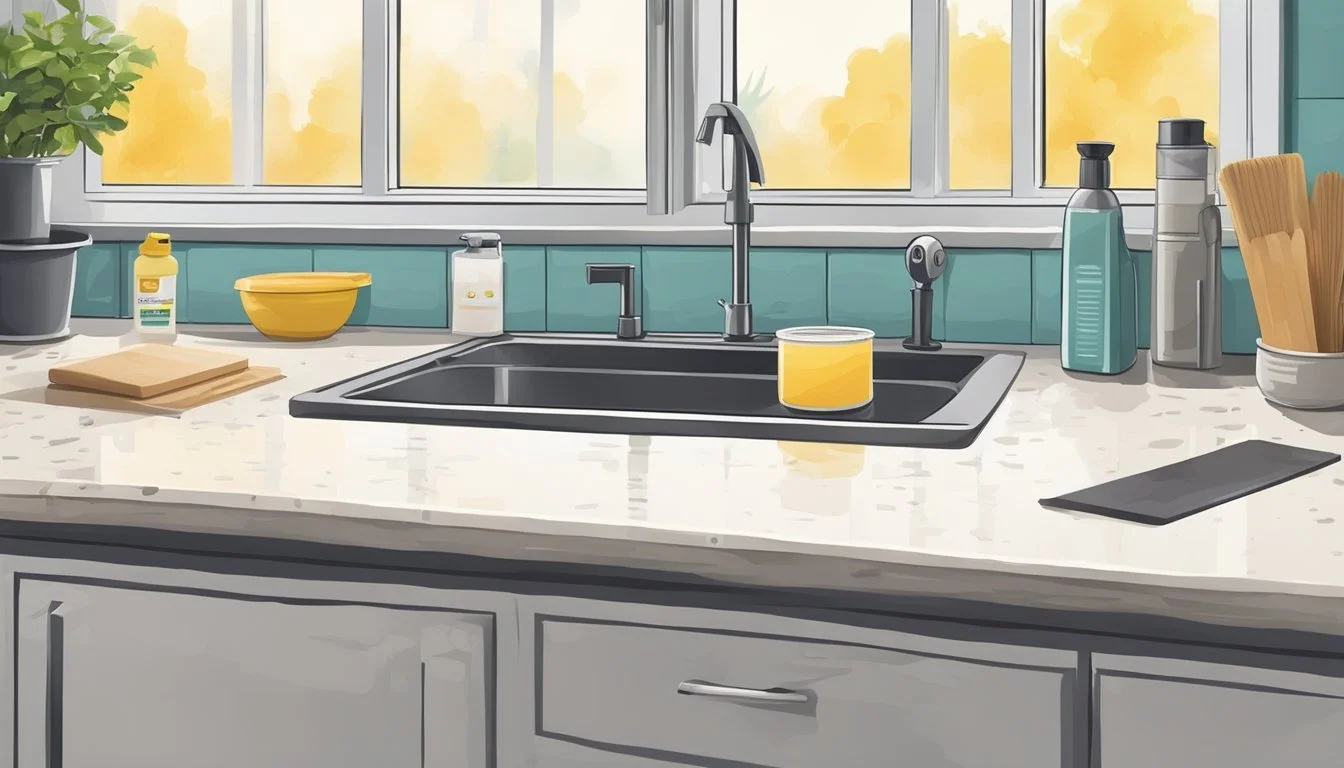
Soak and Scrub for Tough Grease on Stovetops and Ovens
To combat heavy grease buildup on stovetops and inside ovens, a more intensive approach is necessary:
Soak: Apply the degreasing solution liberally to the affected areas and allow it to soak for several minutes. This helps to break down the grease and makes scrubbing more effective.
Scrub: Use a non-abrasive scrubbing pad or brush gently on the softened grease. Repeat the application of the degreaser and scrub as needed until the surface is clean.
During this process, it's imperative to check the cleaner's compatibility with your appliance's material to prevent any damage.
Customizing Your Grease Cleaner for Different Surfaces
When crafting a DIY grease cleaner, it's essential to tailor the formulation to accommodate the specific material of each kitchen surface. Doing so ensures effective cleaning while preserving the integrity of the surface.
Glass and Windows: Streak-Free Cleaning
For glass surfaces including windows and mirrors, a mixture that evaporates quickly to prevent streaking is optimal. One can create an effective solution by combining equal parts of distilled water and white vinegar in a spray bottle. The key is to use a microfiber cloth or squeegee to wipe the surface clean, which minimizes streaks and leaves glass sparkling.
Natural Stone Surfaces: Gentle and Effective Care
Cleaning natural stone, such as granite and marble, requires a gentle, non-acidic cleaner to prevent etching or damage. A pH-neutral solution made with mild dish soap and water is suitable. It's advisable to mix 2 cups of warm water with a few drops of mild, unscented liquid dish soap, applying the mixture with a soft cloth and thoroughly drying the surface afterward.
Metal and Stainless Steel: Shiny and Residue-Free
Metal surfaces, in particular stainless steel, demand a cleaner that can cut through grease without leaving residues or causing corrosion. A blend of baking soda with liquid dish soap can form a paste suitable for scrubbing stainless steel surfaces. After cleaning, it's important to rinse with water and buff dry with a soft cloth to restore shine and prevent water spots.
Safety Tips and Precautionary Measures
When creating a DIY grease cleaner, safety is paramount. Users should prioritize protective measures to ensure a secure and effective cleaning process.
Protective Gear: Always wear gloves to safeguard the skin from irritation and protective eyewear in case of splashes, especially when using rubbing alcohol.
Proper Ventilation: Work in a well-ventilated area to avoid inhaling fumes from the homemade cleaner or any toxic chemicals that might be present.
Ingredient Safety: Be cautious with homemade cleaner ingredients. Certain combinations, such as mixing vinegar with bleach, can create dangerous gases.
Do's Don'ts Dilute cleaning agents appropriately. Mix different cleaners without proper knowledge. Conduct spot tests on surfaces before overall use. Use containers that previously held food without thorough cleaning. Store the cleaner in a well-labeled bottle out of reach of children and pets. Dispose of unused cleaner carelessly. It may require special disposal methods.
Spot Test: Before applying the cleaner to all kitchen surfaces, they should test it on a small, inconspicuous area to check for any adverse reactions.
Rubbing Alcohol Precautions: If the cleaner includes rubbing alcohol, they should keep it away from open flames as it is highly flammable.
With these safety tips, individuals can confidently tackle kitchen grime, while ensuring the well-being of themselves and their environment.
Maintenance and Storage of DIY Cleaners
When managing homemade all-purpose cleaners, particularly those designed for grease removal in kitchens, careful maintenance and proper storage are essential to preserve their efficacy and ensure safety.
Storage Guidelines:
Container: Store DIY cleaners in clean, labeled spray bottles.
Temperature: Keep at room temperature, away from direct sunlight and heat sources.
Accessibility: Place in a secure location, out of reach of children and pets.
Maintenance Tips:
Shelf Life: Typically, homemade cleaners can be effective for up to one month. However, always check for any changes in color, smell, or texture, which could indicate spoilage.
Consistency: Regularly shake the bottle to maintain proper ingredient distribution.
Labeling: Label each cleaner with the date of creation and contents:
Label Information Example Contents DIY Grease Cleaner Date of Manufacture March 6, 2024 Usage Instructions Spray on surface, leave for a minute, wipe off Cautionary Notes Avoid contact with eyes; not for consumption
Longevity-enhancing Practices:
DIY cleaners benefit from the addition of natural preservatives such as vinegar or essential oils, which may extend their effective usage period and bolster cleaning power.
Use: A timely, fair use of the product prevents waste and ensures cleaning potency is maximized during its peak performance period.
By adhering to these straightforward practices, one can confidently and effectively utilize and maintain DIY kitchen surface cleaners.
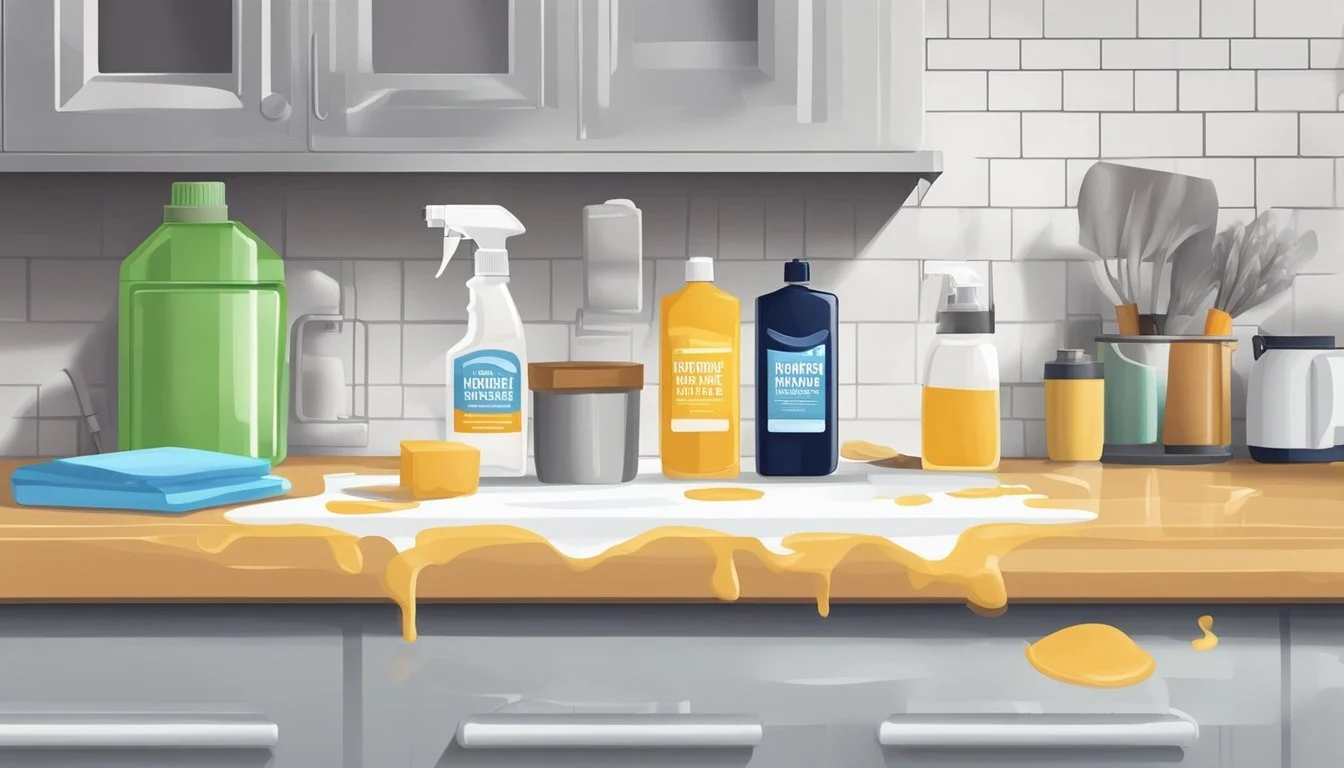
Troubleshooting Common DIY Grease Cleaner Issues
When crafting a homemade grease cleaner, one might encounter several issues that could diminish its effectiveness. Identifying and resolving these common problems ensures that the DIY grease cleaner works as intended.
Issue: Cleaner Not Cutting Through Grease
Solution: Increase the concentration of the soap or add a degreasing agent such as baking soda or vinegar. Ensure to shake the mixture well before each use.
Issue: Cleaner Leaves Residue
Solution: This typically occurs due to an excess of soap. One should dilute the solution with more water and ensure to thoroughly rinse the surface after application.
Issue: Ineffective on Old or Heavy Grease Build-Up
Solution: Pre-treat the area with a few drops of an essential oil like orange or lemon, known for their grease-cutting properties. Let it sit, then apply the cleaner.
Issue: Unpleasant Odor
Solution: Incorporate a few drops of pH-neutral essential oils to the mixture for a mild, pleasant scent. Citrus scents also complement the degreasing properties of the cleaner.
Issue: Homemade Cleaner Expires Quickly
Solution: Most DIY cleaners lack the preservatives found in commercial products. It's advised to make small batches for immediate use or store the solution in a cool, dark place to prolong its efficacy.
Remember, the effectiveness of DIY cleaners can vary based on the ingredients’ quality and the ratios used. Always spot-test any new cleaner on an inconspicuous area to ensure it does not damage the surface.
