
How to Make a DIY Natural Oven Cleaner
Simple and Effective Solutions
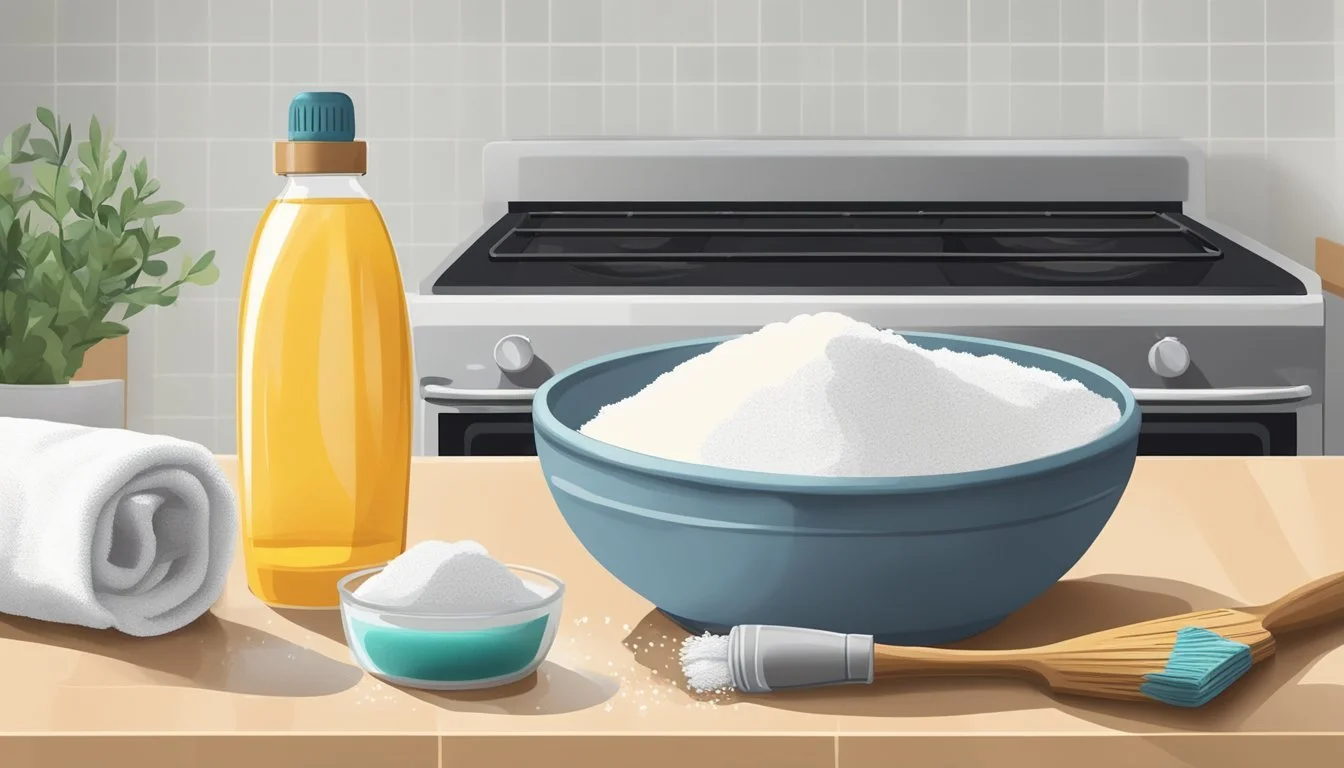
Creating a homemade oven cleaner that is both effective and natural is an accessible and straightforward task for anyone looking to avoid the harsh chemicals found in many commercial products. Incorporating common household ingredients, such as baking soda, white vinegar, and dish soap, individuals can concoct a DIY oven cleaner that capably tackles grime and buildup. This alternative not only serves as a safer option for the home environment but also leverages the natural cleaning properties of its constituents to deliver a sparkling finish without leaving behind toxic residues.
When one opts for a natural oven cleaner, they are choosing to use substances that are less abrasive and more eco-friendly. The combination of baking soda's mild abrasiveness with the grease-cutting power of dish soap and the natural acidity of vinegar forms a potent mixture. This mixture can break down stubborn stains and baked-on food, ensuring the oven is not only clean but also free of the overpowering odors often associated with synthetic cleaners. By employing these commonly found ingredients, one can create an effective oven-cleaning solution that aligns with a more sustainable and health-conscious approach to household maintenance.
Benefits of Natural Oven Cleaners
Natural oven cleaners offer a safer and eco-friendly alternative to commercial oven cleaners, which often contain harsh chemicals that can be harmful to one's health and the environment. Here are some of the key benefits:
Safety for Health: Natural cleaners minimize exposure to toxic chemicals, reducing the risk of respiratory issues or skin irritation that can be caused by the strong substances found in many commercial products.
Environmental Impact: Ingredients in DIY non-toxic oven cleaner are usually biodegradable and environmentally benign. They lack the corrosive chemicals that contribute to pollution and can harm wildlife.
Commercial Oven Cleaners Natural Oven Cleaners Harsh chemicals Safe, everyday ingredients Risk to health Lower health risks Environmental hazards Eco-friendly
Economic Benefits: Typically, natural cleaning products can be made with household items such as baking soda and vinegar, making them a cost-effective solution compared to purchasing specialized commercial cleaners.
Efficacy: Despite being gentle, these green cleaning solutions can be highly effective. For instance, a combination of natural ingredients can address grime and grease, often matching the effectiveness of chemical alternatives without the accompanying health risks.
Ease of Use: A DIY non-toxic oven cleaner can be simple to prepare and use, with ingredients that don't require precautionary measures such as gloves or masks, thereby offering a more user-friendly cleaning experience.
By choosing natural cleaning options, individuals can enjoy a clean oven without compromising their health or the planet.
Necessary Ingredients and Tools
Preparing your own natural oven cleaner requires a range of readily available ingredients and tools. By following the guidance below, one can safely and effectively clean their oven without the harsh chemicals found in commercial products.
Common Natural Ingredients
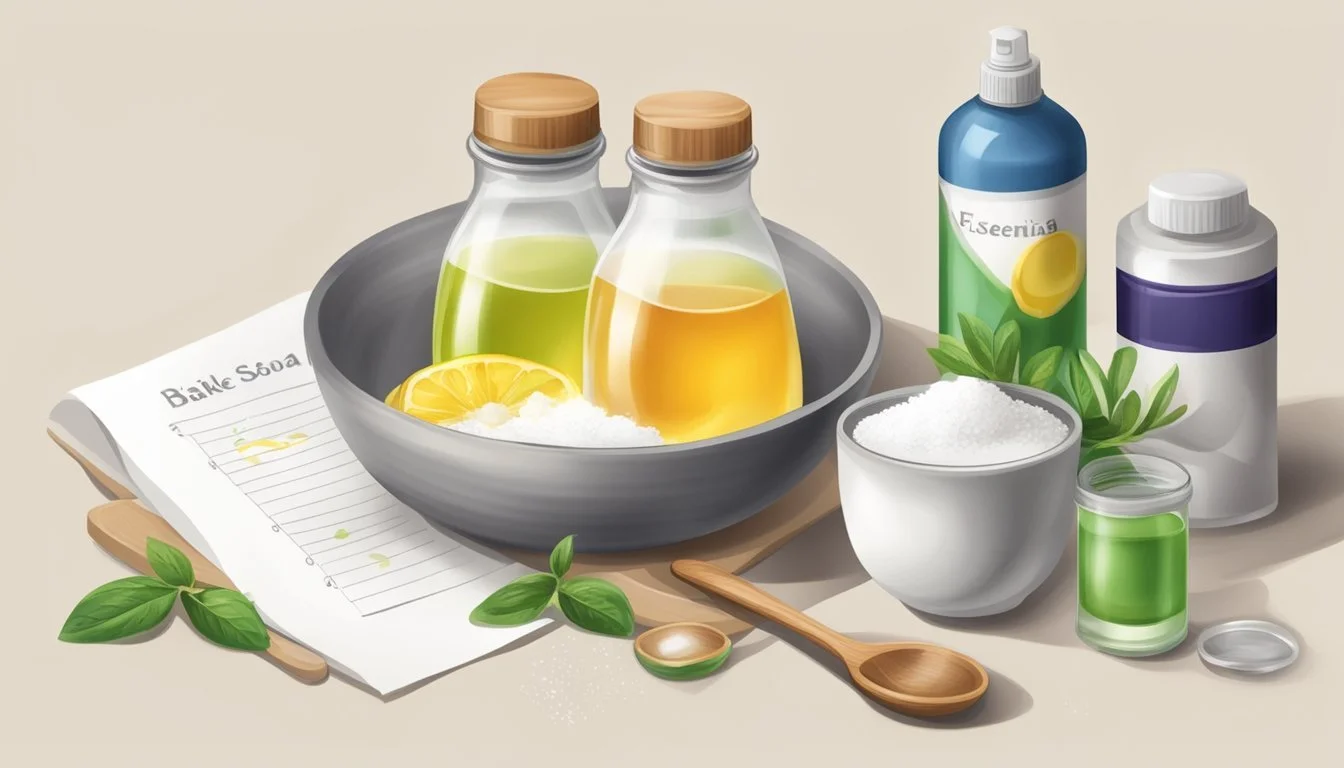
Natural oven cleaners generally utilize a combination of safe, non-toxic ingredients. Here is a detailed list of the items typically found in DIY oven cleaning recipes:
Vinegar: White vinegar acts as a natural disinfectant and grease-cutter.
Baking Soda: A powerful cleaning agent that helps scrub away tough stains.
Lemon Juice: High in citric acid, it's effective in cutting through grease and adding a fresh scent.
Dish Soap: A mild grease-cutting agent that can help loosen grime.
Essential Oil: Lemon or lavender essential oil can be added for a pleasant fragrance.
Salt: When combined with water, salt can create an abrasive paste useful for scrubbing.
Water: Often used to dilute cleaners, create pastes, or rinse surfaces.
Tools Required for DIY Cleaning
To apply the natural oven cleaner and ensure a thorough clean, one will need certain tools. The following items are highly recommended for the cleaning process:
Spray Bottle: For easy application of liquid natural cleaners.
Sponge: Used to apply pastes and scrub surfaces gently.
Damp Cloth: Necessary for wiping away residue after cleaning.
Scrub Brush: Ideal for tackling tough, baked-on stains.
Microfiber Cloth: Helps in polishing and providing a streak-free finish.
Newspapers: Can be laid out to protect the floor around the oven during the cleaning process.
Combining these ingredients and tools, one has the basis for creating a variety of effective, eco-friendly oven cleaning solutions.
Preparation of Homemade Oven Cleaner
A homemade oven cleaner can be prepared using common household items, specifically a cleaning paste and a vinegar-based solution for effective and natural cleaning.
Creating a Cleaning Paste
One can create a potent cleaning paste using baking soda as a base. To start:
Measure 1 and 1/2 cups of baking soda into a bowl.
Gradually add warm water until the mixture reaches a spreadable consistency.
For fragrance and additional cleaning power, a few drops of essential oils such as lavender can be incorporated. Mix the ingredients thoroughly to ensure a uniform paste. One should aim for a paste that can adhere to the surfaces inside the oven without running.
Mixing a Vinegar-Based Solution
Following the application of the baking soda paste, a vinegar-based solution can be used to enhance cleaning:
Combine equal parts of distilled white vinegar and water in a spray bottle.
Ensure the spray bottle is closed securely and shake well to mix.
After the baking soda paste has been applied and given time to work, this vinegar solution should be sprayed over the paste to react with the baking soda, helping to lift tough stains and residues.
Cleaning Process Overview
Proper oven cleaning involves a few key steps that include prepping the oven, applying an effective homemade cleaner, and diligent scrubbing. This process ensures removal of grime and residues that can cause smoke or odors during cooking.
Clearing and Prepping the Oven
Before any cleaning begins, one must ensure the oven is cool and powered off. All oven racks should be removed along with any pans or oven-proof dishes. Individuals should then use a brush or dry cloth to sweep out any loose debris or food particles from the bottom of the oven.
Applying the Homemade Cleaner
A natural cleaner can be made using a combination of baking soda, soap, and vinegar to form a paste. This paste should be evenly distributed across the interior surfaces of the oven, avoiding heating elements. Special attention may be needed for areas with heavy grime build-up, where the paste should be thicker.
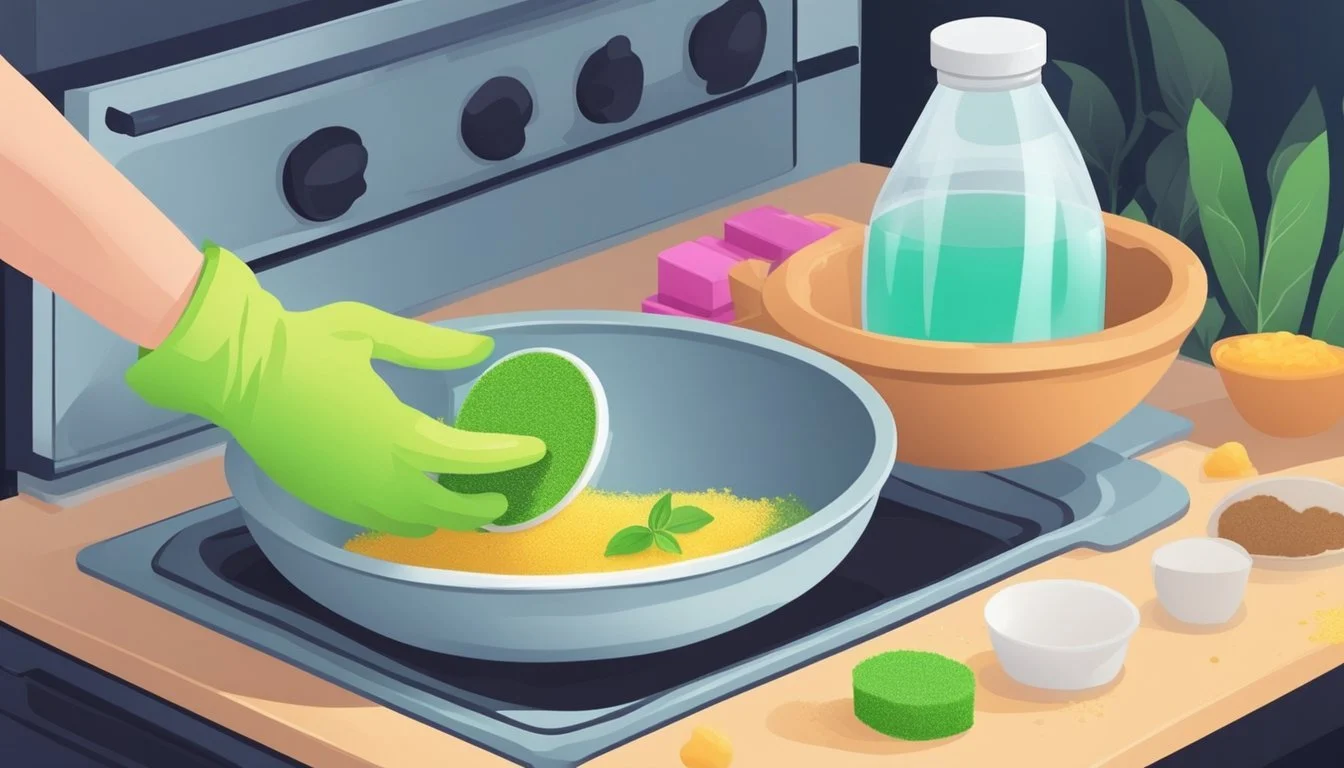
Scrubbing and Elbow Grease
After the cleaner has been left to sit and penetrate the grime, it's time for scrubbing. Wearing gloves, one should use a sponge or scrubbing brush to work the cleaner into the grime. For particularly stubborn spots, additional elbow grease may be required. After scrubbing, wiping the oven clean with a damp cloth will remove the cleaning residue, leaving the oven pristine.
Rinsing and Finishing Touches

After thoroughly applying and letting the DIY cleaner work its magic, it's important to remove all residues properly to reveal a sparkling clean oven interior. This final phase ensures that any leftover cleaning paste does not continue to interact with the oven surfaces.
Rinsing with Warm Water
One should use warm water to rinse the interior surfaces of the oven. A sponge or microfiber cloth, dampened in warm water, effectively removes the cleaning paste. It’s important for the water to be warm as it helps in dissolving any residual baking soda or soap, making it easier to wipe away.
Wiping Down Surfaces
Once the bulk of the cleaning paste has been rinsed away, taking a clean, damp cloth to wipe down all surfaces should follow. This includes the bottom, walls, and the glass oven door, ensuring that any streaks or leftover cleaning mixture are completely removed.
Glass Oven Door: Using a microfiber cloth is ideal as it's gentle on the glass and doesn't leave lint behind.
Interior Surfaces: A sponge might be used for tougher spots, but a microfiber cloth is preferred for a final wipe-down.
Polishing Oven Exteriors
With the interiors clean, the focus should now shift to the exterior. Using a soft cloth, one can polish the oven’s external surfaces, which might include a combination of glass, metal, or enamel finishes. Careful attention should be given to avoid using abrasive materials that can scratch or damage the exterior of the oven.
Metal or Enamel: For stainless steel or enamel, a light buffing with a dry microfiber cloth can remove fingerprints and smudges, leaving the surface shiny.
Control Panel: Gentle cleaning with a slightly damp cloth can prevent water from seeping into the controls.
Aftercare and Maintenance
Proper aftercare and maintenance ensure that a DIY natural oven cleaner continues to be effective, and the oven itself remains in good working order. Regular attention can prevent build-up and prolong the appliance's lifespan, while understanding when and how to use self-cleaning functions can save time and energy.
Regular Maintenance Tips
Wiping Spills Promptly: They should address spills and splatters immediately with a damp cloth to prevent them from baking onto the surface during subsequent oven use.
Routine Cleaning: They should schedule regular cleaning sessions to keep the oven pristine. This involves applying the chosen natural cleaner and thoroughly wiping the interior surfaces every few months, depending on usage.
Oven Rack Care: To clean oven racks, soak them in a tub with hot water and a half-cup of dish soap or baking soda for a few hours, then rinse and dry before returning them to the oven.
Using Self-Cleaning Function
Self-Cleaning Mode: They should utilize this function sparingly, as it can consume a lot of energy and potentially shorten the oven's lifespan if overused.
Remove oven racks before initiating self-cleaning mode.
Wipe any large debris or loose particles manually to prevent excessive smoke.
Ensure the area is well-ventilated, as self-cleaning can produce unpleasant odors.
Post Self-Cleaning: After using the self-cleaning function, they should wipe the interior to remove any ash residues with a damp cloth.
Rack Cleaning: They should not expose oven racks to self-cleaning cycles, as it can tarnish their finish; instead, they should clean them separately as suggested above.
Precautions and Safety Measures
When creating and using a natural oven cleaner, safety precautions are essential to protect oneself and maintain a safe cleaning environment. Here is a guide to staying safe:
Proper Ventilation: Always ensure the kitchen is well-ventilated. Open windows or turn on the exhaust fan to minimize inhalation of any fumes or dust.
Personal Protective Equipment: Wear gloves to protect the skin from irritation and safety goggles to prevent any accidental splashes in the eyes, especially when handling boiling water or the cleaner mixture.
Avoid Mixing Chemicals: Do not combine the homemade cleaner with commercial cleaners, as this can cause dangerous chemical reactions.
Temperature Caution: If using boiling water for rinsing or steam cleaning, handle with care to prevent burns. Do not apply boiling water directly to glass surfaces as the sudden temperature change can cause shattering.
When dealing specifically with tough stains:
Prolonged Application: For stubborn grime, let the natural cleaner sit on the surface for several hours, or even overnight, to break down residues effectively before scrubbing.
Gentle Abrasives: Use non-abrasive tools like a soft sponge or brush to avoid scratching the oven surfaces.
Regarding the natural oven cleaner recipe:
Accurate Measurements: Follow the recipe accurately to ensure the desired consistency and cleaning effectiveness.
Patch Test: Test the cleaner on a small, inconspicuous area of the oven to check for any adverse reactions.
By adhering to these precautions and safety measures, one can effectively use a DIY natural oven cleaner while protecting themselves and their home environment.
Alternative Methods and Added Tips
When seeking alternatives to commercial oven cleaners, homemade solutions can be both effective and environmentally friendly. These options often utilize common household ingredients and can be adapted for various oven types.
Commercial Cleaner Alternatives
For those preferring to avoid harsh chemicals found in traditional oven cleaners, natural substitutes provide an efficient and safer solution. Here are a few options:
Baking Soda and Vinegar: A paste of baking soda and water, applied and left to sit overnight, followed by a spray of vinegar, can lift off stubborn grime.
Salt and Hot Water: Salt can be used as an abrasive, especially when an oven is slightly warm. Use a solution of salt and hot water to scrub off stains.
DIY Variants for Different Oven Types
Each oven type may require a specific approach to cleaning to prevent damage and ensure effectiveness.
Gas Oven:
It's crucial to avoid clogging gas ports; therefore, any homemade cleaner should be applied carefully.
A paste made from lemon juice or vinegar with baking soda is effective for tackling grease without risking damage.
Stainless Steel Oven:
Prevent the use of abrasive materials to maintain the finish.
A diluted vinegar spray followed by a soft cloth can enhance shine and remove fingerprints without scratching the surface.
Remember to always disconnect your oven from the power source and ensure it's completely cool before applying any DIY cleaning solution.
Conclusion
Natural oven cleaners provide a safe and eco-friendly alternative to chemical-based products. Creating a DIY oven cleaner enables individuals to tackle kitchen grime using ingredients typically found at home. The confidence to mix and apply these substances comes from knowing that they are less likely to cause harm to health or the environment.
One can craft an effective cleaning paste with a simple combination of baking soda, dish soap, and white vinegar. This blend utilizes the powerful grease-cutting action of soap, the abrasive quality of baking soda, and the descaling properties of vinegar. Their natural characteristics make them effective against even the most stubborn oven stains.
Applying the mixture and allowing it to sit enhances its efficacy, making cleanup easier. Once the cleaning process is complete, a wipe-down with a solution of equal parts water and vinegar will remove any residue. Finally, drying the racks and interior surfaces leaves the oven clean and ready for use.
They can feel confident in their ability to maintain a clean oven without resorting to harsh chemicals. The knowledgeable use of these simple ingredients ensures a clean cooking space and peace of mind.
As individuals become more environmentally conscious, the appeal of homemade solutions grows. Not only are natural oven cleaners more sustainable, but they also offer a safer and equally valid approach to tackling household chores.
