
How to Make Your Own Sushi Rice at Home
The Ultimate Guide
Making sushi (What wine goes well with sushi?) rice (What wine goes well with rice?) at home is a fundamental skill for any aspiring sushi chef or enthusiast. The process begins with selecting the right type of rice, typically a short-grain variety known for its ability to stick together, which is essential for sushi-making. This rice must be washed thoroughly to remove excess starch that can make the rice overly sticky. Once the rice has been rinsed until the water runs clear, it is combined with water and cooked until it reaches the perfect texture—tender, yet firm enough to hold its shape.
After cooking, the rice is seasoned with a mixture of rice vinegar, sugar, and salt. This sushi vinegar, also known as sushizu, is gently folded into the warm rice to infuse it with flavor and a slight glossy sheen. The seasoning not only adds the distinctive taste associated with sushi rice but also contributes to the preservation and the subtle tang that balances the flavors of the fish and other toppings used in sushi.
Preparing sushi rice at home allows for personalization and ensures the freshness of the ingredients. With proper technique, anyone can prepare sushi rice that rivals that of professional sushi chefs. The key is attention to detail, from the initial rinsing of the rice to the careful seasoning that gives sushi its characteristic taste.
Understanding Sushi Rice Basics
Selecting the proper type of rice and seasonings is crucial for crafting the perfect sushi rice. It's the interplay of specific rice varieties with particular seasonings that create the authentic taste and texture which are central to sushi.
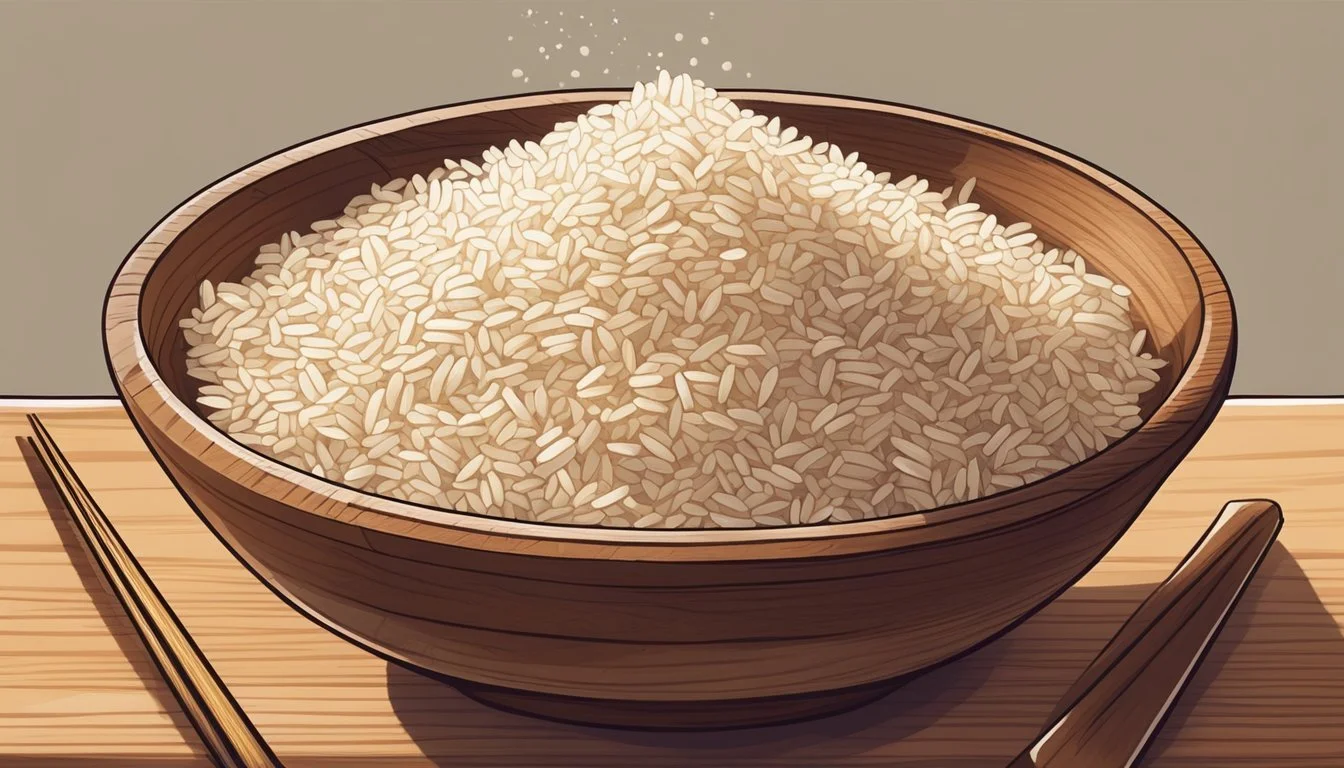
Identifying the Right Rice Varieties
Japanese short-grain rice is the hallmark of sushi rice because of its ability to stick together once cooked, a property that is essential for sushi to hold its shape. Koshihikari and Nishiki are examples of premium short-grain rice brands favored for sushi due to their ideal texture and flavor. Glutinous rice or regular rice like jasmine rice will not suffice, as they either lack the proper stickiness or flavor profile.
Role of Vinegar in Sushi Rice
The incorporation of vinegar in sushi rice is more than mere flavoring—it serves to balance the sweetness with a tangy edge. Furthermore, the acidity contributes to the preservation of the rice. The type of vinegar used is typically a specially formulated sushi vinegar or rice vinegar, which has a mild and sweet undertone crucial for sushi rice, contrasting strongly with the sharpness found in other vinegar types.
Importance of Sugar and Salt
Sugar and salt are pivotal for the correct balance of flavors in sushi rice. While sugar cuts through the sharpness of the vinegar and lends a gentle sweetness, salt complements this by enhancing the overall taste profile of the rice. This combination ensures the rice has the right amount of seasoning, and it helps in achieving the glossy appearance that is characteristic of well-made sushi rice. These components, when used judiciously, result in a sticky, subtly flavored base that enhances the natural flavors of the sushi's other ingredients.
Preparation Before Cooking

The key to perfect sushi rice begins with proper preparation. Attention to washing and soaking the rice ensures that the grains cook evenly and have the correct texture.
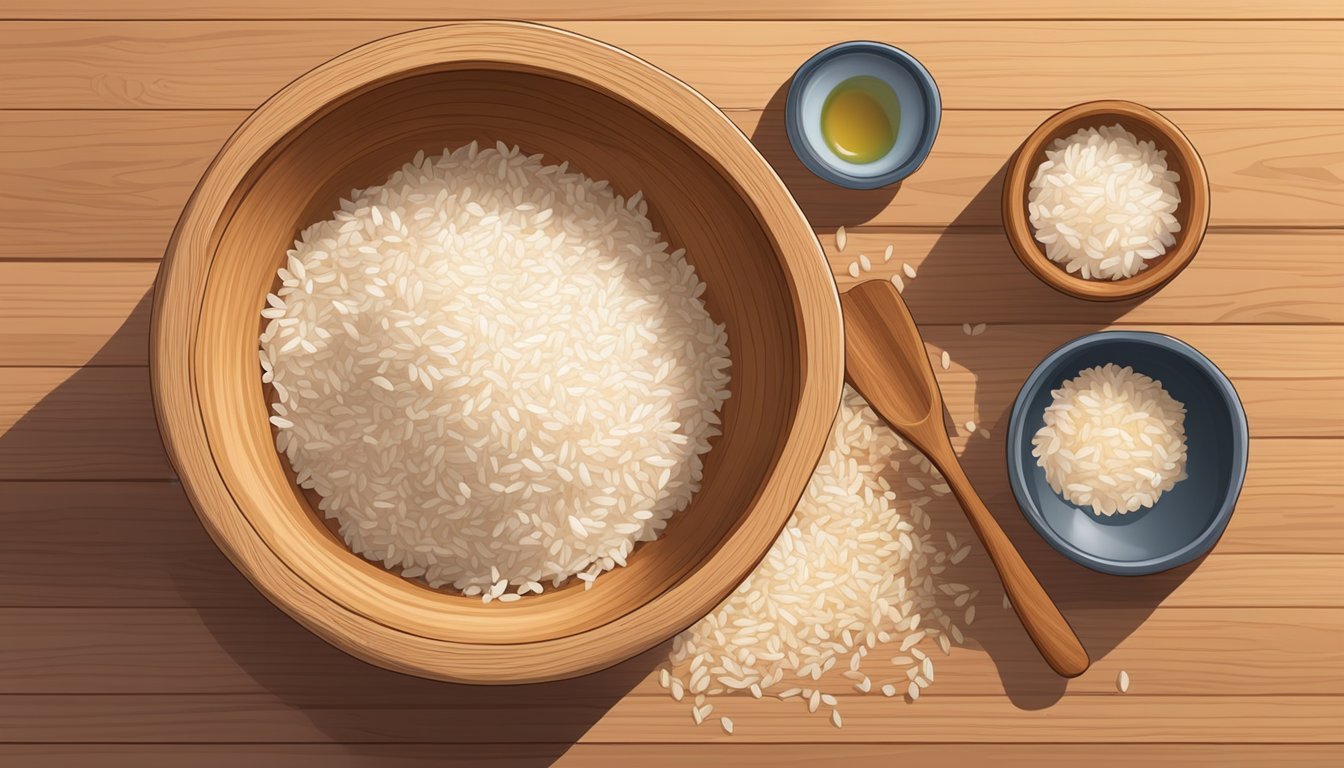
Washing and Rinsing the Rice
The first step in preparing sushi rice is to thoroughly wash the grains to remove excess starch that can cause stickiness. This process requires a fine mesh strainer to ensure that the rice is rinsed properly without it slipping through:
Place the white rice in the strainer.
Run cold water over the rice, stirring the grains gently with your hands.
Continue rinsing until the water runs relatively clear, indicating that most of the starch has been removed.
This cleaning step prevents the rice from becoming too gummy during cooking.
Soaking for Optimal Texture
Soaking the rice before cooking is essential for achieving the soft but firm texture characteristic of sushi rice:
After washing, transfer the rice to the cooking pot.
Add water in a ratio of 1:1 (1 cup water to 1 cup rice) for soaking.
Let the rice soak for at least 15 minutes. This allows the grains to absorb water, which contributes to a more consistent cook and tender grain.
By following these preparatory steps with care, one lays the groundwork for sushi rice that complements any choice of topping or filling.
Cooking Methods for Sushi Rice
To prepare sushi rice that clings together and has the right texture, precise cooking methods are essential. Below are the techniques for using a rice cooker, stovetop, or an Instant Pot, each providing consistency and ease.
Using a Rice Cooker
Rinse the rice until the water runs mostly clear to remove excess starch.
Add water: Typically, the ratio is about 1 cup rice to 1.2 cups water.
Soak the rice for 15 minutes before starting the cooker to ensure even cooking.
Cooking: Turn on the rice cooker and let it do the job; it will switch off automatically once finished.
Note: Some rice cookers have specific sushi rice modes, so consult your model's instructions.
Stovetop Method
Rinse the rice in several changes of water until it is clear.
Combining rice and water: Use a heavy-bottomed pot with a tight-fitting lid and add rice with a little more water than rice (e.g., if you have 2 cups of rice, use 2.25 cups of water).
Cooking: Bring to a boil, then reduce to a simmer, cover, and let it cook for about 20 minutes with no peeking to maintain steam.
Tip: Let the rice sit covered for 10 minutes after turning off the heat to finish the steaming process.
Alternative: Instant Pot Preparation
Rinse and drain the rice well before cooking.
Water ratio: It should be equal to the amount of rice (1:1).
Cooking settings: Use the manual setting and set the pressure cook time to 5 minutes, then allow for natural pressure release for at least 10 minutes before venting.
The Instant Pot method affords a quick and hands-off approach, and it seals in flavor effectively.
Seasoning the Sushi Rice
Making sushi rice at home requires special attention during the seasoning phase. It is this step that turns plain steamed rice into sushi rice, providing it with a distinct glossy appearance and subtle tang that complements various toppings and fillings.
Making Sushi Vinegar Mix
To begin the seasoning process, one must prepare the sushi vinegar mix. This mix typically consists of rice vinegar, sugar, and salt. One common ratio is:
4 tablespoons rice vinegar
2 tablespoons sugar
1 teaspoon salt
Combine these ingredients in a small saucepan. Heat the mixture over medium-low heat, stirring continuously until the sugar and salt dissolve. It is crucial not to bring the mixture to a boil to preserve the flavor profile. Additionally, some chefs like to incorporate a piece of kombu into the mixture to infuse umami flavor—just remember to remove the kombu after heating.
Achieving the Perfect Seasoning Blend
The right balance in your sushi vinegar mix is essential for the perfect sushi rice seasoning. Too much sugar or not enough salt can throw off the flavor balance. The goal is to achieve a harmony of sweetness, sourness, and saltiness that will enhance, not overpower, the flavor of the rice. One should taste the vinegar mixture and adjust the seasoning if necessary, keeping in mind that the flavors will be more subtle once mixed with the rice.
Mixing Rice with Vinegar Solution
Once the rice is cooked and the vinegar mix is cool, it is time to combine them. Transfer the hot, steamed rice into a large bowl, preferably a wide, shallow wooden bowl called a hangiri, which allows the rice to cool more quickly and evenly. Pour the sushi vinegar evenly over the rice. Using a rice paddle or a wide spatula, gently fold the rice to evenly distribute the vinegar mix without smashing the grains. This gentle cutting and folding technique aerates the rice and gives it the right texture. Once mixed, fan the rice while mixing to help it cool down to body temperature, becoming glossy and sticky— the hallmark of well-seasoned sushi rice.
Finessing the Final Texture & Temperature
After cooking the sushi rice, achieving the perfect texture and temperature is crucial for the right sushi experience. The rice must be adequately cooled and maintained at a temperature slightly below body temperature for ideal consistency and flavor.
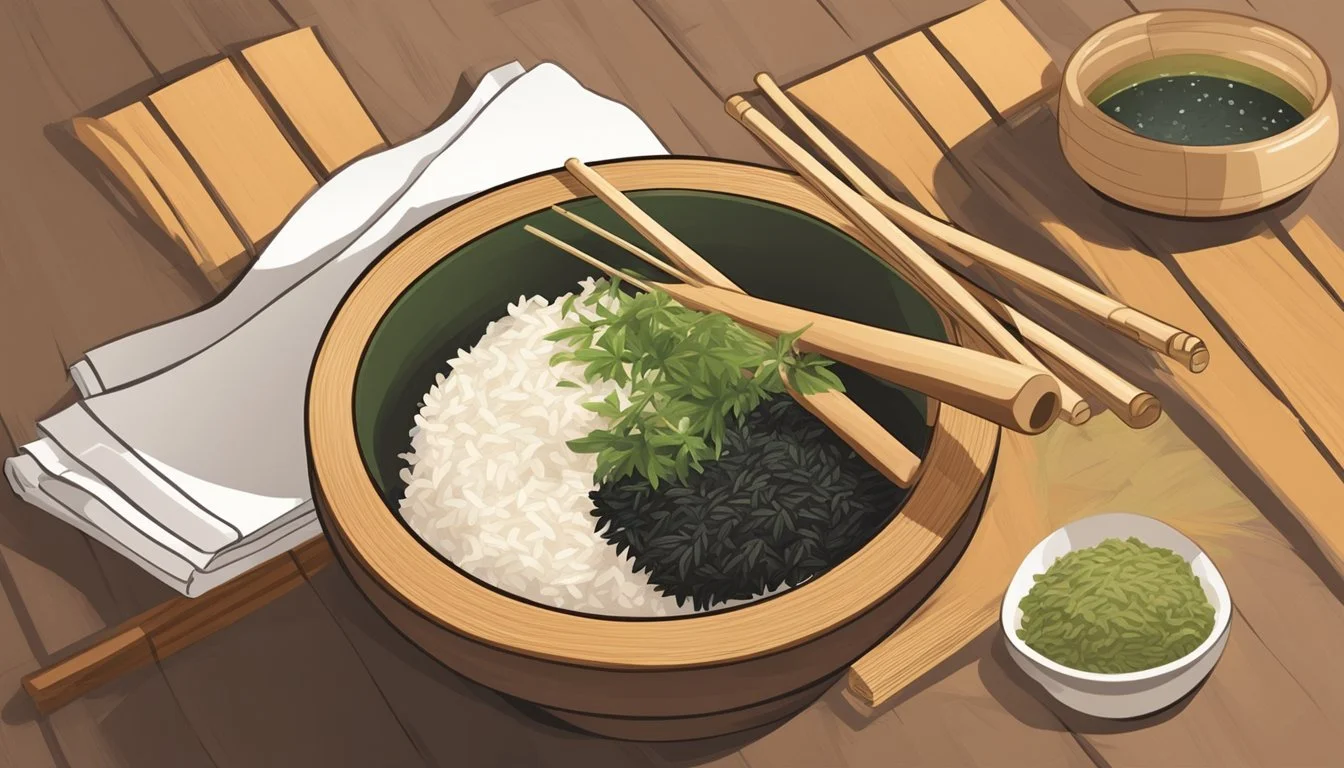
Spreading Rice for Cooling
To cool the sushi rice, one should transfer it to a broad, flat surface, such as a wooden tub (traditionally known as a hangiri or sushi oke). The wide area allows for quick and even cooling. The rice is then gently spread in a thin, even layer using a rice paddle, enabling heat to escape. It is important to use a cutting motion to separate grains without mashing them, preserving the desired texture.
Proper Technique:
Transfer to a hangiri/wooden tub
Spread in a thin layer
Use a cutting motion, not mashing
Covering Rice with a Damp Towel
Once the rice reaches room temperature, it should be covered with a damp towel. This prevents the rice from drying out and maintains the desired moisture level. The towel should be damp, not wet, to avoid making the rice soggy. The goal is to keep the rice at a consistent temperature and texture until it is ready to be used.
Key Practices:
Cover with a damp towel, not wet
Wait until rice is at room temperature
Ensure even coverage to maintain moisture
Serving and Pairing Sushi Rice
When serving sushi rice, precision in portioning ensures balance in flavor and presentation. The rice's stickiness and taste are pivotal to the success of sushi dishes.
Correct Portioning for Sushi Rolls
For a standard sushi roll such as a California Roll, aim to use about 1/4 cup of sushi rice per roll. When spreading the rice on a nori sheet, it's essential to maintain a thin, even layer to avoid overpowering the filling. Sushi rolls like Hosomaki, which feature a single ingredient, typically require a more modest amount of rice to complement the delicate flavors of fish such as tuna or cucumber.
California Roll: 1/4 cup sushi rice
Hosomaki: Less rice due to single ingredient focus
Expanding Beyond Rolls to Poke Bowls
Poke bowls offer a more relaxed approach to enjoying sushi rice with a variety of toppings. A standard serving for a poke bowl is about 1 cup of cooked sushi rice. This rice serves as a base to highlight the umami-rich flavors of marinated fish and freshness of additional toppings like avocado, seaweed salad, and edamame. For an authentic experience, one can pair the rice with both traditional and contemporary ingredients ensuring a rich taste profile that complements the inherent flavors of the sushi rice.
Poke Bowl Base: 1 cup cooked sushi rice
Common toppings to pair:
Marinated tuna or salmon
Sliced avocado
Seaweed salad
Pickled ginger and wasabi
Philadelphia Roll ingredients like smoked salmon and cream cheese
Advanced Tips and Techniques
Perfecting sushi rice at home elevates the sushi experience. By adjusting the components for taste and utilizing specialized tools, any home cook can approach the expertise of a sushi chef.
Adjusting Components for Desired Taste
Precision is key when mixing the components of sushi vinegar—the balance of vinegar, sugar, and salt defines the flavor profile of sushi rice. Sushi chefs often prefer rice vinegar for its mild and slightly sweet profile, which complements the fish without overpowering it. Kosher salt is favored for its clean taste, and white sugar for its ability to dissolve easily. Home chefs should taste and adjust these components in small increments, using a clean mixing bowl and rice paddle for thorough integration.
Sushi Vinegar Mixture:
Rice vinegar: vital for the distinct sushi rice tanginess
Sugar: adds a subtle sweetness, balance with vinegar
Salt: enhances the overall flavor profile, fine kosher salt preferred
For desired taste, one can start with the classic ratio of 3 tablespoons of rice vinegar, 2 tablespoons of white sugar, and 1 teaspoon of kosher salt for every cup of uncooked rice, and adjust from there.
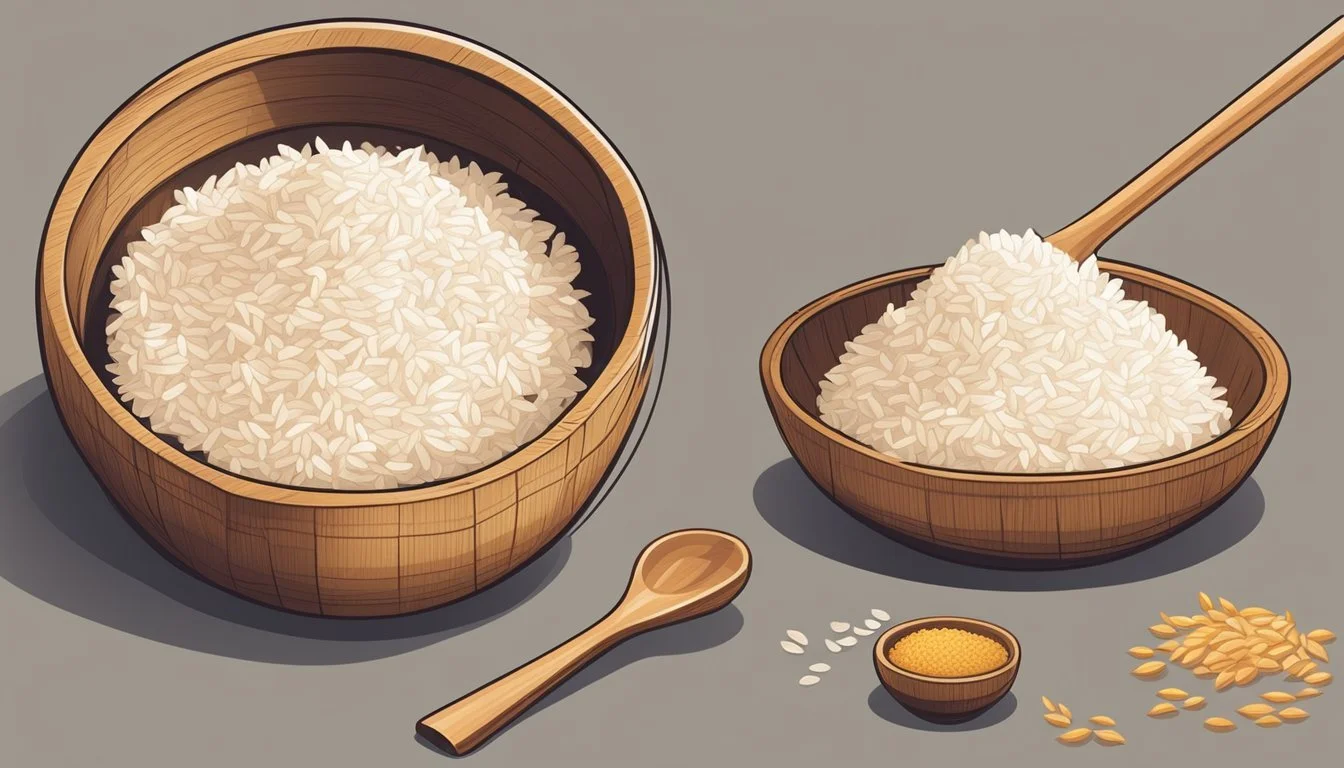
Tools for the Aspiring Sushi Chef
The use of proper tools can significantly improve the quality of sushi rice. A rice paddle, preferably wooden, is essential for evenly mixing the sushi vinegar into the cooked rice without mashing it. Aside from a paddle, a hangiri is a traditional wooden tub that sushi chefs use to cool the rice while mixing in the vinegar mixture, but a wide, shallow mixing bowl can serve as a suitable alternative.
Essential Sushi Rice Tools:
Rice Paddle: for folding vinegar mixture into rice
Hangiri or Mixing Bowl: for cooling and mixing rice
Rice Cooker: for consistent and precise cooking of rice
One may also consider investing in a fan to expedite the cooling process as many sushi chefs do. The faster the sushi rice cools while being mixed, the shinier and better textured it will be, closely resembling the results from professional sushi restaurants.
Resolving Common Sushi Rice Issues
Crafting the perfect sushi rice at home often entails overcoming challenges related to texture, particularly achieving the ideal stickiness without making it too wet or dry. This section guides you through corrective measures for two typical issues: overly sticky rice and dry or underseasoned rice.
Dealing with Overly Sticky Rice
When rice becomes excessively sticky, it can be difficult to work with and may lead to heavy, dense sushi. One should take care to use the correct rice variety—short-grain Japanese rice is preferred because of its appropriate stickiness for sushi. If the rice is too clumpy:
Rinse the rice thoroughly before cooking to remove excess starch.
Use slightly less water next time; a high water-to-rice ratio can increase stickiness.
After cooking, gently spread the rice out on a tray or hangiri (wooden sushi rice bowl) to let the extra moisture evaporate.
Mitigating Dry or Underseasoned Rice
If sushi rice turns out dry or lacks flavor, the seasoning might need adjustment. The rice should have a delicate balance of sweetness, sourness, and saltiness which is achieved through the sushi vinegar mixture. To address this issue:
Keep the ratio of sushi vinegar mixture to rice in mind. It's generally about 1/4 cup of sushi vinegar for every –– cups of cooked rice.
Ensure the vinegar mixture is evenly distributed. One can achieve this by slicing through the rice with a rice paddle or spatula while adding the seasoning.
If rice is dry, cover with a damp cloth after cooking to introduce some moisture back into the rice without making it soggy.
Health and Safety Considerations
When making sushi rice at home, it's crucial to handle and store the rice correctly to prevent food spoilage and understand the risks associated with foodborne illnesses. These precautions ensure that one enjoys sushi safely.
Storing Sushi Rice Properly
Cooling: After cooking, one should cool sushi rice to room temperature before adding sushi vinegar. It should not be left out for more than two hours to reduce bacteria growth.
Refrigeration: Store sushi rice in the refrigerator at or below 40°F (4°C) if not used immediately. Use airtight containers to maintain quality and prevent contamination.
Shelf Life: Typically, sushi rice can last in the refrigerator for up to five days. Always check for any off odors or discoloration before use, which indicates spoilage.
Understanding Food-Borne Risks
Contamination: Sushi rice can become a breeding ground for bacteria like Salmonella or Bacillus cereus when left at room temperature for too long.
Prevention: Practices such as frequent hand washing, using clean utensils and surfaces, and proper cooking techniques mitigate the risk of foodborne illnesses.
Conclusion
Making authentic sushi rice at home is achievable with the right technique and attention to detail. One must start with quality Japanese short-grain rice, which is essential for the proper texture and stickiness. Rinsing the rice thoroughly until the water is clear is an important step to remove excess starch and avoid overly sticky rice.
Key Steps to Remember:
Rinse the rice until water runs clear.
Soak the rice briefly after rinsing.
Use an even 1:1 ratio of rice to water for cooking.
A rice cooker can yield consistent results, but a pot with a tight-fitting lid on the stovetop is a reliable alternative.
After cooking, seasoning the rice with a mixture of rice vinegar, sugar, and salt imbues it with its characteristic flavor. It's important to fold and fan the rice to help it cool to the right temperature while imparting a subtle shine and preventing clumping.
One's success in creating this foundational component of sushi ultimately adds to the overall authenticity and flavor of sushi dishes prepared at home. It requires patience and practice but is certainly within reach for home chefs. With these guidelines, anyone can produce sushi rice that complements a wide range of sushi fillings and toppings.
