
Best Way to Reheat Garlic Pull-Apart Bread
Maintaining That Irresistible Fluffiness

Garlic (What wine goes well with garlic?) pull-apart bread (What wine goes well with bread?), with its fluffy interior and rich, buttery flavor, is a crowd-pleaser that's perfect for any gathering. Yet, one common challenge many face is how to reinvigorate leftover bread so it retains its original allure. Reheating this delicacy requires a gentle approach to preserve its moisture while ensuring that the exterior is suitably crispy.
When reheating garlic pull-apart bread, the key is to balance temperature and time to revive the bread without drying it out. Too much heat can sap the moisture, leaving an undesirable texture, while minimal reheating might not restore the warm, comforting aroma and taste it had when first baked. The method chosen can greatly influence the outcome, with some techniques better suited than others for maintaining the integrity of the pull-apart bread's treasured qualities.
Understanding Garlic Bread Reheating Basics
The technique used to reheat garlic bread is crucial. It directly affects both the texture and the taste of the bread, maintaining its delightful crispiness and delicious flavor.
Importance of Reheating Technique
Selecting the right reheating method is imperative when dealing with leftovers of garlic pull-apart bread. Mishandling the reheating process can lead to a soggy or overly dry texture. Reheating garlic bread in an oven, as opposed to a microwave, tends to preserve the bread's intended texture—crisp on the outside and soft on the inside.
Preheat the Oven: Preheating is a critical step that ensures the garlic bread heats evenly.
Temperature: Typically, an oven temperature of 350°F (175°C) is recommended for reheating garlic bread.
Wrap with Foil: Wrapping the bread in foil can prevent it from drying out, retaining moisture without becoming soggy.
Effects of Reheating on Texture and Taste
The texture and taste of the garlic bread are heavily reliant on the reheating method used. For instance:
Texture: The garlic bread should achieve a balance between a crispy exterior and a fluffy interior. Too high heat or prolonged reheating can diminish the bread's softness, making it hard and chewy.
Taste: Garlic bread that is reheat correctly will preserve its savory garlic flavor and buttery aroma. The use of foil helps to distribute heat evenly and retain these flavor characteristics.
Observation: It's important to monitor the bread closely during reheating. One should check it frequently to avoid over-browning or burning, which would compromise its delicious taste.
By carefully managing these factors, one can enjoy garlic bread that is just as satisfying as when it was first baked.
Preparation Steps Before Reheating
Proper preparation of garlic pull-apart bread before reheating is crucial. It ensures that the bread retains its delicious flavor and fluffy interior. Here are the specific steps one should take before applying heat.
Thawing Frozen Garlic Bread
If one has stored their garlic pull-apart bread in the freezer, it should be thawed thoroughly before reheating to maintain texture and flavor. Here's how to thaw it effectively:
In the Fridge: Transfer the frozen garlic bread to the refrigerator and leave it overnight. This process allows for a slow and even thaw, preventing sogginess.
On the Counter: For a quicker option, one can place the garlic bread on the counter at room temperature for a few hours. It's vital to keep it in its original packaging or airtight container to prevent contamination.
Arranging Bread for Optimal Reheating
The arrangement of garlic pull-apart bread is pivotal for even reheating. To achieve the best results:
Sliced Garlic Bread: Space slices out on a baking sheet to allow hot air to circulate, ensuring each piece heats uniformly. They should lie flat with the buttered or herbed side facing up to prevent dryness.
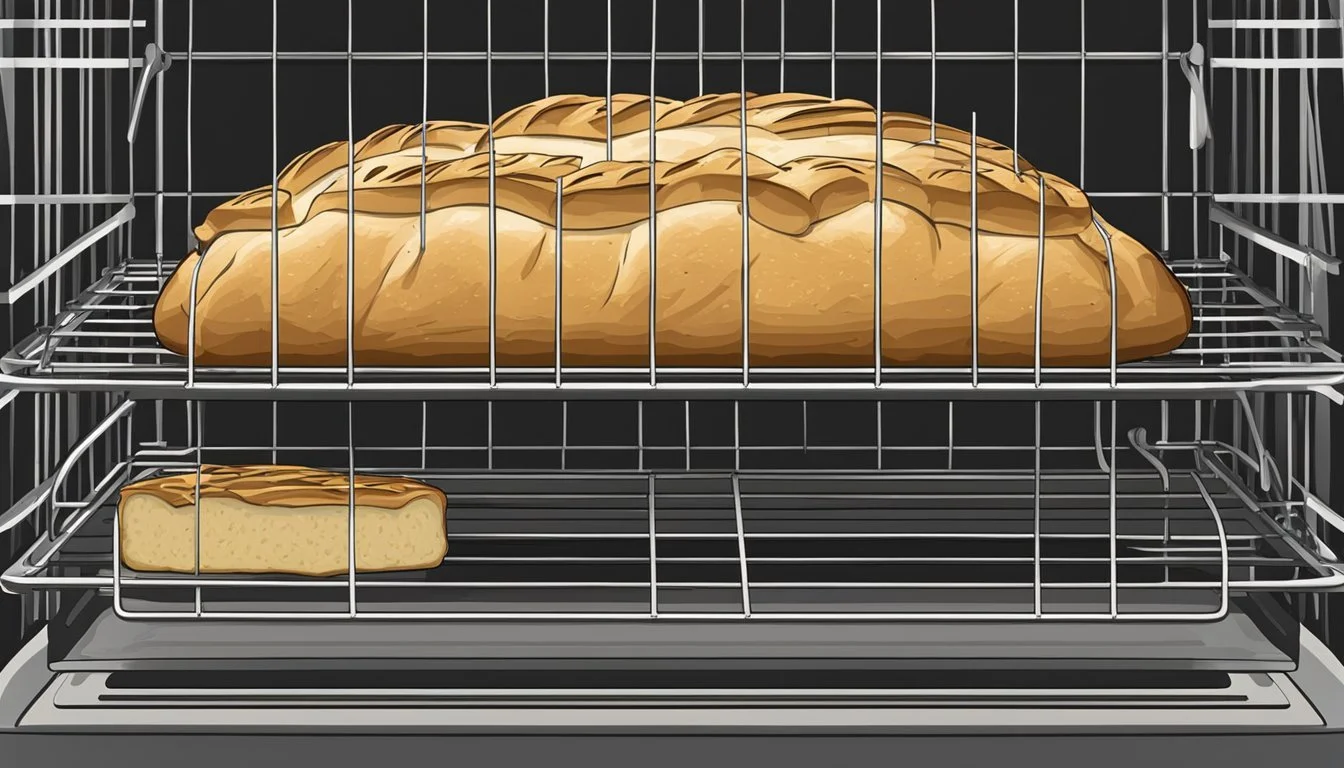
Whole Loaf: If dealing with an entire loaf, one might consider separating it partially but not fully, allowing the heat to reach the interior without drying out the edges.
Remember, the goal is to preserve the fluffy, moist interior while reviving the bread's exterior crispiness.
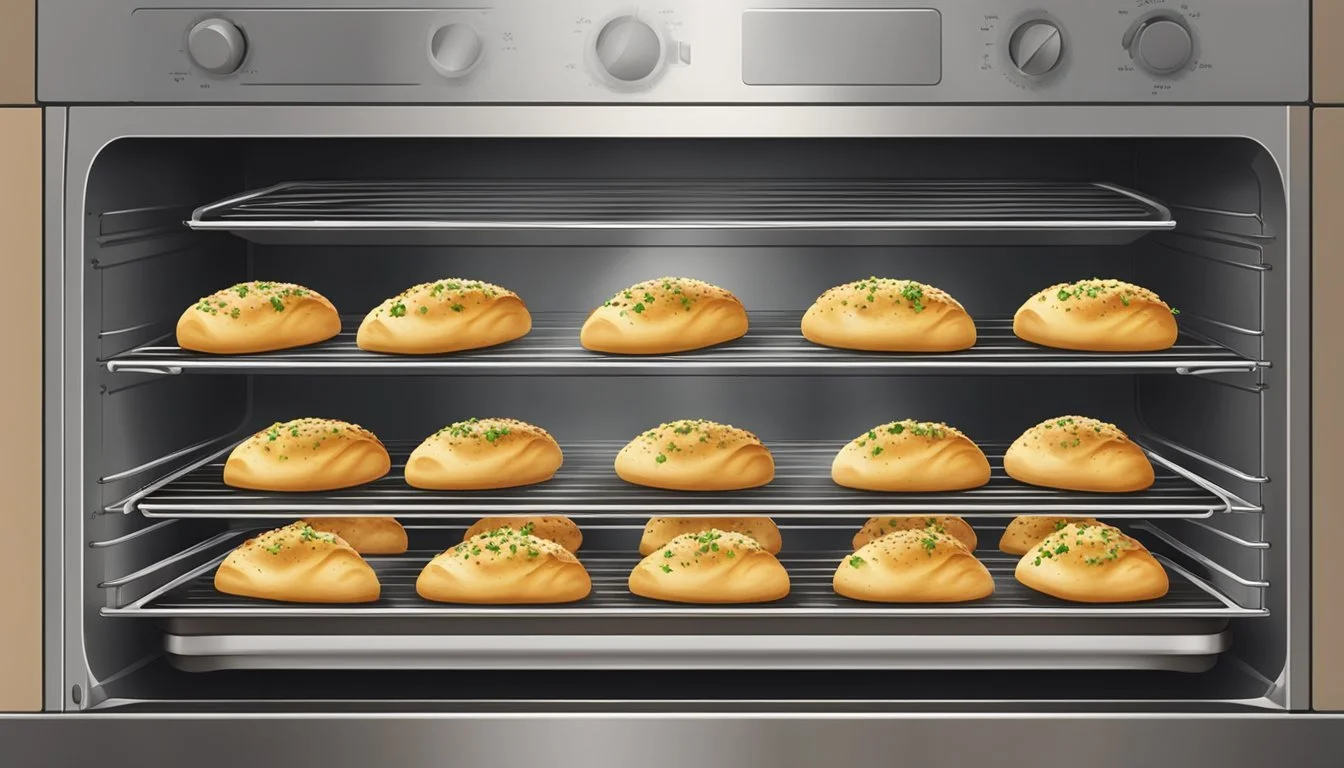
Oven Reheating Method
The oven method for reheating garlic pull-apart bread ensures an evenly cooked texture and preserves the bread's fluffy interior while achieving a golden-brown crust.
Preheating the Oven
Preheating the oven is a critical step in the reheating process. Users should preheat the oven to 350°F (175°C). An even and stable temperature is necessary to heat the bread thoroughly without drying it out or burning it.
Using Foil or a Baking Sheet
To reheat the bread:
Option 1: Foil
Take aluminum foil and wrap the garlic pull-apart bread, ensuring it is completely covered to keep moisture in and provide even heat distribution.
Place the wrapped bread directly on the oven rack or on a baking sheet.
Option 2: Baking Sheet
Alternatively, place the bread on a baking sheet without wrapping in foil.
If the bread is already sliced, make sure the buttered side is facing up for a desirable golden crust.
Reheating time may vary, but typically, the bread should be heated for 10–15 minutes. For the best results, the bread should be monitored to prevent overcooking. Once the bread is heated through to the desired warmth and has achieved a golden brown crust, it should be removed promptly from the oven. Using these methods, the garlic pull-apart bread will come out warm, with a soft and fluffy interior, and ready to serve.
Alternative Reheating Techniques
For those looking to revive leftover garlic pull-apart bread while maintaining its delectable fluffy interior and crispy exterior, alternative reheating methods can offer optimal results. Each technique can cater to different textures and personal convenience preferences.
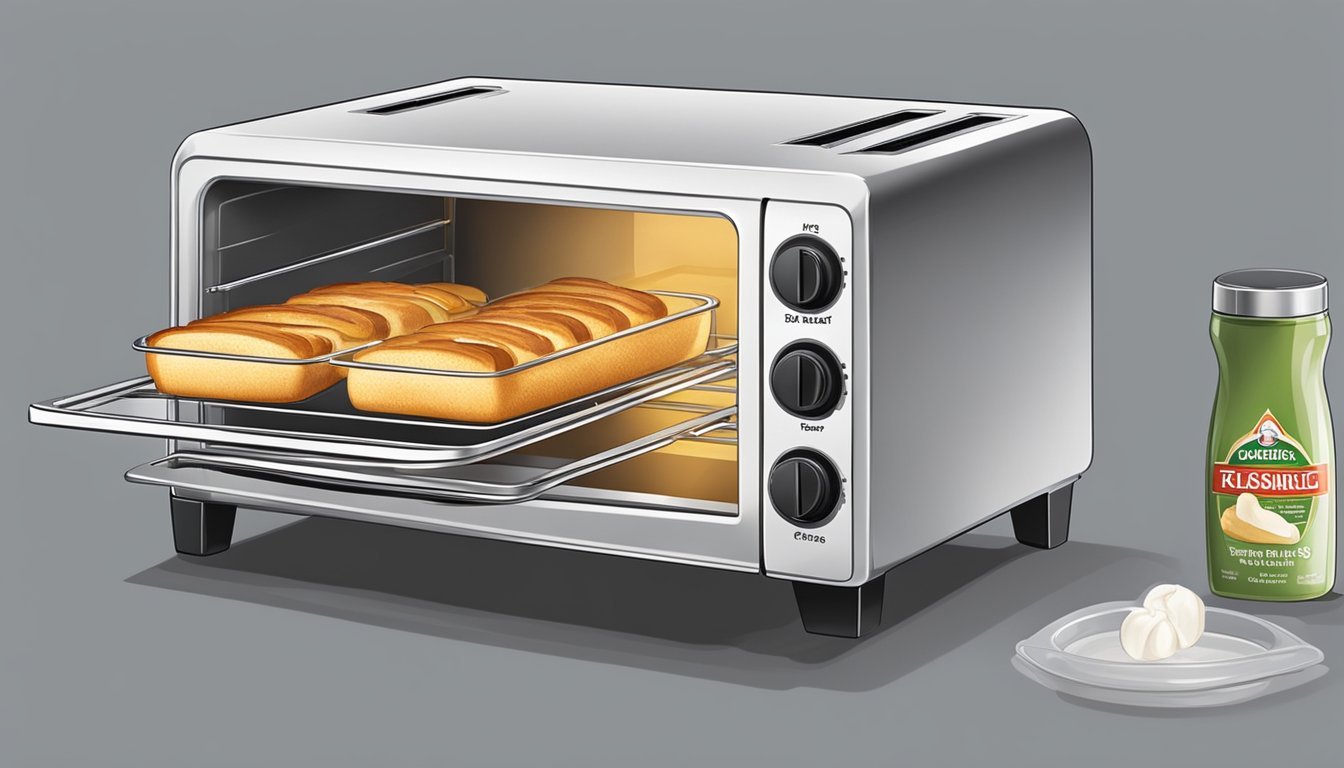
Using a Toaster or Toaster Oven
To reheat garlic bread while preserving its texture, a toaster oven is an effective solution. Bread can be placed directly on the rack or in a toaster bag if available. Toasting on a medium setting for about 3-5 minutes can often yield a crusty exterior with a warm, soft center.
Toaster Oven Method:
Preheat to 350°F.
Warm for 3-5 minutes.
Check regularly to prevent burning.
Stovetop Reheating in a Skillet
The skillet method on a stove provides an excellent way to reheat garlic bread and add a bit of crunch. A non-stick skillet should be heated over medium-low heat, followed by a small pat of butter or oil to enhance the flavor. Each side of the bread should be heated for one to two minutes until it's sufficiently crispy and golden.
Skillet Method:
Heat skillet on medium-low.
Cook each side for 1-2 minutes.
Microwave Reheating Method
Although not the best for crispiness, the microwave method is quick and convenient. Individuals should keep in mind that this method might soften the bread more than other techniques. By placing the garlic bread on a microwave-safe plate and covering it with a damp paper towel, one can reheat it in short intervals — 10 seconds is typically recommended, with a limit of up to 30 seconds.
Microwave Method:
Heat in 10-second intervals.
Do not exceed 30 seconds.
Air Fryer Reheating Option
An air fryer can be a quick and effective means to reheat and revitalize garlic bread, especially for achieving a crispy surface while keeping the inside soft. Simply place the bread in the air fryer basket, ensuring it doesn't overlap, and reheat at 350°F for about 3-4 minutes. One should remain attentive to prevent overcooking.
Preheat to 350°F.
Reheat for 3-4 minutes.
Enhancing Reheated Garlic Bread
When reheating garlic pull-apart bread, one not only wants to restore its warmth but also enhance its flavor and texture. This can be achieved by adding fresh ingredients and ensuring the bread retains its moisture and does not dry out.
Adding Fresh Ingredients
Incorporating fresh ingredients after reheating garlic bread can significantly improve its taste and texture. Sprinkling fresh parmesan cheese on top just after reheating gives it a richer flavor and delightful aroma. Similarly, brushing the bread with melted butter can revive the freshness and add a touch of indulgence.
Tips for Adding Fresh Ingredients:
Cheese: Sprinkle a generous amount of grated parmesan cheese over the bread as soon as it comes out of the oven.
Butter: Brush a small amount of melted butter over the bread for added flavor and to bring back that fresh-out-of-the-oven taste.
Maintaining Moisture and Preventing Dryness
Moisture is key to preserving the bread's fluffy interior. One effective method is to wrap the bread in aluminum foil during the reheating process, which traps steam and prevents dryness. Placing a cup of water in the microwave while warming up the bread or covering it with a damp paper towel can also help in maintaining the desired moisture levels.
Strategies to Retain Moisture:
Aluminum Foil: Encase the bread with foil before placing it in the oven.
Water Cup: Microwave alongside a cup of water to increase humidity.
Damp Paper Towel: Cover the bread with a damp paper towel when using the microwave.
Storing Leftover Garlic Bread
When preserving leftover garlic bread, the key factors involve choosing between refrigeration or freezing for longevity, and using appropriate containers or wraps to maintain freshness.
Refrigerating vs. Freezing
Refrigerating leftover garlic bread is best for short-term storage of up to two days. One should place the garlic bread on a plate and cover it with a lid or plastic wrap to protect it from absorbing other odors in the fridge.
Fridge shelf life: Up to 2 days
Method: Place on a plate and cover with a lid, or use plastic wrap
Freezing is a suitable option for extending the life of garlic bread beyond a couple of days. Properly wrapped garlic bread can last in the freezer for up to three months. Remember to thaw the bread in the refrigerator or at room temperature before reheating to preserve its fluffy interior.
Freezer shelf life: Up to 3 months
Method: Wrap tightly, store, and thaw before use
Using Airtight Containers or Wraps
The best way to store garlic bread, whether refrigerating or freezing, is in an airtight container. This method protects the bread from excess moisture and prevents freezer burn when frozen.
Refrigeration: Seal in an airtight container or wrap well in aluminum foil or plastic wrap
Freezing: Wrap the bread in aluminum foil, then place it inside an airtight freezer bag or container
By storing garlic bread carefully, one can enjoy its flavor and texture even after it has been stored.
Safety and Best Practices
When reheating garlic pull-apart bread, it’s crucial to preserve its delectable fluffy interior while ensuring the crust remains pleasantly crisp without becoming stale or burnt. Adhering to proper safety guidelines and temperature control is key to achieving this.
Avoiding Overheating
Preparation: Before reheating, one should slice the garlic bread if it's not already in pull-apart form to ensure even heating.
Microwave: If utilizing a microwave, short intervals of heating—no more than 30 seconds total—prevent overheating that leads to a rubbery texture.
Oven: When using an oven, wrapping the bread in foil can shield it from direct heating elements and reduce the risk of burning the crust.
Heating to the Appropriate Temperature
Oven: Preheating the oven to 350°F is widely recommended, as it's a moderate temperature that heats the bread thoroughly without compromising its texture.
Duration: About 10-15 minutes is often sufficient for the bread to become hot and retain its soft interior.
Skillet: For a skillet approach, a medium-low heat setting allows for a controlled environment where the crust becomes crispy without turning stale.
Low Heat: Employing low heat across these methods is preferred, as it warms the bread evenly and preserves its original qualities.
By strictly following these practices, one can ensure that the garlic pull-apart bread retains its appealing taste and texture as if freshly baked.
Serving Reheated Garlic Bread
Once garlic pull-apart bread is reheated, it's imperative to serve it at its best to complement main dishes and enhance overall dining experience.
Ideal Pairings and Side Dishes
Garlic pull-apart bread, with its fluffy interior and golden crust, pairs exceptionally well with a variety of side dishes and mains. Here's a list of complementary pairings:
Soups & Stews: A classic match for garlic bread is tomato bisque or minestrone; the bread's robust flavor makes it an excellent vehicle for sopping up hearty stews.
Pasta Dishes: Serve alongside spaghetti with marinara or fettuccine Alfredo for an Italian-inspired meal.
Salads: A crisp Caesar or garden salad can balance the richness of the bread.
Proteins: It can be served with grilled chicken, steak, or seafood, adding a flavorful accompaniment.
Presentation Tips
The presentation of garlic pull-apart bread should invite diners to enjoy its warm, aromatic excellence. Keep these tips in mind:
Keep it Warm: Place the reheated bread in a breadbasket covered with a linen napkin to retain warmth.
Add Garnishes: Sprinkle with fresh herbs like parsley or basil for a pop of color and freshness.
Offer Dipping Sauces: Provide olive oil, balsamic vinegar, or a marinara sauce on the side for dipping.
