
How to Reheat Breadsticks
Best Methods for Perfect Texture
Reheating breadsticks to achieve that same fresh-from-the-oven taste can seem tricky, but it is entirely possible with the right methods. Whether you’re using a microwave, oven, or air fryer, each technique has its own merits. The key to perfectly reheated breadsticks lies in maintaining the moisture and avoiding a dried-out texture.
Using a microwave, you can quickly reheat breadsticks by wrapping them in a damp paper towel and setting the microwave to medium power for 30-45 seconds. This simple trick helps retain moisture. For an even crisper exterior, the oven or air fryer can be excellent choices.
In an air fryer, preheating to 350°F and then placing the breadsticks inside for about 3-4 minutes can yield evenly warmed results. Similarly, reheating in the oven at 350°F for 10 minutes can restore the breadsticks' texture and warmth without risking dryness.
Understanding Breadstick Reheating Basics
Reheating breadsticks effectively requires attention to health and safety, along with techniques to preserve their texture and taste. Different methods can impact moisture retention and the fresh-from-the-oven feel.
Health and Safety Concerns
When reheating breadsticks, it is crucial to ensure they are heated evenly to prevent bacterial growth. Undercooked bread can harbor bacteria that cause foodborne illnesses. Use appropriate temperatures like 350°F (175°C) for ovens to safely reheat.
Microwaving can sometimes result in uneven heating. If using a microwave, check the breadsticks thoroughly to ensure they are evenly warm. Avoid reheating breadsticks more than once, as repeated heating and cooling cycles can increase the risk of bacterial contamination.
Impact on Texture and Taste
The texture of reheated breadsticks can vary significantly based on the method used. Oven reheating tends to restore the exterior crispiness while keeping the inside soft. To maintain moisture, wrapping breadsticks in foil or a damp paper towel is recommended.
Microwaving is quicker but may make breadsticks chewy if not monitored closely. An air fryer can also be effective, providing a crispy texture similar to oven reheating.
Using these methods correctly can help revive leftover breadsticks, making them moist and tasty.
Preparing Breadsticks for Reheating
Properly preparing breadsticks for reheating involves thawing them at room temperature when necessary and ensuring any packaging is correctly removed. These steps help retain freshness and avoid excess moisture.
Room Temperature Thawing
For frozen breadsticks, it's crucial to thaw them properly before reheating. Remove them from the freezer and let them sit at room temperature for about 10-15 minutes. This period allows the breadsticks to soften slightly, which ensures they heat evenly later.
If they are refrigerated, a shorter room temperature thawing period, around 5-10 minutes, may suffice. Placing cold breadsticks directly in the oven or microwave can lead to uneven reheating, resulting in cold spots or overly dry portions. Following these steps helps achieve a consistent temperature throughout the breadsticks.
Proper Packaging Removal
Before reheating, ensure that all packaging is carefully removed. Breadsticks often come wrapped in foil, paper towels, or plastic. Each type of packaging can affect the reheating process differently.
Foil and paper towels help retain moisture but must be removed to avoid burning or safety hazards in the oven or microwave. For breadsticks wrapped in plastic, complete removal is essential to prevent melting and contamination.
If using a microwave, placing the breadsticks on a microwave-safe plate ensures they heat evenly. Unwrapping them also allows any trapped moisture to escape, preventing sogginess. Proper packaging removal is key to maintaining the texture and taste of the breadsticks when reheated.
Choosing the Right Reheating Method
When it comes to reheating breadsticks, there are several methods that can restore their taste and texture. Each technique comes with its benefits, depending on the equipment available and the condition of the breadsticks.
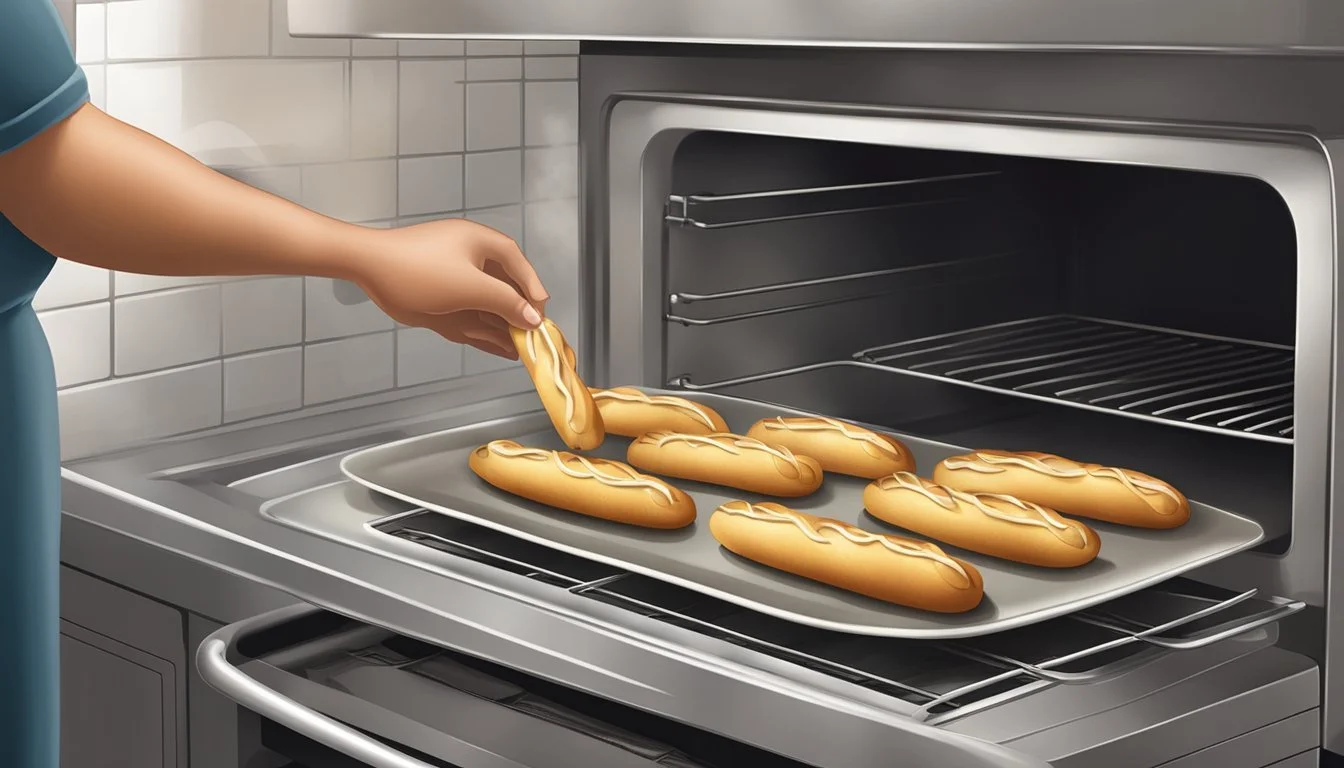
Using the Oven
Using the oven is a reliable way to revive the crispness of breadsticks. Preheat the oven to 350°F (175°C). Place the breadsticks on a baking sheet, and cover with aluminum foil to prevent excessive drying. Bake for 3-5 minutes.
If desired, remove the foil for the last minute to achieve a crispy exterior. This method is ideal for retaining moisture while ensuring even warming.
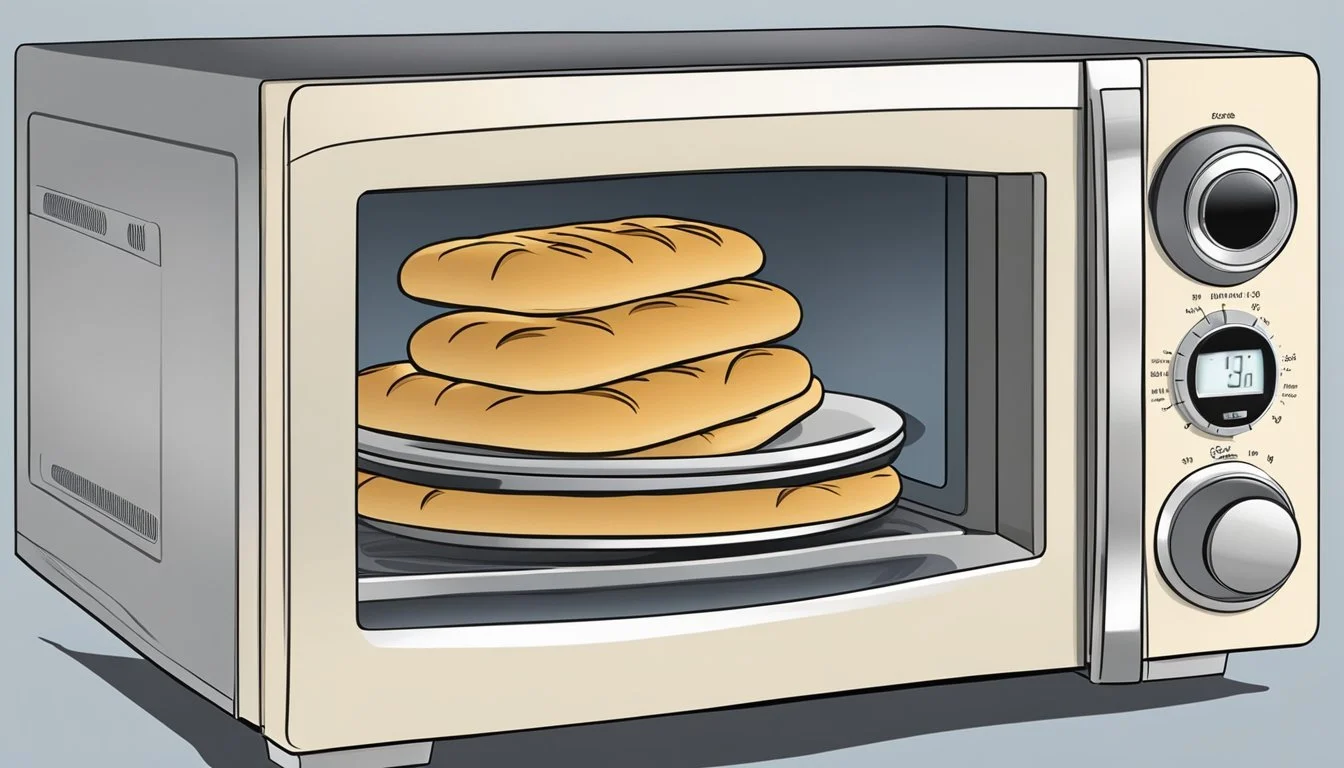
Microwave Reheating Technique
A microwave is quick and convenient, though it may not always preserve crispness. Place the breadsticks on a microwave-safe plate. To prevent them from drying out, dampen a paper towel and wrap it around each breadstick.
Set the microwave to medium power and heat in 30-second increments, checking until warm. This technique is great for a fast reheating solution but might result in slightly softer breadsticks.
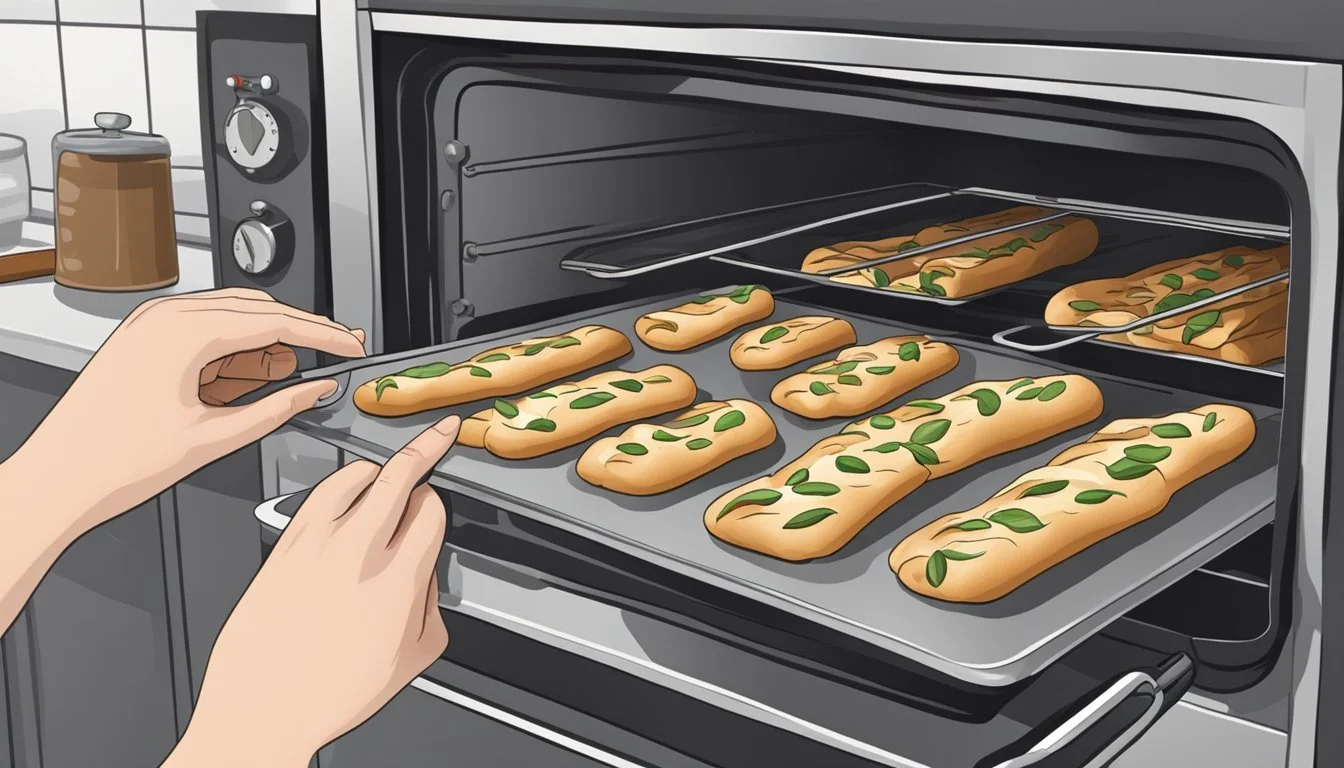
Utilizing the Toaster Oven
Toaster ovens combine the convenience of microwaves and the efficiency of conventional ovens. Preheat the toaster oven to 350°F (175°C). Arrange the breadsticks directly on the rack or a baking sheet.
Reheat for about 5 minutes, checking periodically to avoid over-baking. This method ensures an even, crispy finish and is particularly effective for smaller batches.
Air Fryer Reheating
An air fryer circulates hot air to deliver rapid and even reheating. Preheat the air fryer to 350°F (175°C). Place the breadsticks in the air fryer basket in a single layer.
Heat for 3-4 minutes, shaking the basket halfway through to ensure even heating. This approach quickly restores crispness and warmth, making it a preferred method for many.
Skillet Warming Method
Using a skillet provides a stovetop option that adds a gentle crisp. Preheat a non-stick skillet over medium heat. Place the breadsticks in the skillet and cover with a lid to trap heat and moisture.
Turn them occasionally, heating for about 5 minutes or until warm. This method is convenient and adds a slightly toasted flavor.
Stovetop Steaming Process
Stovetop steaming maintains moisture while reheating. Use a steamer basket and bring a small pot of water to a simmer. Place the breadsticks in the steamer basket.
Cover and steam for 2-3 minutes. This method is effective for softer breadsticks, preserving their moist and fluffy texture without making them soggy.
Detailed Reheating Instructions
Reheating breadsticks can be done through several effective methods. Each method requires specific steps, temperature settings, and times to achieve the best results.
Oven Reheating Steps
Preheat the Oven: Set the oven to 350°F (175°C).
Prepare the Breadsticks: Place the breadsticks on a baking sheet. You may want to brush them lightly with butter or margarine for added flavor.
Cover with Foil: Wrap the breadsticks loosely in aluminum foil to prevent them from drying out.
Reheat: Bake for 8-10 minutes. If a crisper exterior is desired, unwrap the foil and bake for an additional 2-3 minutes.
Check for Warmth: Ensure the breadsticks are heated through before serving.
Microwave Reheating Steps
Arrange Breadsticks: Place the breadsticks on a microwave-safe plate.
Prepare for Moisture: Cover them with a damp paper towel to keep them from becoming too hard.
Reheat: Microwave on high for 30-45 seconds. Check the breadsticks, and if they need more heating, microwave in 10-15 second intervals until warm.
Inspect Heat Level: Ensure even heating throughout before serving.
Toaster Oven Reheating Steps
Preheat Toaster Oven: Set to 350°F (175°C).
Prepare Breadsticks: Place the breadsticks on the toaster oven tray. Optionally, brush them with butter or olive oil.
Cover with Foil: Wrap the breadsticks in foil to keep them moist.
Reheat: Bake for around 6-8 minutes.
Final Touch: For extra crispiness, unwrap the foil and heat for an additional 1-2 minutes.
Air Fryer Reheating Steps
Set Air Fryer Temperature: Preheat to 320°F (160°C).
Arrange Breadsticks: Place the breadsticks in the air fryer basket. Ensure they are not touching each other for even heating.
Reheat: Heat for 3-4 minutes. Check midway to ensure even reheating.
Check Warmth: Once done, ensure the breadsticks are heated evenly throughout.
Skillet Reheating Steps
Prepare Skillet: Lightly grease with a small amount of butter or margarine.
Heat Skillet: Warm over medium heat.
Reheat Breadsticks: Place the breadsticks in the skillet and cover with a lid.
Reheat: Heat each side for about 2-3 minutes, turning midway.
Ensure Even Heating: Check that the breadsticks are warm throughout before serving.
Stovetop Steaming Steps
Prepare Steamer: Set up a steamer basket in a pot with a small amount of water.
Heat Water: Bring to a simmer over medium heat.
Place Breadsticks: Arrange the breadsticks in the steamer basket.
Steam: Cover and steam for 5-7 minutes.
Check for Warmth: Carefully remove and check that the breadsticks are evenly heated.
Using these methods, reheating breadsticks to preserve their soft interior and crisp exterior can be easily achieved.
Achieving the Desired Breadstick Quality

To enjoy reheated breadsticks that taste as delicious as fresh ones, focus on getting a crispy exterior, maintaining the inner softness, and avoiding sogginess. Each method and tip shared will help you achieve the perfect balance in every bite.
Attaining a Crispy Exterior
A crispy exterior is essential for breadsticks to taste fresh.
Oven Method: Preheat the oven to 350°F (175°C). Place the breadsticks on a baking sheet. For an extra touch, brush them with olive oil or melted butter and sprinkle with garlic salt. Heat for 5-7 minutes for smaller sticks or 8-10 minutes for larger ones.
Air Fryer: Set the air fryer to 350°F (175°C). Arrange the breadsticks in a single layer. A light coating of oil will help achieve crispiness. Heat for 3-5 minutes, shaking the basket halfway through.
Avoid the microwave for this purpose as it can make the exterior rubbery instead of crisp.
Maintaining Inner Softness
Preserving the softness inside the breadsticks makes for the ultimate bite.
Microwave Method: For a quicker option, use a microwave. Place the breadsticks on a microwave-safe plate. Reheat on a medium power setting for 20-30 seconds. Check their texture, ensuring they are warm and soft but not overdone.
Oven Method with Foil: To maintain internal softness, wrap the breadsticks in aluminum foil. This traps moisture inside while the exterior becomes crispy. Place it in a preheated oven at 350°F (175°C) for 10 minutes.
Steam Variation: If using an oven, a small pan of water in the oven can add steam, keeping the interior moist.
Avoiding Sogginess
Sogginess can ruin the texture. Proper techniques are required to avoid this.
Avoid Condensation: If using the microwave, ensure not to cover the breadsticks tightly. Cover loosely with a microwave-safe lid or damp paper towel to avoid steam buildup that causes sogginess.
Air Flow: Adequate air circulation is key. Preheat the appliance properly. Do not overcrowd the air fryer or oven, allowing hot air to flow freely around each breadstick.
Thickness Matters: Thinner breadsticks reheat more evenly and are less likely to develop a soggy texture compared to thicker ones.
By following these methods, you can reheat breadsticks to maintain their fresh-from-the-oven quality.
Serving and Storage Tips
To ensure your reheated breadsticks taste amazing and stay fresh, follow these specific storage and serving tips. Proper methods can make a significant difference in preserving texture and flavor.
Best Practices for Serving Reheated Breadsticks
To serve reheated breadsticks at their best, timing and temperature are key. Avoid reheating too far in advance; instead, warm them shortly before serving. For better results, brush them lightly with butter or olive oil prior to reheating to enhance flavor and avoid dryness.
When serving, aligning breadsticks neatly in a basket or on a platter with a napkin cover can help maintain warmth. Offering them alongside dips like marinara or garlic butter can elevate the dining experience. Always reheat only the portion you plan to serve to minimize repeated reheating cycles.
Storing Leftovers
Proper storage of leftover breadsticks is crucial to maintaining their quality. Place leftovers in an airtight container or a zipper-seal freezer bag to keep them fresh. Refrigerating breadsticks can help them stay soft for a few days.
Ensure they are completely cooled before storing to prevent condensation, which can lead to sogginess. If refrigerating, set the temperature to a standard refrigeration setting to discourage premature staling. Label the container with the date to track how long they’ve been stored, generally not exceeding three to four days for optimal freshness.
Long-Term Freezing and Thawing
Freezing breadsticks for long-term storage is an effective way to preserve their quality. When intending to freeze breadsticks, wrap each one individually in plastic wrap or foil, then place them all in a large freezer bag to protect against freezer burn. Squeeze out excess air before sealing to maximize shelf life.
To thaw, it’s best to transfer the desired amount to the refrigerator several hours before intended use. Once thawed, you can reheat them using any preferred method—oven, microwave, or skillet. Thawing them gradually helps maintain their texture and prevents them from becoming soggy. Always check for any freezer burn or stale signs before reheating.
Pairing Reheated Breadsticks
Reheated breadsticks can be elevated with the right accompaniments, making them a versatile addition to any meal. They pair wonderfully with soups and salads, create the perfect base for delectable appetizers, and shine with well-chosen dipping sauces.
With Soups and Salads
Breadsticks complement a variety of soups and salads, providing a satisfying contrast in texture and flavor. With soups, breadsticks can be used to soak up broths or as a crunchy side to creamy bisques. Cream-based soups like clam chowder or tomato basil benefit from the crisp texture of reheated breadsticks.
For salads, breadsticks can replace traditional croutons or be served alongside a hearty Caesar or fresh garden salad. Breadsticks add a savory element that balances well with the lightness of greens and the tanginess of vinaigrettes. Adding a touch of garlic or herbs to the reheated breadsticks can enhance this pairing even further.
Creating Dipping Sauces
Dipping sauces bring out the best in reheated breadsticks, transforming a simple side into a flavorful experience. Marinara sauce is a classic choice, offering a rich, tomato-based option that pairs wonderfully with the garlic and butter flavors often found in breadsticks.
For a creamier route, Alfredo sauce provides a decadent and savory dip. Mix up the options by creating a variety of sauces, such as pesto, ranch, or even spicy sriracha mayo to cater to different tastes.
A simple olive oil and balsamic vinegar dip can also be a hit, especially when enhanced with herbs like oregano and basil. Creating a small spread of these sauces allows for a customizable eating experience.
As a Base for Appetizers
Reheated breadsticks can serve as an excellent foundation for a range of appetizers. For instance, they can be topped with bruschetta toppings such as diced tomatoes, basil, and mozzarella. This turns the breadsticks into a flavorful and visually appealing starter.
Another idea is to slice the breadsticks in half and add toppings like prosciutto, arugula, and a drizzle of balsamic glaze. The breadstick's structure makes it a suitable base for mini sandwiches or sliders, adding a gourmet touch to a casual gathering.
By using reheated breadsticks creatively, they can be integrated into a variety of appetizers that impress and satisfy guests, making them a versatile ingredient in your culinary repertoire.
Special Notes on Reheating Olive Garden Breadsticks
Olive Garden breadsticks are renowned for their soft texture and burst of flavor. When reheating, it's key to maintain their quality and enhance their signature taste.
Adapting Methods for Restaurant Quality
To achieve restaurant-quality results, the reheating method is crucial. The microwave method, though quick, can lead to uneven heating and potential dryness. It’s recommended to wrap the breadsticks in a damp paper towel, set the microwave to medium power, and heat for 30-45 seconds. This retains moisture and softness.
Alternatively, using a toaster oven can yield more consistent results. Preheat the oven to 350°F, wrap the breadsticks in foil, and heat for about five minutes. This method helps maintain the breadsticks’ outer crispness while ensuring they are warm throughout.
Enhancing Olive Garden Breadstick Flavor
Enhancing the flavor involves more than just reheating. After warming, brush the breadsticks with softened butter to bring out their richness. For an added touch, sprinkle freshly grated parmesan and a dash of garlic salt over the top.
Serving the breadsticks with marinara sauce accentuates their flavor, making them even more irresistible. Keeping these elements in mind will ensure that reheated Olive Garden breadsticks rival the freshness of those served in the restaurant.
