
How to Reheat Gluten-Free Breaded Shrimp for Perfect Crispiness

Reheating gluten-free breaded shrimp to maintain that perfect crispy texture can be a challenge, but it’s entirely possible with the right techniques. For the best results, use an air fryer set to 375°F (190°C) and lightly oil the basket before spreading the shrimp in a single layer. This method ensures even heating and retains the shrimp's crunchiness.
Another effective way to reheat gluten-free breaded shrimp is by using an oven. Preheat to 350°F, and bake the shrimp on a tray for about 10-12 minutes. This method gradually warms the shrimp while keeping the breading crisp.
For those who prefer stovetop methods, a non-stick skillet with butter or oil can also work wonders. Heat the shrimp on medium heat, adding a splash of water or broth and covering them to trap moisture. This technique helps to maintain both flavor and texture, making your reheated appetizer delightfully crispy and delicious.
Understanding Gluten-Free Breaded Shrimp
Gluten-free breaded shrimp offers a delicious alternative for those with gluten sensitivity. This section delves into the ingredients, health benefits, and preparation techniques specific to gluten-free breaded shrimp to give a clear understanding of what makes it unique.
Ingredients Profile
Gluten-free breaded shrimp use ingredients that substitute traditional wheat-based components. Commonly, gluten-free all-purpose flour, gluten-free panko, or blends made from rice flour, potato starch, and tapioca flour are used. Seasonings such as salt, garlic powder, and onion powder enhance the flavor, while binders like coconut milk provide moisture. These alternatives ensure that the breading remains crisp without gluten, making them safe for those with celiac disease or gluten intolerance.
Health Benefits
Choosing gluten-free breaded shrimp has several health benefits. It allows individuals with gluten sensitivity to enjoy a favorite dish without digestive discomfort. Gluten-free coconut shrimp, for instance, uses healthier fats like coconut oil, which can have lower cholesterol levels compared to traditional frying oils. Additionally, shrimp is high in protein, low in calories, and contains essential nutrients such as omega-3 fatty acids and selenium, promoting overall health.
Preparation Techniques
Several methods exist to reheat gluten-free breaded shrimp while maintaining their crispy texture.
Air Fryer: Preheat to 375°F (190°C). Place shrimp in a single layer, lightly coat with oil, and heat for 3-5 minutes, shaking halfway.
Oven: Preheat to 350°F (175°C). Arrange shrimp on a baking sheet and bake for 10-12 minutes until heated through and crispy.
Skillet: Melt butter and sauté the shrimp over low heat, adding a splash of water or broth for moisture. Cover with a lid for a minute to trap steam.
Following these methods ensures the shrimp remains tender on the inside with a crunchy exterior. Using gluten-free panko or all-purpose flour for the breading also guarantees the reheated shrimp retains its texture without compromising dietary restrictions.
Pre-Reheating Preparation
Proper pre-reheating preparation ensures the shrimp retains its flavor and texture. This includes thawing the shrimp correctly and knowing which ingredient substitutions to make for gluten-free breading.
Thawing Frozen Shrimp
To thaw frozen shrimp, place them in the refrigerator overnight for a slow, safe thaw. This method helps maintain the shrimp's texture and flavor.
For a quicker alternative, place the shrimp in a sealed plastic bag, submerge it in cold water, and change the water every 30 minutes. Never use hot or warm water as it can start cooking the shrimp unevenly. Thawing ensures even reheating, preserving the crispness of the breading and the succulent texture of the shrimp inside.
Ingredient Substitutions
When preparing gluten-free breaded shrimp, specific ingredient substitutions are crucial. Replace traditional panko with gluten-free panko breadcrumbs or gluten-free bread crumbs.
For those who are also dairy-free, substitute milk with almond milk or coconut milk. Use rice flour, tapioca starch, or a blend of cornstarch and rice flour for the breading. For added flavor, incorporate shredded coconut—both sweetened and unsweetened varieties work, depending on your preference.
Ensure that all ingredients are gluten-free to avoid cross-contamination and maintain the integrity of your gluten-free recipe.
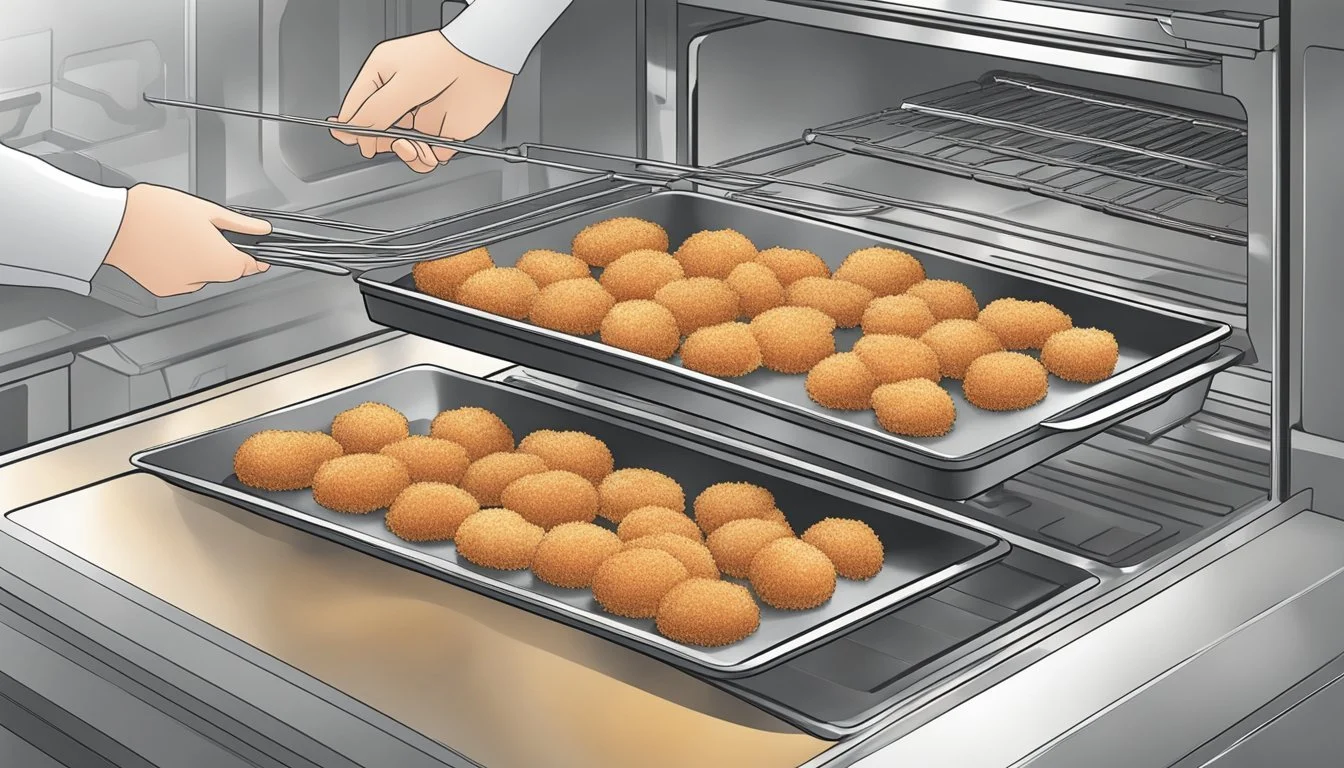
Reheating in the Oven
To achieve perfectly reheated gluten-free breaded shrimp in the oven, it's important to know the ideal temperature and arrange the shrimp properly on the baking sheet.
Oven Temperature and Time
Preheat the oven to 350°F (175°C). This temperature helps ensure the shrimp heats through evenly without drying out the gluten-free breading.
Bake the shrimp for 10-12 minutes. Keep an eye on the shrimp towards the end of the cooking time to ensure they do not overcook or become too dry.
Flipping the shrimp halfway through the baking time helps them to brown evenly. Use a pair of tongs or a spatula to gently turn them over. This process helps keep the gluten-free breading crispy.
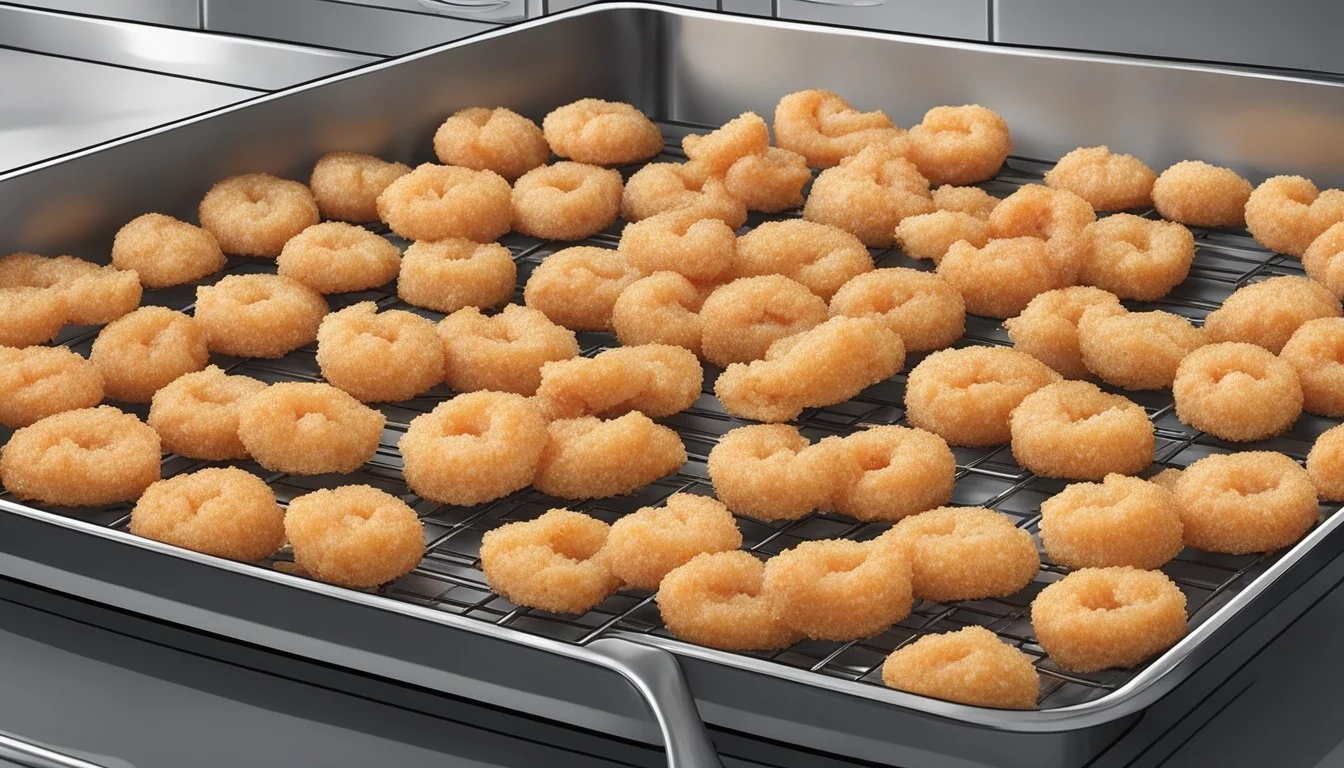
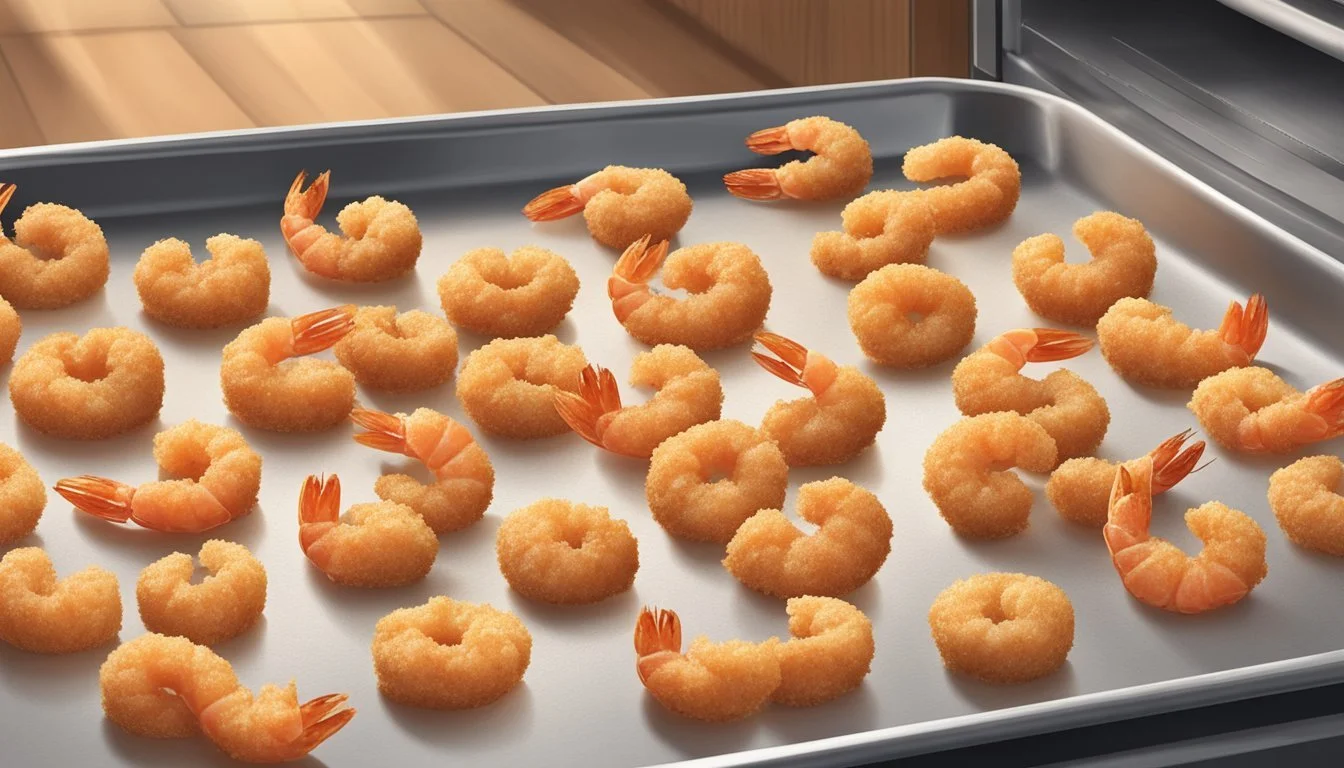
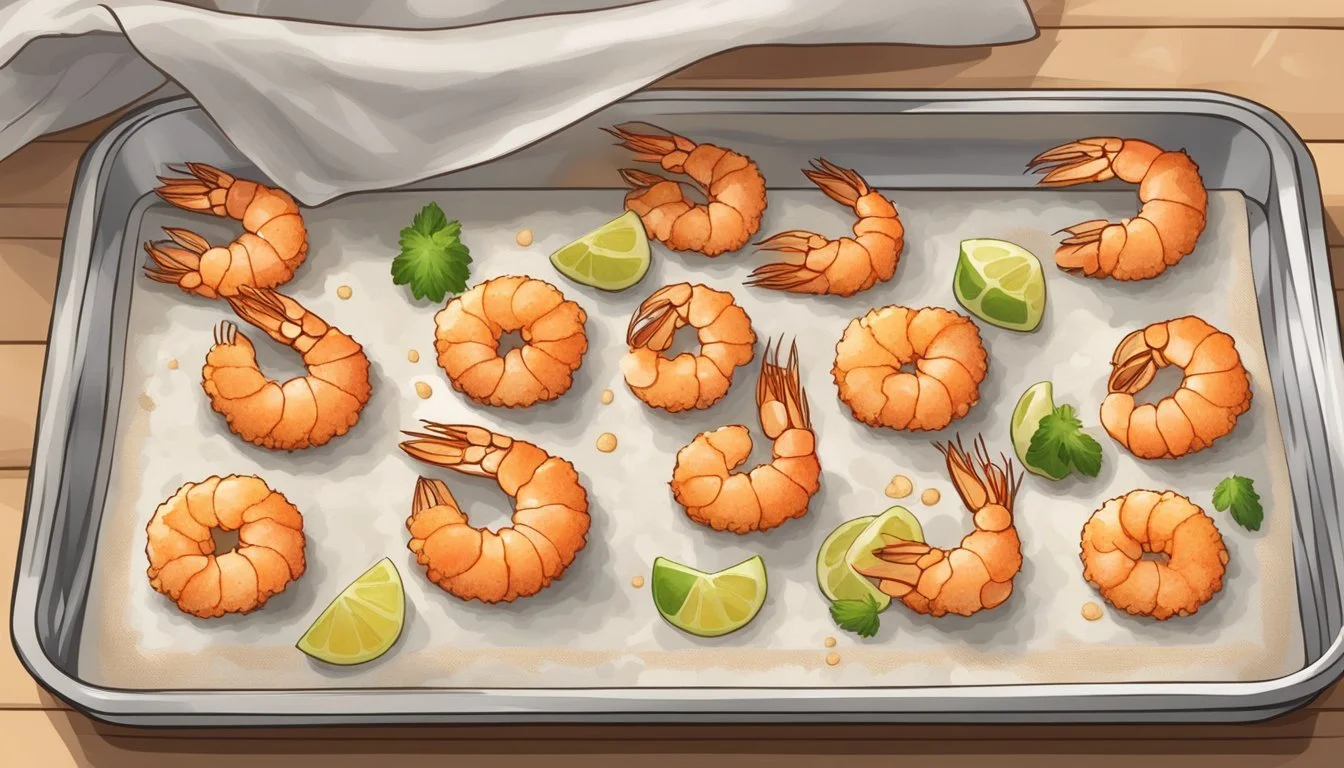
Arranging Shrimp on the Baking Sheet
Line a rimmed baking sheet with parchment paper. This prevents sticking and makes cleanup easier.
Arrange the shrimp in a single layer. They should not touch or overlap. This allows hot air to circulate around each piece, helping to maintain a crispy crust.
If you have a large amount of shrimp, use multiple baking sheets or cook them in batches. Overcrowding can lead to uneven reheating and soggy breading.
Covering the shrimp lightly with foil for the first few minutes of baking can help them stay moist. Remove the foil halfway through to let the breading crisp up properly in the dry oven heat.
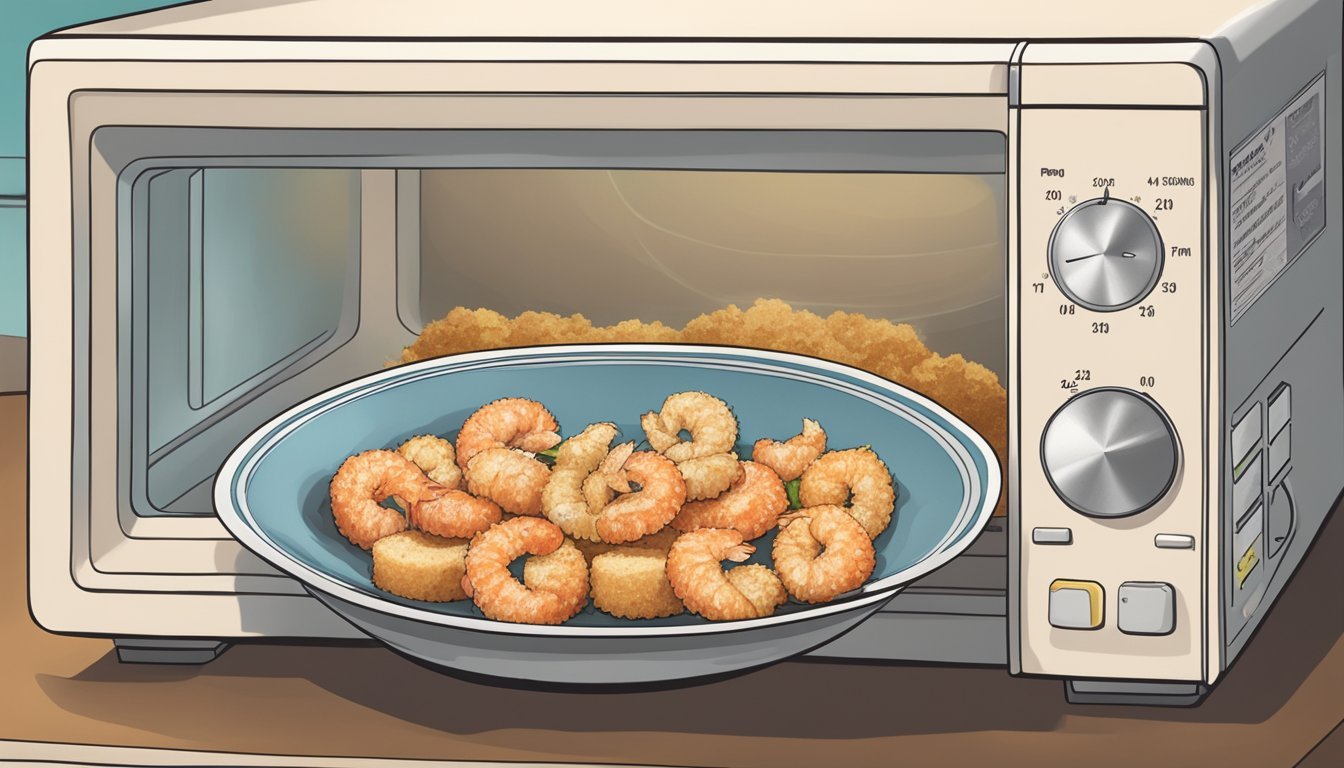
Reheating with an Air Fryer
To achieve crispy and evenly reheated gluten-free breaded shrimp, proper air fryer settings and techniques are crucial. Specific steps can help prevent overcooking and retain the shrimp's texture.
Air Fryer Settings
Set the air fryer to 375°F (190°C). Preheating the air fryer ensures even cooking and restores the shrimp’s crispiness.
Lightly coat the basket with cooking spray or oil to avoid sticking. Arrange the breaded shrimp in a single layer without overcrowding them.
Reheat the shrimp for approximately 3-5 minutes. Halfway through, shake the basket to promote even heating.
It's important to check the shrimp after three minutes to avoid overcooking. Adjust the time if necessary based on your air fryer model.
Avoiding Overcooking
To avoid overcooking, monitor the shrimp closely during reheating. Overcooked shrimp can become dry and lose their crispiness.
Use a kitchen timer and check at the three-minute mark. If needed, reheat in short intervals of 1 minute or less.
Shaking the basket halfway through can help distribute heat evenly, ensuring all sides of the shrimp remain crispy. Avoid extending the reheating time unnecessarily.
Maintaining the recommended temperature and time ensures the shrimp stays crispy and retains its flavor without becoming tough.
Reheating on the Stovetop

To reheat gluten-free breaded shrimp on the stovetop, select a large skillet and appropriate frying oil. Ensuring crispiness and safety are crucial points.
Oil Temperature and Safety
When reheating on the stovetop, maintaining the oil temperature is key. Heat the frying oil in a large skillet to approximately 350°F (175°C). Use a thermometer to monitor the temperature accurately.
An even temperature will prevent the shrimp from becoming soggy. Use tongs to handle the shrimp safely. Ensure the shrimp are placed in a single layer to avoid overcrowding the pan.
Maintaining Crispiness
To retain the crispiness of the gluten-free breaded shrimp, the reheating process should be quick. Once the oil reaches the desired temperature, carefully place the shrimp into the skillet.
Cook each side for about 2-3 minutes until the breading turns golden and the shrimp is heated through. Remove the shrimp promptly once reheated to prevent overcooking. Use tongs to transfer them to a paper towel-lined plate to absorb excess oil and maintain crispiness.
Microwave Reheating Tips
Reheating gluten-free breaded shrimp in the microwave requires careful attention to maintain both texture and flavor. Following specific steps ensures that the shrimp remains delicious and doesn't become soggy.
Preventing Sogginess
To prevent sogginess, start by placing the shrimp in a microwave-safe dish. Line the bottom of the dish with a layer of paper towels. This helps absorb excess moisture during reheating.
Cover the shrimp with another layer of paper towels. This will trap steam and keep the breading crisp. Heat the shrimp at medium power for 1-3 minutes, checking frequently to avoid overcooking.
After heating, let the shrimp rest briefly before serving to allow the moisture to redistribute. This step ensures an even, crispy texture without compromising the shrimp's quality.
Storing Leftover Breaded Shrimp
Proper storage of leftover breaded shrimp ensures they stay fresh and crispy for future enjoyment. Following the right refrigeration or freezing methods is essential to maintain their quality and flavor.
Refrigeration Best Practices
To refrigerate leftover breaded shrimp, start by allowing them to cool to room temperature. Use air-tight containers or resealable plastic bags to minimize air exposure, which can cause the shrimp to become soggy.
Line the container with paper towels to absorb excess moisture. This is crucial for keeping the breading crisp. Place the shrimp in a single layer, avoiding any overlap.
Store the container in the coldest part of the refrigerator, usually at the back. They should be consumed within 2-3 days to ensure optimal taste and texture.
Freezing and Thawing Techniques
For longer preservation, freezing breaded shrimp is an excellent option. Begin by placing the shrimp on a baking sheet lined with parchment paper, ensuring they do not touch each other. Freeze them for about 2 hours until they are firm.
Once pre-frozen, transfer them to a freezer-safe container or resealable plastic bag, removing as much air as possible. Label the container with the date to keep track.
When ready to use, thaw the shrimp in the refrigerator overnight. Avoid thawing at room temperature as this can lead to bacterial growth. After thawing, reheat in an oven or air fryer to restore their crispiness.
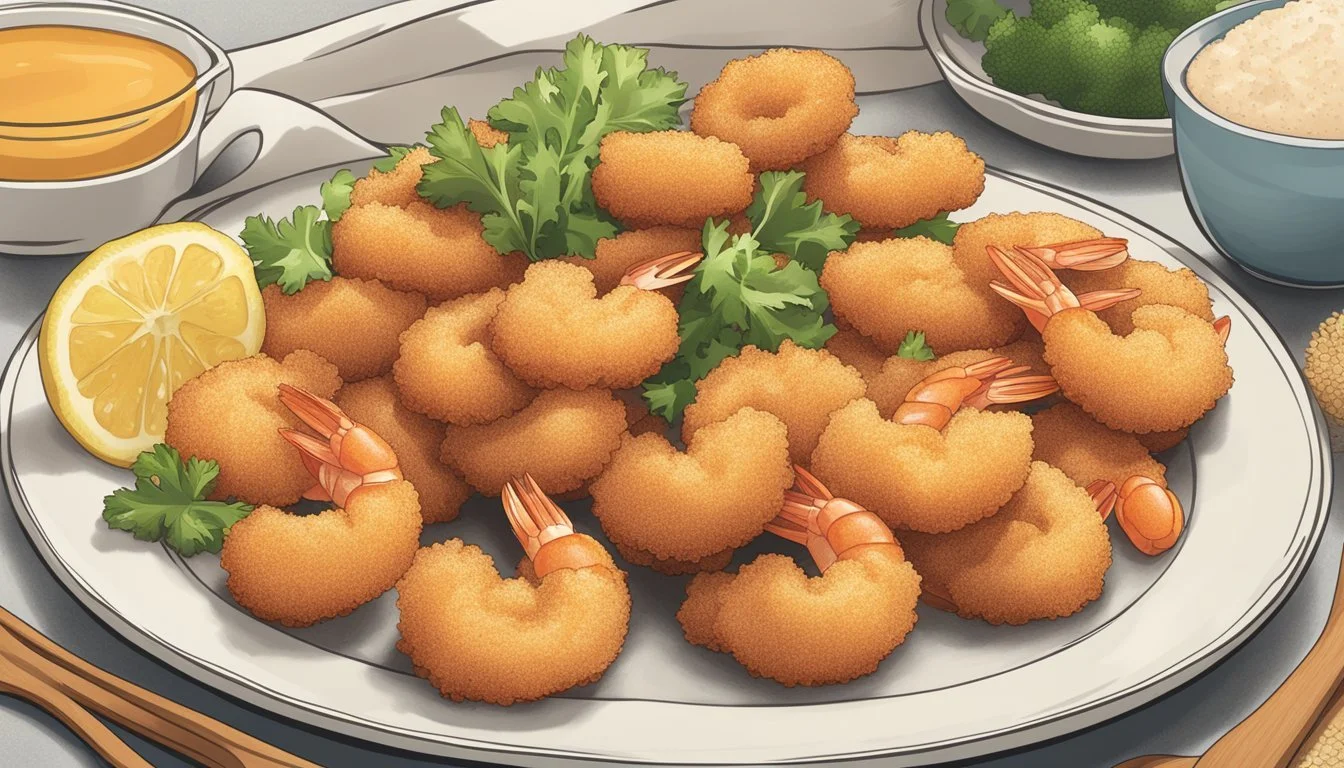
Serving Suggestions

When serving gluten-free breaded shrimp, pairing it with complementary side dishes and homemade dipping sauces can enhance the meal. Below are suggestions to make your shrimp dish a complete and satisfying experience.
Complementing Side Dishes
Pair the shrimp with a fresh garden salad tossed in a light vinaigrette for a simple, refreshing side. Adding quinoa or wild rice gives a hearty, gluten-free accompaniment that balances the meal.
Steamed or grilled vegetables, such as asparagus or zucchini, can also be a great addition. The light and healthy nature of vegetables contrasts well with the breaded shrimp. Sweet potatoes—baked or mashed—offer a mildly sweet flavor that complements the savory shrimp.
Homemade Dipping Sauces
Crafting your own dipping sauces can elevate the flavors of gluten-free breaded shrimp. A garlic aioli is a popular option, blending mayonnaise, minced garlic, lemon juice, and a dash of salt.
For a bit of heat, try a spicy sriracha mayo, which simply combines mayonnaise and sriracha sauce to taste. A classic tartar sauce made from dill pickles, capers, and lemon juice mixed with mayonnaise also fits well.
Honey mustard—a mix of honey, Dijon mustard, and a touch of vinegar—adds a delightful sweetness and tang.
These serving suggestions can turn your reheated gluten-free breaded shrimp into a memorable dish.
Nutritional Information
Reheating gluten-free breaded shrimp can vary in nutritional content based on the method of preparation. It's essential to understand how different methods affect caloric content and why gluten-free options are important for specific diets.
Caloric Content by Cooking Method
The caloric content of gluten-free breaded shrimp can change depending on the cooking method used. Baking is one of the healthier methods, resulting in lower calorie counts. For example, baked shrimp may contain approximately 200-250 calories per serving.
In contrast, using an air fryer can also help maintain a low-calorie count. Air-fried gluten-free shrimp approximate 220-270 calories but often provide a crispier texture without adding extra fat.
Deep frying can result in a much higher calorie count, typically around 300-350 calories per serving. The additional oil absorbed during frying significantly increases the fat and calorie content.
Gluten-Free Diet Considerations
For those following a gluten-free diet, it's crucial to verify that all ingredients, particularly the breading, are truly gluten-free. Gluten-free breaded shrimp offer a way to enjoy seafood without compromising dietary restrictions. Brands like Trader Joe's often provide gluten-free options that are also dairy-free, aligning with other diet plans such as Whole30.
Moreover, the absence of gluten is vital for individuals with celiac disease or gluten sensitivity. Ensuring cross-contamination doesn't occur during reheating is equally important. Proper storage and handling can prevent accidental gluten exposure, making the meal safe for those with dietary restrictions. Following these guidelines can help maintain a balanced and healthy diet.
Frequently Asked Questions
Can I use an air fryer to reheat gluten-free breaded shrimp?
Yes, using an air fryer is a great way to reheat gluten-free breaded shrimp. Preheat the air fryer to 375°F (190°C). Place the shrimp in a single layer and cook for 3-5 minutes. Shake the basket halfway for even heating.
What sauces pair well with reheated gluten-free breaded shrimp?
Sweet chili sauce and gluten-free bang bang sauce are excellent choices. To make bang bang sauce, mix mayonnaise, hot sauce, and a bit of sweet chili sauce.
How do I keep the coating crispy when reheating in the oven?
Preheat the oven to 350°F (175°C). Place the shrimp on a baking sheet, ensuring they are in a single layer. Bake for about 10-12 minutes. A light spray of oil can help maintain crispiness.
Can I reheat breaded shrimp on the stovetop?
Yes. Melt a tablespoon of butter in a skillet. Add the shrimp and cook for 3-4 minutes on medium-high heat. Ensure they are heated evenly by stirring occasionally.
Is it safe to reheat shrimp that has been in the refrigerator?
Shrimp can be safely reheated if stored in the refrigerator for up to 3 days. Make sure it reaches an internal temperature of 165°F (74°C) when reheating.
What dairy alternatives work for a gluten-free and dairy-free shrimp dish?
Buttermilk can be replaced with dairy-free buttermilk, made by combining almond milk or soy milk with a splash of vinegar or lemon juice. This is suitable for both the initial breading and reheating process.
Conclusion
Reheating gluten-free breaded shrimp can be done confidently and effectively using various methods.
Air Fryer: Preheat to 375°F (190°C), lightly coat the basket with oil, and cook the shrimp for 3-5 minutes, shaking halfway for even heating.
Oven: Preheat to 350°F, place shrimp on a baking sheet, and bake for 10-12 minutes until heated through and crispy.
Skillet: Heat a skillet, add oil, spread shrimp evenly, cook for 2-3 minutes, and add a splash of broth or water to maintain moisture.
Remember to ensure the shrimp is placed in a single layer for even heating.
Using these methods will allow them to enjoy perfectly reheated shrimp every time.
