
How to Reheat Gluten-Free Chili
Quick and Easy Methods Explained

Reheating gluten-free chili can be straightforward and ensures that the rich flavors of your meal are enjoyed just as much the second time around. The best way to reheat gluten-free chili is to use the stovetop over medium-high heat, stirring occasionally until fully heated through. This method allows the flavors of the ground beef, beans, and chili powder to meld beautifully, creating a dish that tastes just as fresh as the day it was made.
For those in a hurry, a microwave offers a quick alternative. Place your desired portion of chili in a microwave-safe bowl, cover it with a microwave-safe lid or plate, and heat in short intervals, stirring in between until evenly warmed. This method preserves the hearty texture of the ingredients while ensuring even reheating.
If you have a frozen batch, the fridge is your best friend. Allow the frozen chili to defrost in the refrigerator overnight for optimal results. Once defrosted, you can proceed with either stovetop or microwave reheating. This flexibility makes enjoying gluten-free chili convenient and delicious, no matter your schedule.
Understanding Gluten-Free Chili
Gluten-free chili is not just about eliminating gluten; it’s about using the right ingredients and techniques to ensure a delicious and nutritious meal. Key aspects include selecting appropriate proteins, utilizing gluten-free thickeners, and incorporating an array of spices and vegetables to enhance flavor and texture.
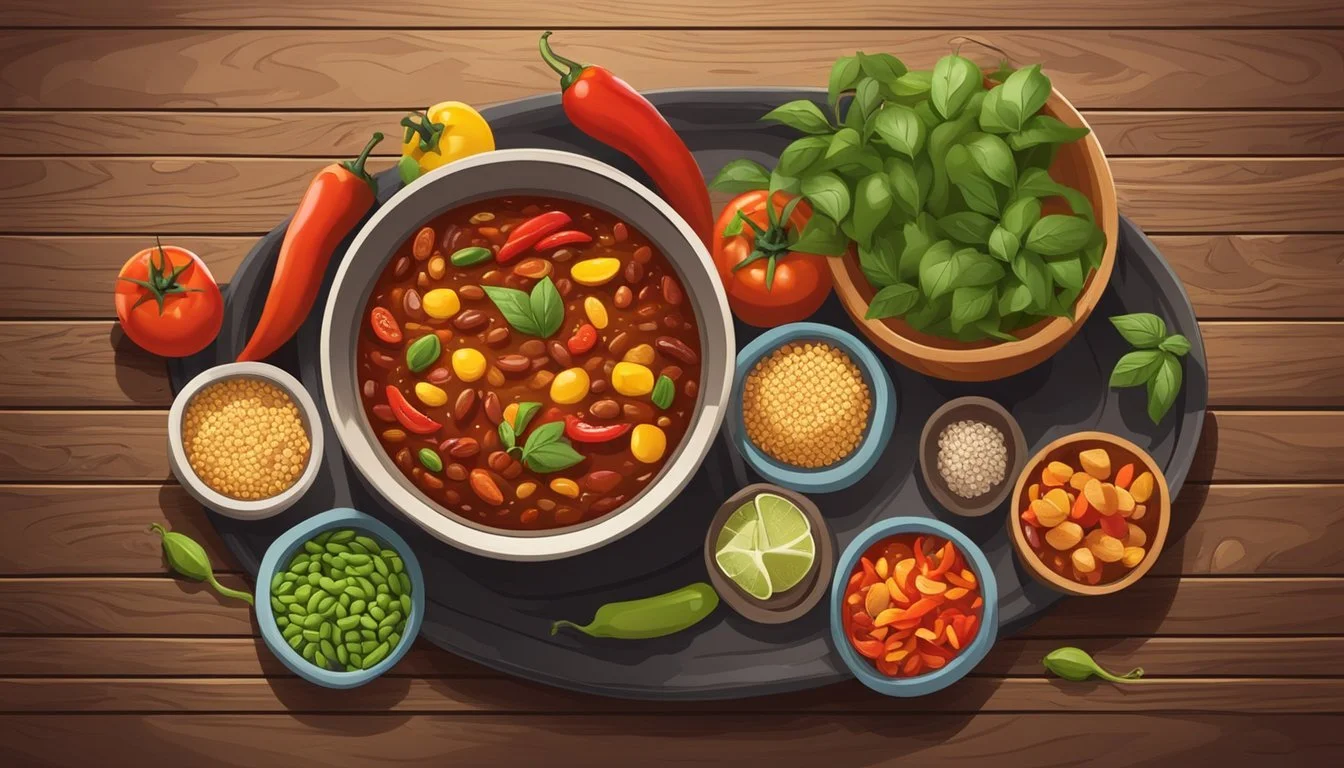
Ingredients and Substitutes
The foundation of a good chili starts with the right ingredients. Traditional chili includes a blend of beans, tomatoes, onions, and garlic, all of which are naturally gluten-free. For the seasoning, staples like chili powder, cumin, and oregano are essential. These spices deliver the characteristic flavor of chili while being safe for gluten-sensitive individuals.
Substitutes play a crucial role, particularly in recipes that originally use gluten-containing ingredients. For example, if thickening the chili, arrowroot or cornstarch can replace flour. Additionally, using tomato paste thickens the chili and adds depth to the sauce.
Selecting Gluten-Free Proteins
Protein forms the heart of many chili recipes. Common choices include chicken, beef, and turkey. Lean ground beef is a popular option for a hearty, rich flavor. When selecting proteins, one must ensure they are explicitly labeled gluten-free, as some processing methods might introduce gluten.
Vegetarian options can also add variety and nutrition. Beans such as kidney, black, and pinto are traditional choices that boost protein content while keeping the dish gluten-free. Corn can add a sweet crunch, complementing the other ingredients.
Gluten-Free Thickening Agents
Thickening agents determine the final texture of the chili. Traditional recipes often use flour, but gluten-free alternatives are readily available. Cornstarch is a common choice; it creates a smooth consistency without altering the flavor. To use, mix a small amount with cold water to form a slurry before adding it to the pot.
Arrowroot is another excellent option, prized for its clarity and neutral taste. Both tomato paste and beans can naturally thicken the chili as well. Pureeing a portion of the beans before adding them to the pot can thicken the chili without additional thickeners.
Preparing the Chili
Ensuring a delicious gluten-free chili starts with choosing the right cooking method and perfectly seasoning the ingredients.
Cooking Methods
Stovetop: Start by heating olive oil in a large pot or Dutch oven over medium-high heat. Add diced onions and cook until translucent. Add the ground meat, breaking it into smaller pieces as it browns. Incorporate diced tomatoes and beans for texture and flavor. Let the chili simmer on low heat for 30-50 minutes, stirring occasionally.
Slow Cooker: For a hands-off approach, saute onions and brown the meat in a pan before transferring to the slow cooker. Mix in tomatoes, beans, and seasonings. Cook on low for 6-8 hours or high for 3-4 hours, ensuring a rich, melded flavor without much effort.
Instant Pot: Use the sauté function to soften onions and brown the meat. Add remaining ingredients, seal the lid, and set to pressure cook on high for 15 minutes. Allow a natural release for 10 minutes before quick-releasing any remaining pressure for a quicker chili preparation.
Seasoning the Chili
Essential Spices: Begin by adding salt, pepper, chili powder, and cumin. These base spices are crucial for a well-rounded flavor.
Additional Seasonings: To enhance depth, include oregano, garlic, and a bay leaf. Some recipes benefit from a hint of sweetness with a small amount of brown sugar.
Adjusting the Heat: For spicier chili, incorporate cayenne pepper or hot sauce. Balance the heat by adjusting the amount of chili powder and cumin to your taste.
Combining Ingredients: Ensure all spices are well-blended with the tomatoes and beans. Let the chili sit once fully cooked to allow flavors to meld.
By focusing on the right balance of spices and cooking techniques, your gluten-free chili will have robust flavor and perfect texture.
Reheating Gluten-Free Chili

When reheating gluten-free chili, consider the method that will best retain its flavor and texture. Whether using the stovetop, microwave, or oven, ensure that the chili remains hearty and packed with flavor.
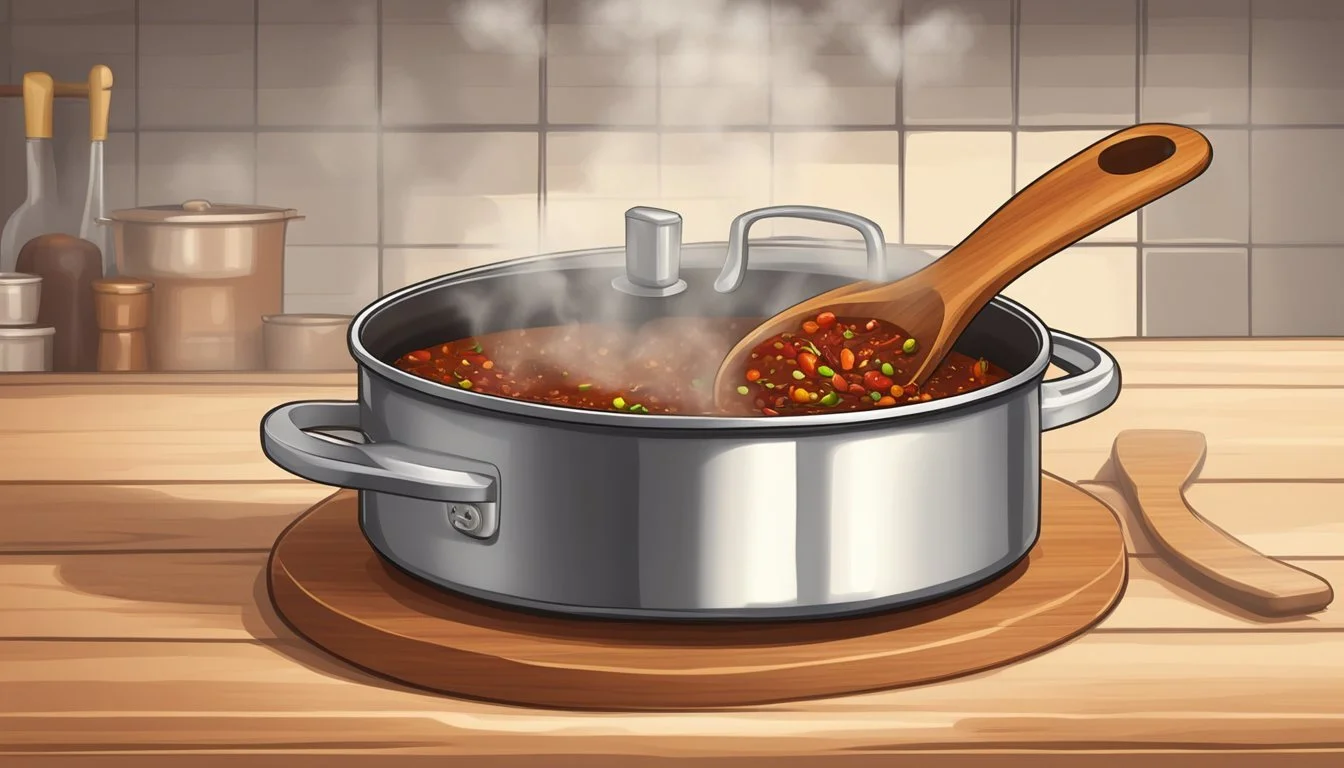
Stovetop Reheating Technique
Using the stovetop is ideal to maintain the chili’s texture. Start by adding olive oil to a pot over medium heat. Once hot, add the chili and stir occasionally.
Heat the chili gently to avoid burning, and let it simmer for about 10-15 minutes. Stirring helps distribute the heat evenly. If the chili is too thick, add a bit of water or chicken stock. This method ensures the chili remains flavorful and retains its hearty consistency.
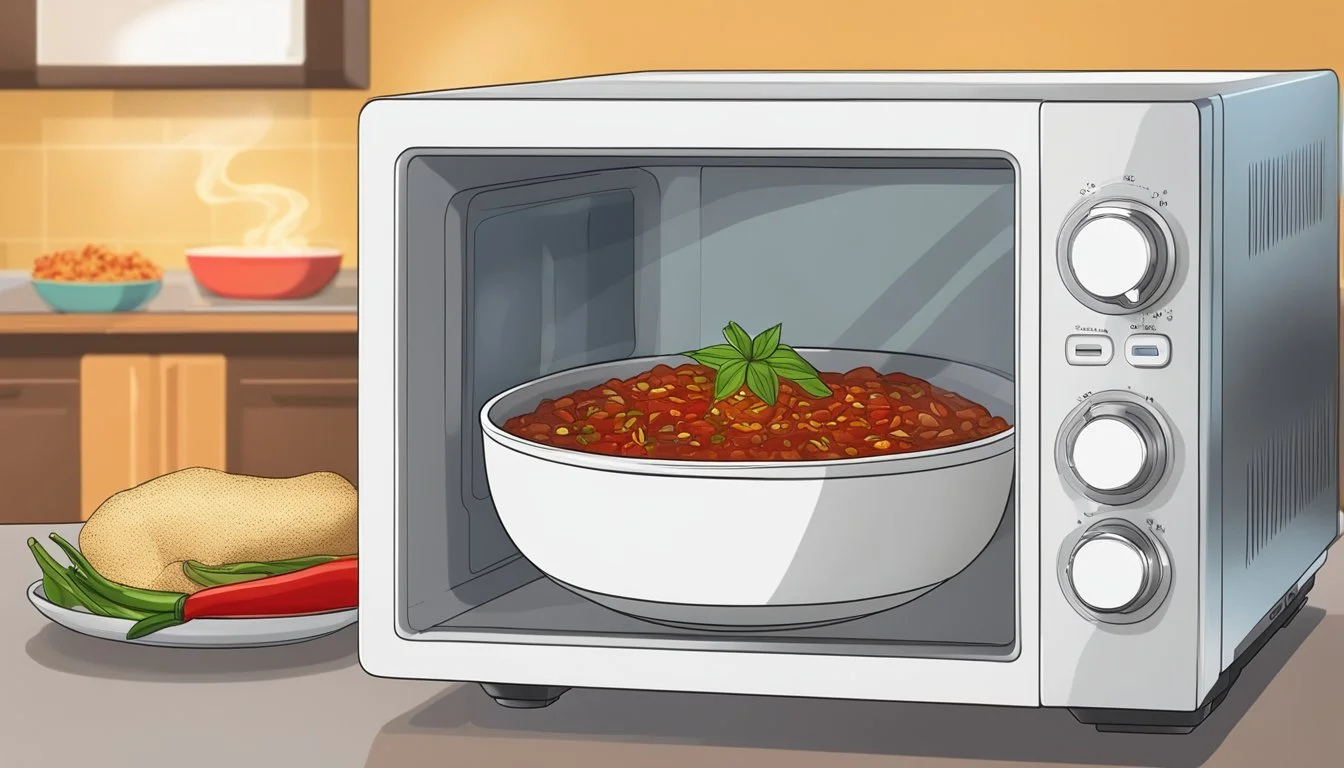
Microwave Reheating Tips
For a quick and easy reheat, the microwave is a good option. Transfer the chili to a microwave-safe bowl, cover it with a microwave-safe lid or wrap.
Heat on medium power for 1-2 minutes, then stir. Repeat in 1-minute increments until the chili is heated through. Be cautious not to overheat, as this can dry out the chili. Microwaving in short bursts ensures that the chili retains its hearty texture and flavor.
Oven Reheating Method
Reheating in the oven is another effective method, particularly for larger quantities. Preheat the oven to 350°F (175°C). Place the chili in an oven-safe dish and cover it with aluminum foil to prevent drying out.
Heat for 20-30 minutes, or until it reaches the desired temperature. Stir halfway through the cooking time to ensure even heating. This method may take longer but is useful for keeping the chili’s flavor and texture intact, especially for servings meant to stay warm for an extended period.
Storing and Preserving Chili
Properly storing gluten-free chili ensures it remains flavorful and safe to eat. Learn important tips for both refrigeration and freezing to maximize the shelf life and quality of your chili.
Best Practices for Freezing
To freeze chili, start by letting it cool to room temperature. Transfer the chili into airtight containers or heavy-duty freezer bags. Label each container with the date. This helps in keeping track of when it was made.
To retain the best texture and flavor, use frozen chili within 2-3 months. When freezing, leave some space at the top of the container as chili expands when frozen. Avoid freezing in large quantities; opt for smaller portions instead. This allows for easy reheating without thawing everything.
Refrigeration Tips
When refrigerating chili, let it cool before placing it in the refrigerator. Use airtight containers to prevent moisture loss and flavor absorption from other foods. Refrigerated chili should be consumed within 3-4 days to ensure safety and taste.
Labeling and dating the containers can help avoid confusion. Store the chili on a middle shelf, where the temperature is most consistent. Always reheat refrigerated chili thoroughly before consuming to prevent any potential bacterial growth.
Maximizing Leftover Chili
Repurpose leftover chili for new meals to avoid waste. It can be used as a topping for baked potatoes, mixed with pasta, or incorporated into casseroles. Store leftover chili in airtight containers immediately after cooking.
Portioning the chili before storing aids in quick and convenient reheating. Keeping leftovers in the fridge or freezer ensures they are ready for a quick meal. Properly stored chili retains its flavor and makes meal prep effortless.
Proper storage of chili not only preserves its taste but also prevents food spoilage and waste. By following these guidelines, you can enjoy your gluten-free chili for days or even months after it's made.
Serving Suggestions
When serving gluten-free chili, the right toppings and side dishes can enhance flavor and provide variety. From creamy avocado to crunchy tortilla chips, there are many ways to customize your bowl.
Customizing Your Toppings
Adding toppings can transform a simple bowl of chili into a customized delight. Common choices include:
Diced avocado provides a creamy texture and healthy fats.
A dollop of sour cream adds richness.
Shredded cheese like cheddar or Monterey Jack melts beautifully into the warm chili.
Fresh cilantro and green onions add a fresh, zesty flavor.
Tortilla chips offer a satisfying crunch.
For added spice, diced jalapeño or green bell peppers work well.
Diced onions, whether raw for a sharp bite or sautéed for sweetness, are a versatile choice.
Corn kernels can add a bit of sweetness and texture.
Feel free to mix and match these toppings to suit your taste.
Side Dishes to Complement Chili
When planning to serve chili, think about side dishes that can balance the hearty flavors. Some options include:
Cornbread or gluten-free rolls: Soft and slightly sweet, these bread options pair perfectly with the robust flavors of chili.
A simple green salad: Fresh greens with a light vinaigrette can counterbalance the chili's richness.
Roasted vegetables: Green bell peppers, onions, and zucchini are excellent roasted and served alongside.
Rice or quinoa: These grains can make the meal more filling and provide a soft base for the chili.
Sautéed spinach or kale: These greens add a nutritious touch and contrast nicely with the chili.
These sides can make your chili meal feel well-rounded and satisfying.
Nutrition and Dietary Considerations
Gluten-free chili offers various health benefits and can be adapted to meet special dietary needs. This section will explore its health benefits and provide guidance on modifying recipes for different diets.
Health Benefits of Gluten-Free Chili
Gluten-free chili is naturally packed with nutrients. Made from ingredients like beans, ground beef, and vegetables, it provides a good source of protein and fiber. Protein supports muscle repair and growth, while fiber aids in digestion and helps maintain a healthy gut.
Using fresh or canned veggies like tomatoes, onions, and bell peppers increases the meal's vitamin and mineral content. Sweet potatoes can be added for extra vitamin A and fiber. The traditionally spicy flavor from chili peppers can also boost metabolism.
Adapting Recipes for Special Diets
Adapting gluten-free chili for specific dietary needs is simple. For a vegetarian version, substitute the meat with extra beans or veggie-based proteins like tofu or textured vegetable protein (TVP).
For those who need lower spicy levels, reduce or omit chili peppers and opt for milder seasonings. To accommodate dairy-free diets, ensure any optional toppings like cheese or sour cream are substituted with dairy-free alternatives.
For low-carb needs, skip the beans and bulk up the chili with more low-carb vegetables such as zucchini and bell peppers. Always verify that canned ingredients are labeled gluten-free to avoid cross-contamination.
