
How to Reheat Gluten-Free Fruit Bars
Best Methods and Tips
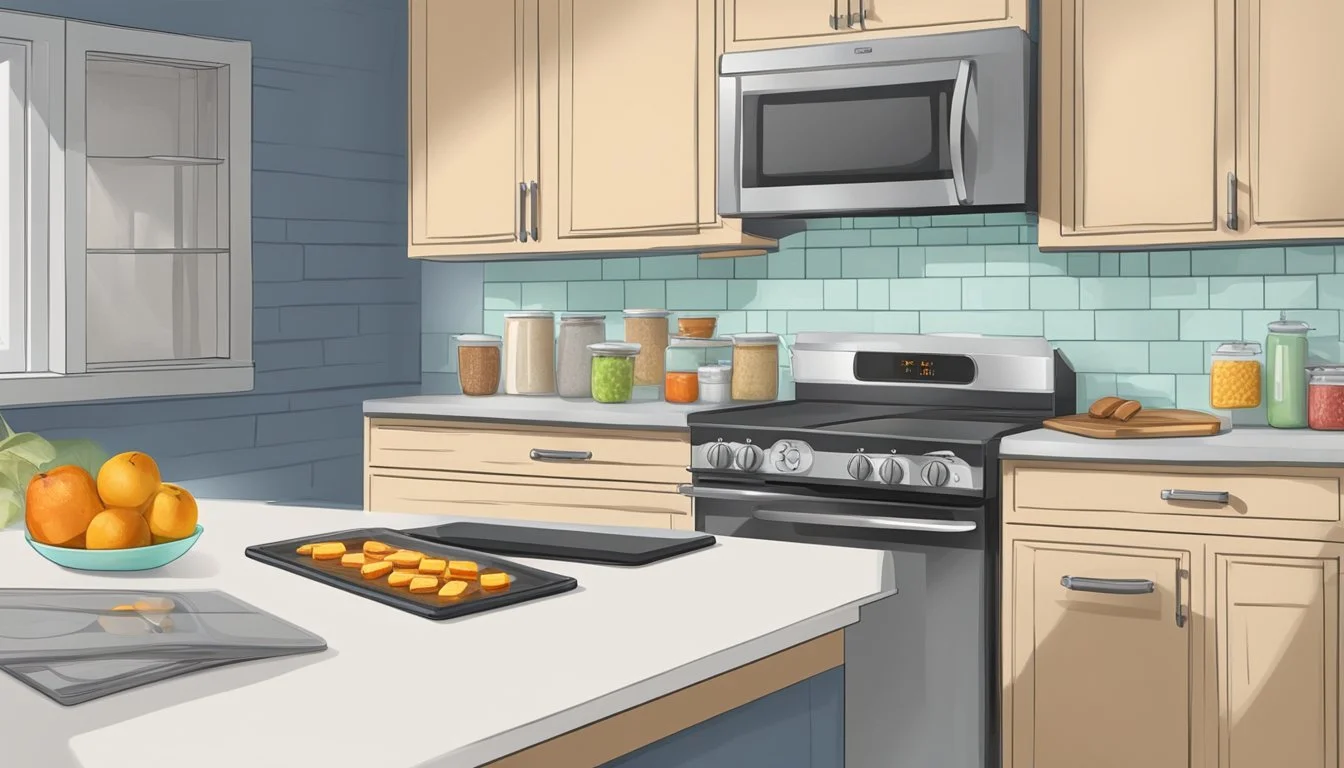
When it comes to enjoying gluten-free fruit bars, knowing how to reheat them properly can make all the difference between a delightful snack and a chewy, unappetizing treat. To achieve the perfect texture, preheat your oven to 350°F and place the bars on a baking sheet for about 10 minutes. This method helps to restore their initial crispness while ensuring that the fruity filling remains warm and flavorful.
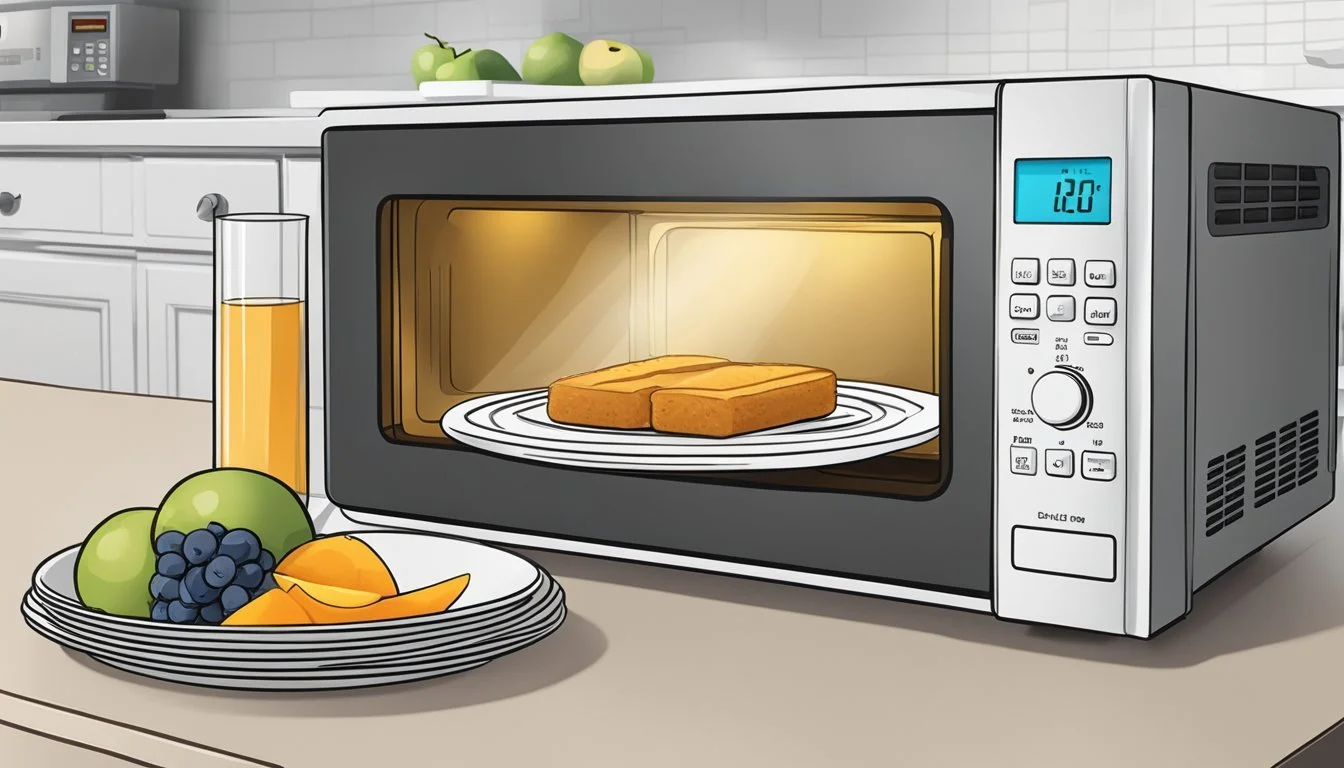
For those in a hurry, using a microwave can be a quick alternative. Place the gluten-free fruit bar on a microwave-safe plate and heat it on medium power for 20 to 30 seconds. This approach warms the bar without compromising its consistency.
Lastly, for an even heat distribution, consider using a toaster oven. Set the temperature to 350°F and heat the bars for approximately 5 to 7 minutes. This method is perfect for maintaining the dessert's balance between crispy and chewy, making each bite as enjoyable as the first.
Understanding Gluten-Free Baking
Gluten-free baking can be a rewarding yet challenging endeavor. Selecting the right flours and binders is crucial for achieving desirable textures and flavors. This section addresses the essential components of gluten-free baking.
Importance of Gluten-Free Flours
Gluten-free flours are central to gluten-free baking. They are derived from various grains, nuts, and legumes. Some common choices include almond flour, rice flour, and tapioca flour.
Unlike wheat flour, gluten-free flours lack the protein structure that provides elasticity. To mimic this texture, bakers often use a blend of different flours. For instance, combining 2 cups of white rice flour, 2/3 cup of potato starch flour, and 1/3 cup of tapioca flour can create a versatile gluten-free blend.
Each flour has distinct qualities. Almond flour adds moisture and a slightly nutty flavor, while rice flour lends a neutral taste and light texture. Understanding these properties helps bakers create well-balanced recipes.
Role of Xanthan Gum as a Binder
In gluten-free baking, binders are essential to replicate the elasticity and chewiness of gluten. Xanthan gum is one of the most effective binders. It is a polysaccharide that stabilizes and thickens mixtures.
Only a small amount is needed. Typically, 1/4 to 1 teaspoon per cup of gluten-free flour is sufficient. Xanthan gum helps to trap air bubbles, resulting in a texture that closely resembles traditional baked goods.
Its binding properties are especially useful in preventing baked goods from being crumbly. This makes it an indispensable ingredient in recipes like gluten-free fruit bars, ensuring they hold together well and have a pleasing consistency.
By understanding the roles of gluten-free flours and xanthan gum, bakers can achieve improved texture, taste, and structural integrity in their gluten-free creations.
Ingredients for Gluten-Free Fruit Bars
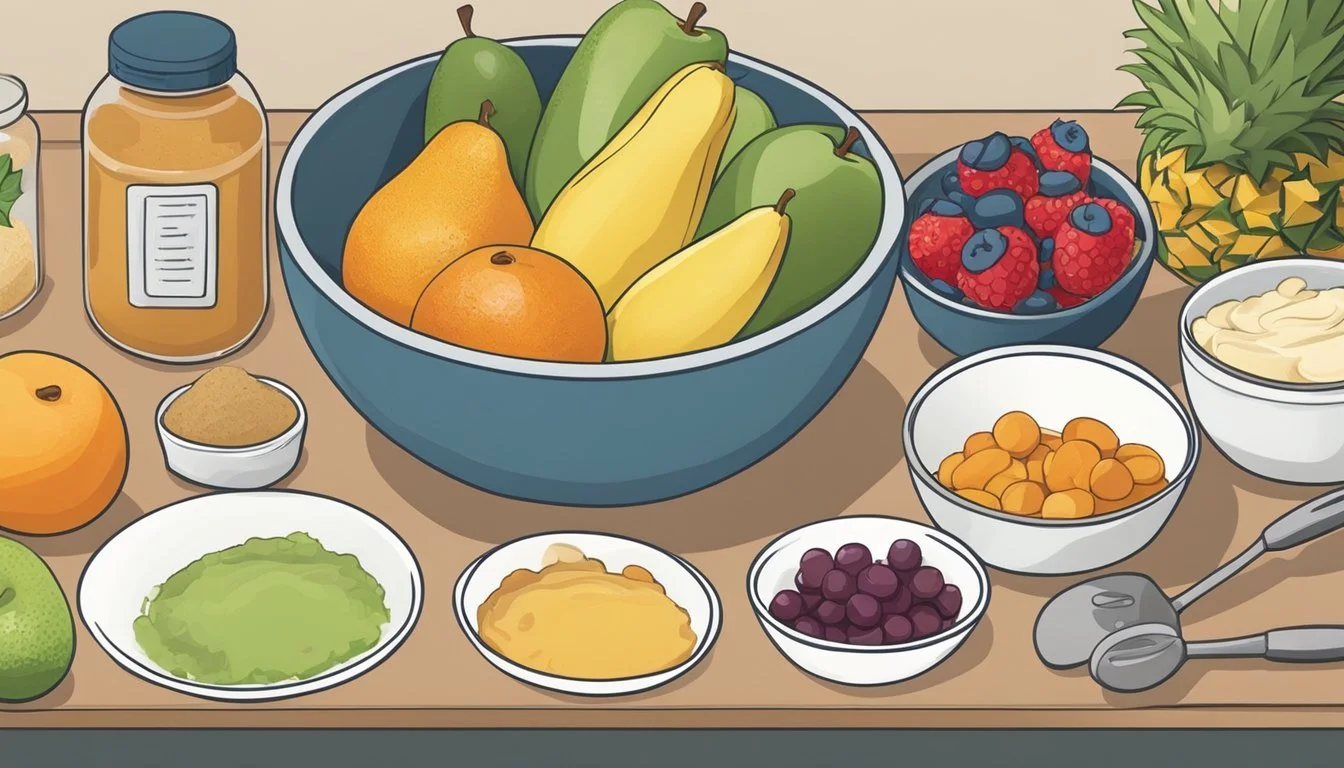
Creating gluten-free fruit bars requires choosing the right combination of fruits, sweeteners, and fats to ensure the best flavor and texture. Here’s a detailed look at what you need to consider.
Choosing the Right Fruit
Selecting fresh, high-quality berries is crucial. Common choices include raspberries, blueberries, strawberries, and blackberries. Each brings its unique flavor and texture to the bars.
Frozen berries can also be used, but they should be allowed to thaw and drain excess liquid to avoid making the bars too wet. Mix different berries for a more complex flavor profile.
Opt for organic fruits when possible to avoid pesticide residues. For recipes that call for a berry mixture, proportions can vary but maintaining a balanced mix ensures each bite has an appealing blend of flavors.
Selecting Sweeteners
Sweeteners can greatly affect the final taste and health profile. Granulated white sugar is common but there are many gluten-free alternatives. Brown sugar adds a deeper molasses flavor while keeping the bars moist.
Coconut sugar is a popular choice for those looking for a less processed option with a subtle caramel hint. Maple syrup can be used for a richer taste and brings additional moisture, which might affect the texture.
Honey is another option but it’s more viscous and sweeter. For those wanting less refined choices, mixing different sweeteners can achieve a balanced sweetness and texture.
Selecting Fats for the Crust and Topping
The crust and topping need fats that provide structure and flavor. Butter is traditional and offers a rich taste. For those avoiding dairy, vegan butter or dairy-free margarine work well and provide similar properties.
Coconut oil is another excellent substitute, especially for those seeking a hint of coconut flavor. It’s solid at room temperature, which helps in forming a firm crust and crumbly topping.
Shortening can also be used but might result in a slightly different texture. In gluten-free baking, ensuring fats are cold when mixed is key to achieving the right consistency in the crust and topping. This prevents them from becoming greasy.
Each ingredient plays a pivotal role in making gluten-free fruit bars delicious and enjoyable.
Preparing the Crust and Topping
The foundation of gluten-free fruit bars lies in a perfect shortbread crust and a delightful crumble topping.
Creating the Shortbread Crust
A good crust starts with a blend of gluten-free flour and salt. This forms the base, providing structure and flavor. Add cold, cubed butter to the flour mixture. Incorporate the butter using a pastry cutter until the mixture resembles coarse crumbs.
To bind the crust, mix in a little sugar and a small amount of cold water. This helps to form a dough that holds together without being too wet. Press the dough evenly into the prepared baking dish.
Bake the crust at 350°F until it reaches a light golden brown color. This step ensures the crust is sturdy enough to hold the fruit filling and the topping, while still being buttery and delicious.
Making the Crumble Topping
The crumble topping is key to adding texture and flavor. Combine gluten-free oats or rolled oats, almond flour, and coconut sugar in a medium bowl.
Add melted butter to this mixture, along with a dash of cinnamon. Mix thoroughly until the ingredients form large, moist crumbs. The butter ensures the topping will turn golden brown and crispy when baked, adding a pleasing contrast to the tender fruit filling.
Sprinkle the crumble mixture evenly over the fruit filling. This layering not only adds flavor but also gives the bars a visually appealing finish. Bake until the topping is crisp and lightly browned, which ensures a satisfying crunch in each bite.
Assembling and Baking the Fruit Bars
Creating the perfect gluten-free fruit bars involves a few critical steps: layering the ingredients properly and ensuring the bars are baked to perfection. This helps in achieving the right texture and flavor.
Layering Ingredients
Start by preheating the oven to 350°F (175°C). Prepare a baking pan by lining it with parchment paper, making sure to leave some overhang on the sides for easy removal later.
Press about two-thirds of the shortbread cookie dough firmly into the base of the pan, smoothing it into an even layer using a small offset spatula.
Next, arrange the fruit filling evenly over the shortbread base. Whether you are using blueberries, strawberries, or a mix of berries, distributing the filling in an even layer is essential for consistent baking and flavor.
Sprinkle the remaining dough over the fruit filling, creating a crumbly top layer. This topping not only adds texture but also holds the bars together.
Baking to Perfection
Once the layers are assembled, place the baking pan in the preheated oven. Bake for approximately 35-40 minutes, or until the top layer turns golden brown.
Keep an eye on the baking process, as overbaking can make the bars too dry. The golden-brown color is a good indicator that the bars are ready.
After baking, allow the bars to cool completely in the pan. This ensures they set properly and makes cutting them into neat pieces easier.
Once cooled, use the parchment paper overhang to lift the bars out of the pan. Cut them into desired portions and store them as needed.
Cooling, Cutting, and Serving
Properly cooling, cutting, and serving gluten-free fruit bars ensures that they maintain their structure and taste. These steps are crucial for achieving a pleasant presentation and an enjoyable eating experience.
Proper Cooling Techniques
Cooling gluten-free fruit bars is fundamental to maintaining their integrity. Start by allowing the bars to cool in the baking pan on a wire rack for about 10 to 15 minutes. This brief cooling period helps to firm up the bars and makes them easier to handle.
Next, transfer the fruit bars out of the pan. Use parchment paper to lift them, or gently slide them onto a flat surface. Let them cool completely at room temperature, which can take up to one hour. This step prevents crumbling and ensures that the flavors set correctly.
For even cooling, avoid covering the bars while they cool, as trapping heat can lead to sogginess. If you're in a hurry, cooling them in the refrigerator for 15-20 minutes can speed up the process. However, room temperature cooling usually yields the best texture.
Cutting for Optimal Presentation
Cutting gluten-free fruit bars neatly is important for both presentation and portion control. First, use a sharp knife for clean cuts. Before slicing, lightly score the surface with the knife to outline your desired portions.
To prevent the knife from sticking, occasionally dip it in warm water or lightly oil the blade. Cut with a gentle, downward motion, avoiding a sawing action that could crumble the bars.
Measure the portions accurately using a ruler or the marks on your knife. Standard sizes often range around 2x2 inches, but adjust based on your serving preferences. Arrange the pieces uniformly on a serving platter for a visually appealing presentation.
For added elegance, consider dusting the bars with powdered sugar or adding a drizzle of icing. Offer serving utensils like small tongs or a pie server to make it easy for guests to take a piece without damaging the rest of the bars.
Storage and Preservation

Proper storage of gluten-free fruit bars is crucial to maintain their freshness and flavor. Key methods include refrigeration for short-term use and freezing for long-term preservation.
Refrigerating the Bars
Refrigerating gluten-free fruit bars ensures they remain fresh and tasty for up to a week. After baking, allow the bars to cool completely at room temperature. Once cooled, place them in an airtight container to prevent them from becoming stale or absorbing odors from other foods.
Store the container in the fridge. Labeling the container with the date is helpful in keeping track of their freshness. When ready to enjoy, they can be eaten cold or allowed to reach room temperature.
Freezing for Long-Term Storage
To freeze gluten-free fruit bars for longer periods, first, ensure the bars are completely cooled. Cut them into individual portions for easier thawing later. Wrap each portion tightly in plastic wrap, ensuring no air can enter.
Place the wrapped bars in a freezer-safe container or zip-top freezer bag. This additional layer protects against freezer burn. The bars can be frozen for up to three months. When ready to eat, thaw them in the fridge overnight or at room temperature for a couple of hours.
Health and Nutrition Considerations

When reheating gluten-free fruit bars, it's crucial to consider their nutritional content and potential allergens to maintain both health benefits and dietary restrictions.
Calorie Content and Nutritional Value
Gluten-free fruit bars can vary in calorie content depending on their ingredients. For instance, bars with higher quantities of nuts and seeds often have more calories compared to those with mainly fruits and oats.
Nutrient Breakdown per Typical Serving:
Calories: 150-250 kcal
Proteins: 3-5 grams
Fats: 5-10 grams (mostly unsaturated)
Carbohydrates: 20-30 grams (includes natural sugars from fruit)
These bars often contain micronutrients like vitamins (C, E) and minerals (potassium, magnesium). The fiber content, coming mostly from fruits and oats, plays a critical role in digestion and cardiovascular health.
Gluten-Free and Allergy Information
Ensuring that gluten-free fruit bars remain free from cross-contamination is vital for those with celiac disease or gluten sensitivity. Some brands take particular care to avoid cross-contact with gluten-containing products by using dedicated facilities or stringent cleaning protocols.
For those with additional dietary concerns, there are often dairy-free options and sometimes paleo-friendly recipes available. Always check labels for potential allergens like nuts, soy, or dairy.
Common Allergenic Ingredients:
Nuts (almonds, walnuts, etc.)
Seeds (flaxseed, sunflower)
Soy products (in some recipes)
Reheating should not affect their gluten-free status, but maintaining a clean preparation environment ensures safety for those with severe allergies.
Variations and Additional Ideas
Changing up the flavors of gluten-free fruit bars can keep things exciting, while adjusting recipes to be vegan or paleo-friendly makes them accessible to more diets.
Creating Different Flavors
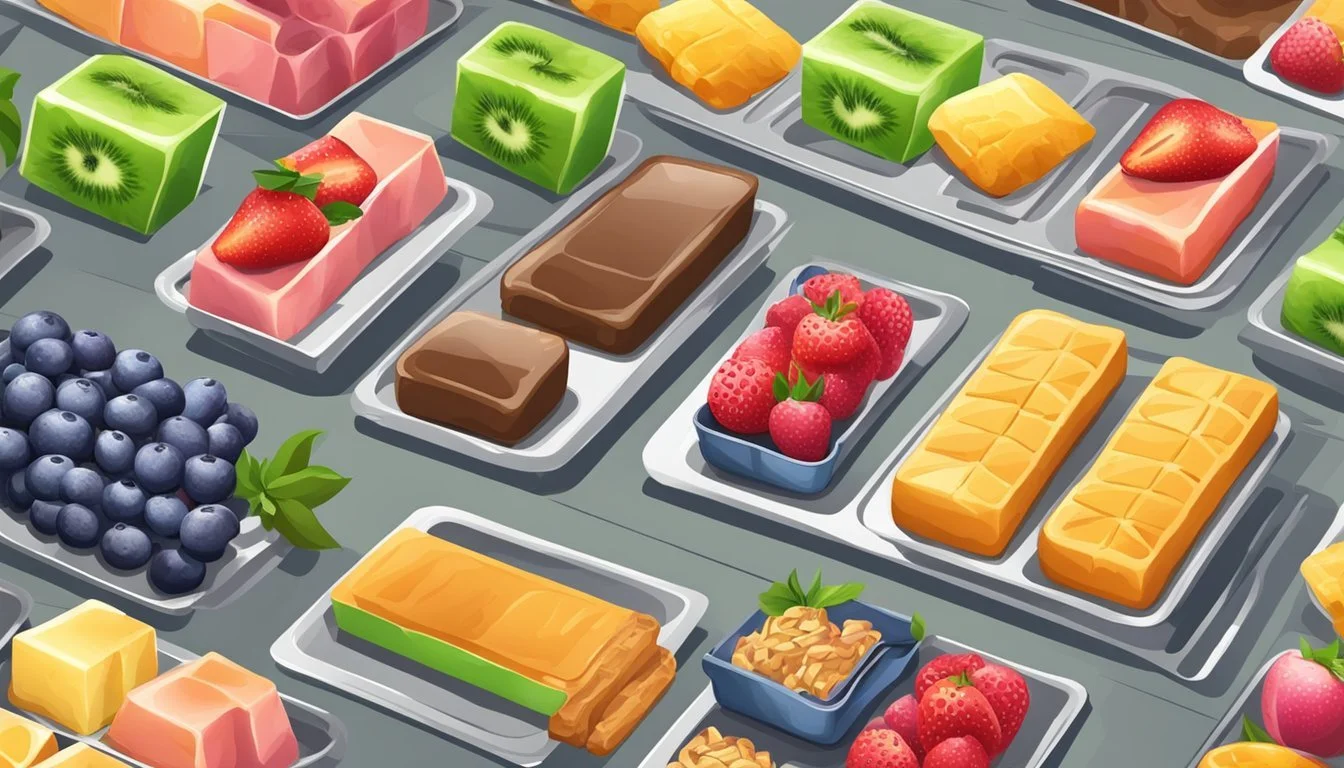
Experimenting with various fruit fillings can result in delicious variations. Raspberry bars provide a tart contrast to the sweetness of the crumble, while blueberry or strawberry bars offer a traditional berry flavor. Peach adds a touch of summer sweetness.
Using fresh lemon juice and zest in gluten-free lemon bars introduces a vibrant citrus flavor. Mixing and matching fruits in recipes can create unique combinations like blueberry-peach or strawberry-lemon.
For those using frozen fruit, there’s no need to thaw before using. Frozen fruit works well in maintaining the structure of the bar during baking.
Vegan and Paleo Options
Adapting gluten-free fruit bars to fit vegan or paleo diets is straightforward. For a vegan version, substitute dairy ingredients with plant-based alternatives. Almond or oat milk can replace regular milk, and coconut oil works as a butter substitute.
For sweetness, maple syrup or agave can be used instead of refined sugar. To make the bars paleo-friendly, swap out conventional flours with almond flour or coconut flour. These substitutions ensure the dessert remains compliant with dietary restrictions while still being enjoyable.
Using ingredients like chia seeds or flaxseeds as egg substitutes can help maintain the texture and structure. Through these simple adjustments, these bars can cater to diverse dietary needs without compromising on taste.
