
How to Reheat Gluten-Free Frozen Yogurt
Expert Tips and Techniques
Reheating gluten-free frozen yogurt might seem counterintuitive, but there are instances where getting it to the right consistency is key. To reheat gluten-free frozen yogurt, allow it to sit at room temperature for about 10-15 minutes or use the defrost setting on your microwave for short intervals until it softens slightly. This method ensures that the yogurt retains its creamy texture without turning into a soupy mess.
Gluten-free frozen yogurt retains the same nutritional benefits as regular frozen yogurt, making it a healthy choice for those with gluten sensitivities. Recipes like the Vanilla Frozen Yogurt from Busy But Healthy suggest mixing the yogurt smoothly and freezing it right, ensuring the texture remains creamy even after reheating.
Good recipes also emphasize the importance of ingredient quality. Using Greek yogurt, as in the 5-Minute Healthy Greek Frozen Yogurt by Just a Taste, offers a protein-rich treat that’s both tasty and nutritious. Following these tips, anyone can enjoy perfectly creamy, gluten-free frozen yogurt anytime.
Understanding Gluten-Free Frozen Yogurt
Making gluten-free frozen yogurt involves careful selection of ingredients and ensuring it meets safety standards. Understanding its key components, nutritional profile, and certification process is crucial for anyone considering it.
Key Ingredients and Alternatives
Gluten-free frozen yogurt uses ingredients that don't contain gluten. Common bases include yogurt made from milk or dairy-free alternatives. Milk, sugar, and flavors like vanilla or fruit purees are standard.
For gluten-free versions, gluten-free flours or thickeners such as cornstarch or tapioca starch replace traditional additives. Honey is often used as a natural sweetener. Ensure any mix-ins, like chocolate chips or cookie pieces, are certified gluten-free.
Nutritional Profile
The nutritional content of gluten-free frozen yogurt varies by recipe. A simple version typically contains calories, protein, fat, sugar, and carbohydrates from the yogurt and added sweeteners.
Milk-based yogurt provides calcium and Vitamin A, while dairy-free versions might offer iron or potassium depending on the base. Be mindful of added sugar sources which can increase calorie content. Check for sodium and cholesterol levels to manage overall intake.
Gluten-Free Certification and Safety
Gluten-free certification ensures the frozen yogurt meets strict industry standards, free from wheat, barley, rye, and oats unless specifically gluten-free. This is essential for those with celiac disease or gluten sensitivity.
Certification involves rigorous testing and audit trails. Third-party organizations like the Gluten-Free Certification Organization (GFCO) provide this certification. For added safety, always check ingredient labels and ensure no cross-contamination occurs during production.
Preparation Before Reheating

To reheat gluten-free frozen yogurt effectively, certain steps must be taken. Key factors include selecting the right containers and employing proper pre-freezing techniques to ensure the best consistency and flavor.
Selecting the Right Containers
Choosing the appropriate containers is crucial. Opt for airtight, freezer-safe containers to prevent freezer burn and preserve flavor.
Glass containers are a good choice due to their non-reactive nature and durability. For portion control, consider individual serving-sized containers. This avoids repeated thawing and refreezing, which can degrade texture and taste.
Avoid containers made of thin plastic, as they can warp or crack in the freezer. It is also a good idea to label containers with the date of freezing to keep track of shelf life.
Pre-Freezing Techniques
Pre-freezing techniques greatly affect the reheating quality of gluten-free frozen yogurt. Prior to freezing, some steps can help retain texture and taste.
Ensure the yogurt mixture is well-mixed and homogenized before placing it in containers. This step helps in maintaining a consistent texture during freezing and reheating.
To prevent ice crystals and graininess, consider blending the yogurt thoroughly before freezing. Techniques like rapidly freezing in small batches in a shallow container can also be effective.
Packing containers tightly while leaving a small gap at the top for expansion can help in preventing freezer burn.
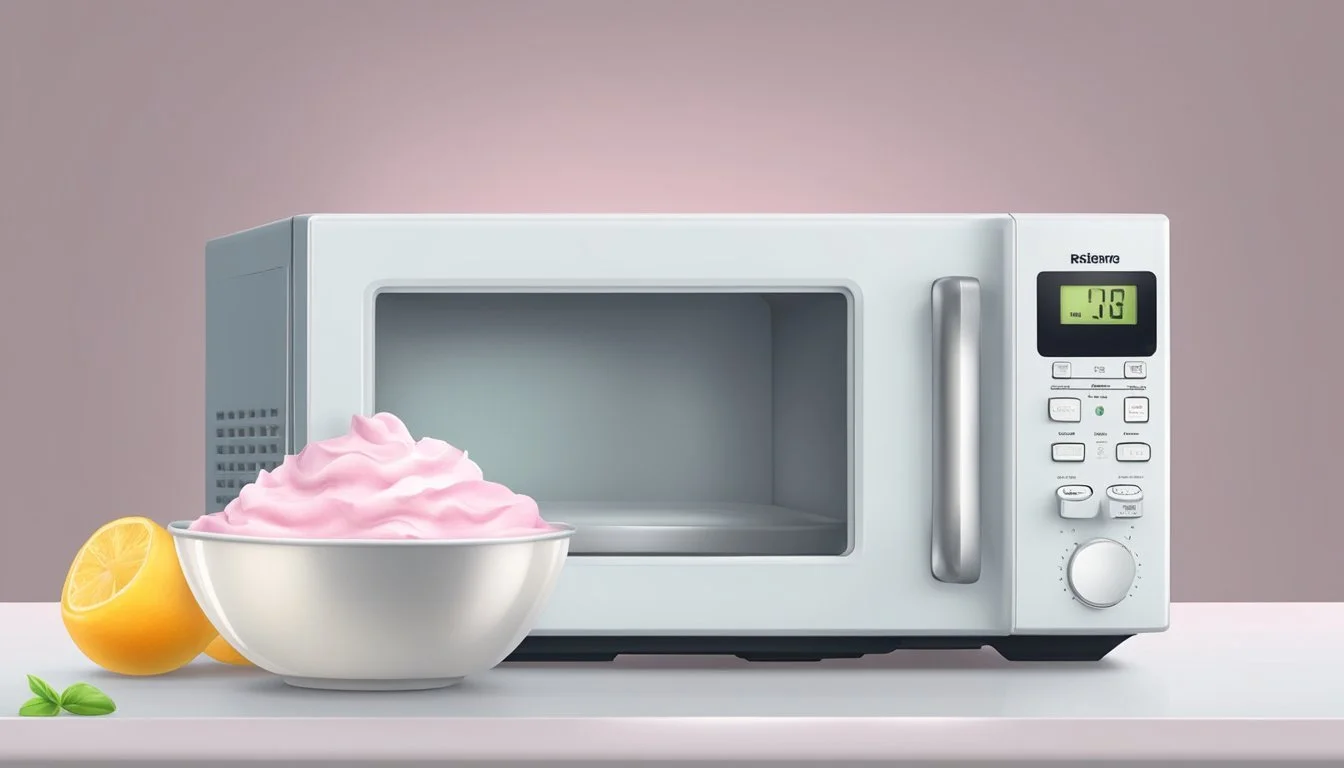
Reheating Methods
When reheating gluten-free frozen yogurt, it's critical to retain its creamy texture while ensuring it's safe to consume. Here are four effective methods to consider.
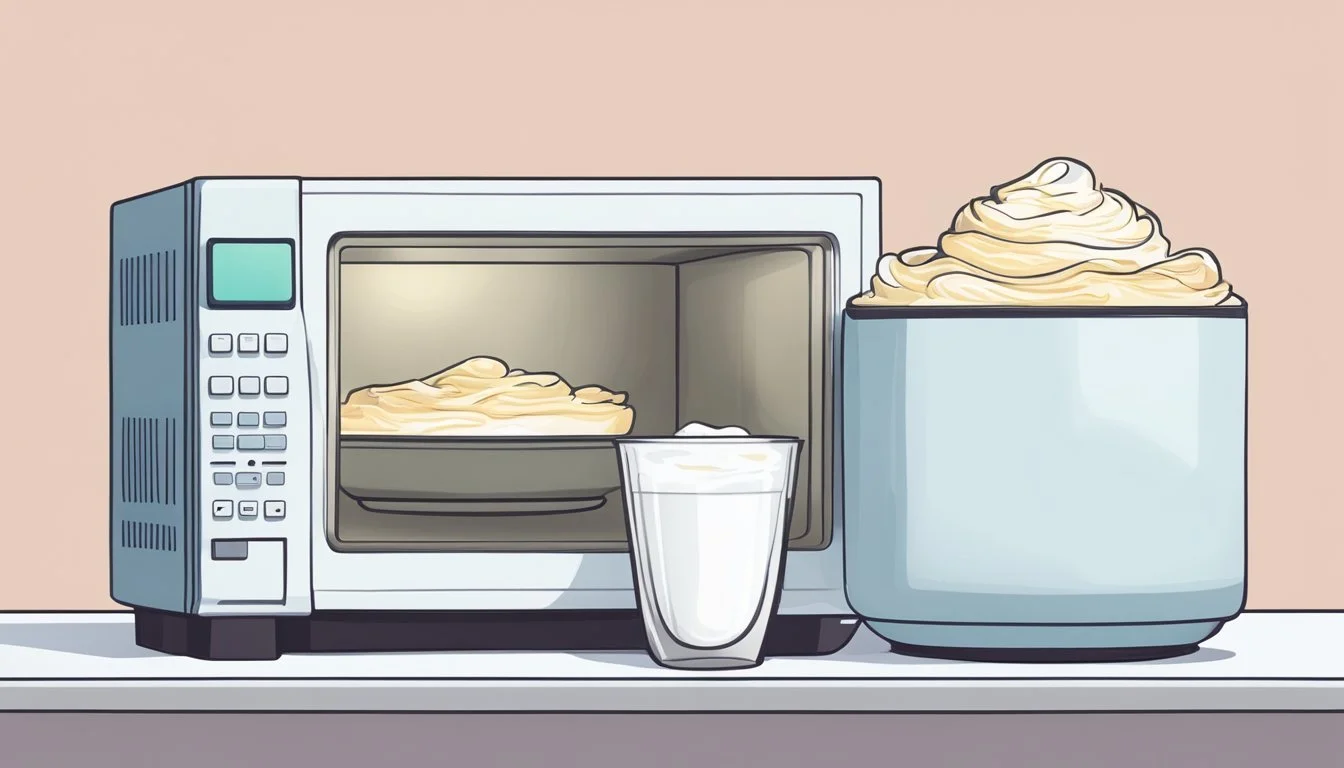
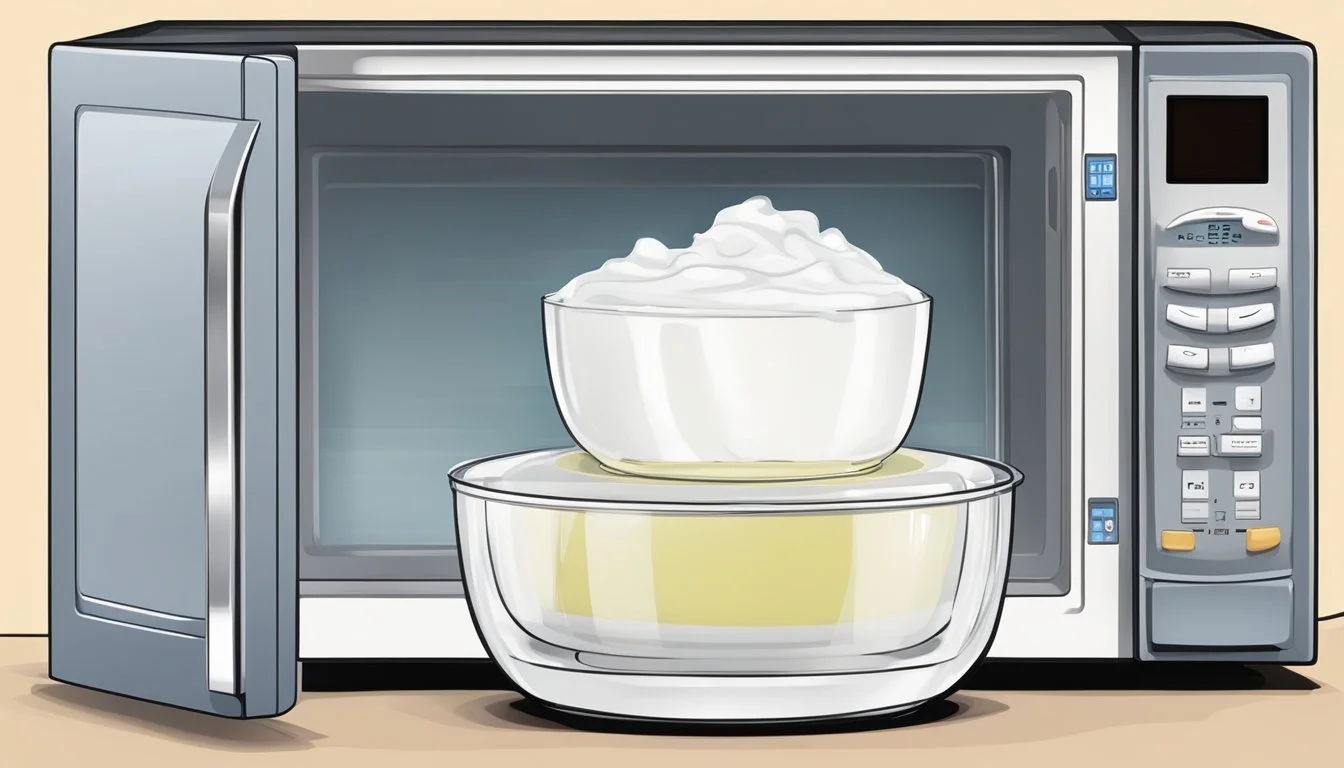
Microwave Thawing
Microwave thawing is quick and convenient. Place the frozen yogurt in a microwave-safe dish. Set the microwave to defrost or the lowest power setting. Start with short bursts, around 10-15 seconds, to avoid overheating.
Stir between each interval to ensure even thawing. Be cautious not to melt the yogurt completely, as this can ruin the texture.
Refrigerator Thawing
Refrigerator thawing is the safest method for preserving the texture of gluten-free frozen yogurt. Transfer the frozen yogurt to the refrigerator and let it thaw for several hours or overnight.
This slow process helps maintain its creamy consistency. Once thawed, give it a gentle stir to evenly distribute any ice crystals.
Oven Warm-Up
Using an oven might sound unconventional for yogurt, but a warm, not hot oven can gently bring frozen yogurt to a creamy state. Preheat the oven to its lowest setting, around 170°F (75°C).
Place the yogurt in an oven-safe dish and cover it loosely with foil to prevent drying out. Check every few minutes, stirring to ensure even warming.
Water Bath Technique
The water bath technique involves placing the container of frozen yogurt in a bowl of lukewarm water. Make sure the water level is lower than the edge of the yogurt container to prevent water from seeping in.
Let it sit for 20-30 minutes, stirring occasionally to ensure an even thaw. This method is gentle and helps keep the texture smooth.
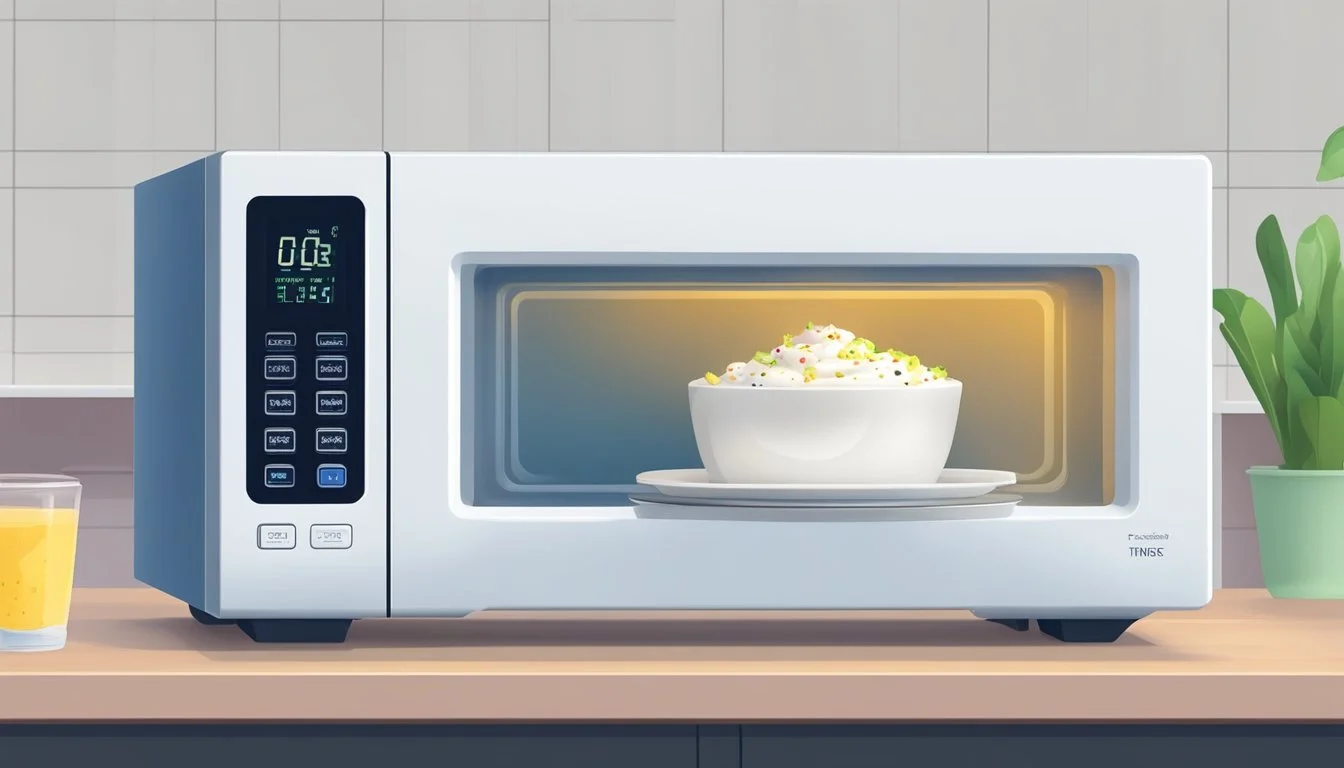
Serving Suggestions
Enhance your gluten-free frozen yogurt experience with a variety of toppings and appropriate serving sizes. These additions not only boost the flavor but also create a satisfying dessert.
Toppings and Pairings
Fruit and Berries: Fresh or frozen blueberries, strawberries, and raspberries are excellent choices. The natural sweetness and tartness of these berries complement the creamy texture of the yogurt.
Sweeteners: A drizzle of honey or maple syrup can enhance the yogurt's flavor, adding a touch of sweetness without overpowering it.
Chocolate: Mini chocolate chips or a sprinkle of shaved chocolate add a delightful crunch. For a more decadent option, consider a light drizzle of dark chocolate syrup.
Sprinkles and Nuts: Add colorful sprinkles for a fun twist, or choose chopped nuts for an extra layer of texture and flavor.
Citrus Zest: A hint of lemon zest can provide a refreshing contrast to the creaminess of the yogurt.
Appropriate Serving Sizes
Determining the right serving size is key to enjoying gluten-free frozen yogurt as a healthy dessert option.
Individual Portions: A standard serving size is about half a cup or 4 ounces. This amount provides enough room for a satisfying amount of toppings while keeping the portion controlled.
Family Servings: For shared family experiences, consider serving 1-2 cups in a larger bowl, allowing everyone to add their favorite toppings. This promotes mindful eating and sharing.
Caloric Awareness: Be mindful of the toppings' caloric content. While fruits and berries are low in calories, additions like chocolate chips, syrups, and nuts can add up quickly.
Balancing taste and nutrition ensures a delightful and health-conscious treat every time.
Preservation and Storage
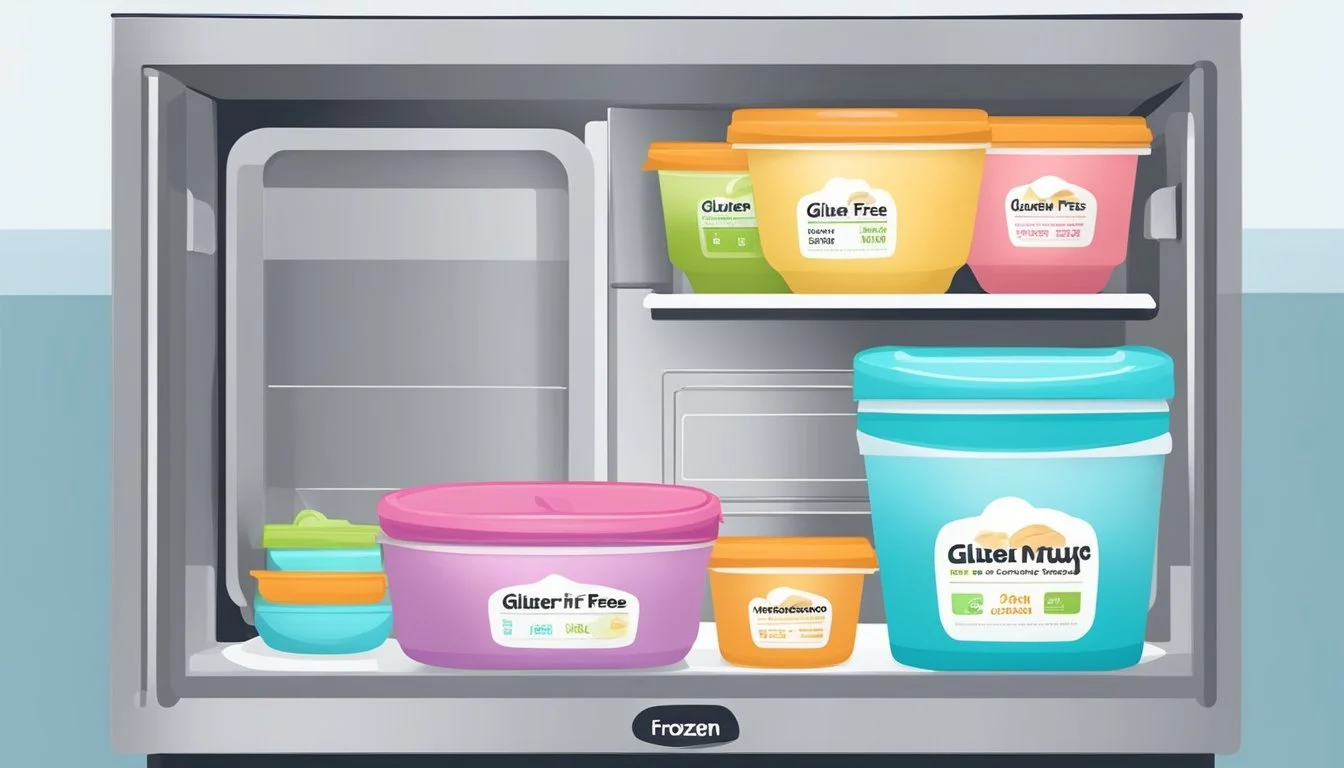
Proper storage is key to maintaining the quality and texture of gluten-free frozen yogurt. Key considerations include extending shelf life, preventing ice crystals, and planning for make-ahead options.
Extending Shelf Life
To maximize the shelf life of gluten-free frozen yogurt, airtight containers are essential. Transfer the yogurt into airtight containers to preserve its texture and flavor. Maintain a consistent freezer temperature of -18°C (-0.4°F) to keep the yogurt fresh for longer periods.
Label the containers with the date they were stored to easily track freshness. Avoid frequent temperature changes by not constantly opening the freezer, which can degrade the yogurt's quality.
Preventing Ice Crystals
Ice crystals can form when water separates from the dairy during freezing. Using airtight containers is the first step to prevent this. Place a piece of plastic wrap directly on the surface of the yogurt before sealing it to minimize air contact.
Ensure the yogurt is fully frozen before transferring it to the back of the freezer, where the temperature is more stable. Avoid storing the yogurt near the freezer door to prevent temperature fluctuations.
Make-Ahead Tips
For those planning ahead, portion the gluten-free frozen yogurt into smaller servings. Utilize ice cube trays or silicone molds for individual portions. This makes it easier to reheat only what is needed, reducing waste.
Before storing, allow the yogurt to freeze solid, then transfer the portions into airtight bags or containers for long-term storage. By organizing and labeling these portions, it simplifies retrieval and ensures the yogurt maintains its quality.
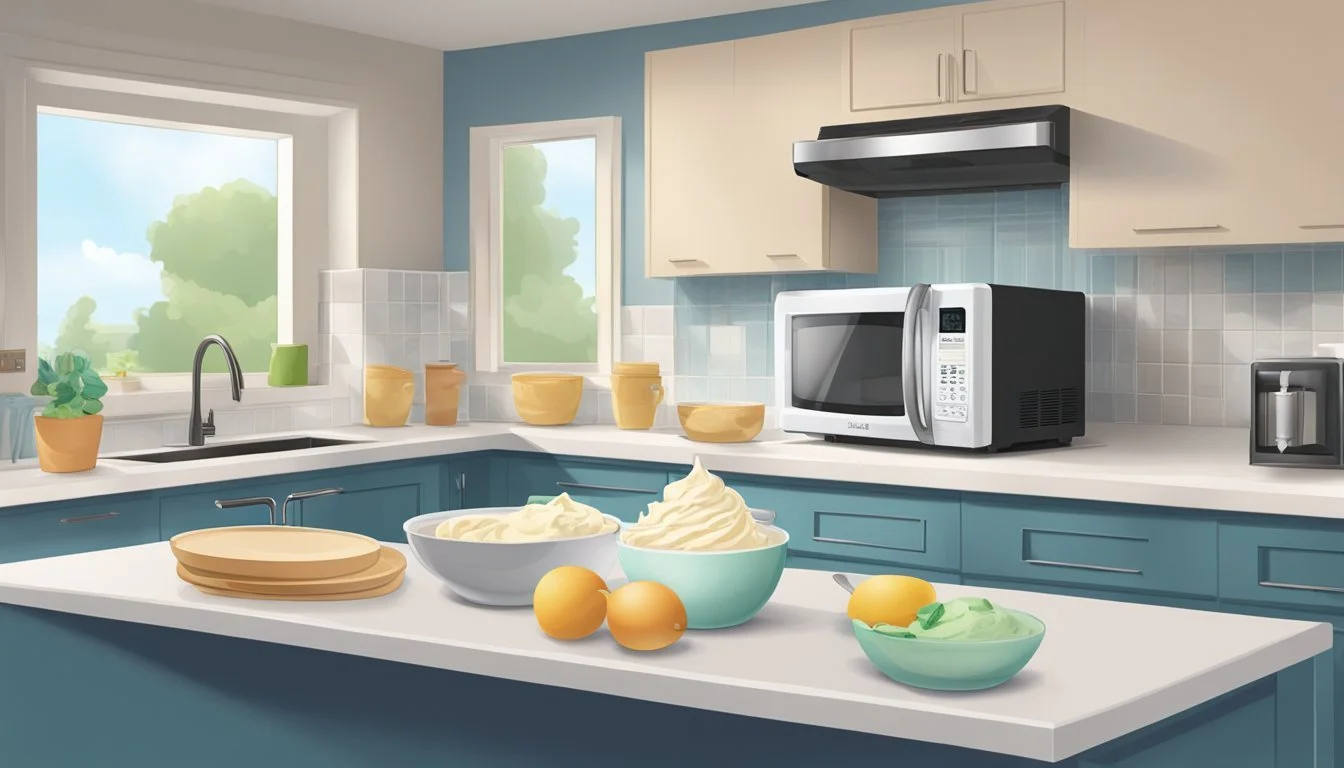
Equipment and Tools
Reheating gluten-free frozen yogurt requires specific tools to maintain its texture and flavor. Using these tools correctly is essential to ensure the yogurt retains its soft, smooth consistency and doesn't become overly icy or grainy.
Essential Kitchen Gadgets
Blender: A high-powered blender is crucial for reheating frozen yogurt, as it can quickly break down ice crystals and ensure a smoother texture.
Stand Mixer: This is useful for mixing in any additional ingredients and ensuring that the yogurt is evenly reheated.
Food Processor: Similar to a blender but often more versatile, it can handle tougher ingredients and provide a creamy result.
Whisk: For manual stirring, a whisk can help incorporate air and improve the texture as the yogurt reheats.
Investing in quality kitchen gadgets can significantly enhance the process and results.
Using an Ice Cream Maker
An Ice Cream Maker is ideal for reheating and maintaining the texture of gluten-free frozen yogurt.
Soft Serve Function: Many ice cream makers have a setting specifically for soft serve, which is perfect for achieving a creamy texture.
Re-churning: The machine's ability to churn the yogurt as it reheats prevents ice crystals from forming, ensuring a smooth consistency.
Using an ice cream maker simplifies the reheating process and often yields the best results, especially for those who frequently enjoy frozen yogurt.
Alternative No-Churn Methods
If you don’t have an ice cream maker, alternative no-churn methods can also be effective.
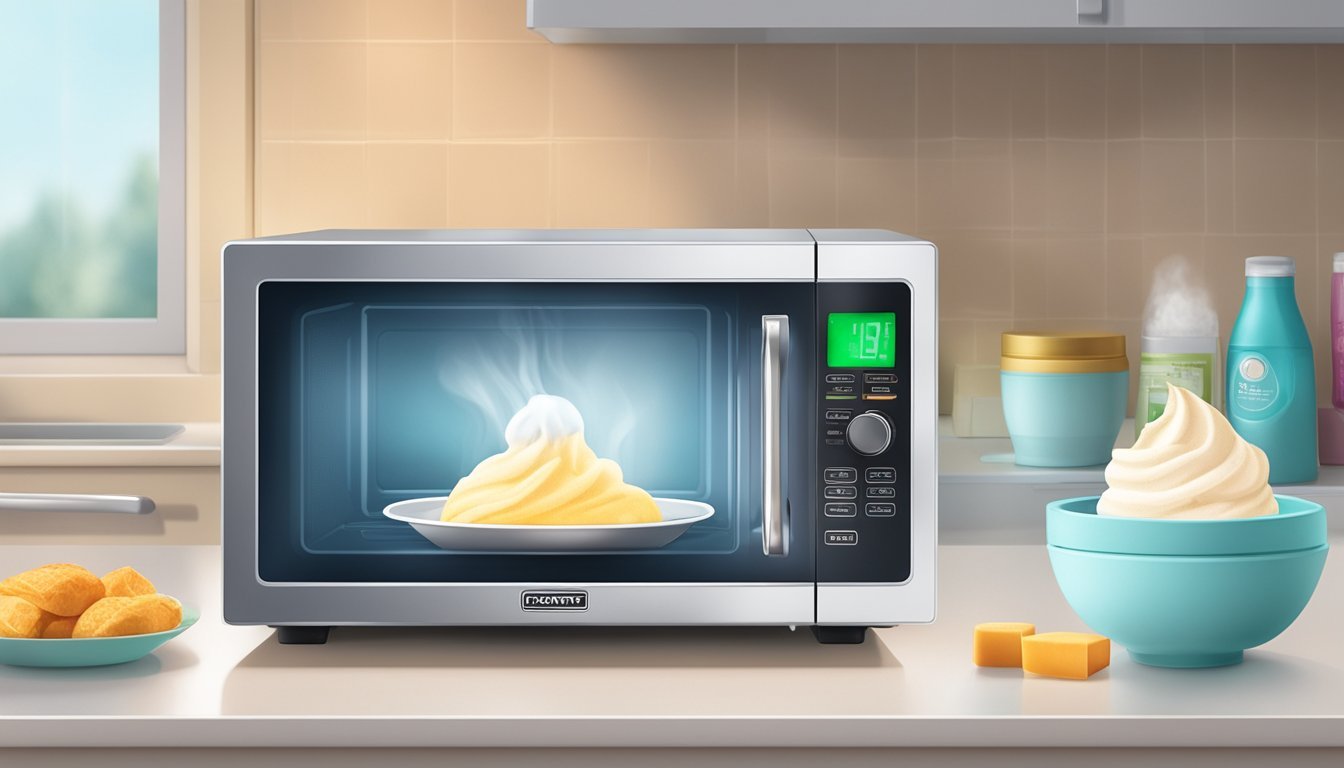
Microwave and Stand Mixer: One method involves briefly microwaving the yogurt to soften it and then using a stand mixer to whip it until smooth.
Blender or Food Processor: Another approach is to let the yogurt sit at room temperature for about 10 minutes and then blend it in a blender or food processor until it reaches the desired consistency.
Whisking: Manually whisking the softened yogurt can also work, though this method may not be as effective in achieving a perfectly smooth texture.
Each of these methods provides a viable alternative to using an ice cream maker while still delivering enjoyable results.
Enhancing the Experience
Making your gluten-free frozen yogurt visually appealing and leveraging social media can elevate the enjoyment and sharing of this delicious treat. These steps ensure that your dessert is not only tasty but also Instagram-worthy, fostering a strong sense of satisfaction and enjoyment.
Visual Appeal and Presentation
When it comes to visually enhancing gluten-free frozen yogurt, presentation can significantly heighten the experience. Start by selecting vibrant toppings like fresh berries, shredded coconut, and chopped nuts to add color and texture. Layers of creamy frozen yogurt and tangy fruit compotes create an inviting look.
Experiment with different serving dishes. Transparent glass bowls showcase the layers beautifully, while elegant ceramic bowls add a touch of sophistication. Garnish with mint leaves or edible flowers to add a finishing touch.
Pay attention to portion sizes and symmetry. Use a melon baller to create uniform scoops or a piping bag for a professional finish. This attention to detail makes the frozen yogurt not only a treat for the taste buds but also for the eyes.
Leveraging Social Media
Using social media platforms like Instagram, Facebook, and Pinterest can enhance the enjoyment and reach of your gluten-free frozen yogurt. Instagram allows for stunning visuals with its focus on photography, so invest time in capturing high-quality photos. Highlight the vibrant colors and textures with good lighting and creative angles.
On Facebook, create engaging posts that tell the story behind your creation, including the benefits of gluten-free ingredients. Share tips, recipes, and behind-the-scenes content to create a connection with your audience.
Pinterest is ideal for sharing step-by-step guides and creative inspiration. Pin your yogurt recipes and presentation ideas to attract followers interested in healthy, visually appealing desserts.
Encouraging followers to share their own creations with specific hashtags can build a community around your frozen yogurt. This interaction not only enhances the experience but also increases engagement and reach.
