
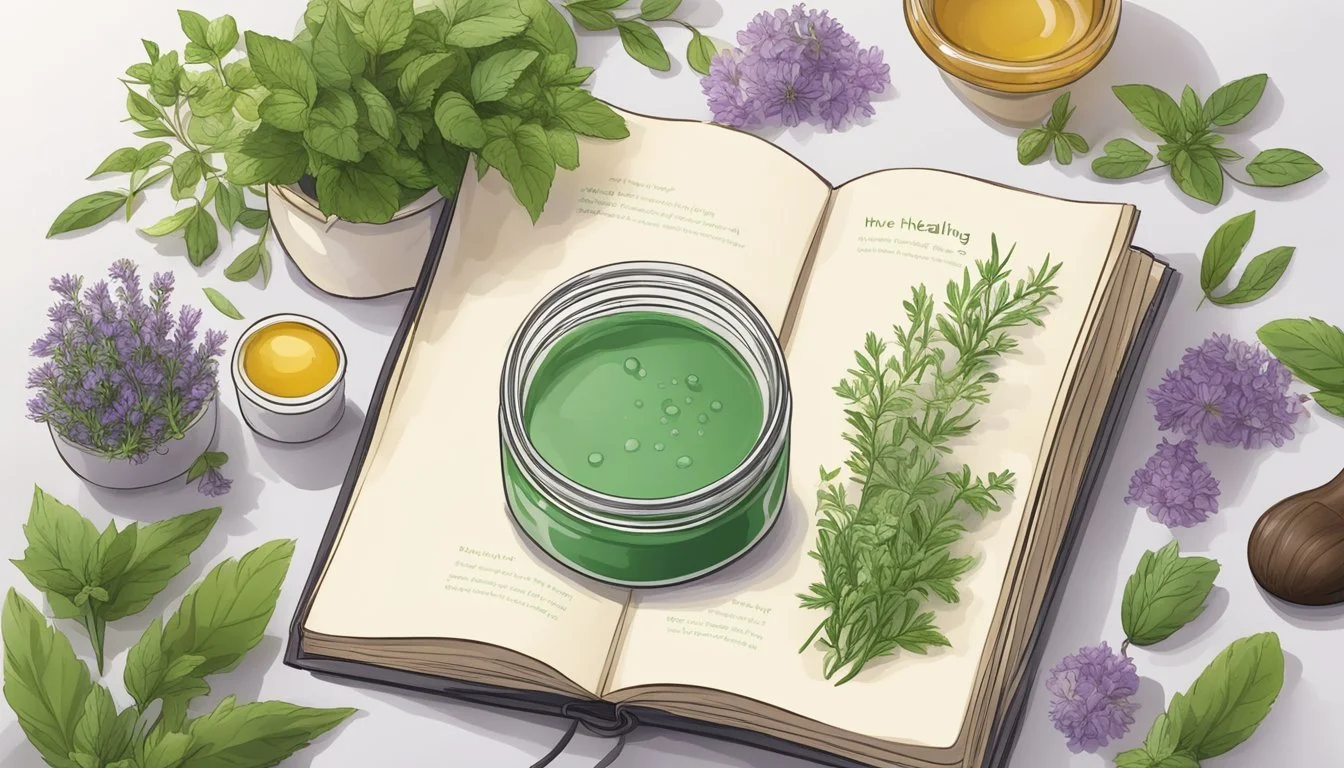
How to Make a Healing Salve
Essential Ingredients and Simple Steps
Making a healing salve can be a rewarding way to harness the properties of herbs and natural oils for skin care and minor first-aid treatment. A salve is a thick, protective ointment that is applied topically, typically made by infusing oils with herbs and thickening the mixture with beeswax. They are known for their soothing and restorative properties, making them a staple in the first aid kit of those who prefer natural remedies. Healing salves can be customized using a variety of ingredients to target specific ailments, such as dry skin, itchy rashes, and insect bites.
The process of crafting a homemade salve involves a few essential steps: selecting quality oils such as coconut or olive oil (use organic oils, if possible), choosing appropriate fresh or dried herbs (how long do dried herbs last?) for their medicinal qualities, and determining the correct proportions of wax to oil to create the desired consistency.
Sweet almond oil and coconut oil are commonly favored for their smooth texture and skin benefits. Avocado oil can be a good choice for sunburnt or very dry skin. Beeswax, aside from its thickening property, also contributes to the protective barrier that salves form on the skin.
Creating herbal healing salves is not only cost-effective but also allows individuals to control the ingredients that go into their products, avoiding preservatives and chemicals found in many commercial products. The simplicity of salve recipes means that even those new to herbal preparation can produce effective and personalized results. Salves are typically stored in glass or metal containers to preserve their potency and extend their shelf life.
In this guide, you'll learn how to make salves that provide you with wonderful homemade products for a natural medicine cabinet or vanity table.
Understanding Healing Salves
Healing salves have been used for centuries as natural herbal remedies for a variety of skin ailments. This section will explore their purpose, ingredients, and safe application methods.
Definition and Purpose
Healing salves are thick, medicinal pastes made by combining oils, typically infused with herbs, with waxes to create a spreadable substance. Their primary purpose is to promote healing and provide protection for the skin, addressing issues such as rashes, cuts, bites, burns, and stings.
Historical Use of Herbal Salves
Historically, salves have played a pivotal role in various cultures as versatile remedies, often formulated with herb-infused oils to harness the therapuetic properties of plants such as lavender, comfrey, and calendula flowers.
The use of salves can be traced back to ancient civilizations when healers and herbalists recognized the therapeutic potential of botanicals. These practitioners would create infused oils by steeping herbs in carrier oils and extracting their beneficial compounds. This process resulted in a potent herb-infused oil, which became a fundamental component in the preparation of an herbal salve.
In traditional medicine, herbal salves were applied topically to address a myriad of ailments, ranging from skin irritation and wounds to muscle aches and joint pains. The infused herbal oils acted as a carrier, delivering the healing properties of herbs directly to the affected areas.
The historical legacy of herb-infused oils and herbal salves persists today, as contemporary herbalists continue to draw inspiration from ancient practices, creating holistic herbal remedies, that bridge the gap between traditional wisdom and modern wellness.
Difference Between Salves, Butters, and Balms
As terms, salves, butters, and balms are often used interchangeably. However, while the ingredients and the uses of each tend to overlap, there are some subtle differences.
Salves
Salves utilize herbal oil infusions for their base, created by steeping herbs in carrier oils.
Herbal oil infusions contribute specific therapeutic properties to address various skin concerns.
Designed for topical application to soothe, heal, and protect the skin.
They often incorporate beeswax to achieve a semi-solid consistency suitable for easy spreading.
Butters
Butters typically use cocoa butter (how long does cocoa butter last?) or shea butter to produce a rich and nourishing base. Shea butter is derived from the shea tree nuts (how long do nuts last?) and provides intense moisturization and skin conditioning. Cocoa butter is extracted from cocoa beans and is known as a great skin hydrater.
Characterized by a thick and creamy consistency that melts upon contact with the skin.
Ideal for dry or damaged skin, providing long-lasting hydration and a protective barrier.
Often infused with herbal oil blends to add therapeutic benefits to the butter.
Balms
Balms combine the benefits of both herbal oil infusions and buttery bases.
Both cocoa butter and shea butter, popular for their emollient properties, are often a key component in balms.
Typically contains a higher ratio of beeswax, resulting in a firmer texture.
Intended for targeted use on specific areas, such as lips or dry patches.
Effective in sealing in moisture and protecting the skin.
Benefits of Natural Ingredients
The natural ingredients in herbal healing salves, such as medicinal herbs and essential oils, are chosen for their specific properties. Many have anti-inflammatory, antiseptic, and nourishing effects, providing relief and supporting the body's healing processes.
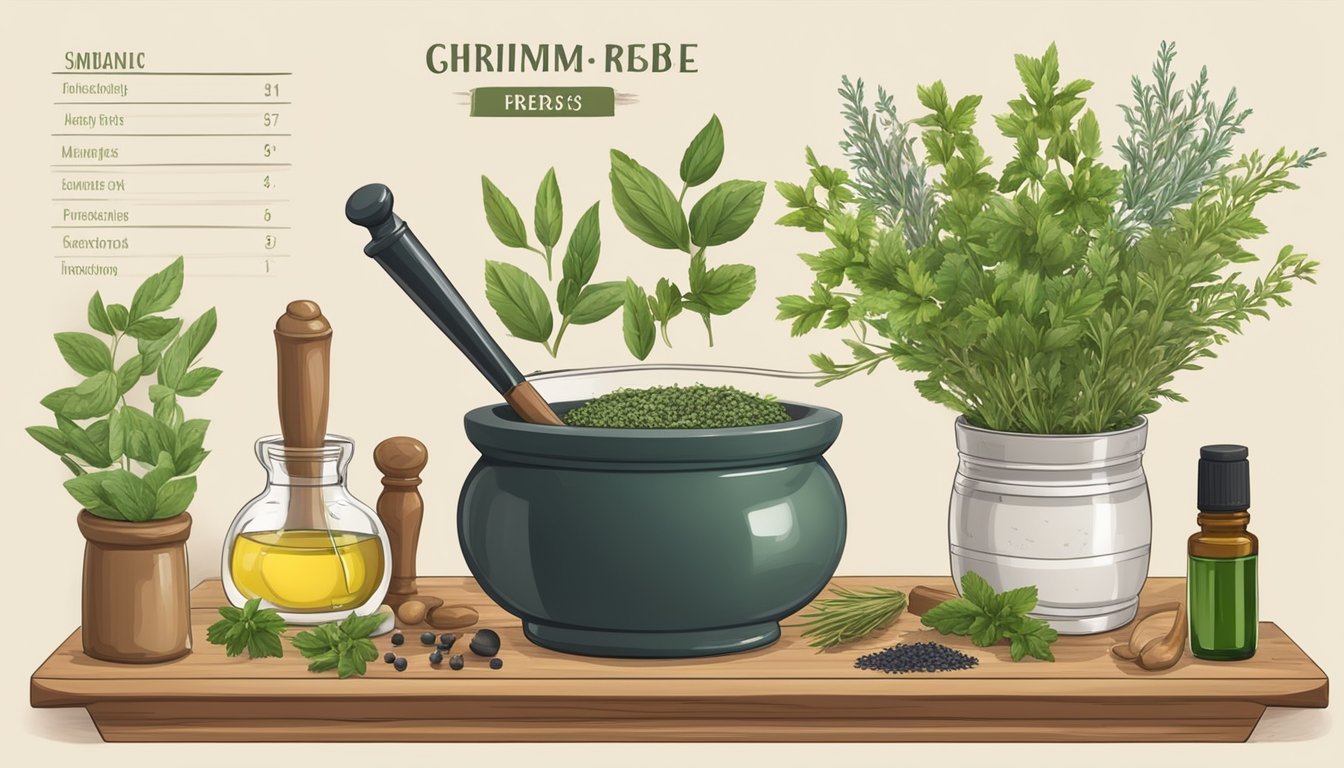
Selecting Quality Ingredients
For an effective healing salve, selecting high-quality ingredients is crucial. Fresh, organic herbs and pure essential oils ensure potency and reduce the risk of contaminants. Calendula officinalis, lavender, yarrow, plantain, and chamomile are commonly used for their potent healing abilities.
Properties of Key Herbs
Calendula officinalis: A calendula salve is ideal for skin repair as the plant is known for its anti-bacterial properties.
Lavender: Lavender offers a soothing effect and can reduce redness and irritation.
Comfrey: Comfrey leaf contains allantoin, which accelerates skin healing.
Chamomile: This herb is gentle and calming, suitable for sensitive skin.
St. John's wort: With its pain-relieving and anti-inflammatory properties, this is a beneficial salve for aching muscles, abrasions, and dry and itchy skin conditions.
Each herb contributes unique benefits to a healing salve.
Role of Essential Oils
Essential oils like lavender, rose, and peppermint are often added to salves for their therapeutic scents and additional healing properties. Essential oils must be used sparingly due to their concentrated nature.
Carrier Oils and Their Function
Carrier oils, including olive oil, almond oil, and coconut oil, are essential in the formulation of an herbal salve. Olive oil, known for its nourishing properties, is a popular choice for creating an herb-infused oil due to its rich texture and high monounsaturated fat content.
When dry or fresh herbs are steeped in olive oil, they impart their medicinal compounds, creating a potent oil foundation for effective salves.
Similarly, almond oil, with its mild and hypoallergenic nature coconut oil, and coconut oil known for its antimicrobial properties, also contribute additional healing elements to herbal salves. Coconut oil's semi-solid state at room temperature also makes it easy to apply and ensures a longer shelf life.
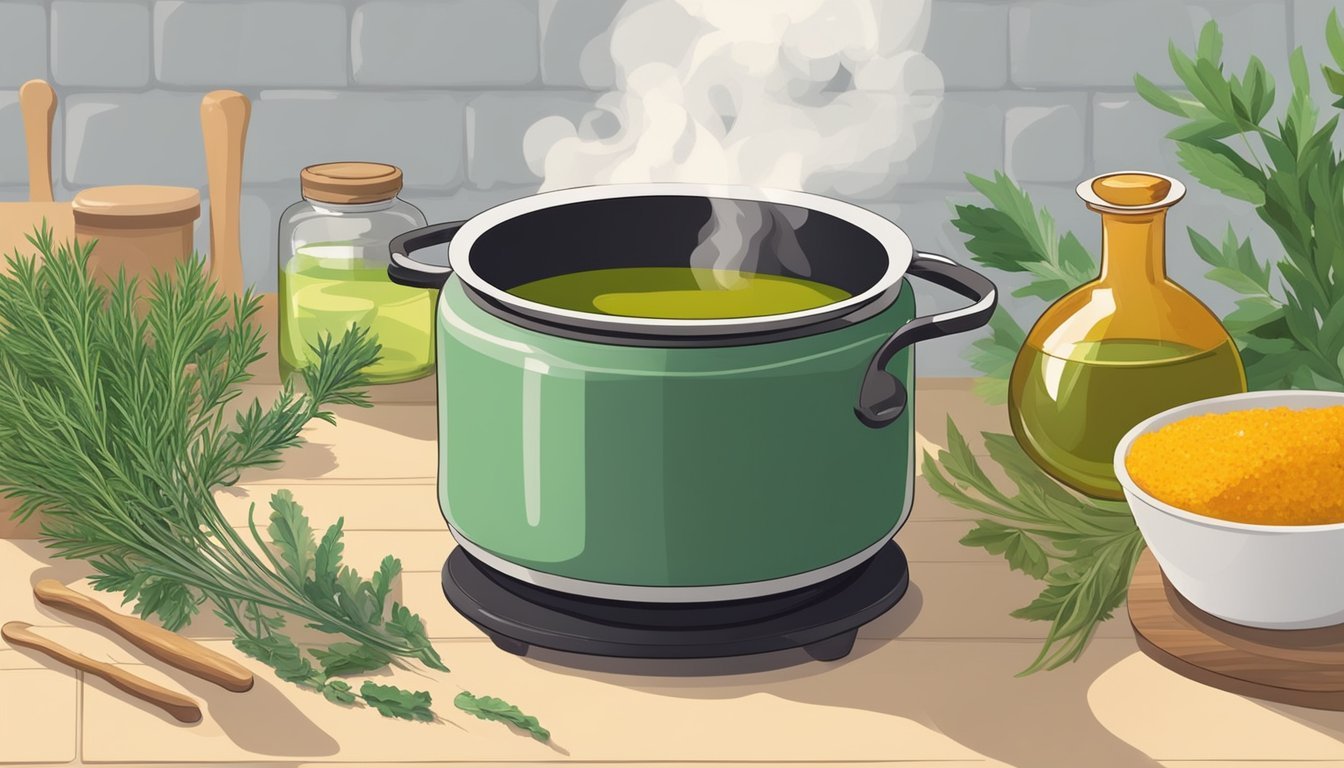
Infusion Methods for Oils
When making infused oils, there are two main methods:
Double boiler method: The double boiler method is a gentle and controlled way of heating ingredients for making salves or other formulations, preventing direct exposure to high heat and minimizing the risk of scorching or burning delicate components.
To employ this method, you need two stacked pots—a smaller one nestled inside a larger one, with the larger pot containing water. Then, with this setup, you can begin to gently heat the contents to start the herbal oil infusion.
Cold infusion: The cold infusion method involves steeping herbs in a carrier oil at room temperature for extended periods, usually several weeks, to naturally extract the herbs' properties. This is particularly beneficial for heat-sensitive herbs that may lose their medicinal properties if exposed to intense temperatures.
Using Beeswax
Beeswax is the most commonly used wax in salve formulations due to its high vitamin E content, which makes it very skin-friendly, and its firm texture. However, other waxes can be employed based on personal preferences, ethical considerations, or specific needs. For instance, vegans may prefer to use soy wax which is made from soybean oil.
Be aware, though, that if substituting beeswax for soy wax, you will need to adjust the ratio based on your desired consistency. More soy wax may be needed to achieve a firmer salve.
Additionally, beeswax tends to have a higher melting point than soy wax, which means that beeswax melts a little more slowly, needing more heat to melt.
Safe Usage and Precautions
While natural, it's important to test a small patch of skin before the widespread use of a healing salve to check for allergic reactions. It's also critical to use clean tools and containers during preparation to prevent contamination.
Preparing to Make a Healing Salve
Making a healing salve involves gathering the appropriate equipment, selecting suitable containers, understanding precise measurements and ratios, preparing herbs correctly, and creating an effective infused oil. Each step must be approached methodically to ensure the final product is both safe and beneficial.
Necessary Equipment
One will need:
Double boiler or a heat-safe bowl and saucepan for gently melting beeswax.
Cheesecloth for straining the herbs from the oil.
Stirring utensils, such as a spoon or spatula, preferably made of wood or silicone.
Measuring cups and spoons for accurate ingredient portions.
Choosing the Right Containers
Selecting containers for the salve is crucial for preservation and ease of use. One can opt for:
Glass jars or tins, ensuring they are clean and dry.
Mason jars work well for larger batches, while smaller tins are portable and convenient for personal use.
Understanding Measurements and Ratios
Understanding the ratio of beeswax to infused oil is critical. A standard ratio is:
1 part beeswax to 8 parts oil, which yields a firm yet spreadable salve.
Preparation of Herbs
Dried herbs are preferable to fresh or powdered herbs as they have a reduced moisture content, which extends the salve's shelf life.
Herbs must be finely chopped or crushed to increase the surface area for better infusion.
Creating an Infused Oil
To create an herbal oil infusion:
Pack a glass jar loosely with chosen dried herbs.
Pour a carrier oil, such as olive or sweet almond oil, over the herbs until fully submerged.
Allow the mixture to infuse over several weeks, or gently heat in a double boiler for faster extraction.
Making the Healing Salve
Crafting a healing salve at home involves a straightforward process of combining oils, beeswax, and optional herbs and essential oils. By mastering the basic recipe, one can personalize their salve to suit various skin needs.
The Basic Healing Salve Recipe
To prepare a simple healing ointment, one will need:
1 cup of carrier oil (such as coconut oil or olive oil)
1 ounce of beeswax (shaved or pellets)
A double boiler setup
The basic steps involve gently melting the beeswax into the oil using a double boiler to maintain controlled, low heat throughout. Ensure the warm oil is thoroughly combined with the wax and any additional ingredients and then pour the mixture into storage containers to cool and solidify so it can later be used as a first aid salve.
Melting and Mixing Ingredients
The key to a successful salve is the correct melting and mixing of ingredients:
Fill the bottom pot of the double boiler with water and place it on the stove to heat.
Place beeswax in the top pot of the double boiler.
Add the carrier oil to the beeswax and heat them together until the beeswax is completely melted, stirring occasionally.
Customizing Salves with Herbs and Oils
It's possible to customize the to make a salve with healing properties by incorporating dried herbs such as calendula, lavender, and chamomile. This enhances its therapeutic potential by releasing the dried herbs' medicinal compounds.
The synergy between the herb-infused oil and other ingredients enhances the overall efficacy, offering targeted benefits for various health concerns. The herbal salve becomes a concentrated, easily applicable solution, providing a holistic approach to wellness by tapping into the time-tested benefits of botanicals.
However, this infusion needs to be done with the oil before melting the beeswax:
Infused oil: Fill a jar 2/3 with the chosen herbs and cover with carrier oil for 3-6 weeks, shaking occasionally.
After infusion, strain the herbs from the oil and use this oil in the basic salve recipe.
Adding Essential Oils
Essential oils can be added once the beeswax and carrier oil mixture is removed from the heat but still liquid. When combined with a carefully crafted herb-infused oil, essential oils can bring additional layers of healing. For example, lavender and chamomile offer soothing effects, while tea tree oil and eucalyptus provide antimicrobial and respiratory support.
Beyond their medicinal properties, essential oils contribute aromatic elements that can uplift mood and enhance the overall sensory experience.
Only a few drops are typically needed for their concentrated therapeutic effects.
Some of the most popular and beneficial essential oils to use are as follows:
Lavender essential oil: Known for its calming and soothing properties. It has anti-inflammatory and antimicrobial effects, making this herb-infused oil beneficial for skin irritations, minor burns, and wounds.
Frankincense: Aids in skin rejuvenation. It can be added to salves to promote wound healing, reduce inflammation, and support overall skin health.
Mint: Provides a cooling sensation and can help soothe irritation and soothe aching muscles.
Orange essential oil: Renowned for its mood-enhancing and calming effects. It also has anti-inflammatory and antispasmodic properties, making it suitable for soothing muscle discomfort.
Tee tree oil: Well-known for its powerful antimicrobial and antifungal properties. Make a salve with tee tree oil to address various skin conditions, including acne, fungal infections, and insect bites.
Eucalyptus oil: Presents decongestant and antiseptic properties. When added to salves, it can be beneficial for respiratory issues, such as congestion or chest discomfort. It also has a cooling sensation when applied topically.
Lemon essential oil: A potent natural remedy with uplifting and invigorating properties, as well as antibacterial and antiviral properties, this essential oil is an ideal addition for skin cleansing and minor wound care.
Finishing Touches
Once the healing salve mixture is fully blended with the chosen herbal infusions, it is important to follow proper procedures to ensure the salve sets correctly, is labeled for effective use, and is stored in a way that preserves its healing properties.
Pouring and Setting the Salve
Once the salve formulation is complete, the next crucial steps involve pouring it into chosen containers and letting it set. With the salve mixture well-blended and still in its liquid state, carefully pour it into glass jars or salve tins. These are most suitable, as they protect the finished salve well from moisture and light.
The mixture should be poured slowly and steadily into glass jars or tins, leaving headspace to accommodate expansion or contraction.
It's crucial to allow the salve to cool and set at room temperature; this can take several hours. As the salve cools, it should transition from a liquid to a solid state, creating a smooth ointment consistency. Once this has happened, secure the lids. The herbal salve is now ready for use, offering a soothing and effective remedy for various skin concerns. It can be applied to dry patches, minor wounds, or sore muscles, encapsulating the therapeutic benefits of the infused herbs and oils, providing a natural solution for skin wellness.
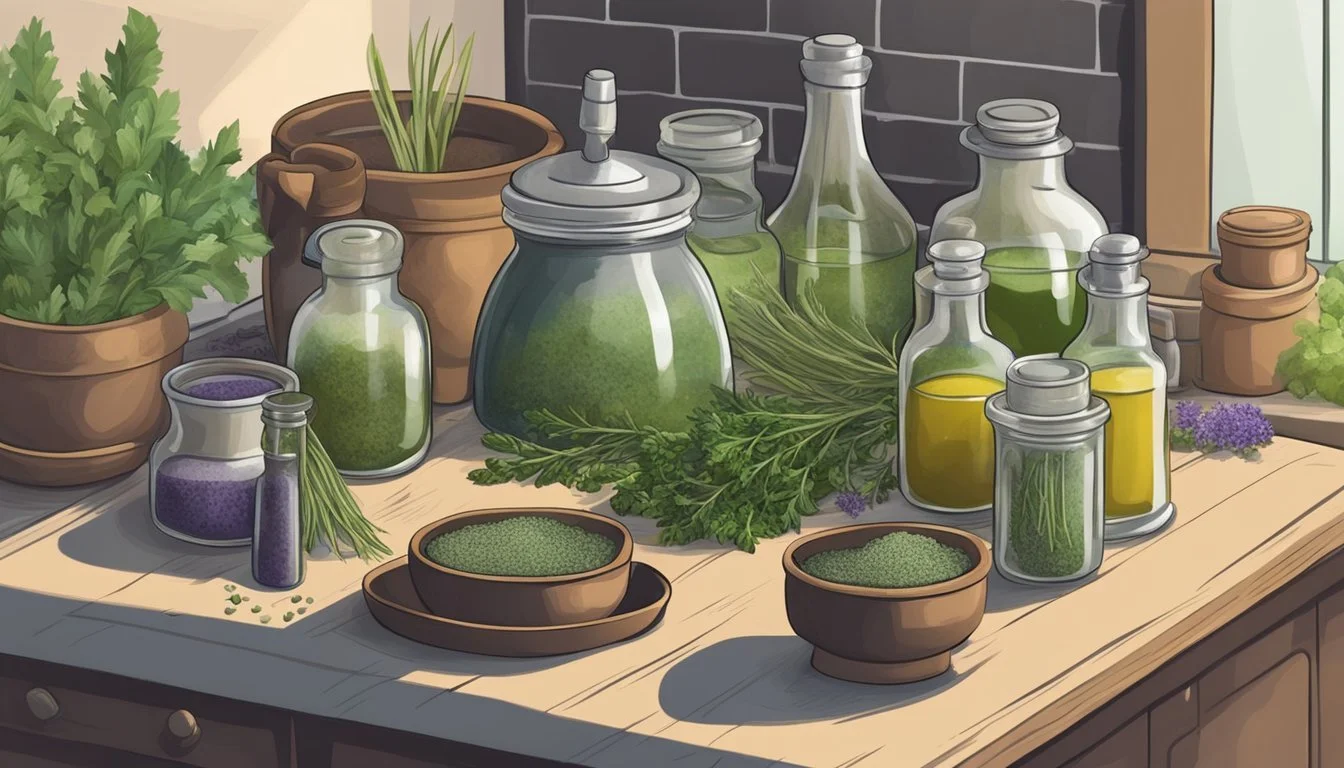
Labeling and Storing Salves
Accurate labeling is critical for homemade salves. Labels should include the name of the salve, the date it was made, and its intended use (e.g., for dry skin, rashes, chapped skin, or wounds). Store the labeled salve in a cool, dark place to maintain its shelf life. Mason jars or other airtight glass jars can be used to keep out moisture and preserve the salve’s nourishing properties.
Usage and Application
One should apply the homemade healing salve to the affected area with clean hands, gently massaging it into the skin. The salve can be used to moisten and protect dry skin, soothe rashes, and help heal chapped skin and simple wounds. It's important not to use the salve on open or weeping wounds.
Gift Ideas and Packaging
For those intending to give the healing salve as a gift, presenting it in little decorated glass jars or metal tins can add a personal touch. Include instructions for usage and a list of ingredients to inform the recipient of the salve's intended benefits. Small labels or tags can be attached to the containers with twine or ribbon for a charming, rustic look.
Advanced Tips and Variations
In crafting healing salves, the incorporation of specific herbs, attention to texture and consistency, and the know-how of long-term storage play crucial roles in enhancing potency and effectiveness.
Creating Herb-Infused Salves for Specific Conditions
For skin ailments like burns or cuts, calendula and plantain leaves are favored for their anti-inflammatory and antioxidant properties. A headache salve might benefit from lemon balm or sage, recognized for their soothing effects on tension. When addressing muscle strains, consider a comfrey salve that harnesses comfrey’s reputed healing factors.
Creating a Softer Salve for Lips
You may also want to create an herbal salve suitable for lips, particularly if your lips are prone to chap and crack. Start by selecting gentle and soothing herbs like dried calendula or chamomile; chamomile's cool and soothing properties and calendula's anti-septic, regenerative properties are perfect for an herbal salve of this kind.
Begin the process by infusing a carrier oil, such as almond oil or coconut oil, with these dried herbs, and make sure to strain the herbs, and combine the oil infusion with beeswax to achieve the desired consistency for a lip balm, which is a softer salve suitable for the delicate skin of the lips.
You may want to add essential oils such as peppermint or lavender, for a pleasant aroma and added therapeutic benefits. Pour the mixture into small lip balm containers and allow it to cool and solidify.
This herbal balm not only offers a soothing and protective layer for dry or chapped lips but also embodies the essence of an herbal salve tailored specifically for lip care. Using different essential oils, there are many lip balm recipes you can create.
Exploring Aromatherapeutic Benefits
Aromatic herbs intensify the healing experience. For instance, a gardener's hand salve with lavender offers a calming scent alongside skin restoration. Integrate essential oils corresponding to the desired effect—rose for comfort or eucalyptus for respiratory relief—ensuring each is used responsibly and in safe concentrations.
Adjusting Texture and Consistency
Texture is vital. To adjust firmness, alter the ratio of beeswax to coconut oil. A standard guideline might include:
Soft salve: 1 part beeswax to 4 parts oil.
Firm salve: 1 part beeswax to 3 parts oil.
Experiment to find the preferred consistency, which should be easily spreadable but solid at room temperature.
Long-Term Storage and Maintaining Potency
Proper storage is key for maintaining salve quality. Cool, dark places extend the shelf life of a salve, with glass jars being the ideal containers for their inert nature and seal integrity. Quality diminishes over time, so aim to use salves within 1-2 years for optimal benefits.
Sharing Your Healing Salve
When a gardener or DIY enthusiast turns to make homemade healing salves, often the next step is to share their natural remedies. Building a brand and teaching can enable sharing their effective first-aid solutions with a wider community.
Building a Brand for Homemade Salves
To establish a successful brand for homemade healing salves, one must ensure the quality of their product and present it professionally. Gardeners and natural healing proponents who are confident in their salve's efficacy might consider the following steps:
Logo and Packaging: Develop a unique logo and use consistent packaging to make your salves stand out.
Legal Considerations: Compliance with local regulations, including ingredient labeling and business licenses, is crucial.
Online Presence: A professional website and active social media profiles can reach a broad audience.
Community Engagement: Engaging with local markets and health stores can build a loyal customer base.
Teaching and Hosting Workshops
For those knowledgeable in the craft of salve-making from the Herbal Academy or similar institutions, teaching is a way to empower others with first-aid self-sufficiency. Here's how one can start:
Workshop Planning: Plan hands-on workshops that cater to different levels, from beginners to more advanced DIY enthusiasts.
Workshop Focus Description Basic Salve Making Teach the fundamentals of selecting herbs and basic methods. Advanced Techniques Introduce more sophisticated techniques, such as infusions. Customization Help participants learn how to tailor salves for specific needs.
Venue Selection: Choose venues that are accessible and provide a comforting atmosphere, such as community gardens or local health centers.
By focusing on brand development and educational outreach, individuals can share their passion for natural healing and become an integral part of the greater community's journey towards self-reliance and holistic health.
