
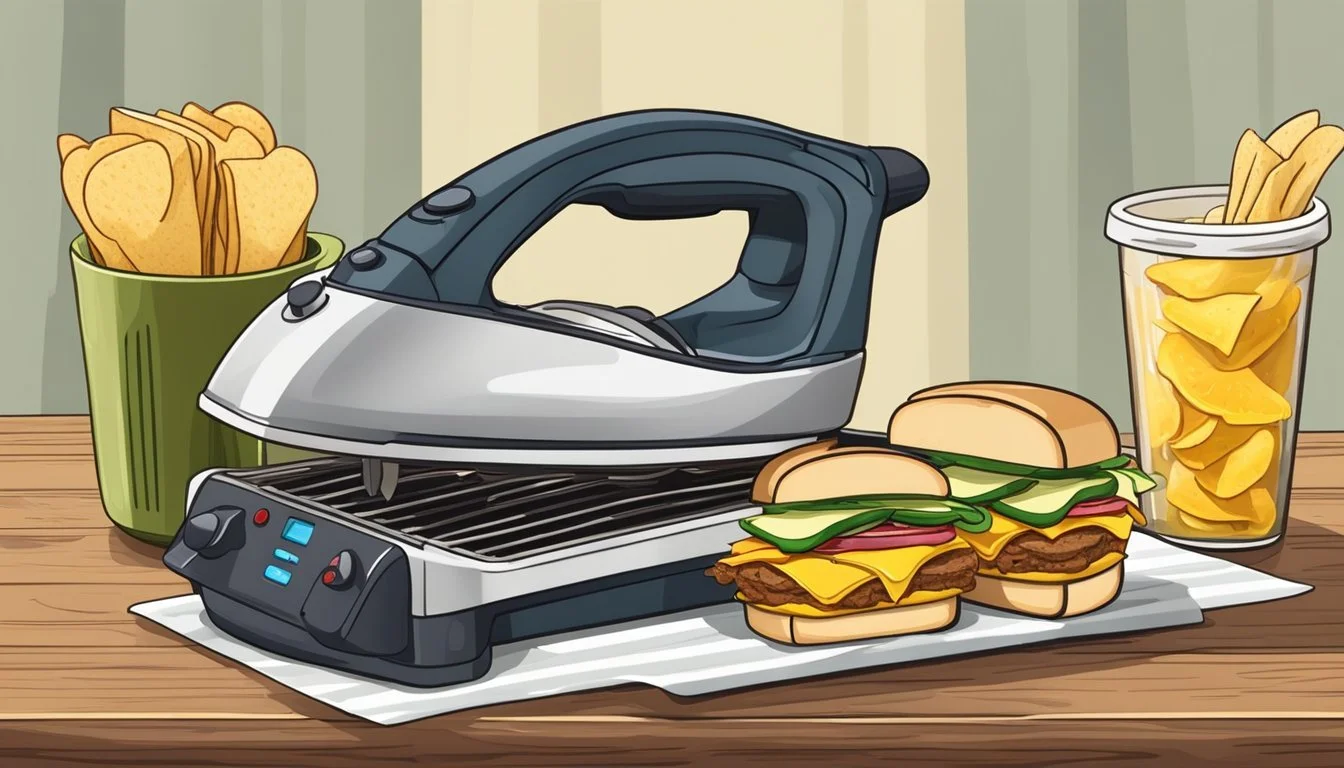
The Iron-Pressed Sandwich
Quick Panini-Style Melts without a Press
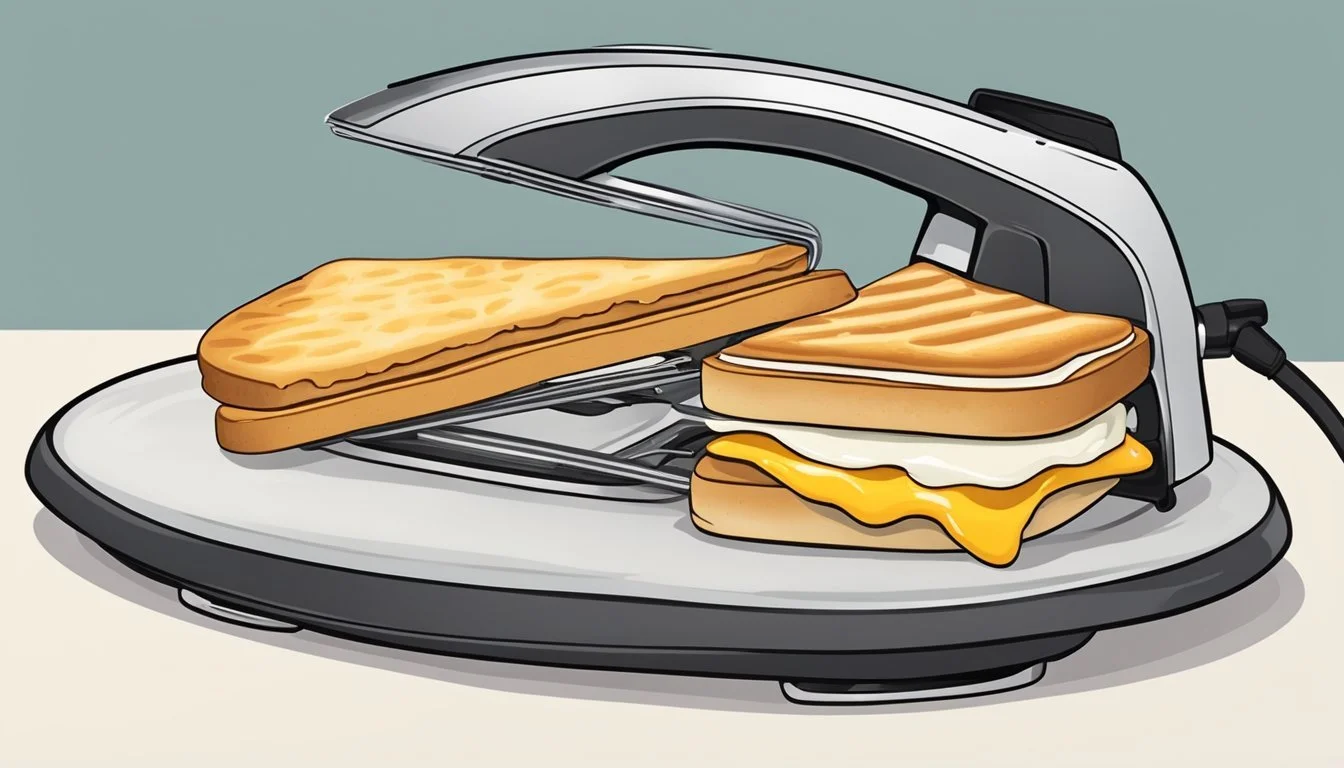
The art of sandwich making takes a creative turn when traditional appliances aren't available. Enter the clothes iron, an unassuming household tool that, beyond smoothing out wrinkles, can masterfully transform a humble sandwich into a delectable panini-style melt. This unconventional method capitalizes on the iron's consistent heat to deliver a crispy exterior with a warm, gooey interior, emulating the results of the specialized panini presses found in gourmet kitchens.
An iron-pressed sandwich is ideal for those seeking a quick and easy method to elevate their meal with minimal equipment. Whether in a dorm room, a hotel without a kitchen, or simply in search of an inventive cooking hack, utilizing a clothes iron for this purpose speaks volumes about the versatility and innovation of culinary improvisation. It encourages resourcefulness without compromise on taste or quality, proving that delicious, pressed sandwiches (What wine goes well with sandwiches?) are within reach in any setting.
Using a clothes iron for cooking is about technique as much as it is about ingenuity. By ensuring the iron is clean and the sandwich is properly prepared, safety and hygiene are maintained while delivering a result that rivals that of traditional panini presses. This method is not just a quirky alternative; it stands as a testament to the inventive spirit in everyday cooking—changing the way sandwiches are perceived and enjoyed one press at a time.
History of the Panini
The panini, with its origins dating back centuries, has evolved into a staple of modern cuisine, beloved for its versatility and the distinctive taste that comes from being pressed and grilled.
Origins of the Pressed Sandwich
The roots of the panini stretch back to Italy in the 16th century. It was in the Italian "paninoteche", casual establishments akin to sandwich shops that surfaced predominantly during the 1960s, where the panini began to take its modern form. These establishments were most common in larger cities like Milan. The pressed sandwich made its way to the United States and secured a place in American culinary trends by the mid-20th century, with mentions in U.S. newspapers in 1956.
The Panini in Modern Cuisine
In the 1970s and 1980s, panini gained popularity in Milanese bars, eventually achieving global fame. What began as simple fare has now been embraced and elevated in American cities, particularly New York City in the late 1990s. These sandwiches, characterized by their grilled Italian bread such as ciabatta, have been transformed into sophisticated menu items by eateries across the world. Today, paninis are a fixture of cuisine, embodying the fusion of traditional Italian heritage with contemporary international flair.
Essentials of Panini-Making

Crafting the perfect panini hinges on three crucial decisions: the bread, the filling, and the cheese. Each choice complements the other, leading to a harmonious, crisp, and succulent pressed sandwich.
Bread Selection
Bread acts as the foundation for a panini. It should be sturdy enough to hold fillings and maintain texture when pressed. Ciabatta and sourdough are popular choices due to their firm crusts and airy interiors, which prevent sogginess. Focaccia bread, with its flavorful herbs and olive oil, can also add another dimension to the panini.
Choosing the Right Fillings
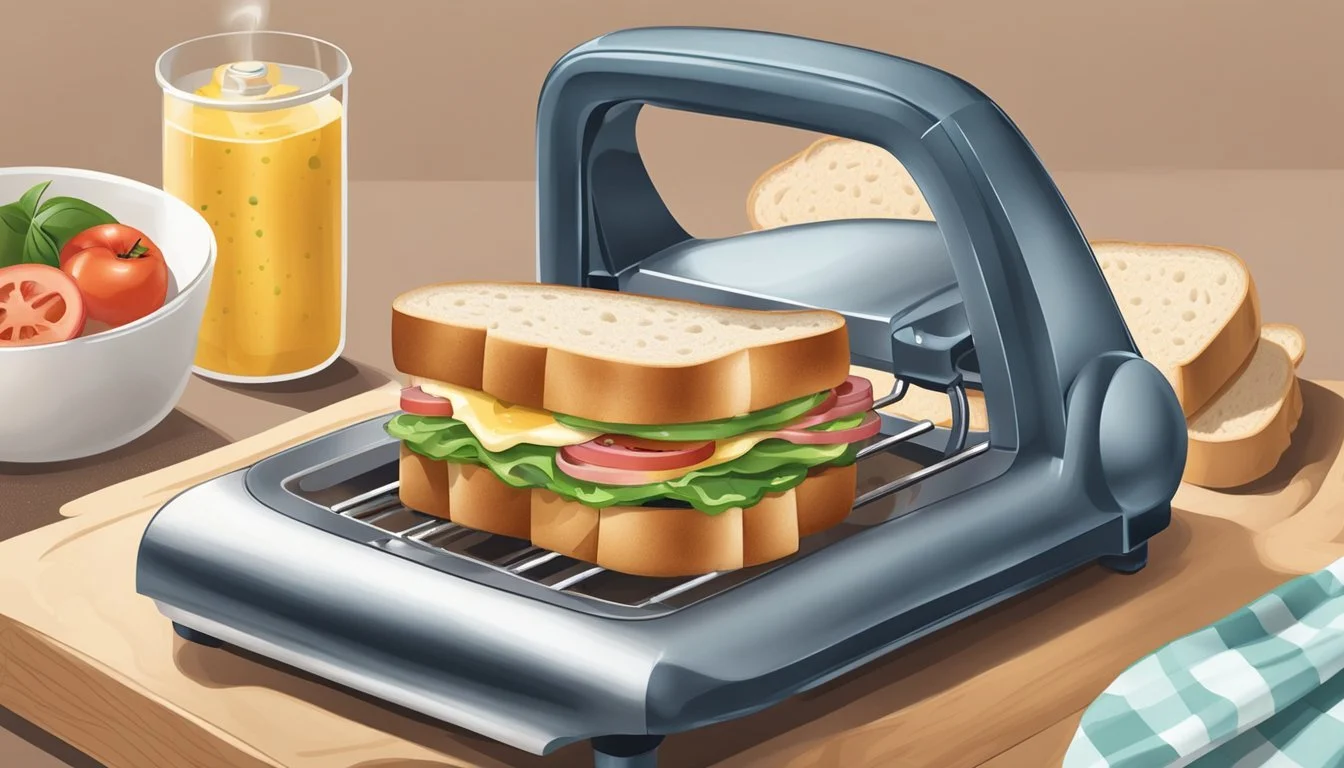
Fillings should be flavorful, yet not overwhelm the bread. A balance of savory proteins like turkey, ham, or roast beef works in tandem with vegetables, such as spinach, arugula, or sundried tomatoes. The layer of the fillings should be moderate to ensure even heating and thorough melting of the cheese.
Cheese Varieties That Melt Well
The selection of cheese is paramount for achieving the coveted gooey texture inside a panini. Cheeses such as Mozzarella, Gruyère, and Fontina are prized for their melting properties. The cheese should be evenly spread across the bread to act as a sealant for the fillings and to provide a uniform taste and texture.
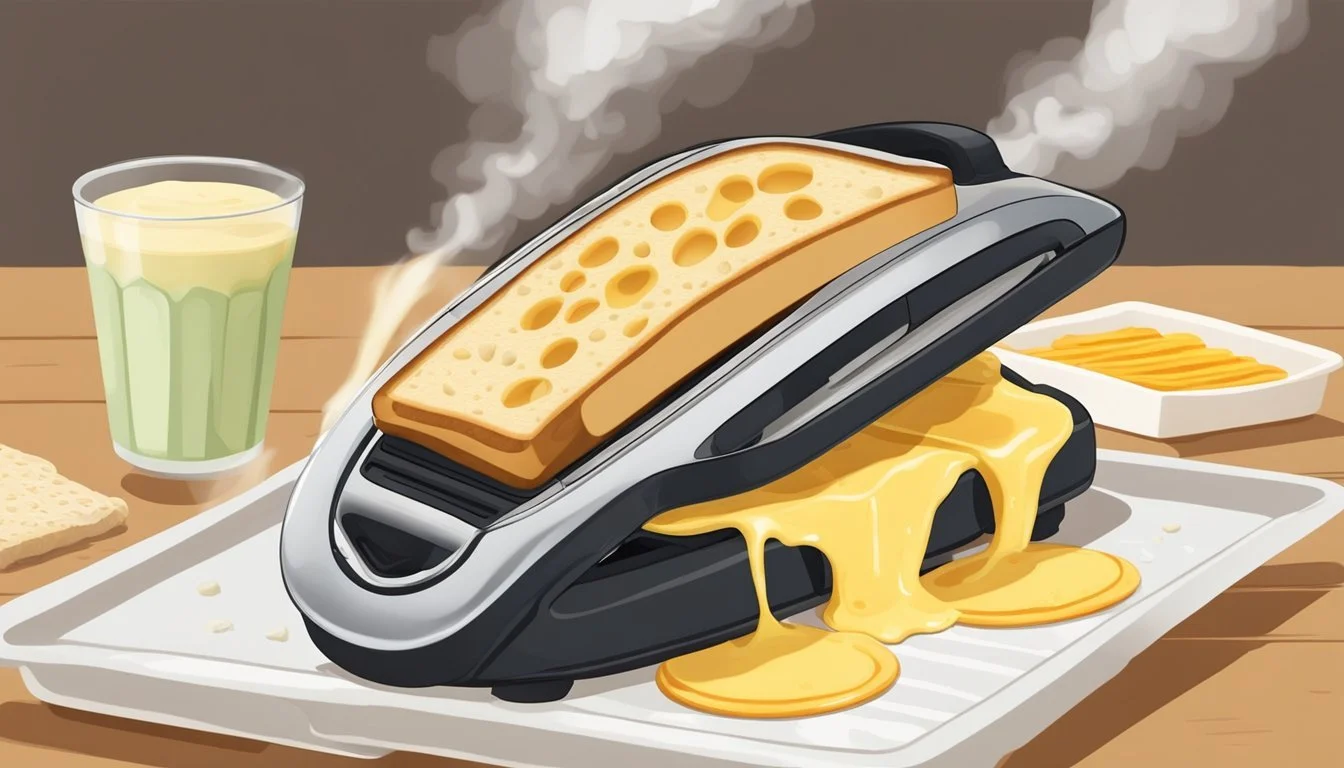
The Role of the Clothes Iron
In the world of homemade panini-style melts, a clothes iron serves as an unconventional but effective tool for heating and pressing the sandwich to achieve that coveted crispy exterior and melted interior.
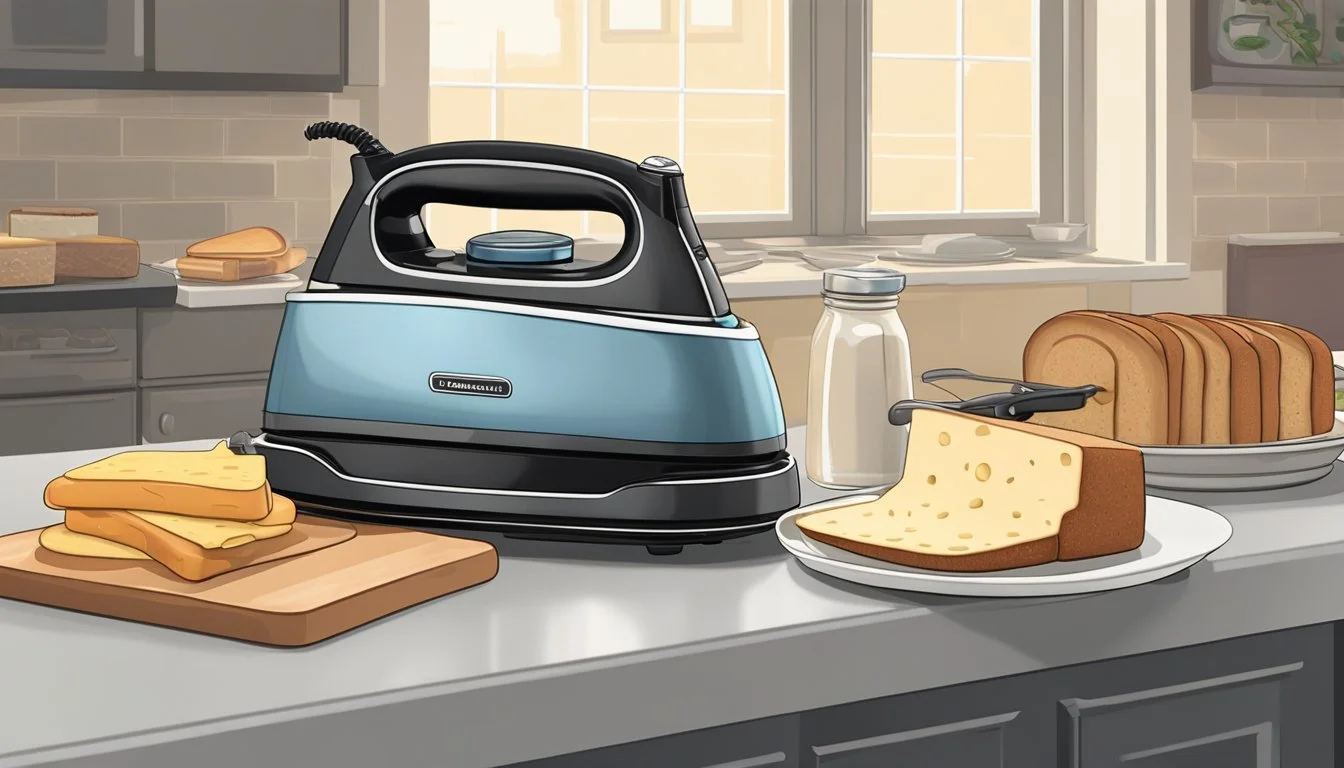
Selecting the Right Iron
Durability: One should choose a clothes iron that is durable and can withstand repeated use, as the process of iron-pressed sandwich making is more demanding than standard clothing ironing.
Soleplate Material: The iron's soleplate should ideally be non-stick or stainless steel, to help prevent the bread from sticking and to ensure an even transfer of heat.
Temperature Settings and Techniques
Temperature Control: For the best results, one should utilize an iron with adjustable temperature settings, selecting a medium to high heat sufficient to toast the bread without burning it.
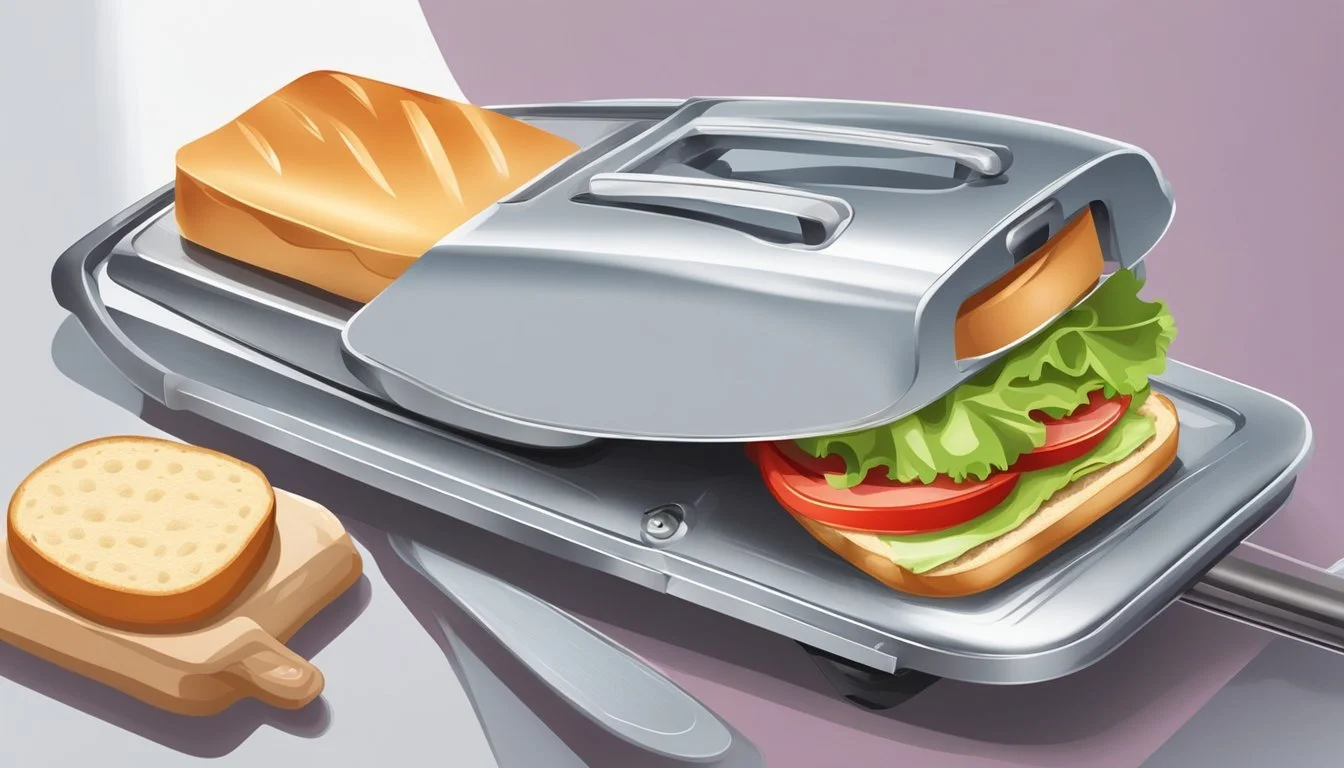
Ironing Technique: They employ a gentle pressing motion, moving the iron in sweeping motions over the sandwich, which is typically wrapped in parchment or foil, for even cooking and to achieve the trademark panini press lines.
Preheating: It is advisable to allow the clothes iron to preheat for a few minutes to reach the desired temperature before applying it to the sandwich.
Preparing to Cook
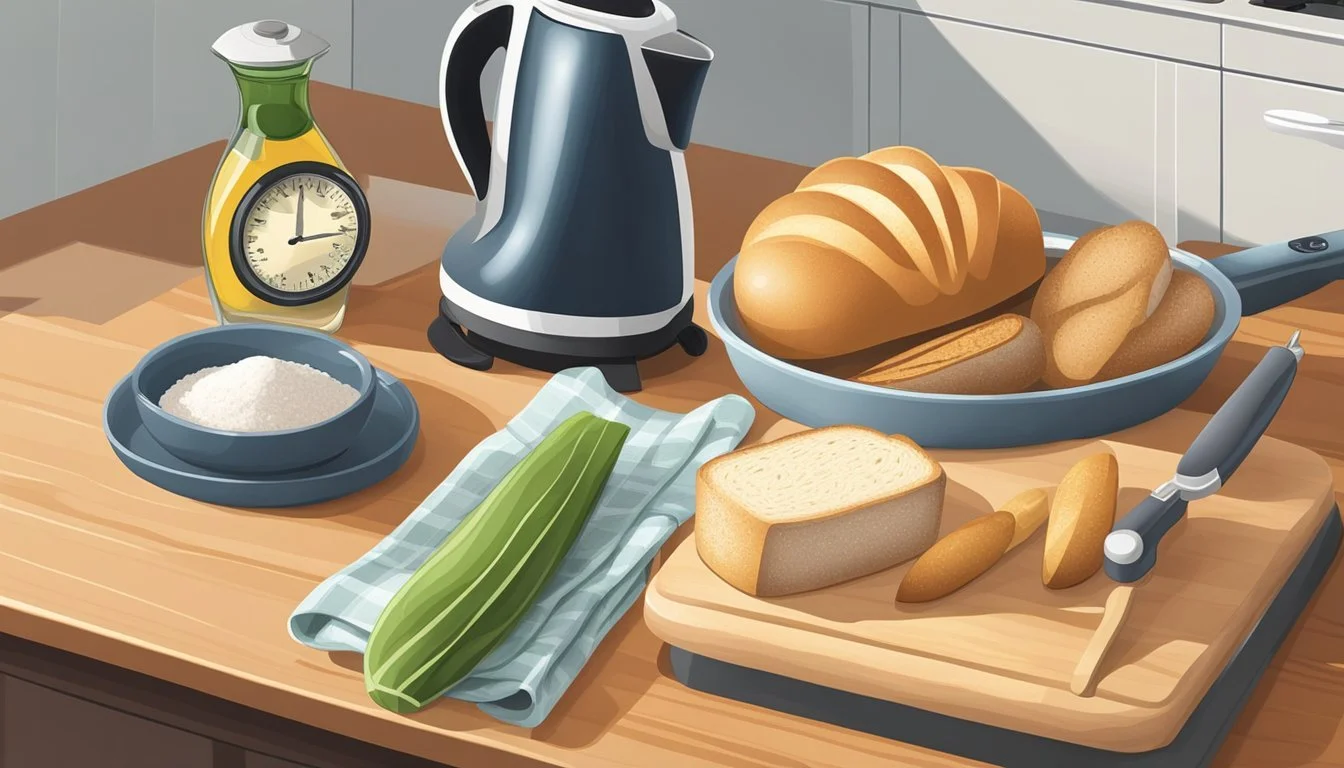
Before heating a panini with a clothes iron, one needs to prioritize safety and workspace setup. Correctly preparing your tools and ingredients will streamline the cooking process.
Safety Precautions
Ventilation: Ensure the cooking area is well-ventilated; cooking fumes should not accumulate.
Electrical Safety: Verify that the clothes iron's power cord is undamaged and the iron is functioning correctly.
Surface Protection: Use a heat-resistant surface to prevent damage when pressing the sandwich.
Preparing Your Workspace
Ironing Board or Counter: Set up an ironing board or clear a section of your countertop.
Aluminum Foil: Cover the bottom of the iron with aluminum foil to protect it and ease cleaning.
Ingredients and Tools:
Have all the ingredients for your sandwich within reach.
A spatula for flipping and pressing the sandwich should be handy.
Keep a kitchen towel close to handle the hot iron safely.
Step-by-Step Guide
Perfecting the art of the iron-pressed sandwich requires attention to detail in sandwich assembly, secure wrapping, and precise ironing technique. Follow this guide to enjoy a delicious panini-style melt without the need for a panini press.
Assembling the Sandwich
One first selects bread of a sturdy variety, such as ciabatta or sourdough, to form the base of the sandwich. They then layer ingredients thoughtfully, beginning with cheese or spreads that will help to glue the sandwich together once melted. Choice of fillings may include deli meats, vegetables, and additional cheeses, mindful of not overstuffing to ensure efficient heat transfer.
Wrapping the Sandwich for Ironing
A sandwich-maker must wrap their creation tightly in aluminum foil. The foil should completely cover the sandwich, sealing in ingredients and creating a smooth surface for the iron to glide over. This will not only prevent any ingredients from escaping but also protect the iron from any possible residue.
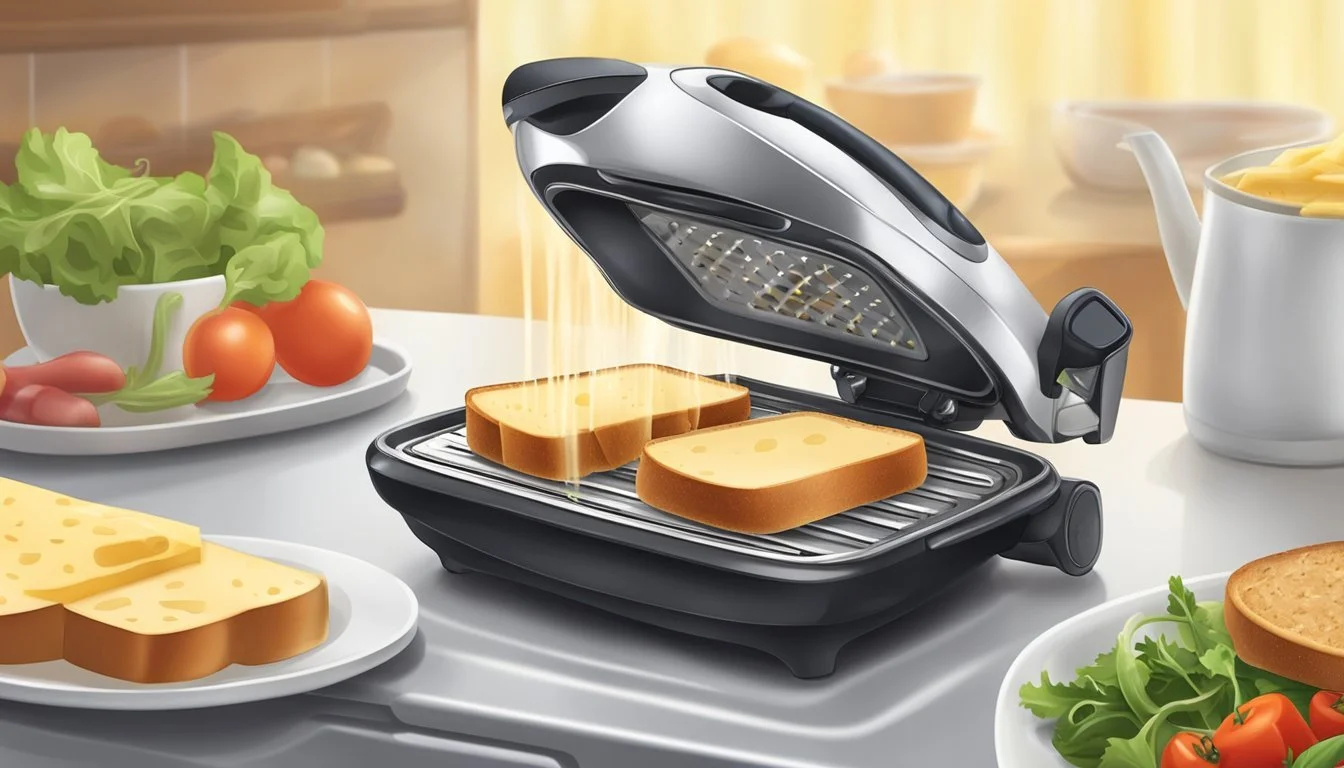
The Ironing Process
The iron should be preheated to a medium-high heat setting, ensuring it is hot enough to crisp the bread and melt the contents within. They then press the iron onto the foil-wrapped sandwich with firm pressure, holding it in place for about one to two minutes before checking for a golden-brown appearance. They continue to iron each side, turning the sandwich periodically, until the exterior is crisped to satisfaction and the internal ingredients are uniformly heated and melted.
Serving and Presentation
The final step in the panini-making process focuses on presentation, ensuring each sandwich is as appetizing to the eyes as it is to the palate. Precise cutting and thoughtful plating elevate the dining experience, while the right accompaniments and pairings can enhance the flavors of the panini.
Cutting and Plating
After pressing the sandwich with an iron, one should let it cool for a moment to allow the cheese to set, preventing it from oozing out when cut. Slicing the panini diagonally with a serrated knife creates two triangular pieces, showcasing the layered interior and making it easier to handle. Each half can be placed on a ceramic plate, slightly overlapping for an inviting display.
Accompaniments and Pairings
When serving, one must consider complementary sides and beverages. A simple side salad dressed with a vinaigrette adds freshness and balances the richness of the panini. For pairings, a sparkling water enhances the meal's flavors without overpowering them. For those of age, a light-bodied red wine, such as Pinot Noir, can underscore the savory notes of the melted cheese and grilled bread.
Cleaning and Maintenance
Maintaining the functionality and hygiene of both a clothes iron and kitchen equipment is crucial after preparing panini-style melts. Regular cleaning ensures both devices serve their purposes without any cross-contamination.
Care for Your Clothes Iron
To ensure a clothes iron remains in good condition, it's imperative to clean the soleplate and empty any remaining water after use, especially if it's been used for cooking. They can follow these steps:
Unplug the iron and let it cool completely before attempting any cleaning to avoid the risk of burns or electrical shock.
Wipe the soleplate with a damp cloth to remove any food residue. If the soleplate is non-stick, they should use a soft sponge to avoid scratches.
Never immerse the iron in water as this could damage the electrical components.
For stubborn residues, they can apply a paste of baking soda and water to the cool soleplate, let it sit for a few minutes, then wipe it off gently.
After cleaning, they should store the iron in a safe place, away from moisture and where it won't be a hazard.
Kitchen Hygiene
Kitchen surfaces and tools must be kept clean to prevent foodborne illnesses, especially when a clothes iron is used in place of traditional cooking appliances. Adhering to these guidelines can help maintain a hygienic kitchen environment:
Always use a clean, dry, and heat-resistant surface when using a clothes iron for cooking.
Clean the area immediately after use with hot, soapy water or kitchen cleaner.
Regularly sanitize the kitchen counter to prevent the spread of bacteria, especially before and after food preparation with a clothes iron.
Store all kitchen gadgets, including a panini press if used, in a clean, dry place to avoid the growth of mold and mildew.
Creative Variations

Exploring the versatility of panini sandwiches, one can find a myriad of flavor profiles from around the globe as well as inclusive options for those who follow plant-based diets.
International Panini Inspirations
The global culinary landscape provides a treasure trove of flavors perfect for panini innovation. For a taste of Havana, Cuban sandwiches blend mojo-marinated pork, ham, Swiss cheese, and pickles, pressed until crisp. From Italy, a classic Caprese Panini combines fresh mozzarella, tomatoes, basil, and a drizzle of balsamic glaze, transporting taste buds to the Mediterranean.
Vegan and Vegetarian Options
Plant-based diets do not have to miss out on the joy of a pressed sandwich. Vegan options abound with the use of dairy-free cheeses and spreads like hummus or avocado. For a hearty vegetarian panini, the combination of grilled vegetables like zucchini, bell peppers, and portobello mushrooms offers a satisfying texture and rich flavors. Adding slices of provolone or mozzarella for those who consume dairy can create a melty, comforting vegetarian delight.
Troubleshooting Common Issues
When using a clothes iron to make panini-style sandwiches, some common issues may arise. Understanding these problems and knowing how to solve them can make the iron-pressed sandwich-making process smoother.
Sandwich Not Heating Evenly
Cause: Uneven surface contact.
Solution: Ensure the sandwich is flat. Use aluminum foil to enhance heat distribution.
Iron Not Hot Enough
Cause: Incorrect temperature setting.
Solution: Set the iron to its highest heat setting typically used for cotton. Allow it to preheat.
Cheese or Fillings Oozing Out
Cause: Overfilled sandwich or too much cheese.
Solution: Use a moderate amount of fillings and press down gently before heating.
Bread Burning
Cause: Iron left on the sandwich too long.
Solution: Keep a close eye on the cooking time and check frequently.
Damaging the Iron's Surface
Cause: Melting cheese or other ingredients onto the iron.
Solution: Always use parchment paper or aluminum foil between the iron and the sandwich.
Electrical Issues with the Iron
Cause: Faulty outlet or malfunctioning iron.
Solution: Check that the iron is plugged into a working outlet, and inspect the cord for damage. If the problem persists, consult the manufacturer's instructions or seek professional help.
When troubleshooting, it's important to approach each issue systematically. They should start with the easiest fixes, such as adjusting temperature settings, before moving on to more complex solutions, like inspecting electrical components.
Health and Nutritional Information
When opting for an iron-pressed panini, one must consider its nutritional aspects. Calories and fat content are particularly significant. Panini sandwiches often contain cheese and cured meats (What wine goes well with cured meats?) which can be high in saturated fats. Making health-conscious filling choices can positively influence nutritional value.
Typical Panini Nutritional Breakdown (per sandwich):
Calories: 600-800
Total Fat: 20-30g
Saturated Fat: 8-12g
Proteins: 20-30g
Healthy Tips:
Choose whole-grain bread for extra fiber and nutrients.
Use lean proteins like turkey or chicken breast.
Include plenty of vegetables for vitamins and minerals.
Opt for low-fat cheese options to reduce saturated fat intake.
Remember, the preparation method with a clothes iron is no different health-wise compared to a traditional panini press. Users should ensure their clothes iron is clean and should not use it with any toxic substances that could contaminate the food.
When considering dietary needs or restrictions, it's wise to create a custom sandwich that aligns with those specifics. One can adjust ingredients to suit low-carb, gluten-free, or vegetarian diets. As with any meal, moderation and balance are key to maintaining a healthy dietary intake.
Fun Facts and Trivia

Invention: The panini, popular across the world today, originated in Italy, often referred to as a "panino" in Italian, meaning "small bread roll." The use of a clothes iron for making this delectable sandwich is a creative workaround for those without a specialized press.
Versatility: People have discovered that a clothes iron can mimic the effect of a panini press. By wrapping the sandwich in foil and pressing with a heated iron, they can achieve the crispy texture that defines a good panini.
Culinary Hack: The clothes iron technique is particularly popular among college students and those with limited kitchen space. It demonstrates unconventional culinary ingenuity.
Safety Tip: It's important to always use aluminum foil between the sandwich and the iron to prevent contamination and damage to both the iron and the food.
Unexpected Feature: The multiple heat settings on a clothes iron allow for a level of temperature control, not unlike many commercial panini presses.
Feature Clothes Iron Panini Press Heat Source Iron Plate Griddle Plates Temperature Adjustable Often Fixed Pressure Manual Lever Mechanism Special Feature None Grill Marks
It's imperative to note that while the iron can serve as a stand-in for a panini press, it is, after all, a tool intended for clothing. Chefs should proceed with caution and never use irons that have been in contact with chemicals or substances hazardous to health.
