
The No-Bake Granola Bar
Mastering the Art of Easy, Healthy Snacking
No-bake granola bars have emerged as a staple in the realm of homemade snacks, revered for their simplicity and versatility. The allure of crafting granola bars without the need to preheat an oven entices both novice cooks and seasoned culinary enthusiasts alike. These bars incorporate a variety of wholesome ingredients that are mixed together, firmly pressed into a pan, and then allowed to chill until set. The result is a convenient and tasty treat that can serve as a quick breakfast on-the-go or a nourishing midday snack.
With the ease of preparation, no-bake granola bars empower individuals to become confident creators in their own kitchens. A few basic pantry items are all it takes to tailor a batch to personal taste preferences and dietary needs. Choices range from nutty and fruity to chocolatey and sweet, with the option to fold in an array of add-ins like nuts, dried fruits (What wine goes well with dried fruits?), seeds, and chocolate chips. Their homemade nature ensures control over the ingredients, allowing for healthier and more wholesome versions compared to many store-bought counterparts.
The process for making these granola bars is transparent and accessible, requiring no special equipment or techniques. Mixing the selected ingredients ensures a homogenous distribution of flavors, while pressing them into a desired thickness in a pan is crucial for achieving the right texture. A sufficient chilling time is the final step that solidifies the bars, ensuring they hold together and are easy to package for a delightful, ready-to-eat snack that fits seamlessly into a busy lifestyle.
Choosing Your Ingredients
Crafting the perfect no-bake granola bar begins with selecting top-quality ingredients that complement each other in terms of flavor, texture, and nutrition. This section will guide you through choosing the best components for a tasty and wholesome snack.
Selecting Oats and Nuts
Oats are the cornerstone of any granola recipe, with rolled oats being the preferred choice for their chewy texture and ability to bind ingredients. For nuts, variety adds not only flavor but also nutritional value. Consider almonds, peanuts, and walnuts for their distinct tastes and health benefits.
Sweeteners and Binders
To ensure your granola bars stick together and have a touch of sweetness, incorporating natural sweeteners such as honey or maple syrup is essential. These act as binding agents while adding flavor. Nut butters like almond butter, peanut butter, or sunflower seed butter also serve as effective and flavorful binders.
Mix-ins and Flavor Enhancements
Granola bars become truly unique with mix-ins that elevate the flavor and texture. Popular options include chocolate chips, dried fruit like cranberries or apricots, and a variety of seeds. Add depth with natural flavor enhancers, such as vanilla extract, cinnamon, or a hint of orange zest.
Healthy Additions
Amplify the nutritional profile of your bars with flax seeds or chia seeds, which are high in fiber and omega-3 fatty acids. Unsweetened coconut flakes or a scoop of protein powder can boost both taste and health benefits.
Special Dietary Considerations
Cater to all palates and needs by including ingredients that suit special diets. Use gluten-free oats for those with gluten sensitivities, and consider vegan alternatives like agave syrup in place of honey. Selecting unsweetened and natural additives ensures your granola bars are wholesome and inclusive.
Preparing the No-Bake Granola Bar Mixture
Creating the perfect no-bake granola bar mixture involves a balance of dry and wet ingredients to achieve a chewy texture that holds together well. Careful heating and mixing of the binding agents, combined with a selection of mix-ins, are crucial to form bars that not only taste great but also maintain their shape after chilling.
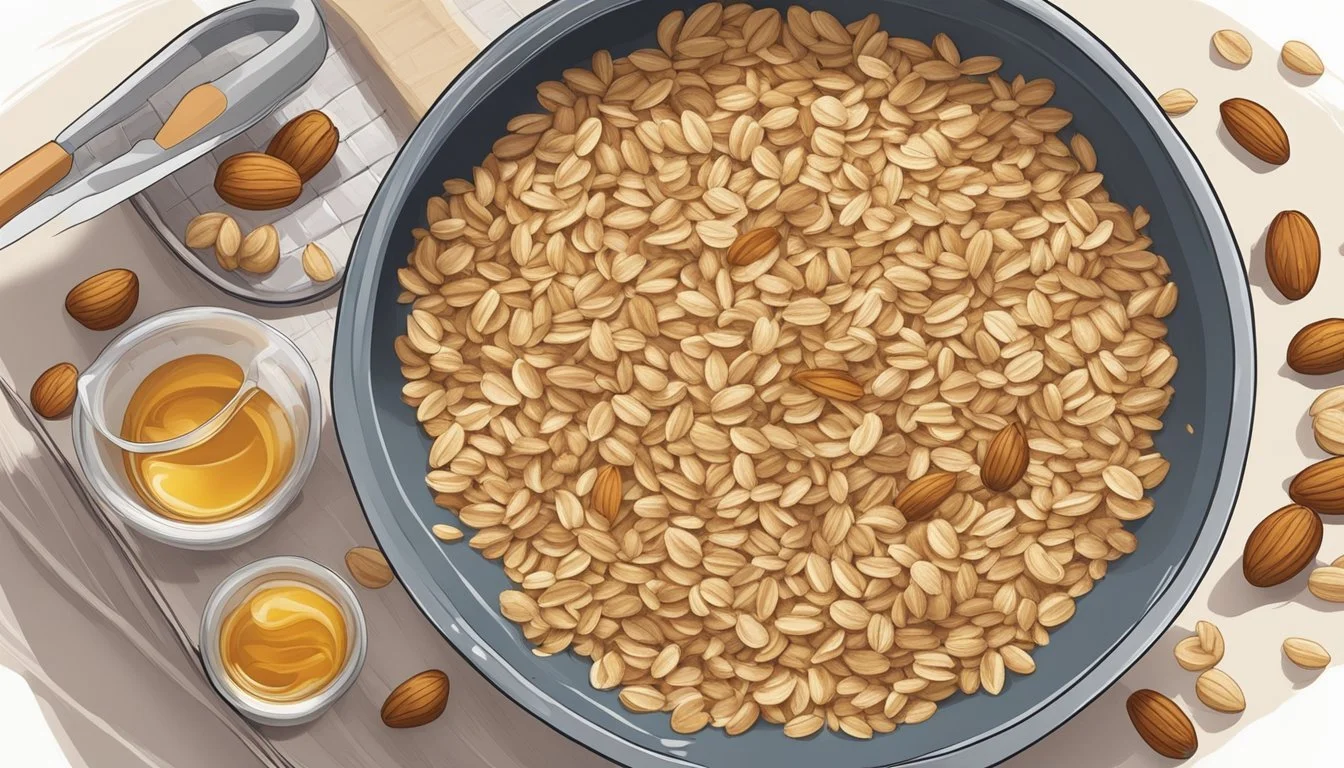
Combining the Dry Ingredients
The foundation of no-bake granola bars begins with oats; they provide structure and a chewy texture. Alongside oats, mix-ins like nuts, seeds, and various cereals such as puffed rice or flaked cereal can be added for crunch. Dried fruits, including raisins, cranberries, chopped apricots, or cherries, contribute natural sweetness and chewiness. It’s essential to stir these ingredients in a large mixing bowl with a pinch of salt, which enhances the overall flavor profile.
Heating and Mixing Wet Ingredients
Wet ingredients act as the binder for the granola bars. In a microwave-safe bowl, combine creamy peanut butter or any nut butter with honey, which adds sweetness and helps to bind the ingredients. Alternatively, butter or coconut oil with brown sugar can be used. Heat the mixture in the microwave until smooth and fully integrated. They should be warm enough to mix easily but not so hot as to cook the oats.
Integrating Add-ins
Once the wet ingredients are evenly warmed and stirred, they can be poured over the dry mixture. Gently folding in the wet mixture ensures even distribution without crushing the dry ingredients. At this stage, additional mix-ins like mini chocolate chips, chopped nuts, or even dates can be added. If using chocolate or any other add-ins that might melt, ensure they are mixed in when the wet ingredients are at room temperature to prevent melting.
Achieving the Right Consistency
The key to no-bake granola bars that hold together is the right consistency. The mixture should be moist enough to stick together but not too wet or dry. It often requires a bit of pressing to see the mixture come together, indicating it is ready to be transferred to a lined dish for shaping and chilling. If the mixture seems too dry, a small amount of additional peanut butter or honey can be added. Conversely, if it seems too wet, a bit of extra oats or ground nuts can help to absorb the excess moisture. Once pressed into the dish, the granola mixture should be chilled until firm to ensure the bars can be sliced cleanly.
Pressing and Chilling
Creating no-bake granola bars requires precision during the pressing and chilling stages to ensure that the bars are of the desired texture and cohesion. Proper techniques in these steps are essential for achieving granola bars that hold their shape and offer that satisfying chewy bite.
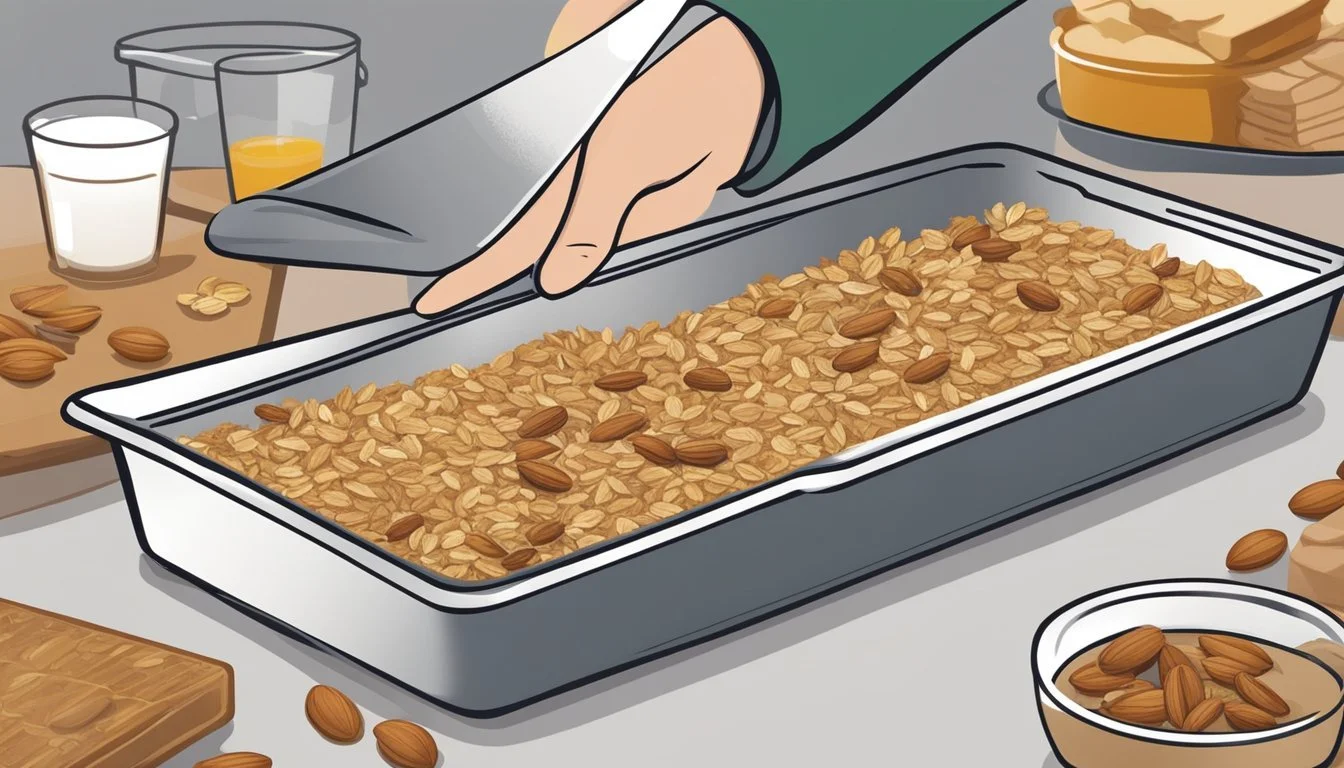
Shaping and Pressing the Bars
Once the granola mixture is prepared, it is transferred to a baking dish lined with parchment paper, which facilitates non-stick handling and an effortless release of the bars once set. Using a spatula or a piece of the same parchment paper, one must firmly press the granola mixture into an even layer within the dish. Uniform pressure is imperative to eliminate any air pockets, ensuring that the bars will stick together properly and have consistent texture throughout. Some recipes suggest using wax paper or plastic wrap to press down if sticky ingredients like honey or syrup are used.
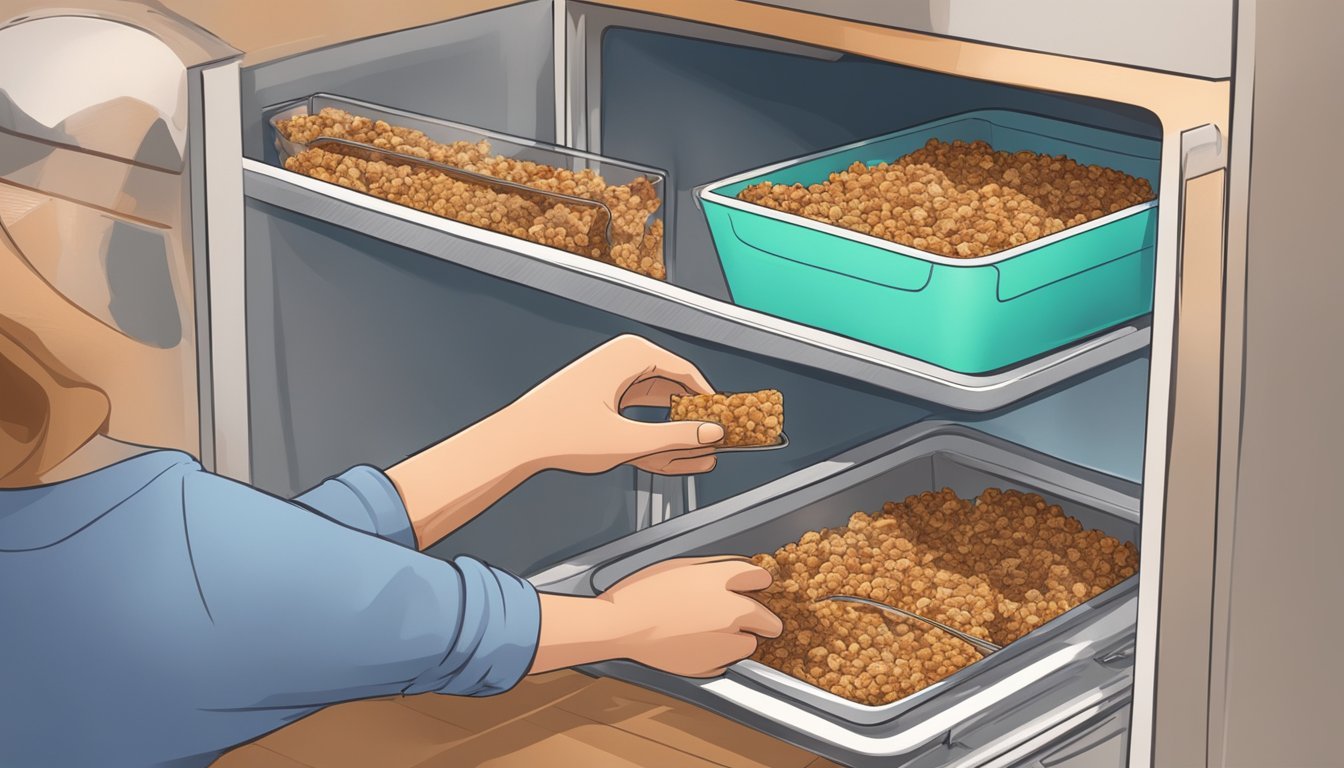
Refrigeration and Setting Time
After the granola bars have been shaped and pressed into a uniform thickness, they need to chill in the refrigerator or freezer to set. Time can vary, but most no-bake granola bars require at least 2 hours in the refrigerator to harden adequately. This process allows the ingredients to bind together and the bars to firm up to a chewy consistency. For a quicker set, one can freeze the bars for about 30 minutes to an hour. Once chilled and firm, the bars can be lifted from the dish using the overhanging edges of parchment paper and cut into individual servings. To maintain freshness, store the finished granola bars in an airtight container in the fridge.
Cutting and Storing
To ensure homemade granola bars maintain their taste and texture, precise cutting and correct storage are essential. From slicing to sealing, the details make a difference in extending the freshness of this convenient snack.
Slicing Bars to Preferred Size
After the no-bake granola bars have thoroughly chilled and set, lift them out of the baking dish using the overhanging edges of parchment paper. It's recommended to use a sharp knife to cut the bars to ensure clean edges. One can cut the granola mixture into squares or rectangles, based on preferred size.
Storage Solutions
Granola bars should be stored in an airtight container to protect them from moisture and keep them fresh. An airtight container also maintains the bar's texture, whether they are stored at room temperature or chilled.
Refrigerator: Keeping granola bars in the refrigerator can extend their shelf life, typically lasting up to two weeks.
Freezer: For long-term storage, granola bars can be individually wrapped in parchment paper and stored in the freezer where they'll keep for up to three months.
Tips for Keeping Bars Fresh
Parchment Paper: To prevent bars from sticking together, place a small sheet of parchment paper between each when stacking in a container.
Airtight Container: Always use an airtight container whether the bars are stored in the refrigerator or freezer.
Temperature Fluctuations: Avoid frequently moving the bars between room temperature and the refrigerator/freezer, as this can cause condensation and make the bars soggy.
Food Safety: Homemade granola bars should be consumed within the recommended storage duration to ensure food safety, especially since they lack the processed ingredients that extend the shelf life of store-bought options.
Customizing Your Granola Bars
Creating homemade no-bake granola bars allows for the flexibility to tailor flavors and nutrition to personal preference. They present a great option for those looking for a sweet treat with an energy boost.
Variations and Substitutes
When it comes to flavor variations, the possibilities are endless. One can mix and match different nuts such as almonds or pecans to add a crunchy texture. For a touch of sweetness, mini semi-sweet chocolate chips or even dark chocolate chunks can be included. Those who enjoy tartness might opt for dried fruits like raisins or cranberries. Here is a straightforward list of mix-ins to consider:
Nuts: Almonds, Pecans, Walnuts
Seeds: Pumpkin, Sunflower
Dried Fruits: Raisins, Cranberries, Apricots
Chocolate: Mini Semi-Sweet Chips, Dark Chocolate Pieces
Remember, when substituting ingredients, maintain the dry to wet ingredient ratio to ensure the granola bars hold together well.
Adding Nutritional Boosters
Enhancing the nutritional value of granola bars is simple with the addition of various seeds and nuts. Seeds like chia or flax can significantly increase the fiber and protein content. A mix-in table can be helpful for determining the nutritional boost each addition provides:
Ingredient Health Benefit Chia Seeds Fiber, Protein Flax Seeds Omega-3 Fatty Acids Almonds Vitamin E, Magnesium Pecans Antioxidants
By customizing these no-bake granola bars with a balance between taste and nutrition, one can create a recipe that's not only delicious but also serves as a fulfilling energy boost.
Troubleshooting Common Issues
Crafting the perfect no-bake granola bar can sometimes result in unexpected outcomes. Two common challenges are encountered when making these bars: crumbly texture and stickiness. The following tips address these issues to ensure your no-bake granola bars are both cohesive and easy to handle.

Dealing with Crumbly Bars
Crumbly no-bake granola bars often result from an imbalance between dry ingredients and the binding agents. To achieve a chewy texture, it is crucial to use the correct ratio of oats, puffed rice, or nuts to binders like honey, peanut butter, or syrup. Increase the binder if the mixture seems too dry before pressing it into the baking dish.
Binder to Dry Ingredients Ratio: For every cup of dry ingredients, you'll typically need a quarter cup of binding agent.
Microwave for Cohesion: Gently warming the binding agents like honey or syrup can enhance their binding properties.
Preventing Bars from Sticking
Regardless of the mixture's consistency, no-bake granola bars can stick to the dish, complicating their removal. To prevent this, line your baking dish with parchment paper or wax paper, ensuring it overhangs the sides for easy lifting. In addition, you can lightly grease the parchment paper with butter or coconut oil for added non-stick assurance.
Tools for Non-stick Success:
Parchment Paper: Preferable for its non-stick quality.
Wax Paper: An alternative, although less heat-resistant.
Plastic Wrap: Can be used if you're chilling the bars, not freezing them.
Greasing Agents: Use a thin layer if additional non-stick properties are needed.
Remember, successful no-bake granola bars combine a balance of texture and convenience. Adjusting ratios and employing the right techniques can make all the difference.
Serving and Pairing Ideas
When enjoying no-bake granola bars, presentation and the accompanying pairings can elevate the experience from a snack to a memorable culinary moment.
Creative Presentation
These versatile treats can be served in various engaging ways. Garnishing a serving platter with a light dusting of cinnamon or cocoa powder creates an inviting canvas for the granola bars. If incorporating chocolate chips or dried cranberries, chefs might consider melting a bit of chocolate to drizzle over the top for an artistic finish. Utilizing parchment paper not only aids in presentation but also ensures the bars can be removed and plated with ease. Creating a visual mosaic of the bars cut in different shapes can serve as an edible picture of sorts that pleases the eyes as well as the palate.
Food Pairings
Granola bars pair wonderfully with a variety of foods. For breakfast, complementing them with a bowl of Greek yogurt and a side of fresh fruits provides a balanced start to the day. As a snack, these bars can be served with an assorted nut mix, combining almonds, walnuts, and peanuts for a crunchy contrast. Those looking for a hint of sweetness might pair the bars with dark chocolate espresso beans. For a dairy component, a cheese board featuring mild to sharp cheeses can play beautifully against the granola bars' sweetness and texture.
Conclusion
No-bake granola bars offer a delightful balance of convenience and healthiness. They embody the essence of homemade simplicity, allowing anyone to prepare a nutritious snack without the need for an oven. The process is straightforward: mix, press, and chill. Utilizing whole grains, nuts, seeds, and natural sweeteners, these bars serve as an excellent source of energy.
A careful review of the pressing stage is crucial to achieving the perfect bar consistency. Applying even pressure ensures that the bars will hold together well after chilling. Chilling solidifies the bars, so patience during this step rewards one with a snack that’s both sturdy and chewy.
These bars are a testament to the value of whole, unprocessed ingredients. By choosing high-quality components, one crafts a snack that's rich in nutrients and devoid of unwanted additives. Finally, the versatility of no-bake granola bars is commendable. Various mix-ins can be added to suit individual tastes, making it a universally appealing treat.
In creating your own version of these bars, remember that the quality of the outcome hinges on the care taken in each step – from ingredient selection to the final chill. Homemade no-bake granola bars are not just a treat; they're a smart choice for anyone looking for an accessible, healthy snack option.
