
The One-Pot Chocolate Fudge
Your Guide to Easy, Decadent Dessert
Chocolate (What wine goes well with chocolate?) fudge is a timeless confection renowned for its smooth texture and rich flavor. Achieving this indulgent treat doesn't require complex techniques or special equipment; one-pot chocolate fudge simplifies the process without compromising taste. Ideal for anyone seeking to prepare a quick and delightful dessert, this method ensures that even novice cooks can confidently create scrumptious results.
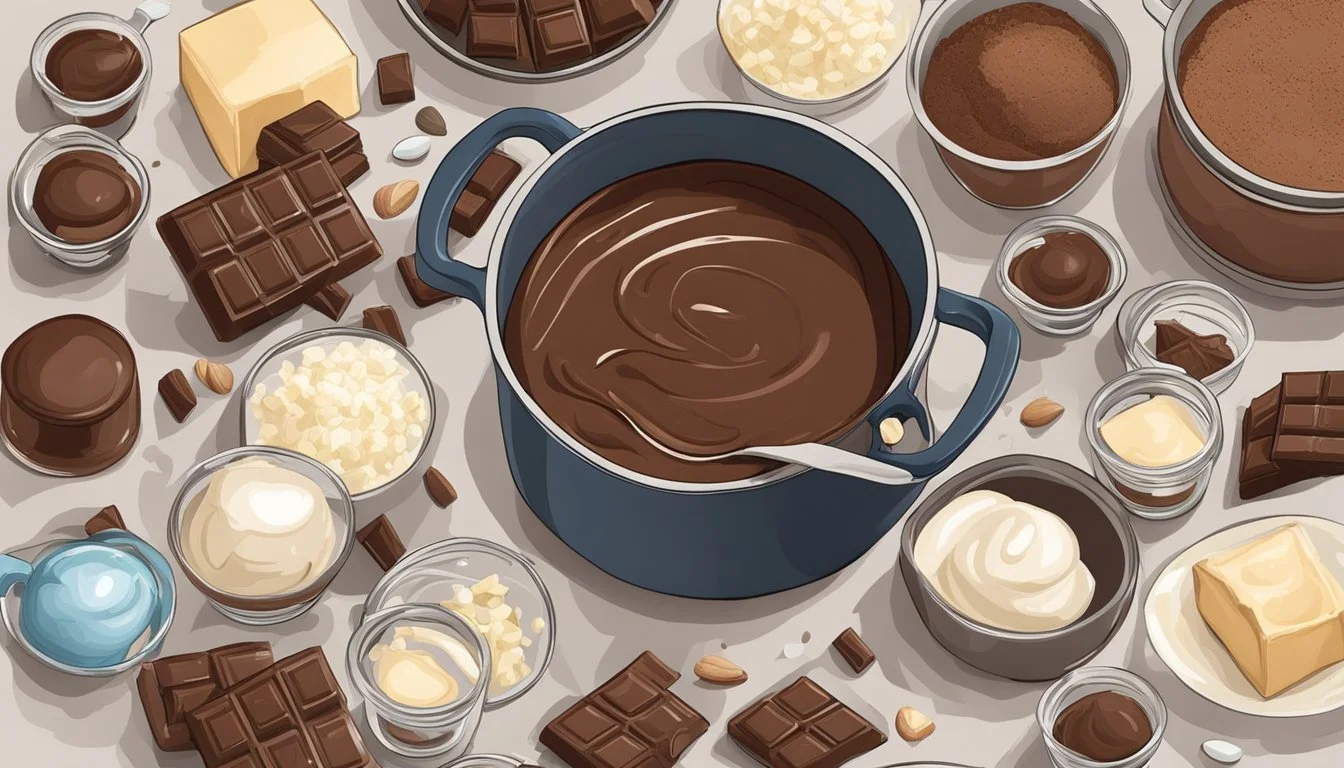
Using basic ingredients, such as chocolate chips, a sweetener, and a fat source like butter, one can produce a creamy fudge. The process generally involves melting these components together and then allowing the mixture to set until firm. By utilizing a single pot, cleanup is minimized, making this an attractive recipe for its convenience as much as its delicious outcome.
The simplicity of the one-pot approach to chocolate fudge makes it a perfect option for last-minute treats or edible gifts. Its simplicity, combined with a foolproof cooking technique, results in an irresistibly smooth and creamy fudge that appeals to chocolate lovers of all ages. Whether for a holiday, a special occasion, or a spontaneous chocolate craving, one-pot fudge is a reliable recipe that promises satisfaction.
The Basics of Chocolate Fudge
Making chocolate fudge is an enjoyable endeavor that results in a rich and decadent treat. A classic recipe often includes chocolate, butter, sugar, and vanilla extract among its ingredients.
Ingredients:
Chocolate: The heart of any fudge, usually in the form of chocolate chips or chopped chocolate for easy melting.
Butter: Adds richness and smoothness, preventing the fudge from drying out.
Sugar: Typically used to sweeten and contribute to the fudge's texture.
Vanilla Extract: A dash of vanilla enhances the chocolatey flavor, rounding out the taste profile.
Basic Steps:
Preparation: Begin by lining an 8-inch square pan with parchment or foil for easy removal of the set fudge.
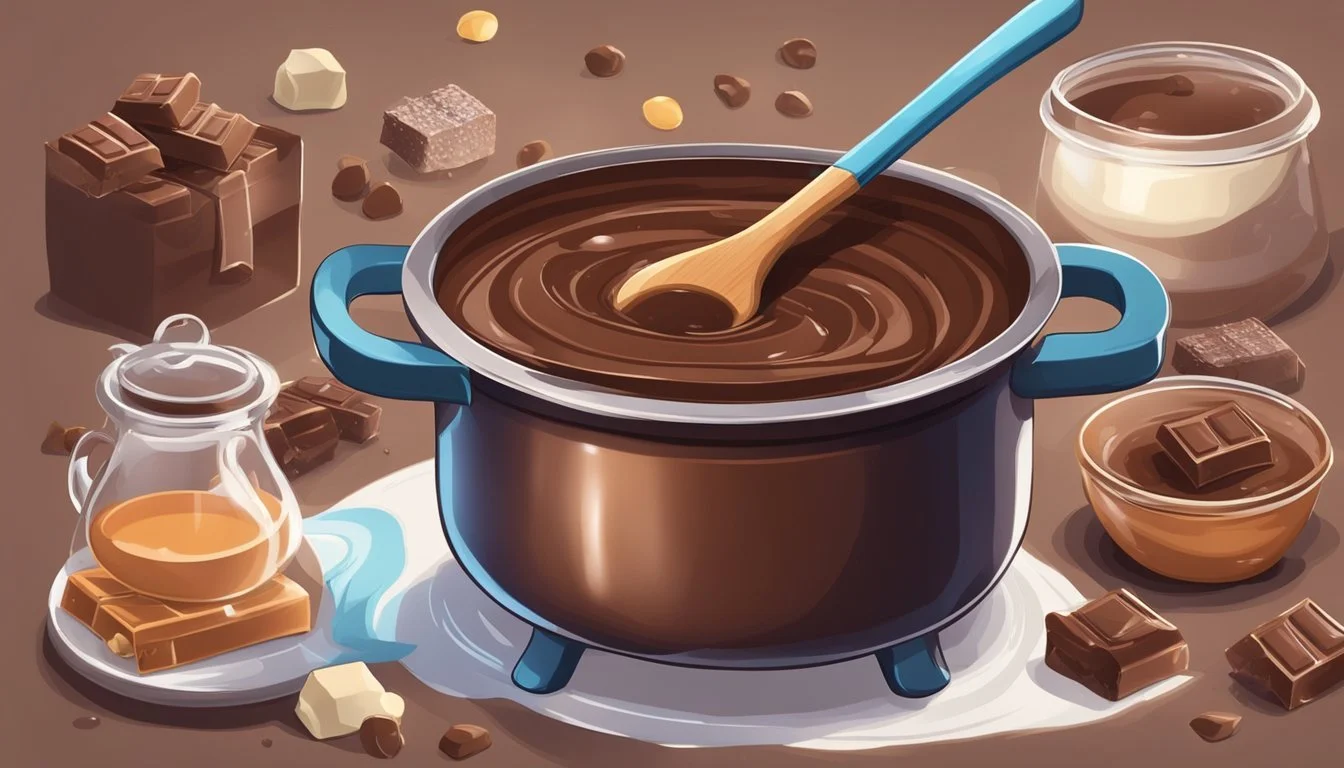
Melting: Using a double boiler or a microwave-safe bowl, one combines the chocolate, butter, and sugar. The goal is to melt these ingredients until they're well combined without overheating.
Finishing: After melting, vanilla extract is stirred in for flavor. Then, the mixture is transferred to the prepared pan.
Setting: The fudge is left to cool and set, which can be sped up by refrigeration.
Texture & Storage:
The texture of fudge should be creamy and smooth. Once set, it should be sliced into bite-sized pieces. Fudge stores well at room temperature in an airtight container, and its flavors often improve a day after it's made.
By following these basics, any home cook can confidently create a simple and sumptuous batch of chocolate fudge.
Essential Ingredients
A successful one-pot chocolate fudge hinges on the careful selection and balance of its components, each contributing to the final taste and texture. Below are distinctions between various ingredients that are vital for crafting a delectable batch of fudge.
Chocolate Selection
The choice of chocolate lays the foundation for the fudge’s flavor and smoothness.
Milk Chocolate: Offers sweetness and creamy texture, but can be mild in the chocolate flavor.
Semi-Sweet Chocolate: Strikes a balance between sweetness and a pronounced chocolate taste.
Bittersweet Chocolate: Less sweet, more intense chocolate flavor—ideal for a less sugary fudge.
Dark Chocolate: Contains less sugar, yielding a rich and deep chocolate essence.
White Chocolate: Provides sweetness and a buttery flavor but lacks the cocoa solids of other chocolates.
Sweeteners and Dairy
The role of sweeteners and dairy is to enhance the texture and enrich the fudge.
Sweetened Condensed Milk: Often used for its thick consistency and sweetness, enabling a smooth texture.
Sugar: Can be added for extra sweetness if needed. Options include:
Regular Sugar: For a straightforward sweetness.
Brown Sugar: Introduces a hint of molasses.
Honey: An alternative natural sweetener.
Cream: Adds richness and a velvety texture to the fudge.
Unsalted Butter: Typically used to keep the fudge from drying out and to add creaminess without altering the salt content.
Evaporated Milk or regular Milk: Less common but can be used if condensed milk is not available.
Flavor Enhancers
Subtle additions can impressively transform the basic fudge into an exquisite treat.
Vanilla Extract: A must for rounding out the chocolate flavors.
Salt or Sea Salt: A pinch can intensify the overall flavor profile.
Flavored Liquors (like rum) or eggnog: An unconventional option for seasonal variations.
Add-Ins and Variations
Spruce up the simple fudge by mixing in complementary textures or flavors.
Nuts: Such as walnuts, pecans, or chopped pecans, add a delightful crunch.
Candy: Incorporating pieces like toffee bits, caramel, or candy bars for extra sweetness and flair.
Marshmallow Fluff: For a softer, chewier consistency. Other variations might include mix-ins like fruit, spices, or cookie pieces to create unique flavor profiles.
Chocolate Fudge-Making Techniques
Making chocolate fudge is a delightful process that requires precise technique in cooking, mixing, and setting. Each method imparts unique properties to the fudge, influencing its texture and flavor.
Cooking Methods
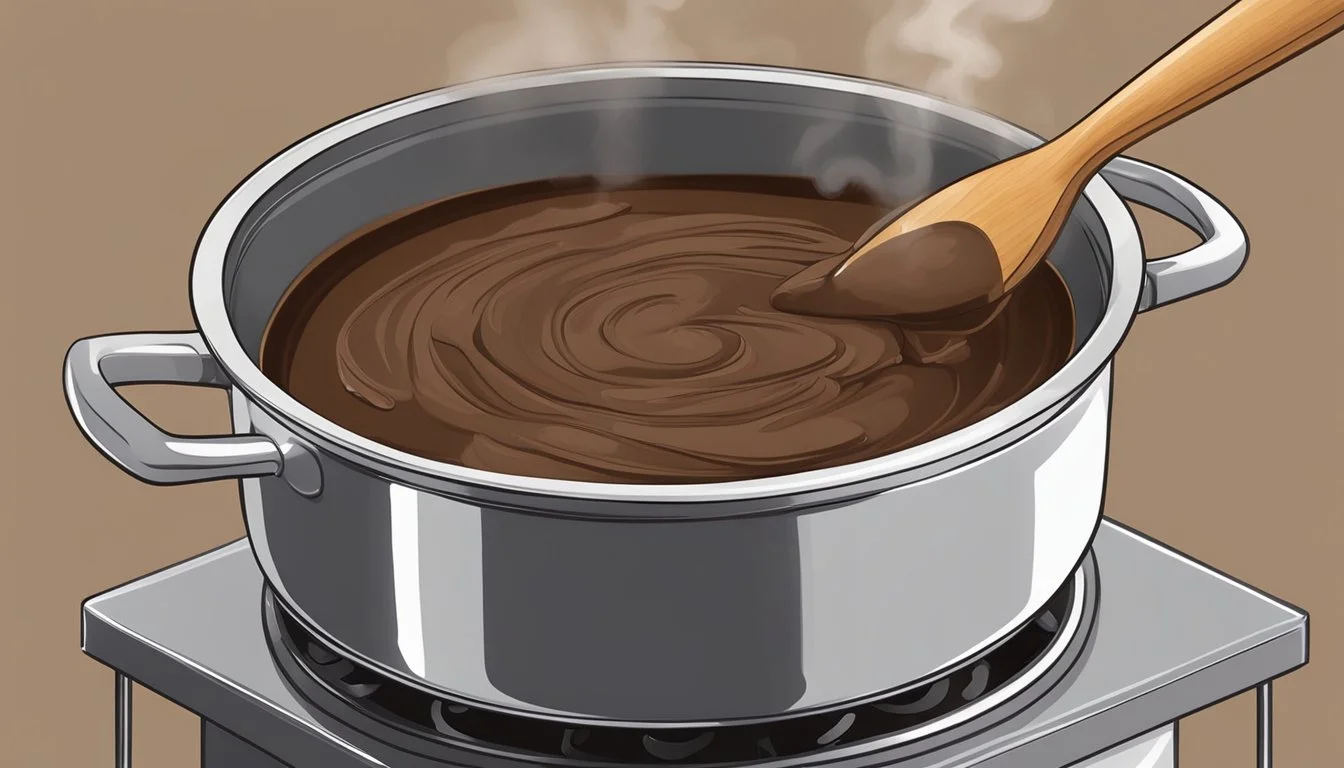
The two primary ways to cook chocolate fudge are using a stove or a microwave. When using a stove, a person often cooks the fudge mixture over low to medium heat, ensuring that the sugar dissolves without burning the chocolate. A candy thermometer can be essential here to monitor the temperature, which usually should not exceed 234°F to 240°F, the soft-ball candy stage. In contrast, microwave fudge-making involves heating the chocolate in intervals, stirring in between until completely melted. This method can be quicker but requires careful attention to avoid overheating.
Mixing and Melting
Properly mixing and melting the chocolate with other ingredients is crucial for a smooth fudge. Ingredients are typically combined in stages. One starts by melting the solid fats like butter or margarine, then adding the chocolate chips. Dark chocolate chips or semi-sweet chocolate chips are a popular choice. Sweeter items like vanilla extract or sweetened condensed milk are stirred in after the chocolate has melted to ensure even distribution. Additionally, ingredients should be mixed at a consistent pace to avoid incorporating too much air, which can affect the fudge's density.
Setting and Serving
Once the fudge has been cooked and mixed, it must be transferred into a baking dish lined with parchment paper or wax paper to set. Smooth it into an even layer, allowing it to cool at room temperature. After it cools for a bit, the fudge should be covered and placed in a refrigerator to set completely. To serve, one cuts the fudge into squares of the desired size.
For long-term storage, pieces of fudge can be kept in an airtight container, separating layers with wax paper to prevent sticking. The fudge can be stored in the refrigerator for up to two weeks or frozen for an extended period. Always ensure fudge is brought back to room temperature before serving for the best texture and flavor.
Step-by-Step Recipe Guide
Creating homemade chocolate fudge is a straightforward process, perfect for any candy-making enthusiast. This easy recipe delivers rich and creamy fudge with minimal effort.
Ingredients:
Chocolate chips
Evaporated milk or whole milk
Sugar
Butter
Vanilla extract
Optional nuts
Instructions:
Prepare the Pan:
Butter an 8-inch square baking pan.
Line with parchment, leaving an overhang.
Combine Chocolate Base:
In a double boiler, melt chocolate chips, butter, and vanilla extract.
Alternatively, use a metal bowl over simmering water, ensuring it doesn't touch the water.
Milk and Sugar Mixture:
In a saucepan, bring milk and sugar to a boil.
Stir occasionally, maintaining a gentle boil for smooth texture.
Merge Mixtures:
Add the hot milk and sugar mix to the melted chocolate base.
Stir well, continuing until the mixture is glossy and thick.
Finishing Touches:
If desired, fold in nuts for added texture.
Pour the fudge into the prepared pan, smooth into an even layer.
Set the Fudge:
Let it cool until set.
Chill in the refrigerator to firm up before cutting.
The result should be a homemade chocolate fudge that epitomizes the essence of a classic, easy chocolate fudge recipe. Cut into squares and enjoy the delectable treat that is both simple to make and delightful to savor.
Troubleshooting Common Fudge Issues
Sometimes, fudge can present challenges in its texture, resulting in a less than perfect batch. A candy thermometer is an invaluable tool for monitoring temperature, which greatly affects the texture. Here are some solutions to typical problems one might encounter:
Grainy Texture: If the fudge turns out grainy, it may have crystallized. To solve this, the fudge should be placed back into the pot with a small amount of water, heated on low until dissolved, then re-cooked to the desired temperature.
Graininess Solution Steps:
Dissolve: Heat with water on low.
Recook: Bring to the correct temperature.
Stir: Stir only until combined.
Hard Fudge: If fudge is too hard, it's often because it was cooked at too high a temperature. The solution is to add cream to the fudge and then reheat it slowly, stirring until the sugar has melted completely, then boiling it again to the correct temperature.
Hardness Correction Method:
Add Cream: Introduce a small amount of cream.
Reheat: Melt the sugar on low heat.
Re-boil: Bring up to appropriate temperature.
Oily Fudge: Oily fudge might be the result of over-stirring. To address this, it is essential to reheat the fudge gently and stir minimally until it reaches a smooth consistency.
In summary, making one-pot chocolate fudge may be easy, but it does require attention to detail, particularly regarding temperature. It is crucial to utilize a candy thermometer to precisely manage the temperature and achieve the desired texture. With minimal stirring and proper temperature control, a creamy and scrumptious fudge is within reach.
Decoration and Presentation

When it comes to the decoration and presentation of one-pot chocolate fudge, the details make all the difference. With the right toppings and serving techniques, even the simplest dessert recipes transform into eye-catching treats suitable for any gathering.
Toppings and Finishes
A variety of toppings can enhance the texture and flavor of chocolate fudge. Here are specific recommendations:
Semi-sweet chocolate chips: A sprinkle on top adds a classic chocolatey crunch.
White chocolate chips: For a contrast in color and taste, these are a delightful choice.
Chopped nuts: Almonds, pecans, or walnuts provide a satisfying crunch and rich flavor.
Each of these toppings should be added after the fudge has set slightly but is still soft enough for the toppings to adhere. This ensures they are well integrated into the surface without sinking in.
Serving Suggestions
Presentation is key for sharing your fudge, whether it be for a family dessert, a gift, or for posting on Instagram. Here’s how one might serve this vegetarian-friendly treat:
Cut the fudge into neat squares: This traditional shape showcases the smooth texture.
Layer fudge between parchment paper in a gift box: When gifting, this keeps it neat and makes for an attractive presentation.
Careful presentation not only makes the fudge more appealing but also invites sharing and enjoyment at any social gathering.
Preserving Your Fudge
Proper storage of fudge ensures it maintains its texture and flavor. For best results, one should consider both short-term and long-term storage methods, tailored to how quickly the fudge will likely be consumed.
Short-Term Storage
For fudge that will be enjoyed within a week, refrigeration is the most effective method. The fudge should be kept in an airtight container to prevent it from absorbing odors and moisture from the refrigerator. It can be helpful to place a sheet of wax paper between layers to prevent sticking.
Steps for Short-Term Storage in the Fridge:
Let the fudge cool to room temperature.
Wrap it tightly in plastic wrap or aluminum foil.
Place the wrapped fudge in an airtight container.
Store in the refrigerator for up to 1 week.
Long-Term Storage
When storing fudge for more than a week, freezing is the best option. One can freeze fudge for up to three months without losing quality. Before placing it in the freezer, make sure it is wrapped tightly and sealed to protect against freezer burn.
Guide for Long-Term Storage in the Freezer:
Cool the fudge completely at room temperature.
Wrap the fudge tightly with plastic wrap, then again with aluminum foil.
Label the wrapped fudge with the current date before placing it in the freezer.
Thaw in the refrigerator overnight before enjoying.
Using these storage methods will help ensure that one's homemade fudge remains delicious and enjoyable for both immediate treats and future indulgences.
