
The Stovetop Roasting Nuts
Achieving Perfect Crunch and Flavor

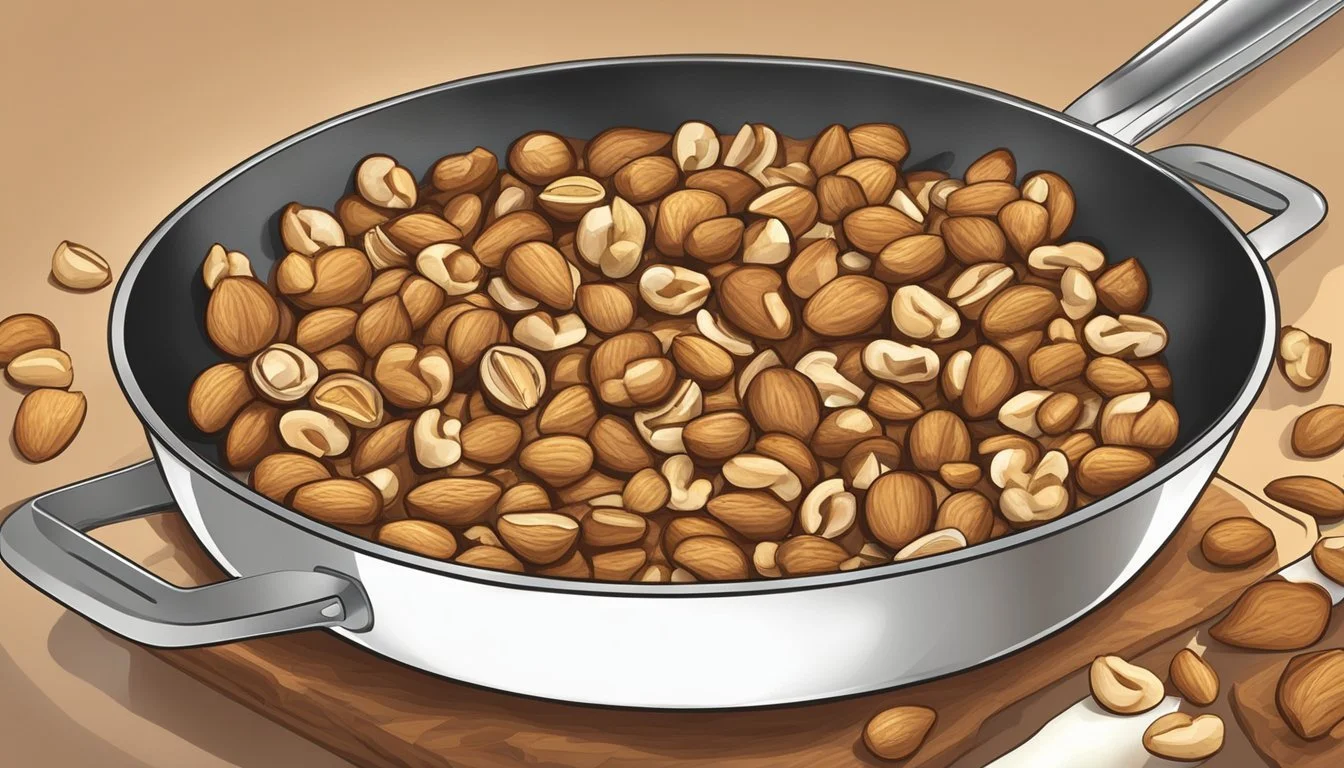
Roasting nuts (What wine goes well with nuts?) on the stovetop is an excellent method for those who either lack an oven or prefer a quicker alternative to infuse their nuts with satisfying crunch and intensified flavor. This stovetop technique relies on direct heat transfer, which allows for precise control over the roasting process. The constant attention required in this method not only ensures even toasting but also allows one to easily coax out the nuts' inherent rich, nutty aromas, a critical component in elevating the taste of various dishes or enjoying as a standalone snack.
While ovens are traditionally used for roasting large batches of nuts to golden perfection, the stovetop provides a convenient, swift means of achieving a similar taste profile. It's particularly ideal for smaller quantities, offering the ability to monitor the nuts more closely and adjust the heat on the fly. Cooking nuts in a dry skillet over medium heat allows them to toast evenly without the need for preheating, and the immediate transfer from the pan to a plate or bowl after roasting stops the cooking process, preventing over-browning.
The Basics of Stovetop Roasting
In the realm of nut roasting, a stovetop approach offers precise control over heat application and can yield an exceptionally flavorful crunch. This section will discuss the fundamental aspects of temperature management and selecting appropriate equipment for roasting nuts on a stovetop.
Understanding Heat and Temperature
Stovetop roasting requires attentive heat management to achieve the perfect toastiness. Nuts should be roasted using low to medium heat to avoid burning while still ensuring they are fully cooked and flavorful. The process involves heating nuts in a dry skillet or frying pan with no need for oil, which allows them to develop a rich, roasted flavor as their natural oils are released.
Steps for Temperature Control:
Preheat the pan on low to medium heat, letting it come up to temperature before adding nuts.
Stir nuts frequently to ensure even roasting and prevent burning.
Keep a watchful eye, as nuts can go from perfectly roasted to burnt in a matter of seconds.
Choosing the Right Equipment
Selecting the proper equipment is crucial for successful stovetop roasting. The key piece of equipment is a heavy-bottomed skillet or frying pan, which provides consistent heat distribution and prevents hotspots that can cause uneven roasting or burning.
Essential Equipment Characteristics:
Heavy-Bottomed: Ensures even heat distribution.
Dry Pan: No oils or fats are required on the pan's surface.
Material: Preferably cast iron or stainless steel for optimal heat retention and stability.
Using this equipment, cooks can skillfully roast nuts on the stovetop, enhancing the nutty flavors and achieving a delightful crunch.
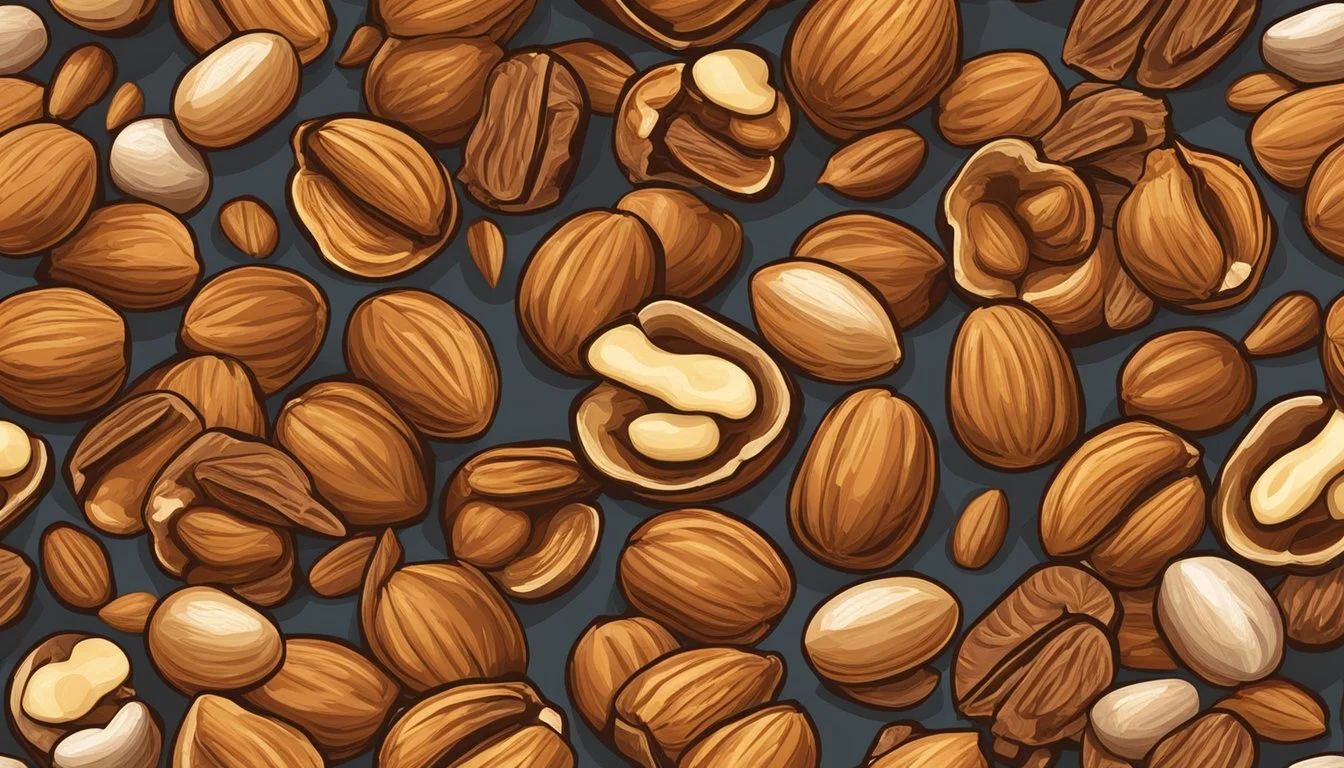
Selecting Nuts for Roasting

When looking to roast nuts on the stovetop, the selection process can significantly impact the resulting flavor and texture. The key is to choose high-quality nuts and prepare them adequately before roasting to ensure an optimum outcome.
Types of Nuts Suitable for Stovetop Roasting
Almonds: They provide a classic crunch and are known for their versatility in roasting.
Pine Nuts: Small yet rich in buttery flavor, they roast quickly.
Walnuts: Known for their intricate, earthy taste; best roasted to a golden color.
Pecans: With a naturally sweet profile, they adopt an enhanced depth when roasted.
Macadamia Nuts: They have a luxurious, creamy texture and roast well for a richer flavor.
Cashews: A softer nut that takes on a wonderful crispy edge when roasted.
Hazelnuts: When roasted, they develop a pronounced toasty, sweet flavor.
Brazil Nuts: They have a unique, meaty structure that withstands the heat well.
Pistachios: Already flavorful, they become even more vibrant when roasted.
Selecting whole, raw nuts is preferable, as pre-roasted or salted nuts can burn easily or have an imbalanced flavor profile after further roasting. Chopped nuts can be used but require close attention as they roast faster than whole nuts due to increased surface exposure.
Prepping Nuts Before Roasting
Sorting: Inspect the nuts and remove any shriveled or discolored ones.
Cleaning: Rinse the nuts in cold water to remove any dirt or residue.
Drying: Pat the nuts dry thoroughly as moisture can hinder the roasting process.
Uniformity: If using chopped nuts, ensure they are cut uniformly to promote even roasting.
It is crucial to start with nuts at room temperature to allow even heat distribution during the roasting process. This preparation will not only enhance the ultimate flavor but also contribute greatly to the desired texture.
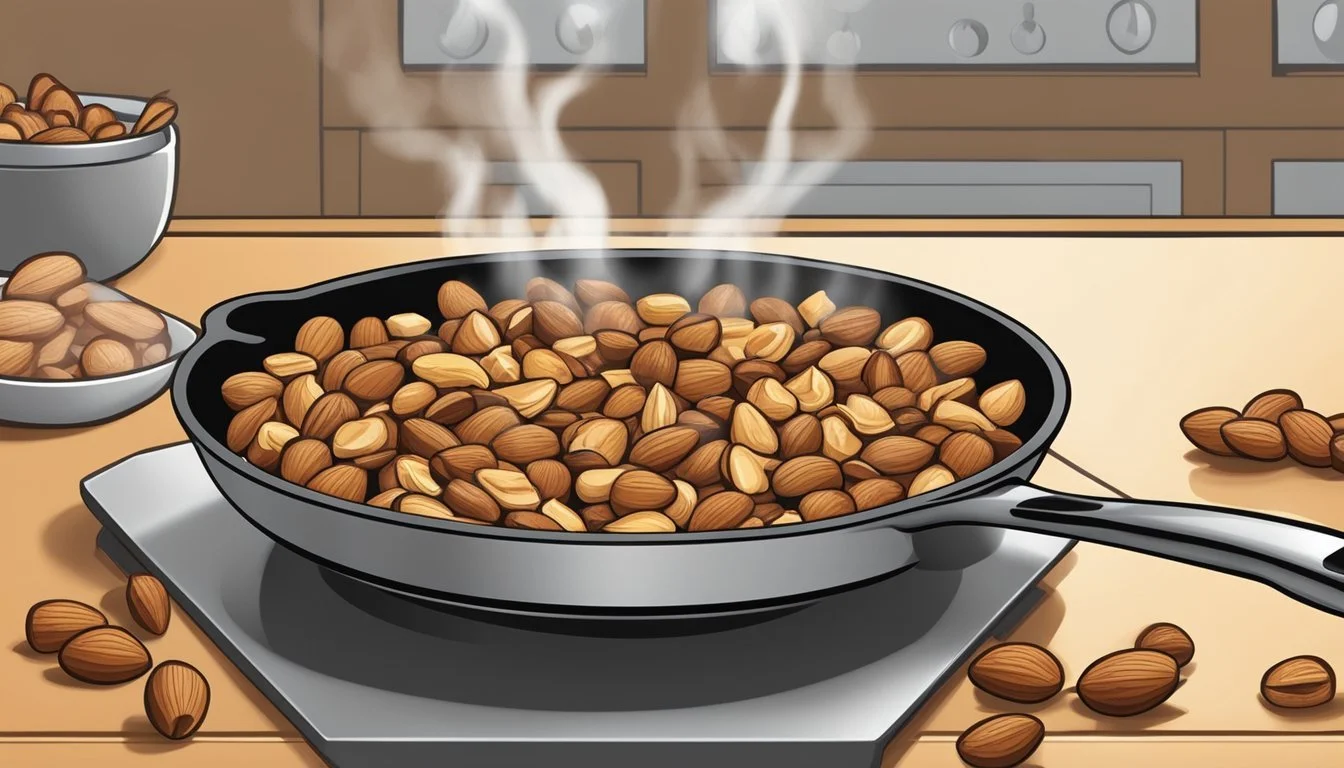
The Roasting Process
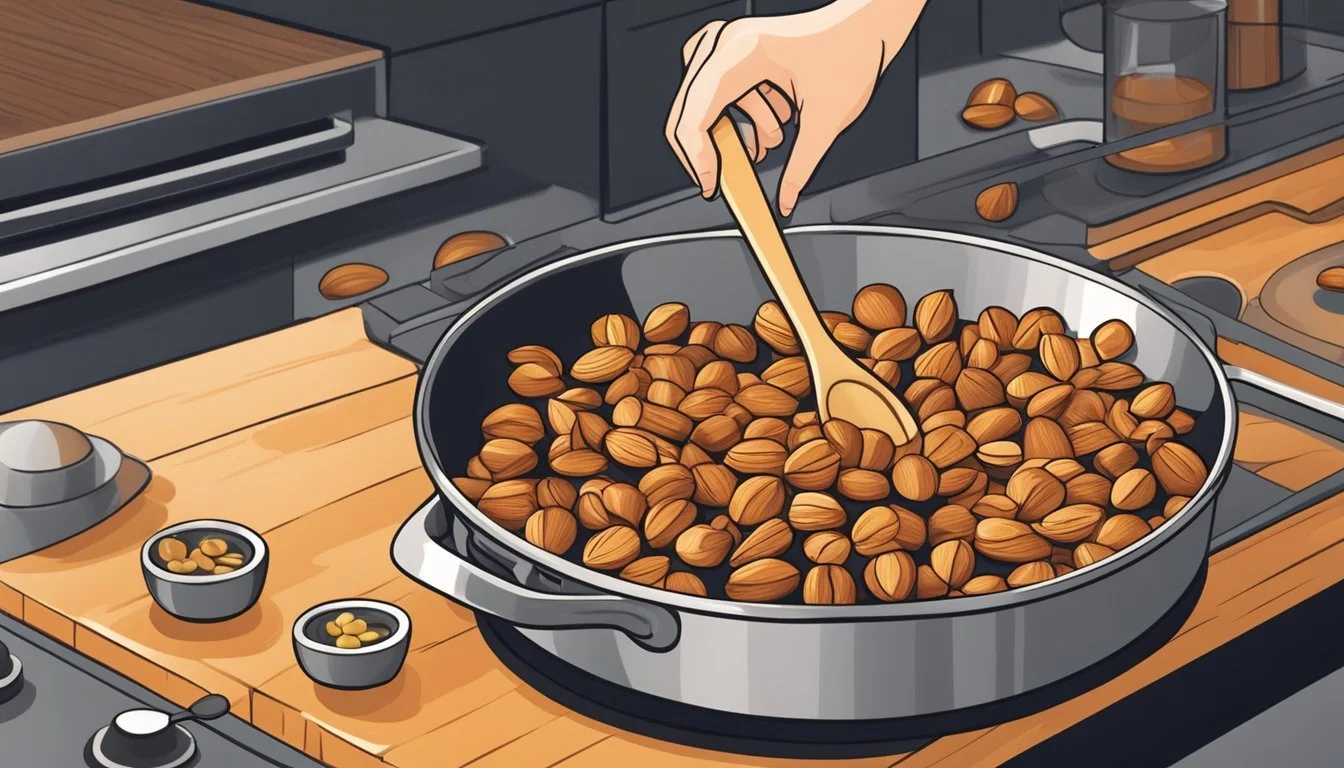
Toasting nuts on the stovetop is a method that brings out a richer, more complex flavor profile in nuts, giving them a delightful crunch. This process bypasses the need for an oven and offers a more tactile and attentive approach, making it a preferred choice for many connoisseurs of nutty snacks.
Steps to Toast Nuts on the Stovetop
Ingredients and Utensils:
A selection of nuts (almonds, pecans, walnuts, etc.)
A dry, heavy skillet
A spatula for stirring
A timer
Method:
Prepare the nuts: Ensure nuts are shelled and, if desired, skinned.
Heat the skillet: Place the skillet over medium heat. Wait until it is hot, but not smoking.
Add nuts to skillet: Once the skillet is adequately heated, spread the nuts in a single layer.
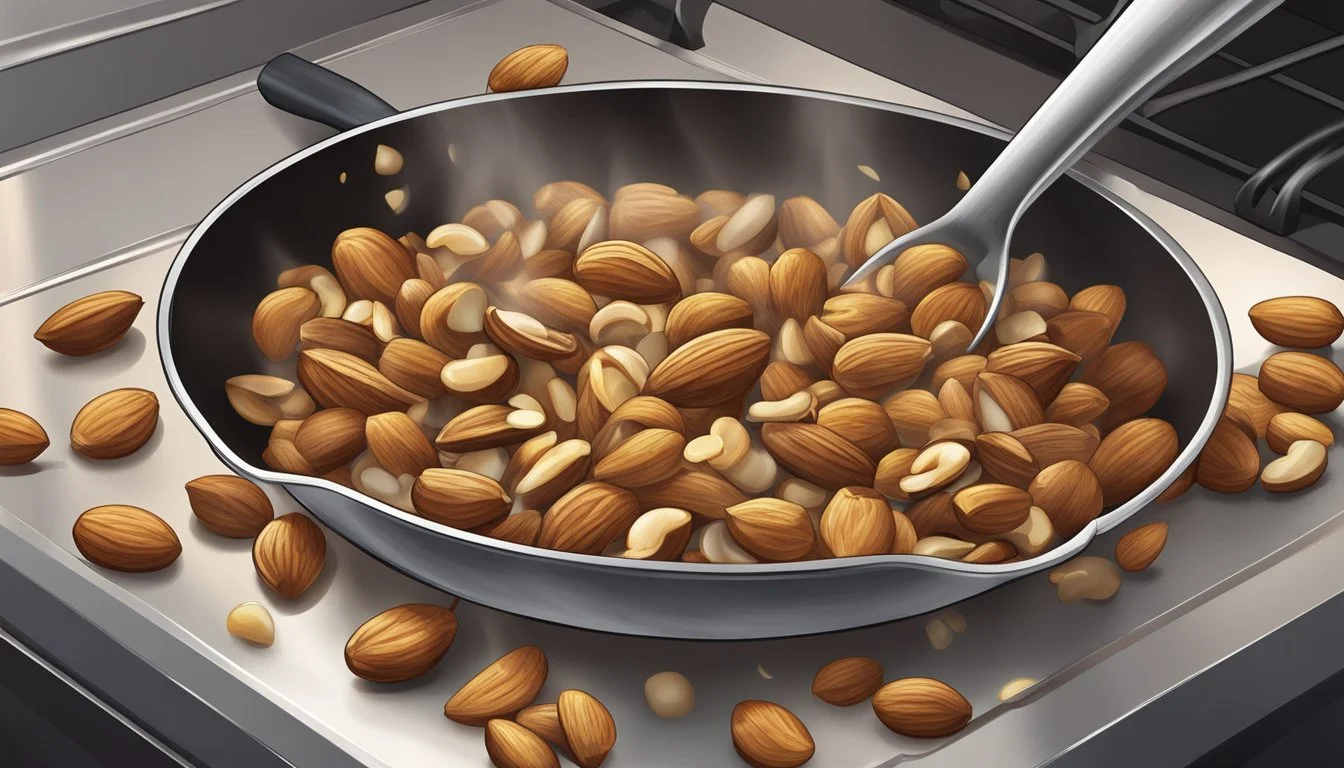
Stir regularly: Use the spatula to stir the nuts frequently, ensuring even exposure to heat.
Pro Tips:
Avoid oil or butter; dry roasting enhances the natural oils and flavors.
Maintain moderate heat to prevent scorching.
Keep a close eye on the color changes and aromatic cues.
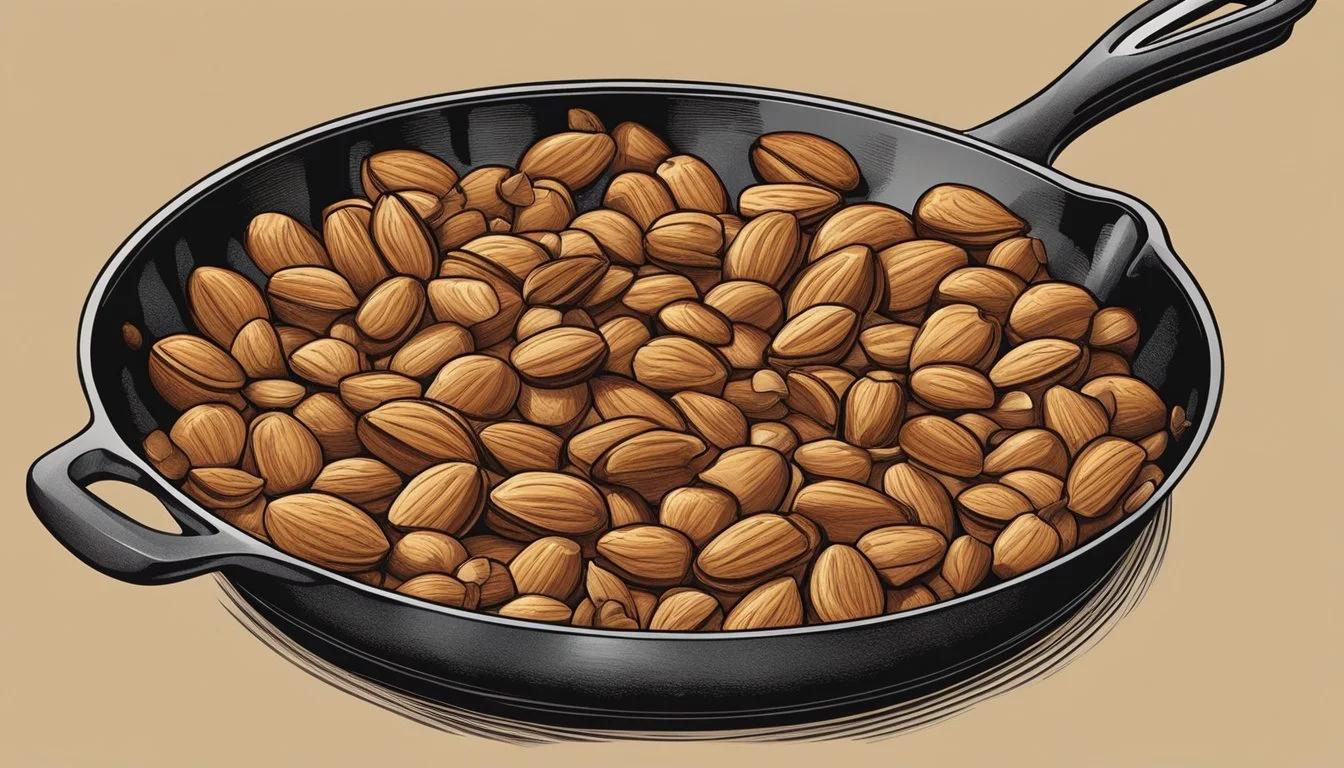
Identifying When Nuts Are Perfectly Roasted
To discern when nuts have reached optimal doneness, look for a golden-brown color and a fragrant smell. They become more fragrant as essential oils are released.
Doneness Checklist:
Visual Cues: Nuts should be golden-brown, not just on the edges but throughout.
Aroma: The release of a nutty, toasty fragrance indicates progress towards doneness.
Taste Test: Carefully remove one nut, let it cool, then taste to check if it's crunchy and flavorful.
Timing: Since nuts can roast quickly, especially smaller varieties like pine nuts, keep a timer handy and check for doneness regularly.
Cooking Times (Approximates):
Almonds: 5 minutes
Walnuts: 5 minutes
Pecans: 5 minutes
Pine Nuts: 3 minutes
After roasting, remove the nuts from heat immediately to prevent residual cooking, and let them cool before using them in your recipe or enjoying them as a snack.
Flavor Enhancements and Variations
Introducing oils, butters, and a variety of seasonings can transform stovetop roasted nuts into a gourmet snack with a rich depth of flavor.
Using Oils and Butters
Using high-quality oils or butters not only prevents nuts from sticking to the pan but also infuses them with a richer, more buttery or nutty flavor. A light coating of oil—such as olive oil for its fruity notes or coconut oil for a subtle sweetness—can impart an additional aromatic layer to the nuts. For a more indulgent twist, butter can be used to add a luxurious, creamy depth to the natural flavors.
Seasonings and Spices for Toasted Nuts
Experimenting with seasonings and spices can greatly enhance the natural earthy and nutty flavors of toasted nuts. Here are two tables categorizing common additions:
Sweet Seasonings:
Spice Flavor Note Cinnamon Warmth Nutmeg Sweetness Vanilla Rich Aroma
Savory Seasonings:
Spice Flavor Note Rosemary Piney Thyme Earthy Smoked Paprika Smoky Depth
One might also consider a mix of sugar and salt for a classic sweet and savory combo, or chili powder for nuts with a kick. It's essential that seasonings are added while the nuts are still warm so that they better adhere to the surfaces.
Common Mistakes and How to Avoid Them
Perfectly roasted nuts are a matter of precise heat management and timing. To achieve the ideal balance of crunch and flavor, one must avoid the pitfalls of burning and sogginess.
Preventing Nuts from Burning
Burning is the most common issue when roasting nuts on the stovetop due to the direct heat. To prevent this:
Use a medium flame and stay vigilant. Nuts can transition from perfectly toasted to burnt in a matter of seconds.
Stir frequently to ensure even heat distribution and to monitor the color and aroma of the nuts.
Avoiding Sogginess and Preserving Crunch
Sogginess compromises the desirable crunch of roasted nuts. To maintain a crispy texture:
Avoid overcrowding the pan, which can create steam and result in soggier nuts.
Roast in batches if necessary, to ensure each nut has enough space to release moisture and crisp up effectively.
Storing Roasted Nuts
After savoring the enhanced taste and aroma of stovetop roasted nuts, proper storage is crucial to maintain their crunch and nutritional integrity. The key to longevity is minimizing exposure to elements that hasten spoilage.
Best Practices for Keeping Nuts Fresh
One should store nuts in an airtight container to keep out moisture and other contaminants. This can significantly slow down the process that leads to nuts becoming rancid. Freezer-safe airtight containers are ideal for prolonging freshness, particularly if nuts will not be consumed promptly.
Select the Right Container:
A glass jar or a plastic container with a secure lid works well.
Ensure the container is clean and dry before filling it with nuts.
Capture Nutritional Quality:
Store nuts at cool temperatures to retain their nutritional info.
Room temperature is acceptable for short-term storage, but cooler environments are better for the long term.
Freezer Storage:
For extended storage, place the airtight container in the freezer.
Nuts can be kept in the freezer for several months without losing quality.
Avoid Contamination:
Ensure hands and utensils are clean when handling freshly toasted nuts to prevent the introduction of moisture or bacteria.
By following these storage guidelines, one can enjoy the delightful crunch and flavor of roasted nuts for a protracted duration.
Applications of Roasted Nuts
Roasted nuts are incredibly versatile in culinary applications, ranging from simple snacking to enhancement of complex dishes. The stovetop method allows even those without an oven to impart desirable texture and deep flavors to their nuts.
Snacking and Salads
Roasted nuts elevate the eating experience by adding a satisfying crunch and a depth of flavor to both snacks and salads. They can be enjoyed on their own or incorporated into salad recipes for an extra layer of texture.
Snacking: A handful of stovetop-roasted nuts is a fulfilling and healthy option for between meals.
Salads: Mixing in a variety of roasted nuts, such as almonds or walnuts, can transform a simple salad into a gourmet dish. Adding fruits like grapes provides a sweet contrast to the savory nuts.
For example:
Greek Salad: Roasted pine nuts combined with feta, olives, and fresh vegetables.
Spinach Salad: Roasted almonds tossed with baby spinach, crumbled goat cheese, and grapes.
Incorporating Into Baked Goods
Once cooled, stovetop-roasted nuts can be incorporated into a myriad of baked goods to provide a rich nutty flavor and a delightful textural contrast.
Cookies: Chopped roasted nuts add both flavor and texture to cookies, enriching the dough with their toasty notes.
Example recipe:
Chocolate Chip Cookies: Fold toasted walnuts into the batter for a classic taste.
Bread Machine Recipes: Adding roasted nuts into bread recipes can create interesting and flavorful loaves.
Example recipe:
Multigrain Nut Bread: Incorporate a mix of roasted nuts in the bread machine for a wholesome loaf with a nutty crunch.
Using stovetop-roasted nuts in these applications is simple and effective in amplifying the taste and texture of these common food items.
Alternative Roasting Techniques
For those seeking to unlock the rich flavors and textures of nuts without utilizing the stovetop, alternative methods such as using an air fryer, microwave, or traditional oven are viable solutions. These appliances can produce similarly delightful results by providing direct, even heat.
Using Air Fryer or Microwave
Air Fryer:
Preheat the air fryer to 320°F (160°C).
Place nuts in a single layer in the air fryer basket.
Roast for about 5 to 10 minutes, shaking the basket halfway through.
Microwave:
Spread the nuts in a single layer on a microwave-safe plate.
Microwave on HIGH for increments of 30-60 seconds, stirring in between, until aromatic and slightly browned.
Oven Roasting Nuts
Preheat the oven to 350°F (175°C), ensuring even and optimal heat distribution.
Arrange nuts on a rimmed baking sheet in a single layer for uniform cooking.
Bake for about 5 to 15 minutes, depending on the size and variety of the nuts; shake the pan or stir the nuts partway through to promote even browning.
Roasting nuts in an oven can enhance their flavor significantly. The key to oven roasting is watching the nuts carefully as oven temperatures can vary, and nuts can go from perfectly roasted to burnt quickly.
Nutritional Information of Nuts

Nuts are not only versatile and delicious but also offer a wealth of nutritional benefits. They are dense in energy, composed of natural oils, proteins, vitamins, and minerals, making them a potent addition to the diet.
Health Benefits and Caloric Content
Nuts are a rich source of monounsaturated and polyunsaturated fats, which are beneficial natural oils that can improve heart health. They also contain fiber, protein, and important vitamins and minerals such as vitamin E, magnesium, and selenium. The calorie content of nuts can be high, but their nutritional density means that even small portions can be satiating and nutritionally beneficial.
Typical Caloric Content and Nutrients per Ounce:
Almonds: 164 calories | 14g fat | 6g protein | 3.5g fiber
Walnuts: 185 calories | 18.5g fat | 4.3g protein | 1.9g fiber
Pecans: 196 calories | 20.4g fat | 2.6g protein | 2.7g fiber
The consumption of nuts is associated with a reduced risk of several chronic diseases including heart disease and type 2 diabetes. One must consider portion sizes, however, due to their high caloric content which can contribute to weight gain if consumed in excess.
Timing and Techniques for Small Batches
When roasting nuts in small batches on the stovetop, precision with timing is key. The cook must manage the heat carefully to prevent hot spots and ensure an even toast.
Roasting Small Quantities
Roasting small quantities of nuts involves constant attention to ensure they are evenly cooked without burning. The timing for stovetop roasting small batches is usually a matter of minutes, and the process is more hands-on compared to using an oven.
Preheat a dry skillet on medium heat.
Spread the nuts in a single, even layer to allow for uniform heat distribution.
Toasting typically takes about 3 to 5 minutes, depending on the type and size of the nuts. They should be stirred frequently—every 30 to 60 seconds—to avoid hot spots and burning.
Stir or shake the pan for even toasting and to frequently assess the level of browning.
Listen for a slight crackling sound, indicating that the nuts are being toasted from within.
Once the nuts have reached a golden brown color and emit a nutty aroma, they should be immediately removed from the skillet and transferred to a plate or a cool surface. Leaving them in the hot skillet can result in over-roasting due to residual heat.
It's essential to know that different nuts may have slightly different timing. For example, almonds and pecans can take a bit longer compared to pine nuts, which are much smaller and can toast very quickly.
Remember, small batch stovetop roasting offers greater control for achieving that flavorful crunch, but it requires one's full attention to the timing and technique.
Conclusion
Roasting nuts on the stovetop is a straightforward process that yields a delightful flavor and crunch that rivals oven roasting. This method is especially beneficial for those without an oven, seeking a toasty and aromatic snack with minimal resources. The key is a careful watch, ensuring the nuts achieve an even roast without burning.
Stovetop Advantages:
Control: Cooks can make immediate adjustments to the heat.
Time-saving: Generally, stovetop roasting is quicker than oven roasting.
No preheating: Immediate start without the need to preheat an oven.
Tips for Best Results:
Use a heavy skillet to ensure even heat distribution.
Stir regularly to promote uniform color and prevent scorching.
Taste a nut to assess doneness—look for a warm, toasty flavor and a satisfying crunch.
Transfer the nuts to a plate or container immediately after to stop the cooking process.
This technique is ideal for enhancing meals or enjoying as a standalone snack. Once mastered, the stovetop method is a reliable means to unlock the full potential of nuts’ flavor and texture, providing an exquisite, crunchy result every time.
