
The Stovetop Pot Roast
Mastering the Art of Oven-Free, Juicy Meat

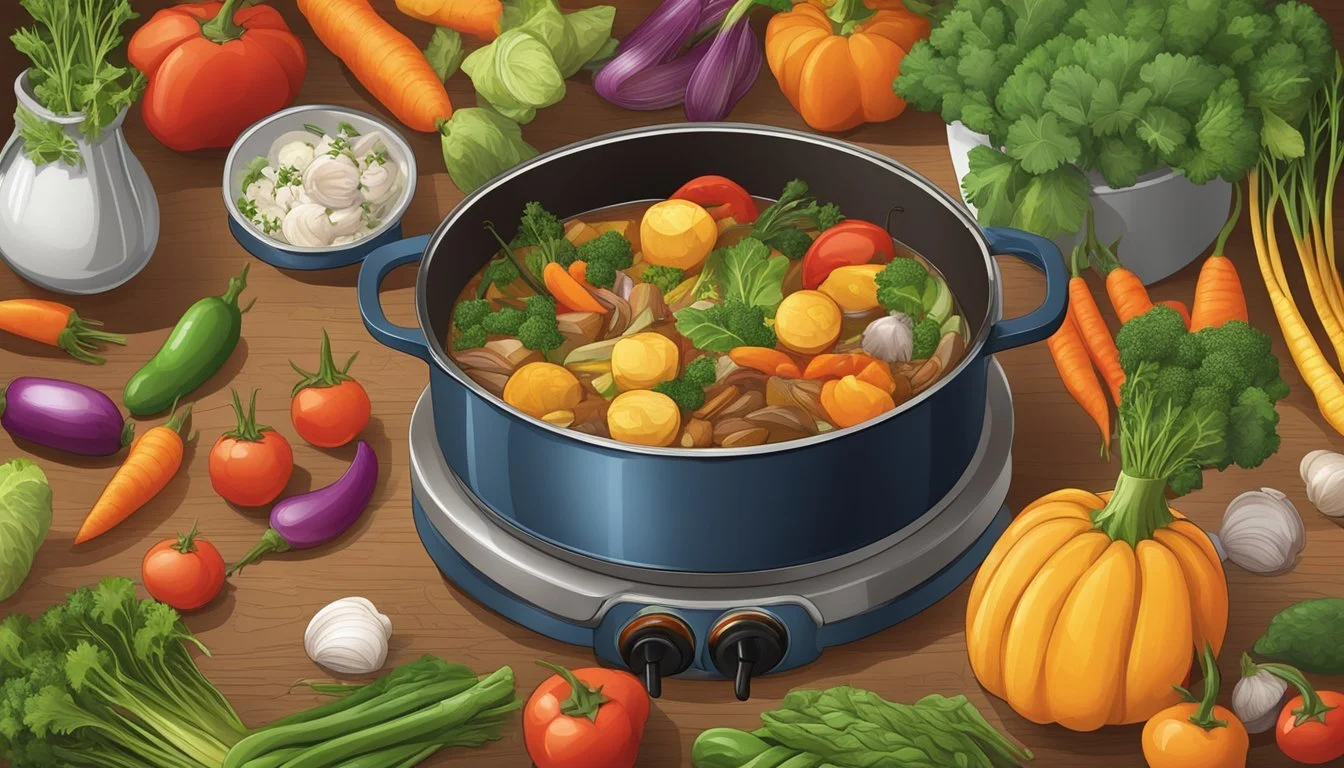
The stovetop pot roast stands as a testament to the beauty of slow-cooked comfort food, requiring no oven to achieve its delectably tender results. This classic dish, revered for its simplicity and heartiness, comes to life on the stovetop where low and slow heat transforms the toughest cuts of meat into a succulent focal point for any meal. The key to its flavor lies in the lengthy, gentle simmering process which not only tenderizes the beef but also melds the tastes of accompanying vegetables and herbs into a harmonious and flavorful entirety.
In kitchens where an oven may not be available or in situations where using one is not practical, the stovetop pot roast proves to be a versatile and reliable alternative. Cooks favor heavy pots such as Dutch ovens for this method, as they distribute heat evenly and retain heat well, essential factors in achieving the perfect pot roast. Despite the humble origins of the dish, the nuanced blend of natural meat juices, seasonings, and the intrinsic sweetness of slow-cooked vegetables yields a result that can only be described as deliciously comforting.
While the concept of the pot roast is traditional, the variations are boundless, inviting cooks to personalize this dish to their tastes. A simple bouquet of herbs or a robust homemade gravy can elevate the pot roast from a mere meal to an experience, making it a cherished recipe in household repertoires. Its enduring popularity not only testifies to its straightforward preparation and savory rewards but also to the stovetop pot roast's place as a culinary mainstay in home cooking.
Choosing the Right Cut of Beef

When selecting a cut of beef for a stovetop pot roast, it’s important to focus on tough, flavorful cuts that benefit from slow, moist cooking. These cuts will ensure a tender and juicy pot roast.
Chuck Roast: The Classic Choice
The chuck roast, originating from the shoulder area, is a top choice for its rich marbling and connective tissues that break down during the cooking process to yield a succulent and tender pot roast. When selecting a chuck roast, look for even marbling throughout the meat — this fat weaves into the muscle and enriches the flavor during cooking.
Alternative Cuts: Brisket and Beef Round
For those looking for other options, the brisket and beef round are excellent alternatives. Brisket, coming from the steer's chest, becomes incredibly tender and flavorful when cooked slowly. Just like the chuck, the key to a good brisket is in the marbling and the ample connective tissue that will soften over time.
The beef round, taken from the rear leg of the cow, is leaner compared to chuck and brisket, yet still suitable for pot roast. To compensate for its reduced fat content, careful cooking on the stove top is essential to maintain moisture and achieve the desired tenderness.
Essential Cooking Equipment
When preparing a stovetop pot roast, selecting the right cooking equipment is crucial to ensure even cooking and optimal flavor. Two key items are a Dutch oven and its possible substitutes.
Benefits of a Dutch Oven
A Dutch oven is ideally suited for making a stovetop pot roast due to its heavy construction and tight-fitting lid. These features allow for:
Even Heat Distribution: The thick walls and bottom of a Dutch oven distribute heat evenly, which prevents hot spots and ensures the meat cooks uniformly.
Heat Retention: A Dutch oven retains heat well. This means that once the pot is heated to the desired temperature, it maintains that heat level, resulting in a consistent cooking environment.
Versatility: Suitable for searing meat and simmering broth or vegetables, they are versatile and can be used for various cooking techniques.
Substitutes for a Dutch Oven
In cases where a Dutch oven is not available, one can use a large pot as a substitute, ensuring it has the following characteristics:
Heavy Bottom: A pot with a heavy base can mimic a Dutch oven’s ability to distribute and retain heat.
Lid Fit: It’s important that the lid fits snugly to trap in moisture and heat, both essential for making pot roast tender.
Size: The pot should be large enough to hold the roast and liquids, typically at least 6 quarts in size.
Remember to use a pot that can handle a variety of cooking methods, from searing meat at higher temperatures to simmering at low heat for extended periods.
Preparing the Vegetables

Proper preparation of vegetables is crucial for a flavorful pot roast. They not only contribute to the dish’s overall taste but also absorb the meat’s succulence, resulting in a harmonious blend of flavors.
Washing and Chopping
Before adding vegetables to the pot roast, they must be thoroughly cleaned to remove any dirt or debris. Running vegetables under cold water and gently scrubbing them with a brush ensures they are clean. Here's how to prepare the primary vegetables:
Carrots: Peel and cut into 2 to 3-inch pieces.
Potatoes: Scrub well and cut into large chunks. Peeling is optional based on personal preference.
Onion and Garlic: Peel the onion and chop into wedges. Mince the garlic finely to distribute its flavor thoroughly.
Celery: Rinse and slice into 1-inch pieces.
Vegetables should be uniform in size to ensure even cooking.
Seasoning for Added Flavor
Seasoning vegetables enhances the taste of the pot roast. Sprinkle salt, pepper, and any additional herbs or spices evenly over the chopped veggies to infuse them with flavor before they are added to the pot. Certain recipes might call for specific herbs such as rosemary or thyme, which should be measured and prepared accordingly:
Salt: A generous pinch per vegetable type.
Pepper: Freshly ground, to taste.
Herbs: 1 teaspoon dried or 1 tablespoon fresh, finely chopped.
Toss the vegetables in the seasoning for an even coat before layering them around the seared meat in the cooking vessel.
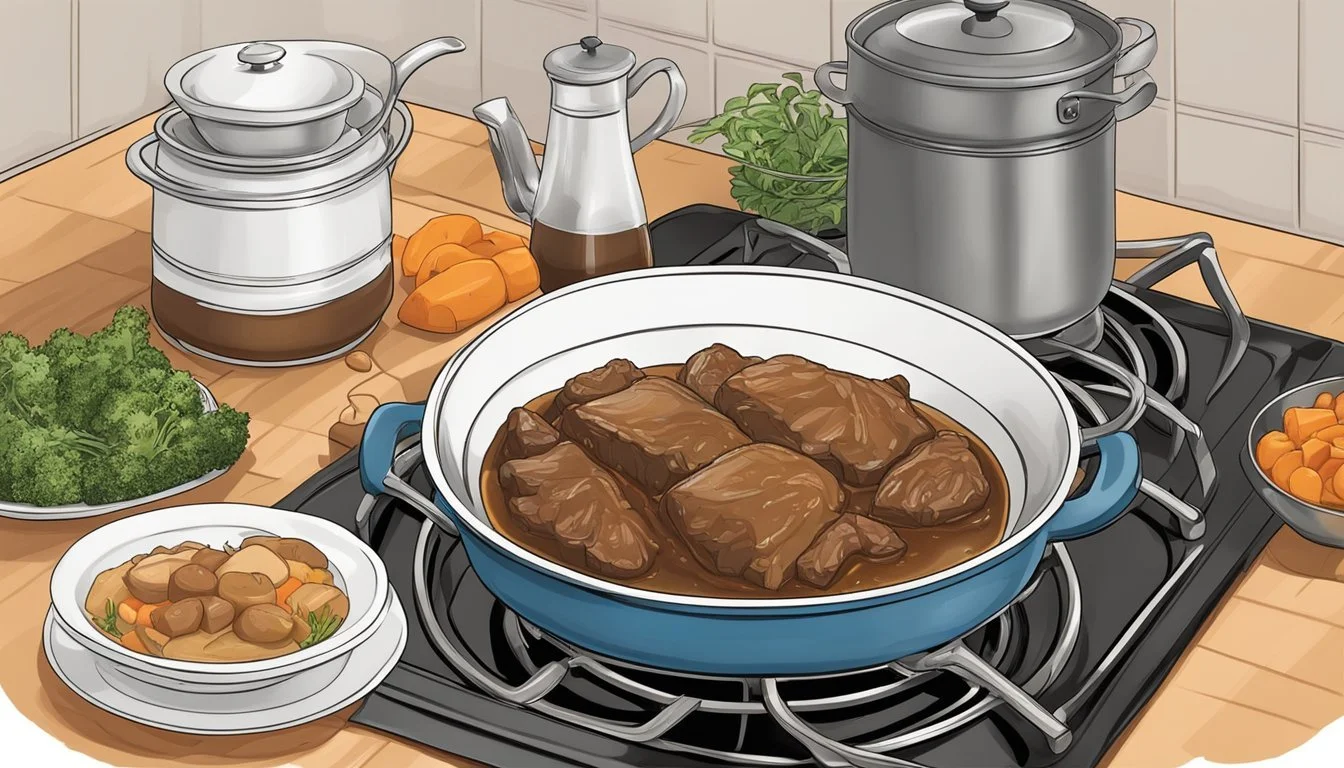
Searing the Meat
Before braising in liquids, searing the meat is a fundamental step in making a stovetop pot roast. This process contributes to a fork-tender chuck full of rich flavors.
Achieving a Brown Crust
To attain that desirable brown crust, one should heat a thin layer of oil in a heavy-bottomed saucepan or Dutch oven over medium to medium-high heat. Once the oil shimmers, indicating it is adequately heated, the chuck roast can be added to the pan. It is crucial for the meat to sizzle upon contact—this signifies the beginning of the searing process. The roast should be cooked undisturbed for a few minutes on each side until a deep brown crust forms. This crust is not only visually appealing but also key to locking in juices.
Oil Type: A high-smoke-point oil such as canola is ideal.
Heat Level: Medium to medium-high to start with.
Timing: Approximately 5-6 minutes per side for an even sear.
Flavor Benefits of Searing
Searing the meat before slow cooking enhances the pot roast with a complex, caramelized flavor. The Maillard reaction, which occurs during this process, is responsible for these rich flavors and aromas. After browning the meat and setting it aside, the fond, those browned bits left in the pan, is a treasure trove for flavor. Deglazing the pan with a liquid such as wine and then scraping the bits off with a spatula infuses the cooking liquid with these savory flavors, which the meat absorbs as it cooks to fork-tender perfection.
Maillard Reaction: This chemical reaction between amino acids and reducing sugars gives the browned meat its distinctive flavor.
Fond: The browned bits which should be deglazed for added flavor depth.
By searing the meat properly, one can assure a pot roast that is both beautifully browned and brimming with taste.
Creating the Broth

The foundation of a flavorful stovetop pot roast lies in crafting a rich and aromatic broth. It's essential to choose the right ingredients and combine them well to develop a base that will tenderize the meat and infuse it with robust flavors.
Utilizing Beef Broth
Beef broth serves as the primary liquid component in the pot roast broth. It not only adds moisture but also contributes a deep, meaty flavor that pairs perfectly with the roast. To ensure the broth maintains its intensity, one should consider using a high-quality beef stock or broth as the base; it's preferable to water which could dilute the flavors.
Quality of beef broth: Opt for a homemade or high-quality store-bought broth
Quantity: Ensure to add enough broth to submerge at least two-thirds of the pot roast
Enhancing with Red Wine
A splash of red wine works wonders, not just for deglazing the pan but also for introducing a layer of complexity to the broth. After browning the pot roast, one should pour in the red wine and use a spatula to scrape off the brown bits from the bottom of the pot, which are packed with flavor. As the wine boils, its acidity helps to tenderize the meat and adds a subtle fruitiness to the broth.
Deglazing: Important for incorporating the flavorful browned bits into the broth
Type of wine: A dry red wine such as Cabernet Sauvignon or Pinot Noir is preferred
Adding Herbs and Spices
Incorporating herbs and spices is key to achieving a well-rounded broth. Thyme and rosemary are classic herbs that complement beef exceptionally well. They should be added to the broth alongside freshly ground black pepper to build a bouquet of flavors.
Herbs: A few sprigs of thyme and rosemary
Spices: Ground black pepper to taste
By attending to the specificities of broth-making, the pot roast is guaranteed to reach its full potential in both tenderness and taste.
Mastering the Stovetop Cooking Technique
Mastering the stovetop cooking technique for pot roast involves precise heat control and a patient, low and slow approach to achieve optimal tenderness.
Controlling the Heat
For a successful stovetop pot roast, beginning with medium-high heat is crucial. One starts by searing the meat on all sides to develop a rich, brown crust. This high heat, usually set around medium-high, seals in flavors and adds a depth of taste. After searing, reducing the heat is a key step. It ensures that the roast does not burn or cook too quickly on the outside, leaving the interior underdone.
Searing Phase: Medium-high heat for browning (approximately 4-5 minutes per side).
Braising Phase: Reduce heat after browning and adding liquid.
Low and Slow: The Secret to Tenderness
The term "low and slow" refers to the cooking method where the pot roast simmers at a low temperature for several hours. This approach breaks down the connective tissues in tougher cuts of beef, rendering them tender and succulent. One should:
Start a simmer by adding enough broth or a combination of flavorful liquids to partly cover the roast.
Maintain a consistent, low heat setting that allows the roast to cook gradually and evenly.
After bringing the mixture to an initial boil post-searing, it is essential to reduce heat to low. The pot roast should just simmer beneath the surface of the liquid, not boil vigorously.
Simmering Time: 2 to 3 hours, or until the meat is tender.
Liquid Level: Check occasionally, adding more liquid if necessary to maintain the simmer and prevent drying out.
Pot Roast Cooking Instructions
Cooking a stovetop pot roast involves careful layering of ingredients, covering and monitoring the pot, and a crucial transition from boiling to simmering to achieve the ideal tenderness.
Layering Ingredients
They start with a well-trimmed piece of meat seasoned generously with salt and pepper. In a Dutch oven, heat a few tablespoons of oil to medium-high before adding the pot roast. It's important to sear the roast on all sides until a brown crust forms. This process locks in flavors and enhances the final taste. Once browned, they remove the pot roast temporarily and proceed to add the aromatic base of onions and garlic, softening them until fragrant.
Ingredients to Sear and Layer:
Pot roast, trimmed
Salt and black pepper
Aromatic vegetables (onions, garlic)
After the vegetables, they layer in additional ingredients like carrots, ensuring even distribution of flavors. If using liquids like wine, they pour it in, scraping up any brown bits from the pot roast searing, which adds depth to the dish's flavor profile.
Covering and Monitoring
No pot roast is complete without a snug cover to retain moisture. They return the seared pot roast to the Dutch oven, nestling it atop the vegetables. Next, they add beef broth or stock cautiously, so at least two-thirds of the roast is submerged, ensuring enough liquid for the cooking process but not so much that it boils the meat.
Key Monitoring Points:
Liquid level (at least 2/3 covered)
Tight-fitting lid
Heat adjustment
The cook keeps a watchful eye on the heat, as maintaining a consistent temperature is vital for a tender pot roast. The lid's secure fit is imperative to prevent steam escape, which could potentially dry out the roast.
The Boil to Simmer Transition
Once all ingredients are in place and covered, they initially bring the contents to a low boil. This step is brief and essential for transitioning the dish to a gentle simmer, a lower heat setting crucial for the meat to tenderize over several hours.
Boil to Simmer Procedure:
Bring to a slight boil
Immediately lower heat to maintain a simmer
Cook for hours until meat is tender
The cook continuously monitors the pot to ensure that it remains at a simmer and not a rolling boil which can toughen the meat. The transition's success from a boil to a simmer is what separates a tough pot roast from a tender, flavorful one.
Gravy and Sauce Preparation
A successful stovetop pot roast is accompanied by a rich, flavorful gravy that complements the meat. Preparing the gravy involves thickening the liquid, balancing the flavors, and incorporating optional additions for enhanced taste.
Thickening with Cornstarch
To achieve a velvety and thick consistency, cornstarch serves as an effective thickener for gravy. It is essential to mix cornstarch with cold water to create a slurry, which prevents clumping when added to the hot liquid. Typically, one would use about 1-2 tablespoons of cornstarch per cup of liquid, depending on the desired thickness.
Balancing Flavors
A harmonious gravy boasts a balance of rich, savory notes alongside hint of acidity for dimension. Tomato paste can deepen the umami profile of the gravy, while a small splash of vinegar or squeeze of lemon juice can counterbalance the heaviness of the meat's flavors. Adjust seasoning with salt and pepper, and remember to taste as you go.
Optional Additions
Gravy can be customized with various ingredients to suit individual preferences. For a hearty enhancement, consider:
Mushrooms, for an earthy undertone
Herbs such as rosemary or thyme for a fragrant touch
Red wine for complexity and depth
Onions or garlic for foundational flavor.directory
Serving Suggestions and Accompaniments

When one prepares a stovetop pot roast, they craft more than just the main course—the selection of sides can transform the meal into a feast. Choosing the right accompaniments enhances the flavors of the pot roast and provides a balanced plate.
Traditional Complements
Mashed Potatoes: A fluffy heap of mashed potatoes is a classic side, often favored for its ability to soak up the roast's savory juices.
Corn: Sweet, buttery corn, whether on the cob or as a creamy side dish, complements the richness of the pot roast.
Rice: Plain or seasoned, rice is a lighter option that serves as a base to capture the essence of the roast's gravy.
Creative Alternatives
Egg Noodles: Egg noodles offer a delightful twist—tossed with butter or parsley, they add a soft texture that pairs well with the tender meat.
Quinoa: For a healthier side, quinoa brings a nutty flavor and a complete protein, standing up to the robustness of the roast.
Root Vegetables: Others may opt for roasted carrots or parsnips, which caramelize beautifully, presenting a sweet counterpoint to the meat.
Presentation Tips
Plating: Serve slices of pot roast atop or alongside the chosen starch, with vegetables fanning out for color contrast.
Gravy Boat: Offer gravy in a separate boat, allowing diners to drizzle to their liking and preserving the distinct textures of each side dish.
Herb Garnish: Final touches like a sprinkle of fresh parsley or thyme leaves can elevate the visual appeal and add a fresh flavor note.
Storing and Reheating Leftovers

Proper storage and reheating of stovetop pot roast leftovers are essential to preserve flavor and tenderness. This section provides detailed strategies to keep those leftovers as succulent as when they were first cooked.
Refrigeration Tips
To maintain the quality of pot roast leftovers in the refrigerator, they should be stored in an airtight container. Adding some of the cooking juices can help keep the meat moist. Leftovers are best used within 3-4 days.
Storage Container: Airtight, shallow container
Added Moisture: A splash of cooking juices
Refrigeration Timeframe: Up to 3-4 days for best quality
Best Practices for Freezing
Freezing pot roast effectively extends its shelf life while protecting its flavor and texture.
Cool Before Freezing: Ensure leftovers reach room temperature to prevent condensation and ice crystal formation.
Freezer-safe Container: Use heavy-duty aluminum foil, freezer bags, or airtight containers.
Labeling: Mark with the date to ensure usage within the recommended timeframe.
Storage Duration: Freeze for up to 3 months for optimal taste and tenderness.
Reheating for Best Quality
Reheating leftovers correctly is crucial to retaining the pot roast's tenderness and flavor without drying it out.
Stovetop Method:
Gently warm the pot roast in a covered skillet over medium heat.
Add a splash of beef broth or water to keep it moist.
Heat until it's thoroughly warmed through, approximately 10-15 minutes.
Microwave:
If time is of the essence, quick reheating in the microwave should be done in 30-second intervals, with a splash of juices to prevent dryness.
Cover the dish with a microwave-safe lid or vented plastic wrap.
Nutritional Information

A typical serving of stovetop pot roast is both nutritious and satisfying. This section highlights the nutritional benefits and caloric content of a traditional 3-ounce serving.
The pot roast offers approximately 24 grams of protein per serving, essential for muscle repair and growth. The dish is a rich source of essential vitamins and minerals, boosting the meal's nutritional value. Iron for oxygen transport, zinc for immune function, and B vitamins for energy metabolism are among the key nutrients found in pot roast.
In terms of calories, a 3-ounce portion of lean cooked beef, which is akin to pot roast, has roughly 210 calories. However, it’s important to note that calorie count can vary depending on the cut of the meat and the cooking method.
It provides a decent amount of dietary fat, although the exact amount will depend on how lean the cut is. Moreover, the cooking process can reduce the fat content as some is typically rendered out and can be drained away.
To maintain a balanced meal, the pot roast is often accompanied by a variety of vegetables. Carrots and potatoes, common additions, not only enhance the dish's flavor profile but also contribute dietary fiber, vitamins, and antioxidants.
Keep in mind that portion size and additional ingredients used in preparation can affect the final nutritional content of the dish. When enjoyed in moderation, stovetop pot roast can be part of a balanced and nutritious diet.
Recipe Variations and Modifications

Stovetop pot roast offers room for customization not only in flavor but also in cooking techniques and dietary adaptations. These modifications allow for a range of possibilities to suit different preferences and needs.
Alternative Cooking Methods
While the traditional stovetop method is effective for pot roasts, one can easily transfer the process to an Instant Pot or a slow cooker.
Instant Pot:
Sear the meat using the sauté function.
Cook under high pressure for about 60 minutes for a 3-pound roast.
Slow Cooker:
Sear meat in a separate pan, then transfer to the slow cooker.
Cook on low for 8 hours or on high for about 4-5 hours until the meat is tender.
Spicing Up the Flavor
To enhance the pot roast, consider incorporating various herbs and spices to elevate the overall taste.
Classic Herbs: thyme, rosemary, and bay leaves are favorites.
Additional Spices: experiment with garlic powder, smoked paprika, or cumin for a different edge.
Adjustments for Dietary Needs
Adjusting the recipe allows those with dietary restrictions to enjoy a flavorsome pot roast too.
Gluten-Free: use cornstarch instead of flour for thickening the gravy.
Low-Fat: opt for a leaner cut of meat and use olive oil instead of more saturated fats like butter or canola oil.
Remember that each variation might require slight changes in cooking times and liquid ratios to ensure the same tenderness and flavor expected of a classic pot roast.
Expert Tips and Tricks
The key to a succulent stovetop pot roast lies in the mastery of technique and attention to detail. Here, expert tips are shared to elevate the classic dish, focusing on herb selection and meat resting.
Choosing Fresh Herbs Over Dried
Fresh herbs are preferred for stovetop pot roast due to their robust flavor and aromatic qualities. Experts recommend using fresh thyme, rosemary, or parsley to complement the dish. Fresh herbs not only perfume the meat but also infuse the broth with more nuanced flavors. They should be added towards the end of cooking to preserve their essence and potency.
Fresh vs. Dried Herbs: Use a ratio of three to one when substituting fresh for dried herbs.
The Importance of Resting the Meat
Allowing the pot roast to rest before slicing is crucial for two reasons: it locks in moisture and maximizes flavor. The rest period lets the juices redistribute, ensuring the meat is succulent and tender. Moreover, resting allows the connective tissue to properly settle, which results in a more tender bite.
Resting Time: Rest the pot roast for at least 15-20 minutes under a foil tent before carving.
Exploring the Origin of Stovetop Pot Roast
Stovetop pot roast is a classic dish that ties closely to the American tradition of Sunday dinners and epitomizes the old-fashioned approach to hearty cooking.
Historical Background
The stovetop pot roast has its roots in the practical and resourceful American home cooking of the past. In the days before widespread availability of ovens, cooks made do with what they had — a stove and a pot. Pot roasting became a method of choice, where tough cuts of meat that were more affordable could be transformed into tender meals using slow, moist cooking techniques. Initially, the dish was more about necessity and economy, allowing for cheaper cuts of meat to be utilized fully.
Cultural Significance
Over time, pot roast evolved into a staple dish particularly revered for Sunday dinners, signifying a time for families to gather and enjoy a leisurely and comforting meal together. The preparation aligned with the values of togetherness and thriftiness. These communal meals often featured a stovetop pot roast because it could feed multiple people and didn't require the luxury of an oven, an appliance that wasn't always accessible to every American household, especially during the early and mid-20th century.
Final Notes and Common Questions

Preparing a stovetop pot roast requires attention to detail and understanding the nuances of cooking time and doneness can influence the final dish.
Cooking Time Adjustments
When cooking stovetop pot roast, one must consider that cooking times can vary based on the size and cut of the meat. A general guideline for a medium-sized chuck roast is approximately 2 to 2½ hours of cooking on low heat to become fork-tender. However, adjustments may be necessary if the cut is larger or smaller than average. Searing the meat prior to slow cooking contributes to a depth of flavor and helps lock in juices, necessitating high heat initially, then a lower heat for the remainder of the cooking process.
High Heat: Initial sear for browning the meat (~5-6 minutes per side)
Low Heat: Long, slow cook for tenderness (2 to 2½ hours)
Understanding Doneness
Determining when a pot roast is done involves checking that it is fork-tender—the benchmark of perfectly cooked meat in this dish. To test for doneness, insert a fork into the thickest part of the roast; it should slide in and out with ease. Overcooking can lead to dryness, so be vigilant as the cooking time approaches the end. A well-done pot roast is moist, easily shreddable, and rich in flavor. If the roast yields too easily and appears to be falling apart, it may be overdone.
Fork-Tender Indicator: Fork slides in easily
Overdone Warning: Meat falls apart with minimal pressure
