
The Stovetop Pudding Revolution
Mastering Creamy Desserts with Ease
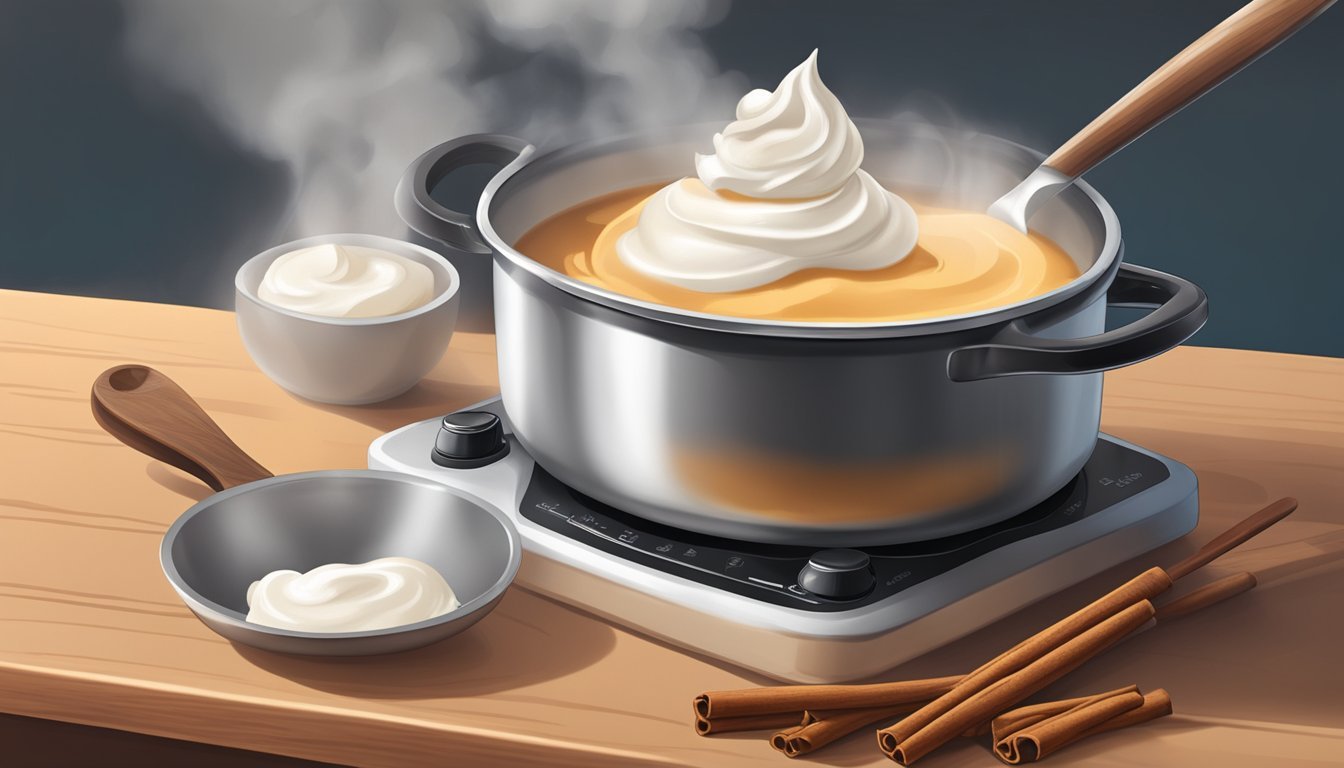
Stovetop puddings offer a traditional and comforting way to prepare creamy desserts, (What wine goes well with creamy desserts?) providing a homier alternative to more complicated double boiler methods. They rely on gentle and direct heat from a stove, eliminating the need for specialized equipment. These desserts are characterized by their smooth and velvety texture, making them a favorite for both everyday treats and special occasions. Crafting pudding on a stovetop opens up a realm of possibilities for flavor experimentation and allows for a watchful eye to ensure the perfect consistency.
The process begins by combining ingredients gradually and requires constant stirring to prevent curdling or scorching. The key is to maintain a steady temperature, usually just under a boil, which helps thicken the pudding to the desired consistency. A heavy bottomed saucepan and a silicone spatula are essential tools for the task, ensuring that the custard cooks evenly and doesn't stick to the pan. Homemade stovetop puddings, whether chocolate, vanilla, or a more daring flavor, embody the essence of comfort food with their rich and luscious taste.
Mastering the stovetop method not only simplifies the process but also instills a sense of accomplishment. Home cooks appreciate the control they have over the ingredients, often resulting in a more personalized and satisfying dessert. By paying close attention to technique and temperature control, delicious stovetop puddings can be achieved by anyone looking to indulge in a homemade, creamy dessert without the fuss of a double boiler.
The Basics of Stovetop Pudding

Creating stovetop pudding involves a delicate balance of heat and constant stirring to achieve a rich, creamy dessert. Precision with ingredients and careful temperature control are crucial for success.
Overview of Ingredients
The fundamental ingredients for stovetop pudding are:
Milk: Whole milk or a combination of milk and cream is preferred for its richness.
Sugar: Regular granulated sugar adds sweetness and helps with the pudding's texture.
Egg Yolks: Egg yolks thicken the pudding and contribute to its creamy consistency.
Cornstarch: It acts as a thickener, ensuring the pudding's proper consistency.
Salt: A pinch of salt is essential to balance the flavors.
Butter: A small amount of butter adds richness and a velvety texture.
Vanilla: Vanilla extract is commonly used for its warm, aromatic flavor.
These ingredients are combined on medium heat, allowing flavors to meld without curdling the eggs.
Essential Kitchen Tools
Key kitchen tools required for making stovetop pudding include:
Heavy Bottomed Saucepan: Distributes heat evenly to prevent burning.
Whisk/Silicon Spatula: Ensures thorough mixing and smooth consistency.
Mixing Bowls: Used for separating egg yolks and tempering them with the hot milk mixture.
Fine Mesh Sieve: Optional, for straining the final mixture to remove any lumps.
Using these tools, one can continuously stir the pudding, incorporating the corners of the saucepan to prevent sticking and uneven cooking.
Step-by-Step Pudding Preparation
Creating a creamy stovetop pudding involves a careful balance of heat and continuous stirring to achieve a perfect custard consistency. The process is straightforward but requires patience and attention to detail.
Mixing the Ingredients
To begin, one combines the primary ingredients in a heavy-bottomed saucepan. This often includes milk (or a mixture of milk and heavy cream), sugar, and depending on the recipe, rice or egg yolks for texture. Consistent stirring is crucial from the very start to prevent any of the ingredients from sticking to the bottom of the pan and to ensure even heat distribution.
Key Steps:
Combine liquid ingredients and sugar in the saucepan.
Stir continuously using a silicone spatula or wooden spoon.
Cooking on the Stove
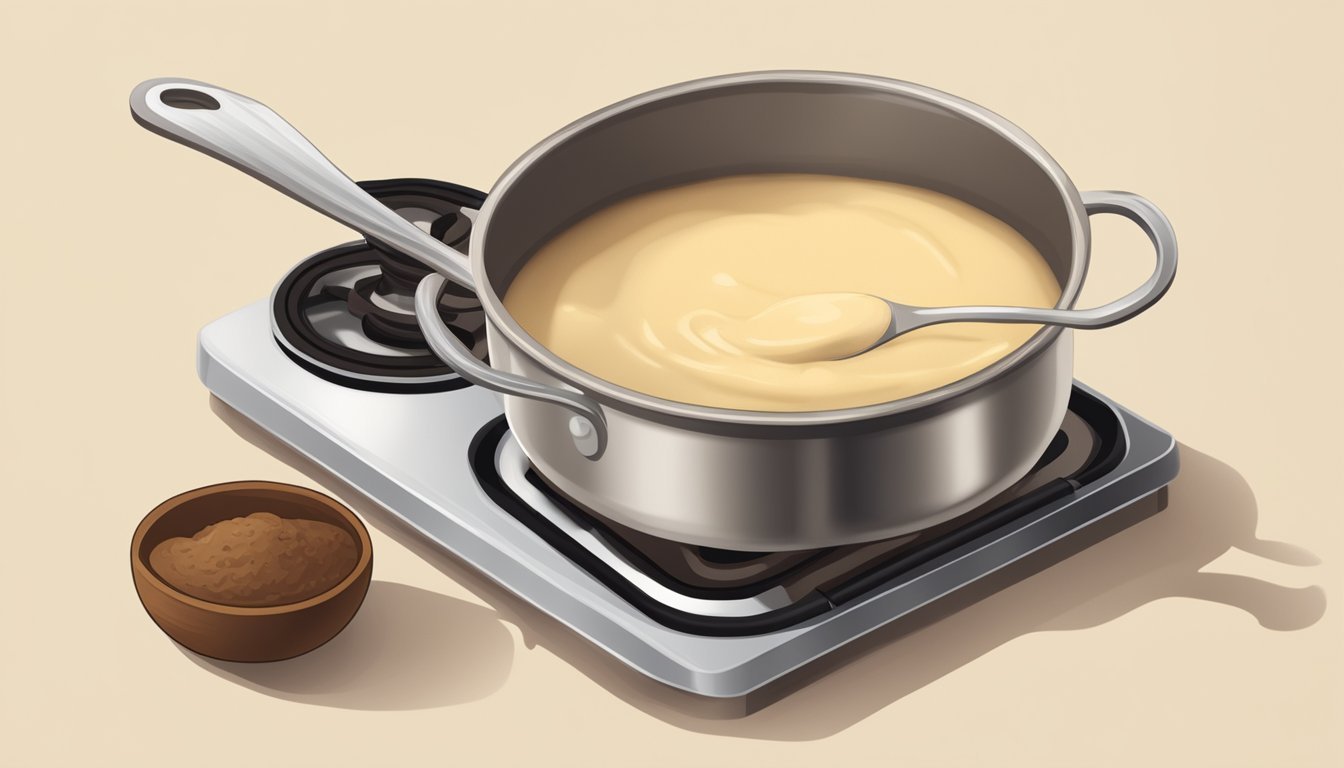
After thoroughly mixing the ingredients, place the saucepan on the stove over medium heat. Continue to stir the mixture constantly. As it heats, one will notice the formation of tiny bubbles on the edge of the mixture, indicating it is near boiling. The importance of stirring throughout cannot be overstated; it not only prevents scorching but also promotes even cooking leading to a thick and creamy custard.
Key Stages of Heat:
Medium Heat: Apply medium heat to bring the mixture close to a boil.
Monitor Temperature: Heat until it is just below boiling — typically around 208ºF (98ºC) for recipes that include egg yolks.
Simmer: Upon observing bubbles or reaching the desired temperature, reduce the heat as necessary to maintain a gentle simmer.
Maintaining the mixture just below boiling is essential, particularly for custard-based puddings, as overheating can cause the eggs to curdle, resulting in a lumpy texture. With attentive stirring and heat control, the mixture will gradually thicken to form a luxuriously creamy pudding.
Flavoring Your Pudding
Flavoring is a critical step in elevating the humble stovetop pudding from a basic dessert to a gourmet treat. Chosen flavors should meld well with the creamy consistency of the pudding while enhancing its taste profile.
Classic Vanilla Pudding
For a Classic Vanilla Pudding, quality ingredients count. The use of pure vanilla extract is preferable, as it imparts a rich and authentic vanilla flavor that is superior to imitation extracts. To infuse the custard with vanilla's subtle yet distinct notes, one should add the extract after the pudding has been removed from heat to prevent flavor loss.
Ingredients:
Vanilla extract: 1-2 tsp (to taste)
Chocolate and Butterscotch Variations
For a decadent Chocolate Pudding, the incorporation of cocoa powder, along with chocolate chips or finely chopped dark chocolate, is recommended. This not only intensifies the chocolate essence but also adds a desirable texture to the dessert.
In contrast, a Butterscotch Pudding relies on deeply caramelized sugar and the smooth flavor of browned butter to achieve its signature taste.
Chocolate Pudding:
Cocoa powder: 2-4 tbsp (sifted)
Chocolate chips or finely chopped chocolate: ½ cup
Butterscotch Pudding:
Dark brown sugar: replace the amount of white sugar in the base recipe
Butter: 2 tbsp (browned)
Exploring Fruit Flavors
For those yearning for a brighter, fruitier note, puddings can easily be infused with a variety of fruit flavors. Raspberry or banana puddings are especially popular, where fresh raspberries or bananas can be pureed and mixed into the custard. For a chunkier texture, one might even fold fresh fruit chunks into the pudding once it's cooled slightly.
Raspberry Pudding:
Fresh raspberries: 1 cup (pureed and strained to remove seeds)
Banana Pudding:
Bananas: 2 medium (mashed or pureed)
For a chunkier texture, slice additional bananas to fold into the pudding after it's cooled.
Serving and Presentation

When it comes to stovetop puddings, thoughtful serving and presentation can transform the simple dessert into an elegant final course. Proper serving ware and presentation techniques ensure that the texture and flavor of the pudding are experienced at their best.
Traditional Methods
Ramekins: They are a classic choice for serving custard pudding, providing individual portions that are perfectly sized. The ramekin's heat-resistant nature also allows puddings to be served warm.
Parfait Glasses: For layered desserts like parfaits, these glasses offer a clear view of the distinct layers. This is ideal when showcasing various textures and colors within the dessert.
Creative Serving Ideas
Ice Cream Pairing: A scoop of ice cream with rice pudding can create a delightful contrast of temperatures and textures. For example, one might serve a warm stovetop rice pudding with a scoop of vanilla ice cream to blend the rich, creamy textures with cold refreshment.
Caramel Sauce Drizzle: An artistic drizzle of caramel sauce not only adds a sophisticated touch but also infuses the dessert with a smooth, sweet flavor that complements the creamy pudding.
Special Diet Adaptations

Adapting stovetop pudding recipes for special diets is a straightforward process that allows everyone to enjoy these creamy desserts. The right substitutions can cater to dairy-free, vegan, and gluten-free preferences without compromising on taste and texture.
Dairy-Free and Vegan Options
For those avoiding dairy or following a vegan diet, traditional dairy ingredients found in stovetop puddings can be replaced with plant-based alternatives. Coconut milk and almond milk are excellent choices for creating a creamy consistency. Coconut cream can transform a simple pudding into a luscious coconut cream pie filling, adding a tropical twist to the dessert.
To make dairy-free or vegan stovetop pudding:
Substitute dairy milk with an equal amount of full-fat coconut milk, almond milk, or soy milk.
Use dairy-free chocolate or carob chips for chocolate puddings.
Opt for vegan-friendly sweeteners like maple syrup or agave nectar.
Gluten-Free Preferences
Gluten-free adaptations focus on avoiding ingredients like wheat-based thickeners, which are commonly used in traditional pudding recipes. Cornstarch and rice are naturally gluten-free and can be used to establish the desired thickness in gluten-free puddings.
For a gluten-free stovetop pudding:
Ensure thickeners like cornstarch or arrowroot powder are certified gluten-free.
Use gluten-free vanilla extract to avoid potential cross-contamination from flavorings.
Verify that any add-ins, such as chocolate or vanilla wafers, are labeled gluten-free if incorporating them into the pudding.
Advanced Techniques and Tips

In the pursuit of stovetop pudding perfection, one must not only master the classic double boiler method but also achieve a flawless custard consistency. The keys to success involve a precise temperature control and a thorough understanding of the ingredients' roles.
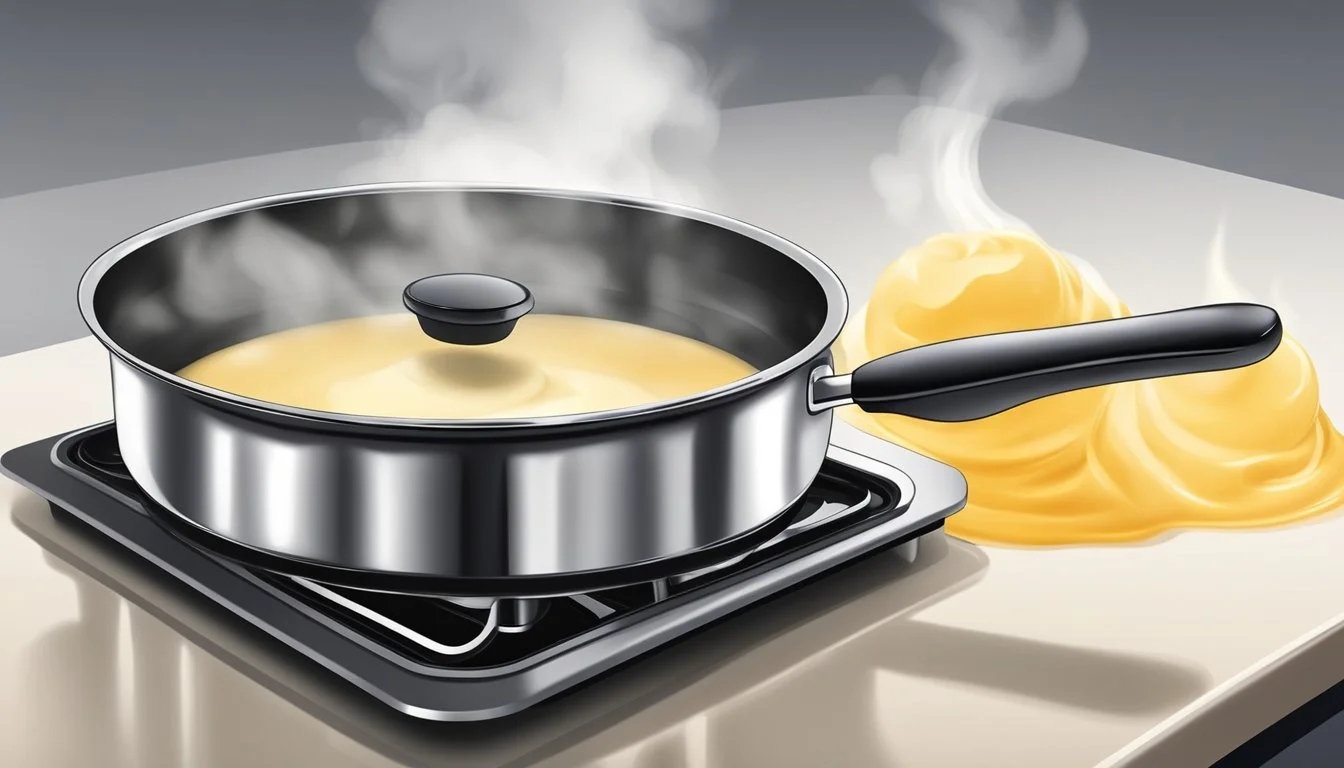
Mastering the Double Boiler Method
The double boiler is a go-to for gentle heat application, critical in the preparation of delicate custard-based desserts. A double boiler consists of two pots: water simmers in the lower one, while the upper bowl holds the ingredients away from direct heat. This setup prevents the custard from overheating and curdling. For best results, the water should be kept at a light simmer, and a candy thermometer can ensure temperatures remain optimal.
Double Boiler Setup:
Top Bowl: Contains mixture
Bottom Pot: Holds simmering water (not boiling)
Candy Thermometer: Monitors heat precisely
Key Points for Double Boiler Usage:
Maintain a consistent water simmer.
Avoid the bottom of the top bowl touching the water.
Stir mixture regularly for even heat distribution.
Achieving the Perfect Consistency
The consistency of a stovetop pudding hinges on the careful incorporation of cornstarch and vigilant cooking. Cornstarch acts as a thickener, binding the ingredients to create a smooth and creamy texture. It's essential to whisk cornstarch with a small amount of cold milk first to create a slurry. This process prevents lumps from forming when added to the hot mixture.
When heating the custard, stirring is paramount. Use a silicon spatula to sweep all corners of the pot and maintain a temperature below boiling, ideally between 170–175º F, to avoid curdling. The custard should be thick enough to coat the back of a spoon without dripping off easily.
Consistency Checklist:
Cornstarch: Creates slurry for lump prevention
Stirring: Ensures even thickness and prevents sticking
Candy Thermometer: Ensures ideal temperature is kept
Pudding in Baking and Desserts
Pudding serves as both a standalone dessert and a versatile ingredient, providing creamy texture and rich flavor to an array of baked goods and layered confections. It's a key element in many dessert recipes, from traditional to innovative.
Incorporation into Baked Goods
The rich, custard-like texture of pudding is often used to enhance the moistness of baked desserts. Cheesecake enthusiasts sometimes incorporate pudding into their recipes to imbue the final product with additional creaminess. A cheesecake that includes pudding in its filling is distinguished by its decadent, smooth consistency that complements the characteristic tang of cream cheese. Bavarian desserts, known for their light, foamy texture, can also include layers or elements of pudding, lending both taste and stability to the structure.
Layered Desserts and Parfaits
Layered desserts such as banana pudding artfully use pudding as a fundamental component. Typically, banana pudding involves alternating layers of rich vanilla pudding, ripe banana slices, and crispy wafers, which soften under the pudding to create a delightful textural contrast. Parfaits often feature pudding as a key ingredient, with clear glasses showcasing the stratification of pudding, fruits, cream, or cake crumbs. This not only offers a visually appealing dessert but also delivers a complex combination of flavors and textures with each spoonful.
Pudding's ability to maintain structure while imparting a creamy mouthfeel makes it an indispensable ally in the dessert world. It brings both subtlety and depth to the desserts it graces, confirming its enduring place in the baker's repertoire.
Homemade Versus Store-Bought
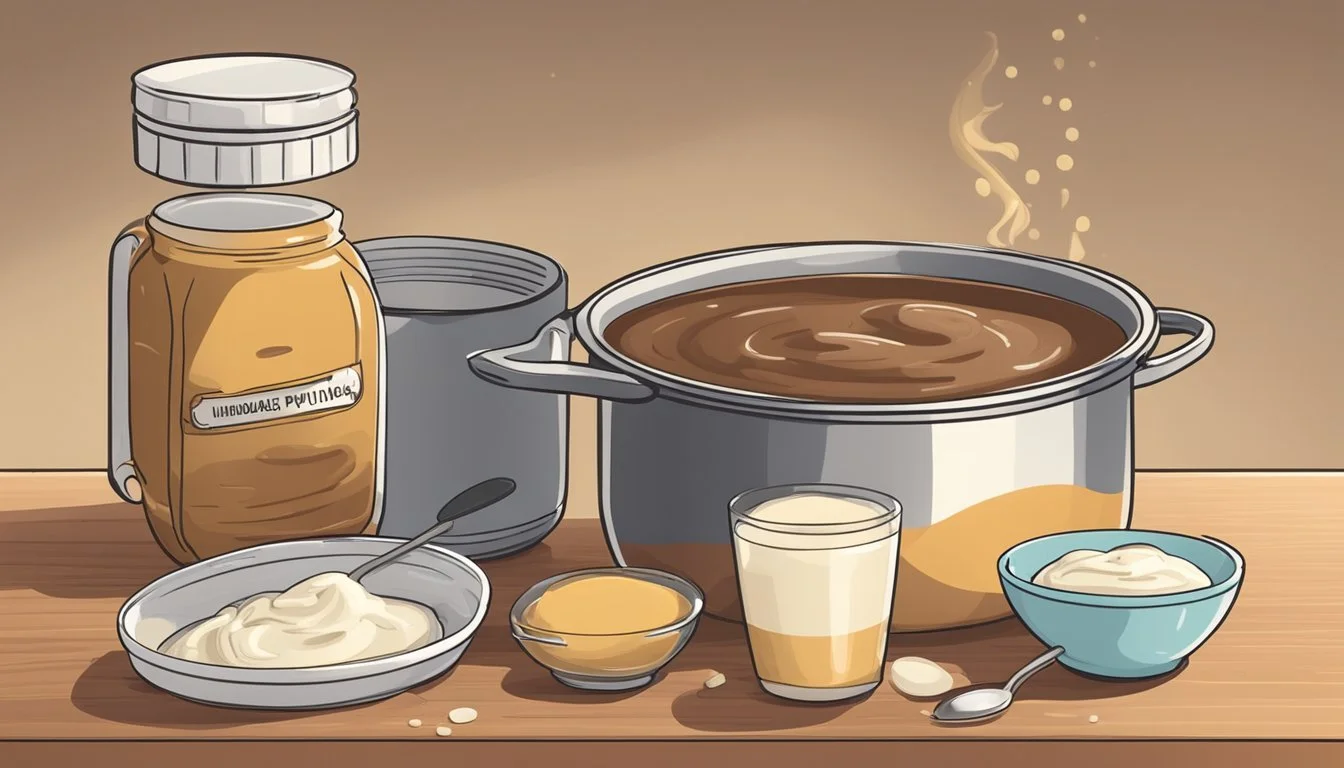
When a person opts for homemade stovetop pudding over a store-bought boxed mix, they are often seeking superior quality and taste, as well as a better understanding of the nutritional content. These key factors greatly influence a customer’s decision in the kitchen.
Comparing Quality and Taste
Homemade puddings typically surpass boxed mixes in both quality and taste. They are known for a creamier texture and a richer, more pronounced flavor profile. A homemade batch allows for control over ingredient quality, such as using fresh milk and real vanilla, as opposed to the artificial flavors and preservatives often found in a boxed mix. Customer ratings frequently reflect a preference for the taste of homemade pudding.
Quality: Homemade uses fresh ingredients; boxed mix may contain preservatives.
Taste: Homemade allows for a customizable flavor; boxed mix is consistent but artificial.
Understanding Nutrition and Health
Nutrition facts are more transparent when a pudding is made at home. A cook can adjust the sugar content, opt for low-fat milk, or substitute with alternative sweeteners to suit dietary needs. In contrast, store-bought puddings may contain added synthetic additives and are limited in their ability to cater to health-conscious individuals. Homemade puddings are devoid of boxed mix's unknown additives, giving them an edge in nutrition and healthfulness.
Nutrition Facts: Homemade pudding ingredients can be modified for health; store-bought offers fixed nutritional value.
Additives: Homemade pudding does not require additives for shelf stability, unlike store-bought.
Preserving and Storing Pudding

When it comes to preserving and storing stovetop pudding, maintaining its creamy texture and flavor is paramount. Below are the steps and tips for ensuring that your homemade pudding stays delicious during storage.
Refrigeration Once the pudding has been cooked, it should be covered with plastic wrap, with the wrap directly touching the surface of the pudding. This technique prevents a skin from forming on the top. The pudding then needs to be refrigerated for at least two hours before serving, but it can be stored in the refrigerator for up to 5 days.
Storage Containers Puddings should be stored in an airtight container to keep out moisture and other contaminants. Silicon or plastic containers with tight-fitting lids work well.
Shelf Life Indicators
Freshness: Pudding should be consumed within the recommended time frame of five days.
Taste: Prolonged storage can alter the taste of pudding; one should be mindful of any off-flavors.
Temperature
The refrigerator should be set at or below 40°F (4°C) to safely store pudding and inhibit bacterial growth.
Freezing Pudding can be frozen for up to 3 months. Before freezing, divide the pudding into portion sizes, and store it in freezer-safe bags or containers. To thaw, transfer the pudding to the refrigerator for several hours or overnight.
Preventing Freezer Burn
Wrapping: Wrap pudding containers tightly with a heavy-duty aluminum foil.
By carefully observing these storage guidelines, the texture and flavors of the stovetop pudding can be preserved effectively for future enjoyment.
FAQs and Troubleshooting
When preparing stovetop puddings, cooks often have questions regarding the process and may encounter occasional difficulties. This section aims to address those concerns with clarity and provide effective solutions to common issues.
Common Questions
Q: Can I use different types of salt when making pudding?
A: Yes, one can use kosher salt, table salt, or fine sea salt. Keep in mind that kosher salt has larger flakes, so you might need more of it by volume compared to table salt or fine sea salt, which are more compact and salty.
Q: Is it necessary to use a double boiler for stovetop pudding?
A: No, a double boiler is not necessary. Puddings can be made successfully on a stovetop using a heavy-bottomed saucepan to distribute the heat evenly and prevent scorching.
Issues and Solutions
Issue: The pudding isn't thickening.
Solution: Ensure the mixture reaches just under a simmer and maintain that temperature for a minute or longer. It's important not to boil the mixture but to heat it sufficiently for the cornstarch to activate and thicken the pudding.
Issue: The pudding has lumps.
Solution: Prevent lumps by whisking the mixture continuously and scraping the bottom and sides of the pan. If lumps form, strain the pudding through a fine-mesh sieve before chilling.
Issue: The pudding is scorched on the bottom.
Solution: Use moderate heat and stir constantly with a silicone spatula that can reach into all corners of the pan. If the heat is too high, the base can burn before the rest of the pudding cooks, therefore monitoring and adjusting the heat is crucial.
Remember, patience and attention to detail are key to perfecting stovetop pudding. By following these tips and solutions, creating a creamy dessert without a double boiler is both achievable and rewarding.
