
Pantry-Friendly Homemade Granola Bar Recipes
Quick and Healthy Snacks
Granola bars have become a staple for quick snacks, offering both convenience and a hit of nutrition in a compact package. They're the ideal solution for busy mornings, mid-afternoon slumps, or as an on-the-go treat that doesn't require refrigeration or special care. However, store-bought options can sometimes be laden with added sugars and preservatives that diminish their health benefits. Luckily, making granola bars at home is a straightforward process that allows for customization and ensures that the bars are filled with whole, pantry-friendly ingredients.
Crafting homemade granola bars is also a flexible endeavor that can easily adapt to dietary preferences and restrictions. Whether someone is looking to incorporate specific grains like oats, avoid nuts due to allergies, or simply wants to control the amount of sweetness, homemade recipes can be adjusted accordingly. They offer the perfect canvas to mix in a variety of seeds, dried fruits (What wine goes well with dried fruits?), and even a hint of chocolate, creating a personalized snack that is both nourishing and satisfying.
With just a few core ingredients like oats, a binding agent such as honey or peanut butter, and a touch of creativity with mix-ins, one can produce granola bars that are both healthy and delicious. These tasty snacks can be tailored to include nutrient-rich options like flax seeds or to cater to a craving for something sweet with the addition of chocolate chips. The result is a homemade snack that is both beneficial and enjoyable, aligning with the conscious consumption that many strive for in their dietary habits.
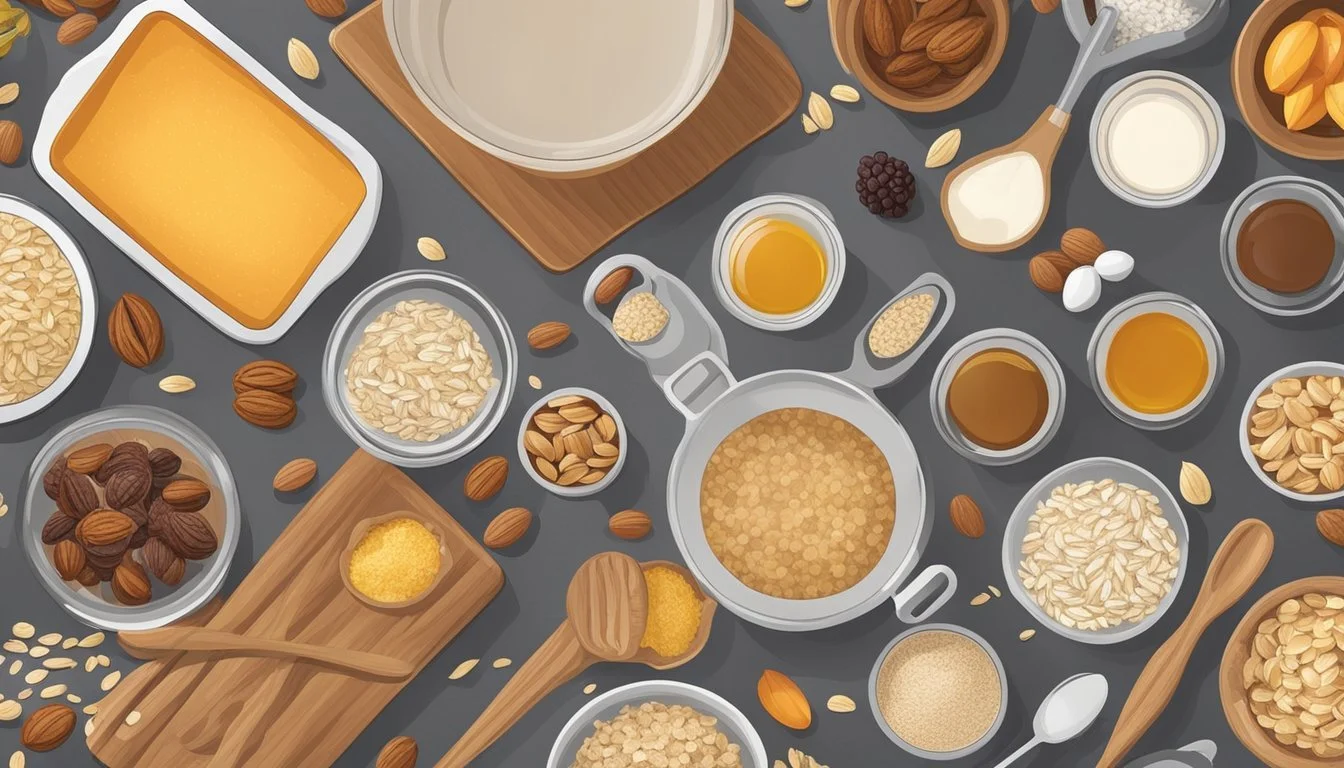
Choosing Your Ingredients

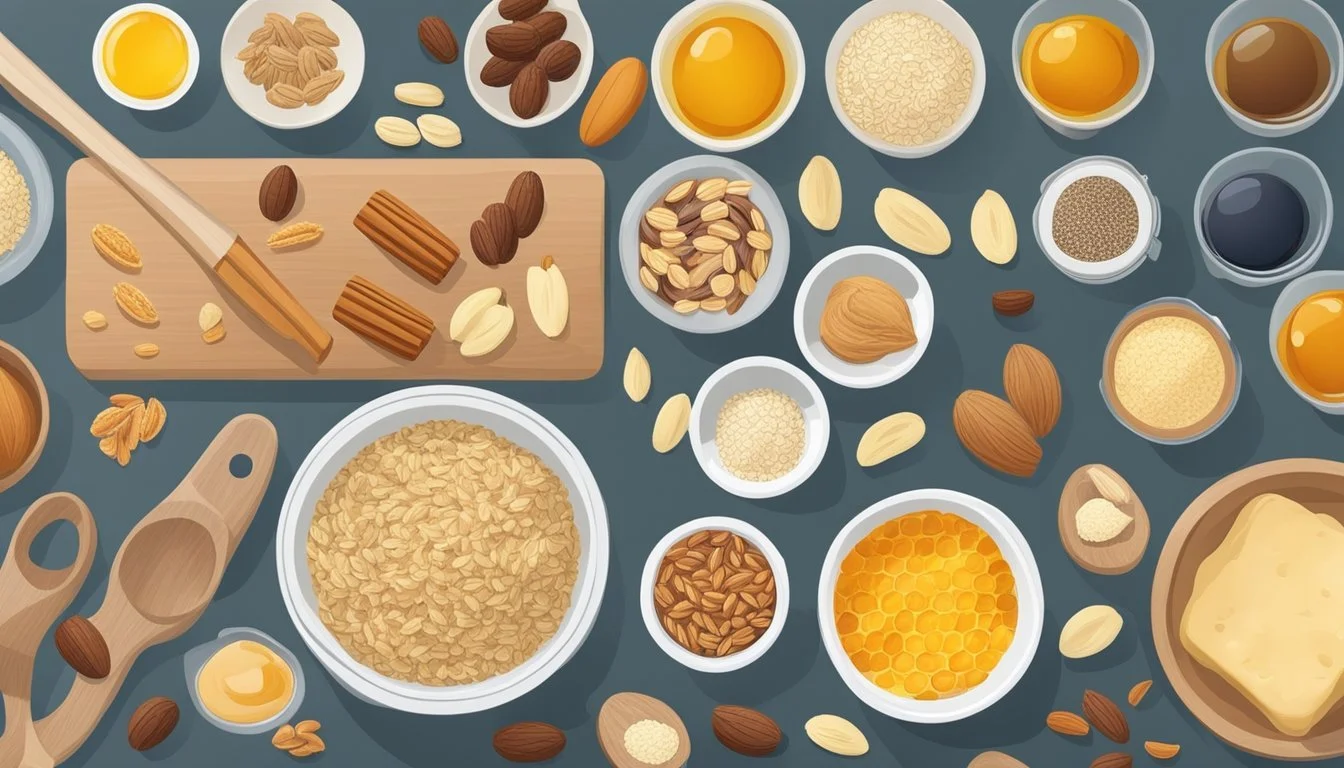
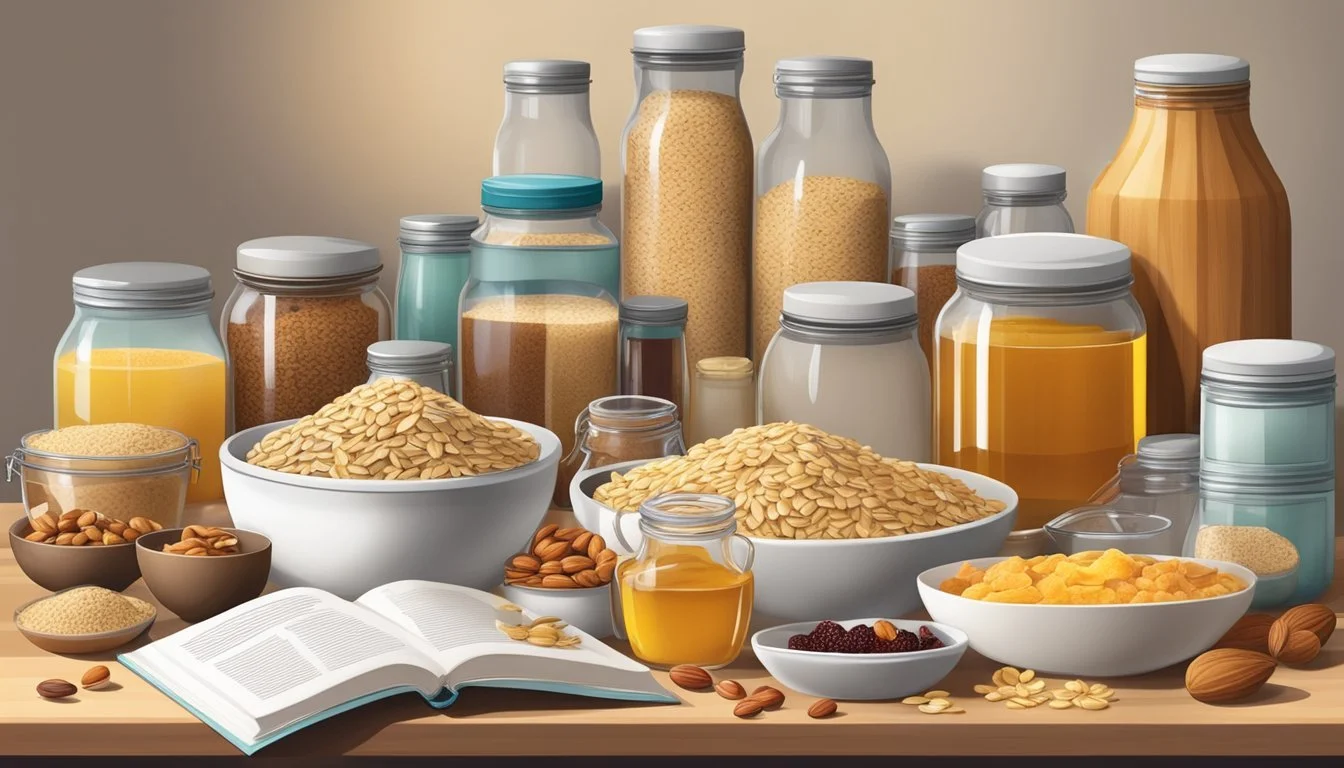
Creating pantry-friendly homemade granola bars starts with selecting high-quality, wholesome ingredients that not only impart great flavor and texture but also contribute to the healthfulness of the bars.
Selecting the Right Oats
Oats are the foundation of granola bars. Rolled oats are preferred for their whole grain texture, which helps the bars hold together, while quick-cooking oats can be used for a finer, softer bar. Avoid using instant oats as they can become too mushy. For a gluten-free option, use certified gluten-free rolled oats.
Nut and Seed Butters
Nut and seed butters act as a natural binder. Creamy peanut butter is a classic choice, whereas cashew butter offers a subtler flavor. Almond butter gives an extra protein boost. For allergy-friendly bars, you could opt for sunflower seed butter. Ensure these butters are free from unwanted additives and sugars for the healthiest option.
Sweeteners and Flavorings
Sweeteners like honey, maple syrup, or brown rice syrup are ideal for adding natural sweetness and stickiness to bind the bars. Add a touch of vanilla extract or ground cinnamon for flavor without extra calories.
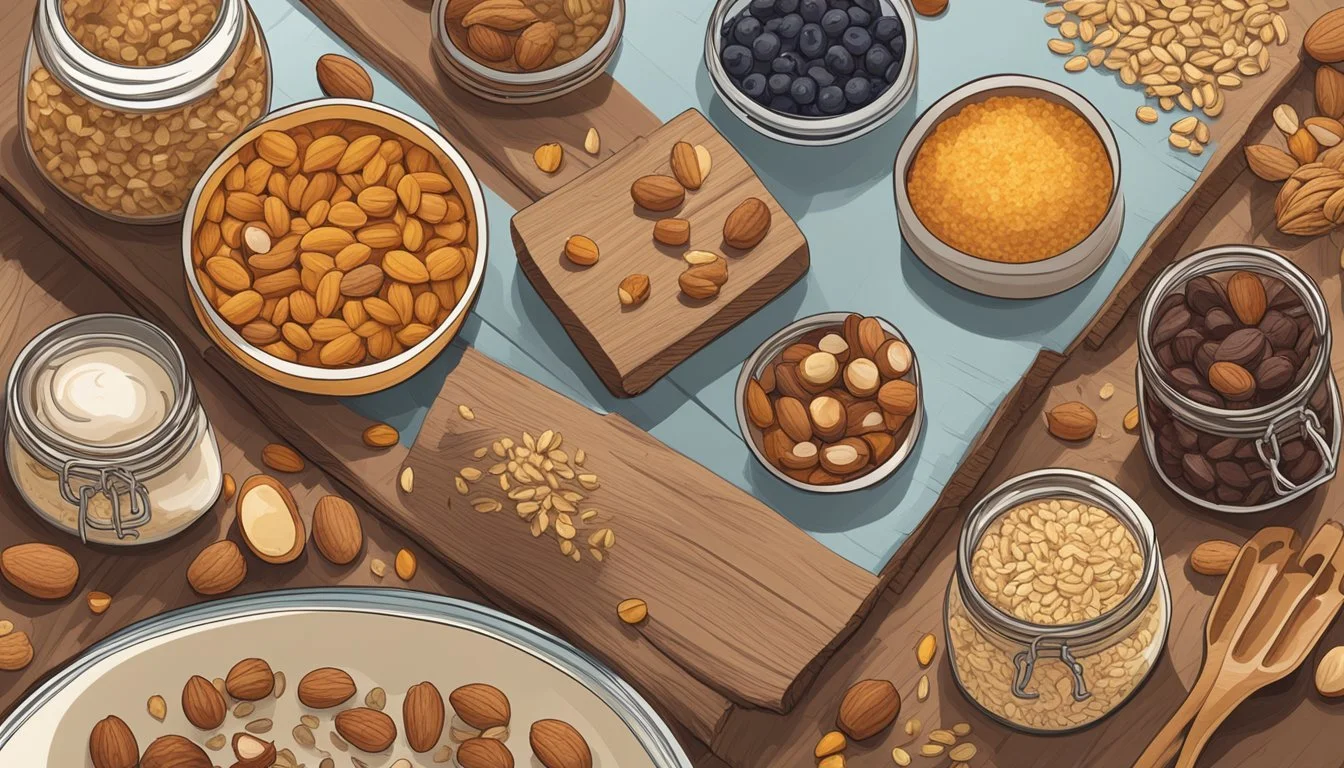
Healthy Add-Ins
Mixing in nuts such as almonds, pecans, or peanuts introduces crunch and nutrients. Seeds like chia, flax, or pumpkin seeds add texture and are rich in omega-3s and fiber. For homemade granola bars with extra protein and healthy fats, these add-ins are key.
Fruits and Chocolate
Dried fruits like apricots, dried cranberries, and cherry pieces offer natural sweetness and chewy texture to granola bars. Choose unsweetened varieties to control sugar content. For a touch of indulgence, dark chocolate chips or cacao nibs can be included. Choose high-quality chocolate for the richest flavor and health benefits.
Special Diet Considerations
For those with dietary restrictions, it's important to adapt recipes accordingly. Use oat flour for grain-free bars, coconut oil for dairy-free, and pure maple syrup for vegan options. Low-carb or keto-friendly sweeteners like sugar alcohols can be substituted for honey or syrup if needed, and unsweetened shredded coconut can provide texture without excess carbs.
Basic Preparation Steps
Homemade granola bars are a convenient, nutritious snack that can be easily made with pantry-friendly ingredients. They require simple preparation steps which include mixing, pressing, shaping, and heating, followed by cooling and cutting the bars for consumption or storage.
Mixing the Ingredients
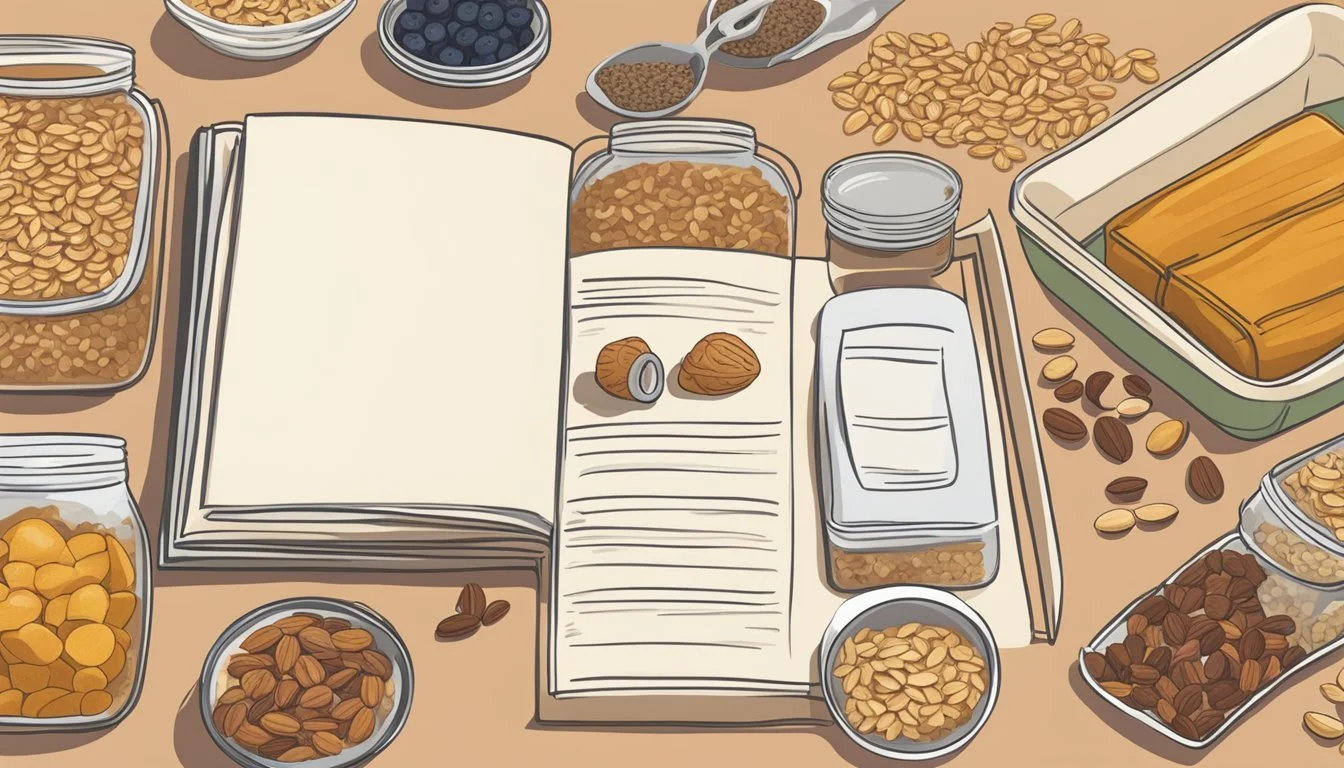
To begin, one should assemble all the ingredients needed for the recipe. These typically include oats, nuts, seeds, dried fruits, and a binding agent like honey or nut butter. The ingredients are then combined in a large mixing bowl. For those who prefer a fine texture or need to blend dry fruits, a food processor may be used. It's essential to mix the ingredients thoroughly to ensure an even distribution of flavors.
Pressing and Shaping
Once mixed, the granola mixture is pressed into a baking dish lined with parchment paper. The parchment paper serves dual purposes: it prevents sticking and facilitates easy removal of the bars later. One can use a flat tool, such as the bottom of a measuring cup, to press down firmly and evenly, ensuring the mixture is compact.
Heating Methods
There are typically two heating methods used to make granola bars: baking in an oven or chilling in a refrigerator or freezer. For the baking method, preheat the oven to the specified temperature, often between 325 and 350 degrees F, and bake for the prescribed time. If opting for the no-bake method, after pressing the mixture into a pan, chill the granola bars in the refrigerator or freezer until they are firm.
Cooling and Cutting
Post baking, the granola bars must be allowed to cool to room temperature before cutting, which helps them set and makes them easier to slice. A sharp knife or a pizza cutter on a cutting board works well for this. For no-bake versions, once the bars are chilled and firm, they are removed from the pan using the edges of the parchment paper and then cut accordingly.
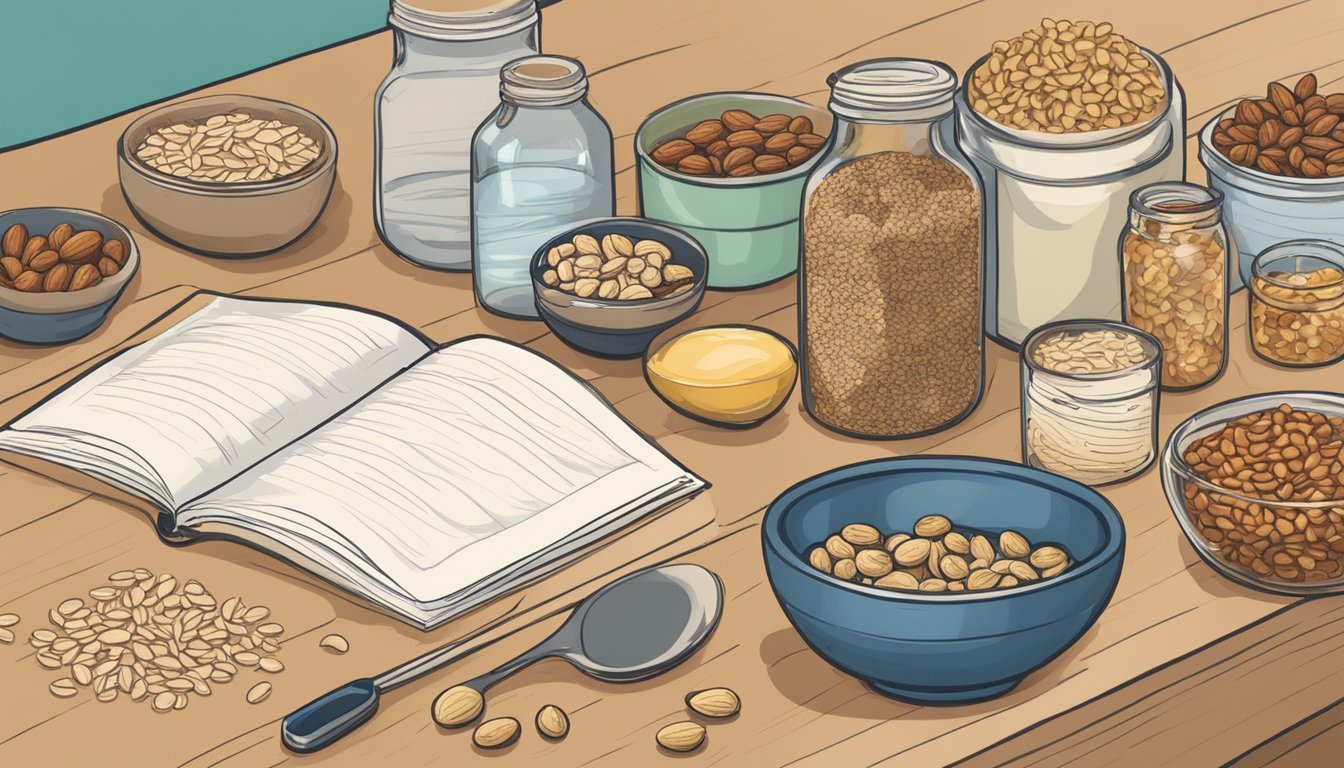
Storage and Preservation
Granola bars should be stored in an airtight container to maintain their freshness. They can be kept at room temperature for a quick snack, or stored in the refrigerator for longer preservation. Granola bars are also freezer-friendly; freezing them can extend their shelf life, making them a convenient make-ahead option. To freeze, one should wrap the bars individually in parchment paper, place them in a freezer-safe airtight container, and store them in the freezer.
Nutritional Information and Tips
When crafting homemade granola bars, understanding their nutritional content is essential for creating a balanced snack. Optimizing ingredient choices can enhance health benefits while still providing convenience.
Understanding Nutritional Content
The nutritional profile of homemade granola bars varies depending on ingredients used. Granola bars often contain a significant amount of fiber and protein, which are vital for a balanced diet. They tend to be more nutrient-dense than many store-bought alternatives, providing essential vitamins and minerals in each serving. Homemade versions typically have less saturated fat and can be customized to include more monounsaturated fats, known for their heart-healthy benefits.
A typical granola bar's nutritional facts per serving may include:
Calories: Varied
Fiber: High
Protein: Moderate to High
Saturated Fat: Low to Moderate
Customizing homemade granola bars allows control over the inclusion of items like coconut oil and sea salt, offering the ability to adjust flavor profiles and nutritional content.
Tips for Making Healthier Bars
Making granola bars at home provides opportunities to include healthy ingredients and omit excessive salt or saturated fats. To enhance the nutritional value, consider the following:
Opt for rolled oats or whole grains as the foundation for added fiber.
Include nuts and seeds to boost protein and provide healthy fats.
Sweeten naturally with dried fruits or a small amount of honey instead of processed sugars.
Use heart-healthy oils like coconut oil for binding and flavor.
Incorporate a pinch of sea salt to enhance taste without overdoing sodium intake.
Portioning and Serving Suggestions
Proper portioning of homemade granola bars is important to manage calorie intake. Cutting bars into uniform sizes can help regulate portions. A single batch can yield a week's worth of grab-and-go snacks or breakfast options.
Consider the following suggestions:
A standard granola bar can range from 150 to 250 calories depending on the ingredients.
Wrap individual bars for a healthy snack on the go.
Combine with yogurt or fresh fruit to create a more substantial breakfast or midday meal.
Store in an airtight container to maintain freshness and make them last throughout the week.
It's important to note that while homemade granola bars can be a healthier alternative, they should be consumed in moderation as part of a balanced diet.
Advanced Techniques and Variations

In this section, the reader will discover how to enhance homemade granola bars by customizing flavors, experimenting with no-bake options, and embellishing with creative decorations.
Customizing Flavors and Textures
Creating a granola bar that appeals to both the palate and the eye begins with selecting a diverse range of textures and flavors. Using nut or seed butter such as almond butter or sunflower seed butter not only adds a creamy texture but also provides a rich taste. For a sweet touch without the guilt, coconut nectar serves as a natural sweetener. When it comes to nuts, cashews offer a buttery crunch, whereas pepitas (pumpkin seeds) impart a satisfying chewiness.
Sweeteners: coconut nectar, honey
Nuts and Seeds: cashews, pepitas
Butters: almond butter, sunflower seed butter
No-Bake Options
No-bake granola bars offer the advantage of preserving the full flavor of the ingredients while saving time. The key to successful no-bake granola bars lies in the binding agents that hold the mixture together. Hearty ingredients should be mixed with a sticky base, typically consisting of honey or coconut nectar, combined with a nut or seed butter to maintain the bar's form. A simplified process might include:
Mixing dry ingredients.
Warming the binding agents to increase mixability.
Combining all ingredients in a bowl and pressing into a pan.
Chilling until set.
Decoration and Presentation
The final touch to any homemade granola bar is its decoration and presentation. A drizzle of melted chocolate over the top of the bars adds a gourmet finish. For a more colorful and playful approach, mini chocolate chips can be sprinkled on top before chilling. A visually pleasing and neatly pressed granola bar not only entices the appetite but also elevates the overall experience. To achieve a professional look, one might:
Drizzle a zig-zag of melted chocolate across the bars.
Press mini chocolate chips into the surface before chilling.
Cut bars cleanly by using a sharp knife and a guide for straight edges.
Social Sharing and Engagement
Creating engaging content for social media can significantly amplify the reach of your homemade granola bar recipes. As a creator, it's essential to understand the power of presentation and the art of captivating an audience on platforms like Instagram.
Presenting on Social Media
When showcasing granola bar recipes on social media, visuals are key. High-quality images that highlight the deliciousness of the bars can drive engagement and encourage shares. It's beneficial to use natural lighting and simple backgrounds to make the granola bars the main focus of the photograph.
On platforms such as Instagram, clever use of hashtags can increase visibility. For example:
#HomemadeGranolaBars
#PantryFriendly
#SnackIdeas
Additionally, posting during high-traffic hours can lead to more interactions. Studies suggest that the best times are often late mornings and evenings on weekdays.
Engaging with followers by responding to comments, asking for their own variations of recipes, or what they'd like to see next can create a community around your content. This interaction not only drives further engagement but also provides valuable feedback.
Troubleshooting Common Issues
In creating pantry-friendly homemade granola bars, one may encounter several common issues related to texture, sweeteners, allergies, and diet-specific substitutes. Addressing these effectively ensures a well-balanced and enjoyable granola bar.
Texture Adjustments
Achieving the perfect granola bar texture—whether one desires chewy or crunchy—relies on the correct balance of ingredients and baking time. For chewier bars, bakers should incorporate a higher ratio of binders such as honey or maple syrup, and lessen the baking time to retain moisture. Conversely, a longer baking time and the addition of a variety of seeds or nuts result in a crunchier texture.
Solving Sweetener Challenges
Granola bars often require a sweetener to enhance flavor and act as a binding agent. If a recipe seems too sweet, reducing the sweetener and adding unsweetened applesauce can maintain binding while lessening sweetness. Vegan recipes can substitute honey with agave nectar or brown rice syrup to align with dietary preferences without compromising the bars' structure.
Dealing with Nut Allergies
Nut allergies necessitate mindful substitutions. Seeds like sunflower or pumpkin seeds offer a nut-free alternative that impart a pleasant flavor and texture. For those needing a gluten-free option, ensure that oats are certified gluten-free to avoid contamination and substitute nuts with gluten-free seeds or soy nuts, if not allergic.
Finding Substitutes for Specific Diets
Adhering to particular diets, such as vegan, gluten-free, or paleo, is manageable with strategic substitutes. Vegans can replace dairy or egg-based binders with plant-based alternatives like chia seeds mixed with water. Gluten-free recipes may utilize gluten-free oats or puffed rice, while paleo-friendly bars might include nuts, seeds, and honey, omitting grains altogether.
Frequently Asked Questions
Can I make granola bars without an oven?
Yes, no-bake granola bars are an option. They typically require freezing for at least 1 hour to allow the bars to set before cutting.
What basic ingredients do I need for homemade granola bars?
Homemade granola bars usually consist of oats, nuts, a binder (like honey or peanut butter), and mix-ins like dried fruit or chocolate chips.
How do I prevent homemade granola bars from falling apart?
It's crucial to press the mixture firmly into the pan before chilling or baking. Using a binder such as honey, maple syrup, or peanut butter helps to hold the ingredients together.
How long do homemade granola bars last?
They can be stored in an airtight container at room temperature for about one week, or in the fridge for up to two weeks.
Are homemade granola bars healthier than store-bought?
They can be, as you control the ingredients and can avoid preservatives and excess sugar. However, the nutritional value depends on the specific ingredients used.
Question Answer Oven-free option? Yes, by freezing. Basic ingredients? Oats, nuts, binder, mix-ins. Preventing crumble? Firmly press mix; use a good binder. Shelf life? 1 week room temp, 2 weeks fridge. Healthier than store-bought? Potentially, fewer preservatives and sugars.
Conclusion
Making homemade granola bars is an excellent way to utilize pantry staples, creating a nutritious snack that's easily customizable. The process is straightforward and offers ample flexibility, catering to various dietary needs and preferences.
Key Takeaways:
Customization: One can adjust ingredients based on what is available, such as nuts, seeds, dried fruits, and types of sweeteners or binders.
Healthier Choices: Homemade bars often contain fewer additives and can be tailored to lower sugar content compared to store-bought options.
Convenience: These bars are portable and ideal for on-the-go lifestyles, acting as a fulfilling snack or a quick breakfast.
Granola Bar Tips:
Ingredient Ratios: Balance dry and wet ingredients to ensure the bars hold together after setting.
Baking vs. No-Bake: Decide between baked bars for a crunchier texture or no-bake bars for a chewier consistency.
Storage: Store in an airtight container to maintain freshness, and keep them refrigerated if they include perishable items.
By harnessing the simplicity of pantry-friendly granola bars, individuals can enjoy a diverse range of flavors while maintaining control over their dietary intake. Their versatility also makes them a universally appealing snack that is both satisfying and wholesome.
