
Home Butter Making Supplies
Essential Tools for Creamy Perfection
Discover > Product Recs > Home Butter Making Supplies
Home butter (how long does butter last?) making has become increasingly popular among culinary enthusiasts and those desiring a more self-sufficient lifestyle. The process of creating your own butter, from scratch can be a rewarding and enjoyable experience, as well as a chance to ensure the quality and freshness of the ingredients. In this article, we will discuss the essential supplies needed for making butter at home and guide you through the steps to create your own delicious tasting buttery masterpiece.
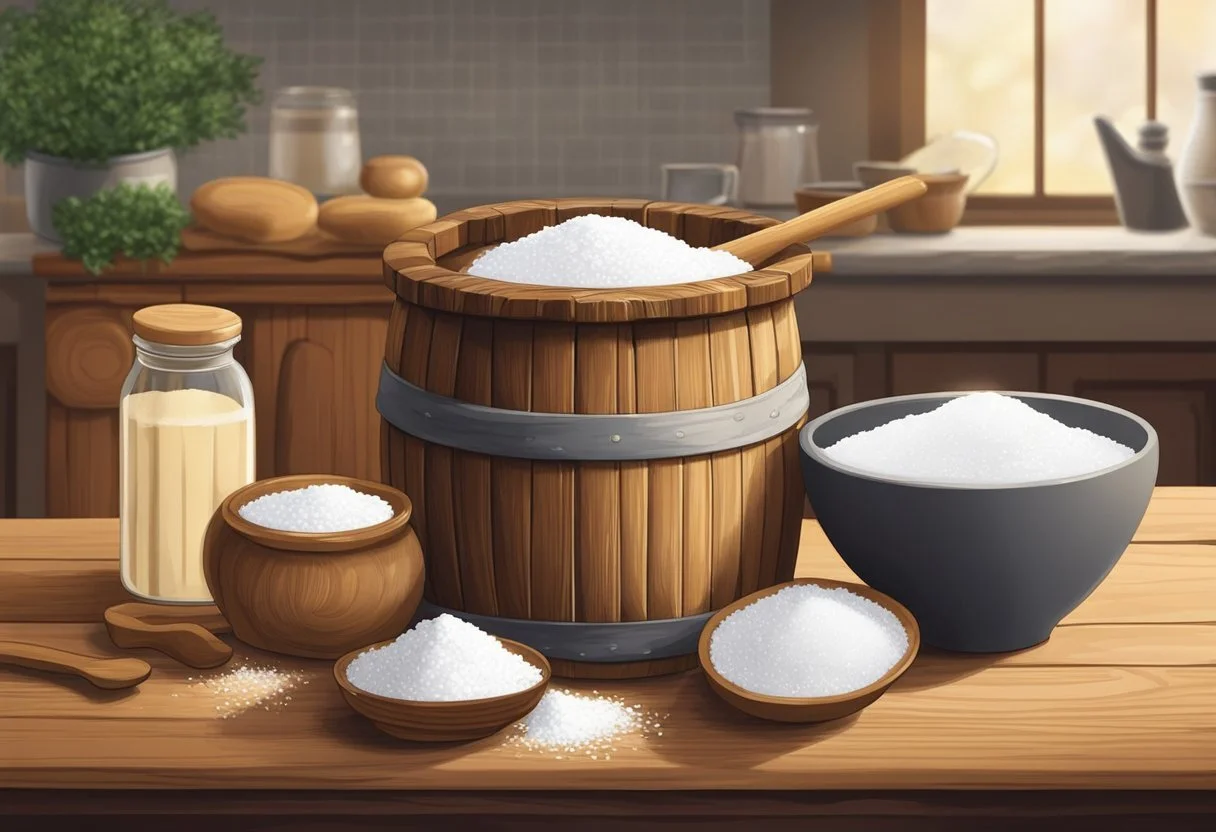
The key to successful home butter making lies in gathering the right equipment and ingredients. To start with, it is crucial to have high-quality, fresh cream, which forms the foundation of your homemade butter. In addition, there are several tools that will make the process smoother, such as a butter churn, a butter paddle, and a cheesecloth or fine mesh sieve for straining.
Once you have the proper supplies at hand, you can embark on the exciting journey of home butter making. As you gain experience and experiment with different techniques, you may even develop your unique flavor profiles and textures, elevating your homemade butter from a simple kitchen staple to an artisanal delight. So, gather your ingredients and tools, and let's delve into the world of home butter making!
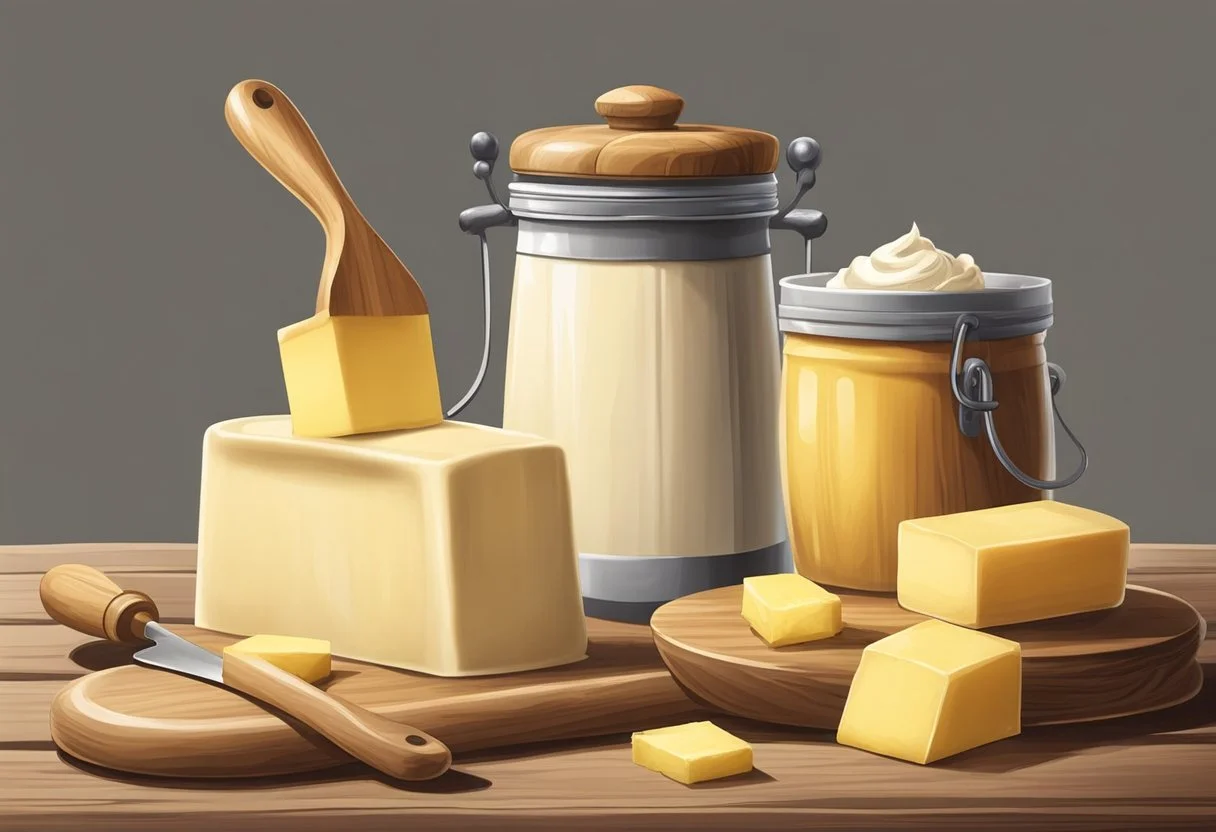
Essential Home Butter Making Supplies
Making butter at home can be a fun and satisfying process. To get started, you'll need a few essential supplies. This section will provide a quick guide to the basic items needed for home butter making, as well as some tips on using them effectively.
Butter Churn: The traditional method for making butter involves using a butter churn. These come in various styles, shapes, and sizes, but their main function is to agitate liquid cream until it turns into butter. Hand-cranked and electric models are both available. Choose the one that best suits your level of involvement and desired batch size.
Stand Mixer, Blender, Whisk, or Mixer: If you prefer a modern approach, you can use appliances like stand mixers, blenders, whisks, or hand mixers to make butter. These tools perform a similar function to the first butter churns, agitating the cream until it thickens. It's essential to use the appropriate attachments and settings to prevent over or under mixing.
Heavy Cream, Whipping Cream, and Heavy Whipping Cream: No matter the method employed, the main ingredient for butter making is, of course, cream. There are three types of cream you can use: heavy cream, whipping cream, and heavy whipping cream. The type you choose depends on your personal preference and desired fat content, but any of these options will work for butter making. Be sure to use fresh, high-quality cream for the best results.
Tools for straining and shaping: Once the butter has formed, you'll need a few additional tools to help you strain, rinse, and shape it. Some options include:
Fine cheesecloth or a clean dishtowel for straining
A butter paddle, spatula, or wooden spoon for shaping
Mixing bowls and a colander for rinsing and draining
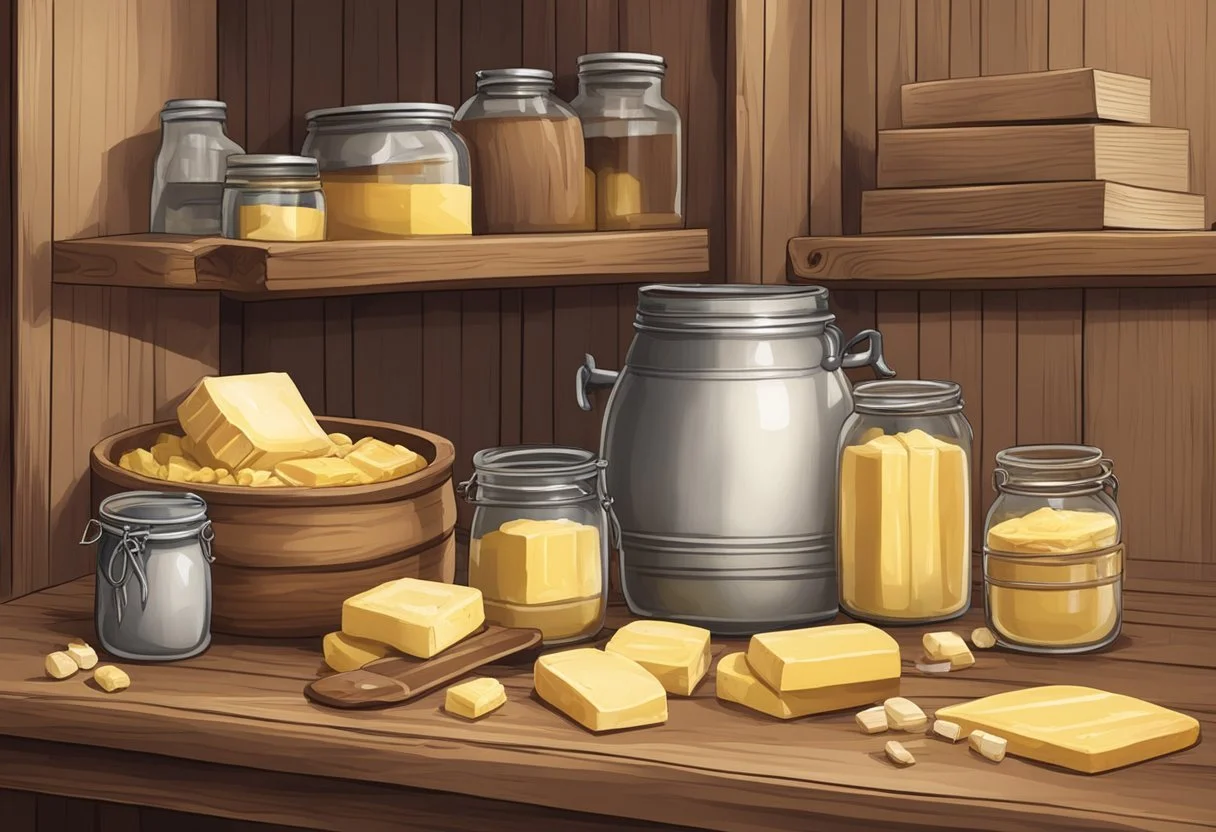
Storage: Finally, don't forget about storing your homemade butter. You can use butter dishes or molds to store butter in the short term, or wrap it in wax paper, parchment paper, or plastic wrap for longer-term storage. Be sure to store your butter in a cool, dark place like a refrigerator or pantry to maintain freshness.
With these essential supplies on hand, you'll be well-prepared to begin your butter-making journey. Whether you opt for a traditional butter churner or modern kitchen appliances, the secret to success lies in using your chosen tools correctly and starting with high-quality cream. Happy, butter churn- making!
Home Butter Making Supplies: Essential Tools for DIY Dairy Enthusiasts
Homemade Pasta and Butter Kit
We think you'll love this set for its craftsmanship and the authentic touch it brings to your kitchen experiences.
Pros
Brings an artisanal feel to cooking
Multi-use toolkit enhances kitchen creativity
Crafted with a focus on ergonomic and functional design
Cons
The grooves may require careful cleaning
Wood material may not suit all kitchen aesthetics
Some users may prefer modern tools over traditional designs
We recently got our hands on the Country Trading Co. set, and it's safe to say, it has raised the bar for our kitchen projects. These tools have brought back the joy to making gnocchi (how long do gnocchi last?) and butter at home with their thoughtfully designed wide blades and the deeper grooves that ensure a firm grip.
Upon using them, we definitely noticed how comfortable they were to hold. It's like they were made to fit perfectly in our hands, which made the butter shaping and gnocchi rolling processes a breeze. Their wooden texture gave our kitchen a hint of a rustic look that we've come to appreciate.
Our family and kids especially enjoyed their multipurpose nature. Not only did we create beautifully shaped butter, but we also ventured into gnocchi making which turned out to be a fun weekend activity, even the kids joined in! Cleanup was straightforward, although we made sure to rinse them immediately after use to maintain their integrity.
With their thoughtful design, these tools have made a lovely addition to our kitchen, and we're sure they'll charm their way into your culinary routine as well.
Buy Homemade Pasta and Butter Kit Here
Churn Your Own
If you're passionate about adding a homemade touch to your kitchen creations with delicious tasting butter, this butter churner is a delightful addition to your culinary tools.
Pros
Effortlessly transforms cream into butter, engaging both adults and children in the process
Complete set with necessary accessories, including a cheese cloth for straining and butter paddles for shaping
Backed by a reassuring 30-day money-back guarantee
Cons
Requires a bit of elbow grease, which might be tiring for some users
Quality concerns cited by a few users could be a consideration
Potential for leaks during use, as indicated by some reviews, should be weighed
We've recently tried our hand at churning butter using the Roman Ventures Butter Churner, and we must say, there's something quite special about spreading homemade butter on your morning toast. The hand crank system takes us back to simpler times, and the clear glass jar allows us to watch the magic happen as cream thickens into butter.
Those extra accessories have been invaluable – the cheese cloth made the final product smoother by straining excess liquid, and who wouldn't love beautifully shaped butter with those wooden paddles? They carry a rustic charm that's hard to resist.
Admittedly, it can be quite the workout, especially if you're making several batches of butter. We also recommend making sure to check over each part before use; while we didn't encounter any issues, a few people have reported manufacturing defects, which can be disheartening.
Take it from us, if you a butter churner don't mind the manual effort and are vigilant about quality upon receipt, this butter churner is an immensely satisfying way to bring a taste of the past into your modern-day kitchen.
Buy Churn Your Own Here
Walfos Butter Mold
{This Walfos silicone butter mold is a godsend for us, enhancing our home butter-making with its ease of use and practical features.}
Pros
It withstands a wide temperature range, assuring us of its durability whether it's in the freezer or in the oven.
The precise portioning lines have proven incredibly helpful for us in maintaining consistent sizes for all our delicious creations.
Cleanup is a breeze; we just give it a quick wash, and it's as if it was never used.
Cons
We noticed that the lid doesn't seal, which isn't ideal for freshness if you're planning to store ingredients for longer periods.
It comes in just one size, limiting our options when we're making larger batches.
Some of us wanted more color options to match our kitchen's aesthetics.
We've been using the Walfos Silicone Butter Mold in our kitchen, and it's truly lifted our creative spirits. It's not only for butter; we've ventured into making beautifully shaped herbal and garlic butters, as well as freezing broths and purees. Each cavity is clearly marked for portion control, which takes out the guesswork when we're preparing ingredients for our favorite recipes.
Handling the Walfos mold is effortless because of the flexible silicone. Getting the butter out without making a mess has never been easier. Plus, it's comforting to know that the material doesn't contain any BPA or toxic substances, making it a safe choice for our family.
Beyond butter, we've dabbled in using the mold for freezing stock and purees. It's incredibly versatile. The non-stick surface lives up to its promise—everything just pops out without resistance. And when it comes to cleaning, it's a dream. No scrubbing, no soaking—just a simple rinse or a run through the dishwasher, and it's ready for the next use.
We must admit, while the glass lid is useful for stacking, we wish it sealed a bit tighter for our peace of mind. Also, it would be nice to have a variety of handle sizes for different needs and a palette of colors wouldn't hurt either. But these are small trade-offs considering the overall quality and utility it brings to our kitchen.
Buy Walfos Butter Mold Here
Votprof Butter Mold
We found this mold to be a game-changer for crafting perfect homemade butter sticks with ease.
Pros
Simplifies butter shaping with precise measurements
Effortless release of butter thanks to non-stick silicone
Dishwasher-safe for quick and easy clean-up
Cons
Might be shorter than traditional butter sticks
Limited only to stick shapes
Crafting butter at home has never seemed more appealing. With the Votprof Silicone Butter Mold, we were able to whip up a batch of smooth, well-formed butter sticks, and the process couldn't have been more easy or straightforward. Pouring in the churned butter, we appreciated how the silicone mold resisted sticking, which allowed for a seamless release once the butter set in the fridge.
Our kitchen adventures with this mold didn't stop at just butter. We were delighted to discover its versatility, doubling as a mold for unique chocolate bars (how long do chocolate bars last?) and even herbal infusions, which added a special touch to our dinners. The deep cavities meant we could infuse generous amounts of our favorite herbs right into the butter, packing each slice with flavor.
Ease of maintenance is critical with kitchen gadgets, and this one did not disappoint. Popping the mold into the dishwasher after use, we found it came out as good as new. It's refreshing to work with tools that save time, both in preparation and in cleaning. Our homemade butter endeavors felt delightfully efficient and satisfyingly tidy.
Despite its many positives, the mold's dimensions seem to depart slightly from the traditional stick of butter, which some might find inconvenient when looking to fit it in a standard dish or wrap it for storage. However, this is a small trade-off given the the butter churns overall functionality and convenience.
Overall, our experience with the Votprof Butter Mold has been overwhelmingly positive. It’s a handy tool for anyone looking to elevate their home cooking with fresh, homemade butter or other creative culinary creations.
Buy Votprof Butter Mold Here
The Butter Making Process
The process of making butter at home is quite simple and requires only a few essential supplies. In this section, we will go through the steps of making homemade butter and the necessary equipment.
First, the main ingredients required for butter production are:
Heavy cream (preferably organic)
Salt (optional, for flavor)
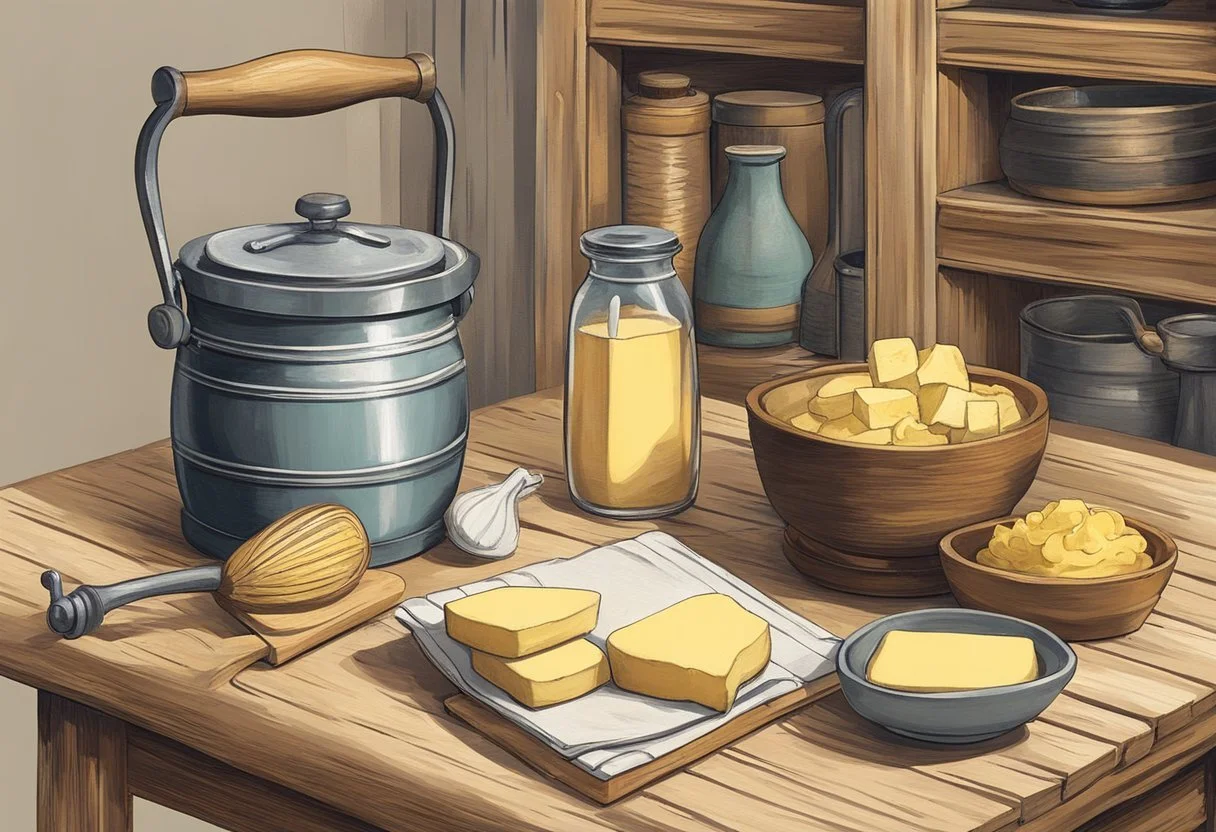
In addition to these ingredients, the critical tools needed are:
A mixer, food processor, or a jar with a tight-fitting lid
A sieve or colander
A bowl for collecting the buttermilk
A spatula
Butter muslin or a clean cloth
The process of making butter consists of five primary steps, which are outlined below:
1. Preparing the Cream: Allow the heavy cream to sit at room temperature for about an hour. This will improve the cream's consistency and make the butter-making process more efficient.
2. Churning Process: Pour the cream into your mixer, food processor, or jar and start churning. The speed churn used should be moderate since high speeds churn may lead to over-whipping. Gradually, the cream will separate into butter and buttermilk.
3. Separating Butter and Buttermilk: Once the butter has formed, pour the mixture through a sieve or colander placed over a bowl. The bowl will collect the buttermilk, which can be saved for other recipes.
4. Rinsing the Butter: Rinse the butter under cold water to remove the remaining buttermilk. This step helps to prolong the butter's shelf life and prevent spoilage.
5. Shaping and Storing: Use a spatula to press out any remaining liquid. At this point, you may mix in salt if desired. Place the butter in a jar or a butter mold, wrap it in butter muslin, or transfer it to a container. Store the jar of homemade butter in the refrigerator.
Keep in mind that making butter at home allows for better control over the quality of ingredients and provides a fresh, delicious, and preservative-free product. Enjoy your homemade butter and experiment with adding herbs or spices for a unique flavor experience.
Recipes and Uses of Homemade Butter
Homemade butter is not only delicious, but it can also elevate your cooking and baking experiences. In this section, we will explore various recipes and uses of homemade butter in both baking and cooking.
Baking with Homemade Butter
Homemade butter can add richness and depth to your baked goods, enhancing their flavor and texture. Here are some popular baking recipes that can benefit from using homemade butter:
Pie crust: A homemade butter pie crust offers a flakier texture and a richer taste compared to store-bought crusts. Incorporate chilled homemade butter into your dry ingredients and follow your pie crust recipe.
Biscuits: Light and fluffy biscuits can be achieved with homemade butter. The butter should be cut into the dry ingredients until pea-sized pieces are formed. This process ensures a tender and flaky texture in the final product.
Shortbread: Homemade butter gives shortbread its distinctive rich flavor and crumbly texture. Begin by creaming the butter and sugar together, then gradually adding the flour to form a soft dough.
Cooking with Homemade Butter
Using homemade butter in cooking brings a depth of flavor and richness that store-bought butter cannot match. Consider the following recipes for showcasing your homemade butter:
Sautéing: Homemade butter can be used for sautéing vegetables and proteins, adding a rich, velvety flavor to your dishes. To prevent burning, consider using a mixture of butter and a neutral oil.
Compound butter: Create a delicious and versatile compound butter by blending your homemade butter with herbs, spices, and other flavorings. Use it as a finishing touch on steaks, cooked vegetables (how long do cooked vegetables last?), or grilled seafood for added flavor.
Sauces and gravies: Homemade butter can enhance the flavor of your sauces and gravies. Melt the butter, whisk in your desired seasonings, and continue with the instructions for creating your sauce or gravy.
Expanding your culinary skills by using homemade butter in your baking and cooking endeavors can lead to delicious and satisfying results. By following the recipes and techniques outlined above, your dishes will be infused with the unique flavor and texture that only homemade butter can provide.
Comparing Homemade Butter with Store-bought Butter
When it comes to butter, many people wonder whether homemade butter is better than store-bought butter. In this section, we will compare the two types of butter based on various factors such as taste, texture, additives, and shelf life.
Taste and Texture: Homemade butter often has a richer, creamier taste compared to store-bought butter. This is because it is made from fresh cream and doesn't undergo the same processing as store-bought butter. The texture of homemade butter can vary depending on the method used to make it, but it is generally softer and creamier than its store-bought counterpart.
Additives: Store-bought butter typically contains added salt and sometimes other additives, such as preservatives and coloring agents. In contrast, homemade butter allows the maker to control the ingredients entirely, avoiding any unnecessary additives. Here's a comparison table of additives between homemade and store-bought butter:
Excess Buttermilk: When making homemade butter, the process generates a byproduct called buttermilk. This liquid should be removed as much as possible from the butter to prevent spoilage. Store-bought butter undergoes a standardized manufacturing process which removes excess buttermilk, making it less of a concern for consumers.
Shelf Life: Store-bought butter generally has a longer shelf life than homemade butter due to the additives and controlled processing methods. Homemade butter, being all-natural, is best consumed within a week or two. However, if salt is added, this can extend the shelf life to several weeks.
In conclusion, both homemade and store-bought butter have their merits and drawbacks. Homemade butter exudes a fresher, creamier taste, and allows customization of ingredients, making it perfect for those who prefer a more natural option. On the other hand, store-bought butter provides convenience and a longer shelf life, which may be more suitable for everyday home use only.
Further Reading and Resources
For those interested in learning more about home butter making supplies, a variety of resources are available. This section lists some essential books, websites, and shops to help guide your own butter making journey.
Books to enhance your knowledge:
Home Creamery(by Ricki Carroll) - A comprehensive guide penned by the cheese-making expert, Ricki Carroll, this book covers a wide range of dairy products, including how to make butter at home. It not only provides step-by-step instructions but also delves into the science behind the process. You can find this title at Storey Publishing.
Butter: A Rich History(by Elaine Khosrova) - This book provides an informative and engaging approach to butter, illustrating the socio-economic impact it had on various cultures throughout history. Recipes and details about butter making are also included.
Recommended websites for guidance and supplies:
Cultures for Health - This website offers an array of tools and ingredients necessary for making butter and other dairy products. It also features a wealth of information and tutorials for beginners.
Cheese Making - A resource offering supplies and information, this website is run by Ricki Carroll. You will find various equipment and ingredients for making butter, as well as helpful tips, recipes, and a blog for added support.
Note: While there are numerous websites and forums available, always remember to verify and review the legitimacy and authenticity of the sources before procuring any materials or following any advice.
Popular butter making supplies:
Butter churners – Available in manual and electric versions, these devices make the butter making process more accessible and efficient. Churners come in various sizes, from small tabletop models to large, antique-style wooden churns.
Butter paddles – Used to shape and remove excess buttermilk after the churning process, this wooden tool is a must-have for any aspiring butter maker.
Cheesecloth – A versatile textile, cheesecloth is essential for draining and straining liquid from butter.
Armed with these recommendations, you are now well-prepared to embark on a journey into the world of home butter making. As you explore the various resources, remember to start small and gradually progress, always seeking reliable information to ensure a successful butter making experience.
Historical Significance and Trivia
The art of butter making has been an essential aspect of various cultures throughout history. It is believed that people began producing butter during the Neolithic period, around 6000 BCE. The process was essential in preserving the nutritional value of milk and allowed for easier transportation and storage.
In ancient times, butter was made by agitating cream using a variety of methods, including shaking, pouring, or paddling. Tools that were commonly used included:
Churns: A container such as a barrel or a crock, in which cream was churned until it hardened into butter.
Plungers: Wooden tools with a handle that were pushed up and down inside a churn to agitate the cream.
Paddles: Flat utensils used for stirring or scooping butter.
Over time, the tools and methods changed slightly, and more efficient tools were developed. For example, barrel churns were created to allow butter makers to increase the quantity of their output by churning a quantity of more cream at once.
Interestingly, butter has itself been a symbol of cultural and religious significance. During Lent, when Christians are traditionally required to avoid animal products, butter was often controversial. In the Middle Ages, it was sometimes seen as an extravagant luxury, and consuming it was considered a transgression.
In the present day, home butter making has experienced a resurgence in popularity, and several tools are available to make the whole butter churn process quick and straightforward. Here are a few popular home butter making equipment and supplies:
Hand-cranked churns: Offering a traditional approach, these churns resemble small barrels on a stand, with a hand-cranked mechanism that turns the paddles inside.
Mason jar churns: An easy method for small quantities, these churns consist of a mason jar with a lid-mounted churning mechanism.
Stand mixer attachments: For an automated experience, some stand mixers have specially designed attachments that allow users to make butter effortlessly.
To summarize, butter making is an ancient practice that has held various cultural, religious, and economic implications. Over the years, tools and methods have evolved to make the process more accessible. Today, the tradition of home butter making is maintained, and enthusiasts can choose from an array of modern options when selecting their preferred butter making equipment and supplies.
