
The Best Homemade Bubblegum Ice Cream Recipe: Say Goodbye to Store-Bought Ice Cream
Discover > Texas Recipes > The Best Homemade Bubblegum Ice Cream Recipe: Say Goodbye to Store-Bought Ice Cream
There's something about the taste of bubblegum that takes us all back to our childhood summers spent outdoors. And what better way to relive those memories than with a scoop of homemade bubblegum ice cream (how long does cream last?)? This nostalgic treat is a favorite among both kids and adults, and it's easy to see why. With its recognizable pink hue and smooth texture, this flavor brings a smile to everyone's face. And the best part is, you can make it right in your own kitchen! From California to New York, people all across the country love this tasty treat. But here in Texas, we know that everything is bigger and better, and that includes our love for homemade bubblegum ice cream.
I started my journey into making bubblegum ice cream with some research and experimentation. After a few trials, I discovered that a Philadelphia style ice cream base works best for achieving the desired bubble gum ice cream-iness, without being overwhelmingly rich. The great thing about making your own bubblegum ice cream is that you can customize it to your liking, adding as much or as little bubblegum flavor as you wish.
Creating this delicious treat involves just a few key steps, from mixing the ice cream base to adding the unmistakable flavor of bubblegum. With the right techniques and some patience, you'll be well on your way to enjoying a delicious scoop of homemade bubblegum ice cream.
Key Ingredients
As a lover of ice cream, I've explored various recipes and ingredients for homemade bubblegum ice cream. In this section, I'll discuss the essential components of blue bubblegum ice cream and share my knowledge on how to make a delightful treat.
Bubblegum Flavoring
The most critical ingredient in homemade bubblegum ice cream is, of any gum ice cream recipe of course, the bubblegum flavoring. You can use either bubble gum flavoring or vanilla extract as a base flavor. I recommend using about 1 teaspoon of bubblegum flavoring for an authentic taste, but feel free to adjust according to your preference.
Experience the convenience and savings of buying bubblegum flavoring or extract online!
Cream and Milk
Cream and milk serve as the foundation for the ice cream's creamy texture. I typically use heavy cream, as it yields a rich, velvety consistency when whipped. For a lighter option, you can opt for regular milk instead. To create the perfect blend, start with about 2 cups of heavy cream or milk.
Looking for hormone free milk? Check out these 5 Texas raw milk dairy farms.
When it comes to heavy cream and milk, online shopping is the way to go!
Sugars and Additives
Sugar plays a significant role in sweetening the ice cream and also affects its texture. I generally prefer using sweetened condensed milk as it provides both sugar and a smooth, soft consistency of whipping cream. One can (14 ounces) works well for a standard batch of ice cream.
If you opt for a lighter alternative, granulated sugar or another sweetener of your choice can be added. In this case, whisk the sugar with egg yolks to create a custard base. Make sure to temper the eggs by gradually adding warm milk or cream before combining with the rest of the ingredients.
Trust me, the easiest way to buy sweetened condensed milk is through online retailers!
Gumballs and Coloring
Finally, enhancing the visual appeal and fun factor of bubblegum ice cream is an essential step. Gumballs serve as a playful addition to the mix – I usually add about 6 ounces, but you can adjust to your liking. Remember to add the gumballs during the churning process to ensure even distribution.
Coloring is another critical aspect of homemade bubblegum ice cream. I like to use a mix of food coloring such as blue, red, and pink to achieve a vibrant look. Gradually add the coloring to the mixture until the desired shade is reached. Don't forget to fold the coloring in with a spatula to avoid overmixing.
By combining these key ingredients, you can create a delicious homemade bubblegum ice cream that will transport you back to your childhood. Enjoy!
Discover the endless possibilities of buying food coloring sets and spatulas online!
Equipment Needed
When making homemade bubblegum ice cream, it's essential to have the proper equipment on hand. In this section, I will discuss the necessary kitchen tools and ice cream maker needed for a successful batch of bubblegum ice cream.
Kitchen Tools
To begin, I recommend having the following kitchen tools available:
Bowl: I'll need a large mixing bowl to combine the ingredients like cream, condensed milk, and bubblegum flavoring.
Whisk: A whisk is a useful tool for mixing and incorporating air into the mixture, which gives it a light and creamy texture.
Saucepan: When heating milk and tempering eggs, a saucepan is necessary for even cooking and preventing overcooking.
Container: After churning the ice cream, I will need an airtight container to store and freeze the finished product.
With these essential tools, I can ensure a smooth and seamless process while preparing my homemade bubblegum ice cream.
Take advantage of the wide variety of options when you shop for mixing bowls, whisks, saucepans, and airtight containers online!
Ice Cream Maker
One vital piece of equipment for making bubblegum ice cream is the ice cream maker or ice cream machine. There are different types and models of ice cream makers available in the market, ranging from affordable manual options to more advanced and automatic models.
Having an ice cream maker is crucial for achieving the perfect churn and texture in homemade bubblegum ice cream. It also helps in evenly distributing ingredients like gumballs and allows the mixture to freeze while incorporating air to create a creamy consistency.
In summary, having the proper equipment and tools on hand can make the process of creating homemade bubblegum ice cream both efficient and enjoyable. With these items in my kitchen, I'm well-prepared to craft a delicious and super fun dessert that everyone would love.
Online stores offer unbeatable prices for ice cream makers, so don't miss out!
Preparation Steps
In this section, I'll guide you through the process of making a delicious homemade bubblegum ice cream. The main steps include Bubblegum Infusion, Cream Mixture, Churning, and Freezing.
Bubblegum Infusion
First, we'll need to create the bubblegum infusion to add the iconic flavor to our ice cream. Heat milk and bubble gum extract to a simmer on medium heat. You can also use real bubblegum – pink Bubblicious works great! Ensure to stir the mixture occasionally to prevent the bubble gum flavor from sticking to the saucepan. Once it reaches a simmer, cover the saucepan and let it sit for about 30 minutes, allowing the bubblegum flavor to infuse into the milk.
Cream Mixture
While the infusion is cooling, whisk together egg yolks and sugar in a separate bowl. To temper the eggs, slowly add some of the warm milk and whisk vigorously. Next, pour the egg mixture back into the milk and return the saucepan to medium heat. Keep stirring until the mixture thickens. Once thickened, stir in heavy cream and chill the mixture completely in an ice bath before moving on to the next step.
Churning
Now that the ice cream bowl and mixture is sufficiently chilled, it's time to churn the ice cream. Using an ice cream maker, pour the mixture into the machine and follow the manufacturer's instructions. Churning is essential because it helps to create a soft texture by incorporating air into the mixture.
Freezing
After churning, transfer the soft ice cream into a lidded container and put it in the freezer. In order to avoid ice crystal formation and ensure a smooth texture, I recommend covering the surface of the ice cream with a piece of parchment paper or plastic wrap. Freeze for at least 4-6 hours or until the desired consistency is reached.
By following these preparation steps, you'll end up with a delightful homemade bubblegum ice cream that will surely satisfy your sweet tooth. Bon appétit!
Tips for Homemade Bubblegum Ice Cream
When making homemade bubblegum ice cream, I find it helpful to consider a few key tips to ensure a successful and delicious treat.
Firstly, choosing a high-quality ice cream base is essential. I prefer using a Philadelphia-style ice cream base, which offers a creamy and sweet foundation for the bubblegum flavor we're aiming for.
Next, incorporating an authentic bubblegum flavor can make all the difference. Utilizing bubble gum extract or flavoring in just a minimal amount can enhance the ice cream dramatically. Be careful not to overdo it, though, as too much bubblegum extract can lead to an overpowering taste.
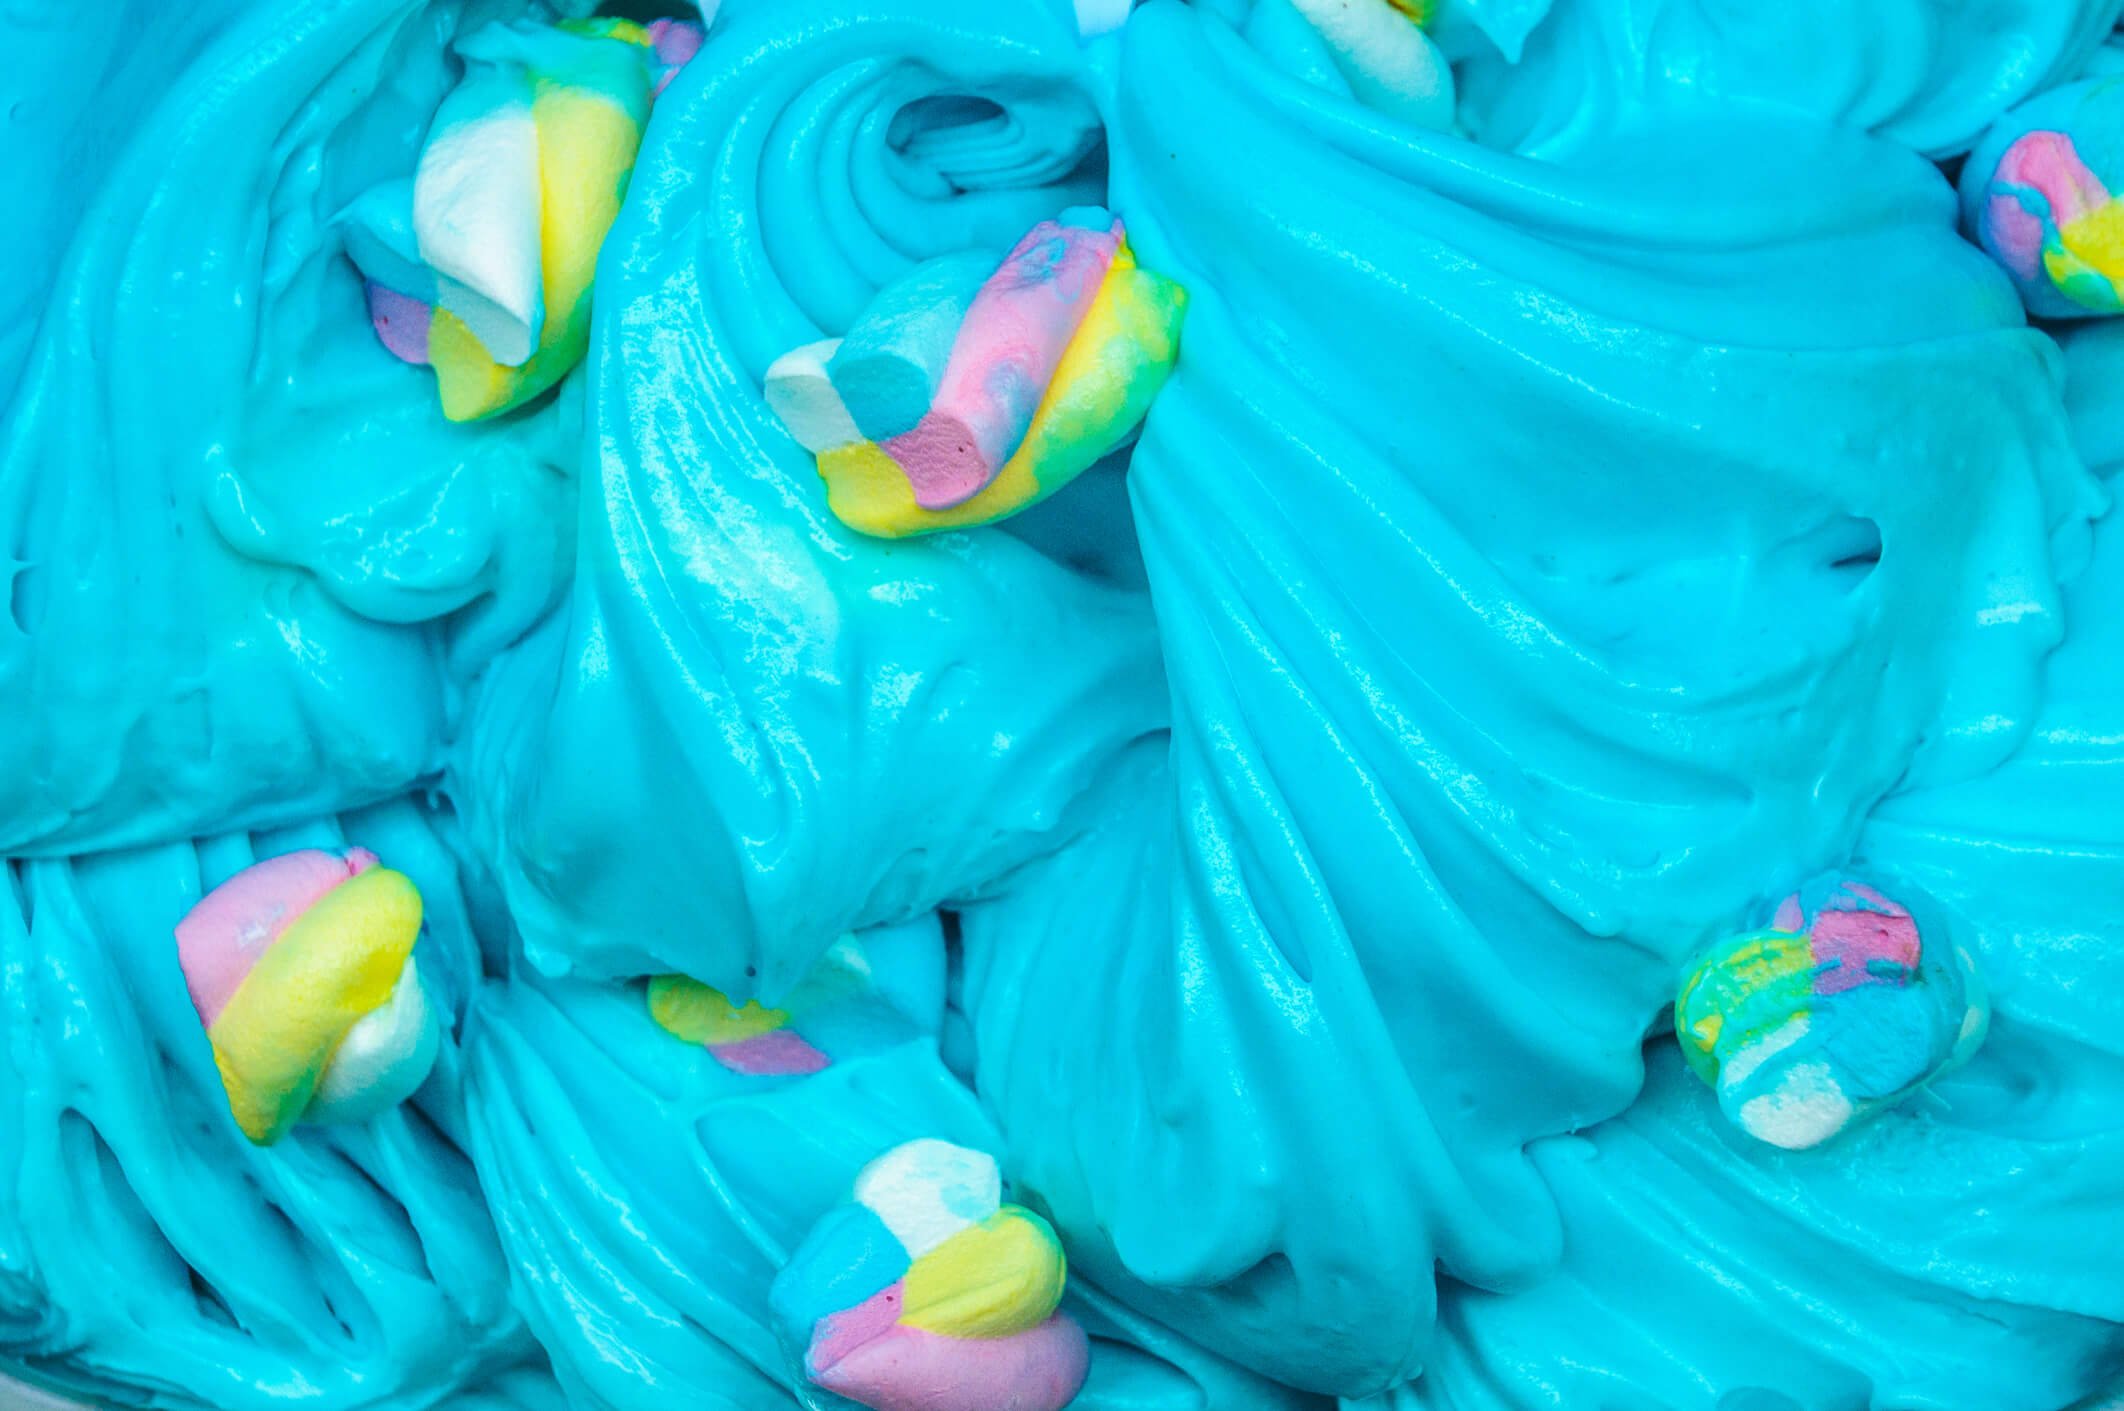
Color plays a significant role in creating an appealing bubblegum ice cream. Whether you opt for the classic pink or the vibrant blue hues, food coloring can give the ice cream that exciting visual appeal, reminiscent of what you'd find at a mall or ice cream parlor. Mixing a couple of drops blue food coloring into the ice cream base should suffice.
Moreover, adding actual gumballs or bubblegum pieces into the ice cream can enhance the overall experience. It's essential to distribute the gumballs evenly throughout the churned ice cream. Keep in mind that some people might not enjoy biting into chunks of gumball ice cream, so this step can be optional.
Lastly, achieving the perfect consistency is vital when making homemade bubblegum ice cream. Make sure to chill the mixture until it's thickened and to churn it properly, resulting in a soft-serve consistency. For a firmer texture, simply freeze it for a few hours or overnight.
In conclusion, following these tips will not only guarantee a tastefully satisfying homemade bubblegum ice cream, but also create that nostalgic feeling that harkens back to younger days.
Safety Precautions
When making homemade bubblegum ice cream, it's essential to keep safety at the forefront of your mind. One of the main concerns, especially when serving the ice cream to kids, is the potential choking hazard presented by the inclusion of gum pieces.
Choking Hazard: To address this concern, I suggest using smaller gum pieces or omitting them entirely for young children. You can also opt to serve the ice cream with gum balls on the side, which allows older kids and adults to enjoy the fun aspect of the dessert while minimizing risks for the younger ones.
As the maker of this homemade treat, it is my responsibility to ensure that the surface and utensils I use are clean and sanitized. Wash your hands thoroughly before starting and during preparation, particularly after handling raw ingredients like eggs. Some bubblegum ice cream recipes, like this one, require the use of eggs, milk, and heavy cream, so it is crucial to keep everything cold and fresh to avoid spoilage.
Temperature Control: Keep raw, perishable ingredients stored in the refrigerator until you need them. After you've prepared the ice cream, make sure to freeze it promptly and store it at the appropriate temperature to maintain its quality and safety. Furthermore, avoid leaving the ice cream at room temperature for extended periods as it increases the risk of bacteria growth.
In conclusion, taking these safety precautions ensures a delicious and enjoyable homemade bubblegum ice cream experience for everyone.
Comparison to Store-Bought Version
When it comes to making homemade bubblegum ice cream, there are several differences between homemade ice cream recipes, the DIY version and the store-bought options. I'll start by discussing the ingredients used in both versions and how they affect the final product.
Most ice cream, whether store-bought or homemade, begins with whole milk, eggs, and sugar. However, when making my own bubblegum ice cream, I have control over the quality and quantity of the ingredients, ensuring a delightful treat that aligns with personal taste preferences. In contrast, store-bought versions, such as those from Baskin Robins or your local grocery store, might contain additional additives and preservatives to extend their shelf life.
Another aspect to consider is the cost-effectiveness of creating bubblegum ice cream at home. As an Amazon associate, I've discovered that making homemade ice cream can be much cheaper than buying store-bought versions. The price of granulated sugar, vanilla extract, and the ice cream maker can be spread out over multiple batches, resulting in lower costs per serving.
Additionally, the experience of making ice cream at home can be a fun and rewarding activity. In contrast, store-bought ice cream simply requires a trip to the ice cream parlor or your favorite ice cream shop. While these outings can be enjoyable, they don't offer the same satisfaction that comes with creating a homemade dessert.
Moreover, when making my own bubblegum ice cream, I can customize the recipe to fit any dietary restrictions or preferences. For example, I can easily swap out traditional dairy milk for a non-dairy alternative and adjust other ingredients as needed.
In conclusion, while both homemade and store-bought bubblegum ice cream have their unique qualities, the opportunity to control the ingredients and costs, along with the satisfaction of creating a personalized dessert, definitely makes homemade bubblegum ice cream a worthwhile endeavor.
Texas, known for its bold flavors and warm hospitality, is home to some of the most incredible ice cream joints that will satisfy your cravings and leave you begging for more.
Alternatives and Variations
I've explored numerous variations for a delightful homemade bubblegum ice cream experience. If you're looking for a fruity twist your favorite ice cream flavor, try adding a berry ice cream swirl. Simply prepare a berry ice cream recipe and, once churned, gently fold it into your bubblegum ice cream before freezing. The combination of bold fruity flavors with the sweet bubblegum taste creates a harmonious, delightful summer treat.
Another fantastic alternative is transforming your bubblegum ice cream into a refreshing sorbet. You can easily accomplish this by using a sorbet recipe and adding bubblegum flavoring. The result is a lighter, cooler wave of bubblegum goodness, perfect for warm summer days.
If you don't have an ice cream maker at home, don't worry! A homemade no-churn bubblegum ice cream recipe is an excellent option. I discovered a straightforward no-churn ice cream recipe that only requires heavy cream, sweetened condensed milk, and bubblegum flavoring. It's a fantastic starting point to get creative and personalize your bubblegum ice cream.
When it comes to customization, the possibilities are endless! You can add candy pieces, food coloring for a vibrant visual appeal, or even use different types of gum. By blending store-bought bubblegum with other unique ingredients, you can create a truly one-of-a-kind treat that both you and your loved ones will enjoy.
In summary, whether you opt for a berry-infused swirl, a refreshing sorbet, or a simple homemade no-churn ice cream, there are countless alternatives and variations to make your bubblegum ice cream experience truly unforgettable.
Conclusion
In my experience, making homemade bubblegum ice cream is a fun and rewarding process that results in a unique and delicious frozen treat. I found that using a Philadelphia style ice cream base creates a creamy and smooth texture, while incorporating gum balls or confetti sprinkles adds a burst of color and flavor.
For those without an ice cream maker, a no-churn option is also available. By simply whipping heavy cream and folding in sweetened condensed milk, bubble gum extract, and color, I was able to create a tasty alternative. Adding the pink bubble gum and balls as a garnish while layering the ice cream mixture in a loaf pan resulted in a festive and eye-catching final product.
Throughout my experimentation, I paid careful attention to the balance of flavors and textures to ensure my homemade bubblegum ice cream was satisfying and enjoyable. It's important to note, however, that personal preferences may vary, so feel free to customize the recipe as desired.
In conclusion, making homemade bubblegum ice cream is a fun activity that can be tailored to suit individual preferences and equipment availability. The resulting treat is sure to delight and impress friends and family members with its distinctive flavor and playful presentation.
Get the best value for your money by purchasing gum balls or confetti sprinkles online!

Homemade Bubblegum Ice Cream
Ingredients
- 2 ½ cups whole milk
- 1½ tsp bubblegum extract OR 1 package Bubblicious pink bubblegum
- 1½ cups heavy cream
- ¾ cup sugar
- 3 egg yolks
- 1 tsp vanilla extract
- 4-6 drops of food coloring can use blue or pink, or can omit
- 1 cup small mixed color gumballs
Instructions
- To make the ice cream, heat milk and bubblegum extract in a medium-sized saucepan until it simmers and bubbles along the edges.
- In a small bowl, combine the sugar and egg yolks, stirring them together.
- Gradually pour 1/2 cup of the warmed milk into the egg mixture while constantly whisking to prevent curdling.
- Add this combined mixture back into the saucepan with the milk and cook over medium heat, whisking, for 5-7 minutes until it thickens.
- Remove from heat and chill over ice.
- Once chilled, stir in heavy cream, vanilla extract, and blue food coloring (if desired) and let it chill for 20 minutes or refrigerate for at least 2 hours.
- Pour the mixture into an ice cream maker and churn for approximately 15 minutes.
- Add gumballs and continue churning for another 5 minutes. The consistency will be soft.
- Transfer the ice cream to a sealed container and freeze for about 2 hours before serving.
Nutrition Facts
Calories
292.91Fat
20.4 gSat. Fat
12.32 gCarbs
23.82 gFiber
0 gNet carbs
23.82 gSugar
23.79 gProtein
4.84 gSodium
44.51 mgCholesterol
132.48 mgPercentages are based on a diet of 2000 calories a day.
Interested in learning more about beef brisket? Click here.
Are you in San Antonio and looking for best BBQ restaurant? Check it out here.
