
How to Create a Pull-Out Pantry
Step-by-Step Guide for Optimized Kitchen Storage

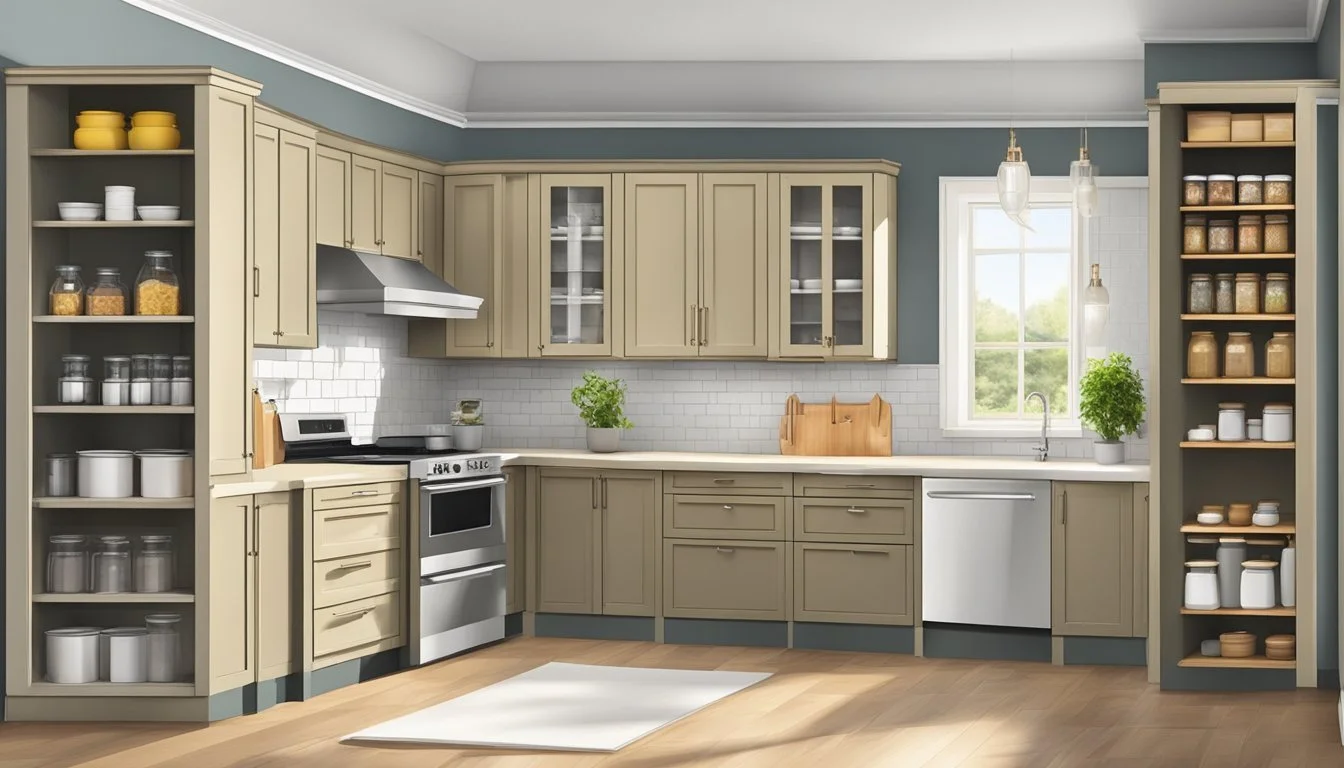
Creating a pull-out pantry can be an innovative solution to increase storage and efficiency in a kitchen's design. This custom addition capitalizes on the often-underutilized deep spaces that exist in many kitchen layouts. By transforming these areas, homeowners can gain easily accessible and organized storage for food items, spices, and cooking essentials. The initial phase involves careful planning to determine the size and functionality of the pull-out pantry to ensure it fits seamlessly into the existing kitchen cabinetry.
The practicality of a pull-out pantry extends to its ability to accommodate varying kitchen sizes. In smaller kitchens, narrow pull-out pantries can effectively utilize slender gaps between appliances or cabinets, making the most of every inch of space. With a pull-out pantry, visibility and reachability of items are significantly enhanced compared to traditional cabinets, where items can be lost in the back. Strategic placement of a pull-out pantry can also contribute to a more ergonomic kitchen workflow, aligning with contemporary kitchen design principles that prioritize convenience and user experience.
Selecting appropriate materials and hardware is crucial in constructing a durable and smooth-operating pull-out pantry. Homeowners may opt for materials such as MDF or bamboo plywood for the pantry framework and install high-quality drawer glides to ensure longevity and ease of use. The choice of material not only influences the pantry's functionality but also its aesthetic integration into the overall kitchen theme. Suitable planning, material selection, and careful construction all play pivotal roles in creating a pull-out pantry that enhances the kitchen environment and simplifies culinary endeavors.
Understanding the Basics of a Pull-Out Pantry
A pull-out pantry optimizes kitchen storage space, allowing for efficient access to groceries and kitchen supplies. When considering a pull-out pantry, one must examine both the necessity and the potential locations to ensure a practical enhancement to the kitchen.
Assessing the Necessity for a Pull-Out Pantry
The decision to install a pull-out pantry should begin with a careful evaluation of existing cabinet space and storage needs. Kitchens with limited storage benefit significantly from the added functionality of a pull-out pantry. This is particularly true for small kitchen pantry ideas, where maximization of space is crucial. Individuals should determine if their current setup causes clutter or makes it difficult to find and reach items. If these challenges are present, a pull-out pantry can provide a streamlined solution.
Determining the Right Location
Choosing the appropriate location for a pull-out pantry is pivotal. The chosen spot must have adequate depth and height to accommodate the pantry's structure while allowing for seamless integration with the rest of the cabinetry. Key considerations include:
Proximity: The pull-out pantry should be placed near the cooking and food preparation areas for easy access.
Space: A section of the kitchen that is tall enough to store items vertically and deep enough to slide out shelves without obstruction is ideal.
Utility: It is essential to ensure that the location chosen does not interfere with the kitchen's workflow or access to appliances.
By focusing on these specifics, homeowners can create a functional pull-out pantry that enhances their kitchen's efficiency and storage capacity.
Design and Planning
Creating a pull-out pantry requires precision in measuring and choice of materials. These initial steps lay a foundation for the practicality and durability of your kitchen storage solution.
Measuring Space and Pantry Dimensions
The first step is to determine the location and measure the available space. One must ensure there is adequate clearance for the pantry to pull out without obstruction. Typical dimensions for a pull-out pantry include a width between 12 to 36 inches and a height that reaches just below the upper cabinets for easy access. Each shelf's depth should allow for an easy reach, generally not surpassing 16 inches. Record these measurements carefully, as they will dictate the size of materials needed.
Selecting the Suitable Materials and Tools
For a sturdy pull-out pantry, materials like plywood are commonly chosen for their durability and ease of customization. A list of required materials may include:
Plywood (3/4 inch thickness recommended)
Screws (appropriate length for plywood thickness)
Sandpaper (medium and fine grit)
Cabinet hardware (drawer slides, handles)
The tool selection is equally important, with common requirements listing:
Saw (a circular saw is advantageous for straight cuts)
Drill (for precise screw placement and pilot holes)
Measuring tape, level, and pencil (for accurate measurement and leveling)
For the finish, one can opt for paint or stain based on their kitchen aesthetic. Ensure you have all materials and tools on hand before commencing to streamline the building process.
Constructing the Pantry Frame
Before assembling the pull-out pantry, one should consider the size and material for the pantry box, and how the shelves and dividers will be organized within.
Building the Pantry Box
To begin constructing the pantry frame, cutting the plywood to the desired dimensions forms the basic box structure. For a sturdy build, using plywood of at least 3/4 inch thickness is recommended, ensuring both resilience and support for the pantry contents. The plywood pieces need to be cut for the top, bottom, and sides of the box. After cutting, it is important to apply edge banding to the visible edges to give a finished look and to protect the plywood from moisture.
Assembly of the pantry box requires glue and screws to ensure maximum durability. It is critical to pre-drill holes to prevent the wood from splitting when inserting the screws. Glue should be applied to the joining edges before screwing to reinforce the bond. A spacer can be used to guarantee even gaps between the pantry box and adjacent cabinets.
Assembling Pantry Shelves and Dividers
For the internal organization of the pull-out pantry, shelves and drawer dividers must be constructed. Here's a concise overview:
Measure and cut additional plywood for shelves and dividers.
Ensure the width of shelves allows for smooth operation within the pantry box.
Secure the shelves and dividers with screws, avoiding over-tightening.
Each shelf should be attached to the pantry box using screws and glue, and if adjustable shelves are desired, shelf pins or standards can be added. To enhance the appearance, trim can be attached to the front of the shelves, serving the dual purpose of concealing the plywood core and adding visual appeal.
Installing the Pull-Out Mechanism
Installing the pull-out mechanism is a precision-driven task that is pivotal for the smooth operation of your pantry. Selecting the appropriate sliding hardware and correctly attaching the drawer slides are the foundational steps in this process.
Choosing the Correct Sliding Hardware
The proper selection of sliding hardware for your pull-out pantry is crucial. Ball-bearing slides are commonly recommended for their smooth operation and durability, making them suitable for handling the weight of pantry items. When choosing the slides, one must consider the weight capacity and the extension length. Most pull-out pantry shelves benefit from full-extension slides, which allow easier access to the entire shelf.
Attaching Drawer Slides
Installation of drawer slides follows:
Measure the Cabinet: Precisely measure the cabinet's interior width, and select slides that fit these dimensions.
Mark the Placement: Determine the height position for your pull-out drawers and mark it on the cabinet walls, ensuring the marks are level.
Secure the Slides:
Align the slides with the marks.
Use a drill to attach the slide to the cabinet wall with screws.
Ensure the slides are parallel and level for smooth operation.
Install the Shelf: With the slides in place, the pull-out pantry shelves can be secured to the corresponding part of the slides. Gently slide the shelf in and out to test the functionality and make any necessary adjustments.
Using the right hardware and accurately attaching the sliding mechanism are essential for a well-functioning pull-out pantry that will enhance the efficiency of your kitchen space.
Mounting and Finishing
Once the construction or selection of a pull-out pantry is complete, the focus shifts to securely mounting it within the existing cabinetry and applying the final aesthetic touches. These steps ensure both functionality and seamless integration with the kitchen decor.
Securing the Pantry into the Cabinet
The pull-out pantry must be firmly fastened to prevent movement and ensure longevity. An installer should:
Align the pantry unit with the cabinet interior, ensuring it is level and flush.
Use heavy-duty screws to secure the pantry rails to the cabinet walls. The length and gauge of these screws are critical; typically, screws should be long enough to provide ample support without piercing through the exterior.
Verify that the unit can bear the weight of pantry contents by gently pulling out each shelf after securing.
Applying Final Touches and Decor
The aesthetic component of the installation cannot be understated. For the pantry to blend with the kitchen, one should:
Apply a coat of paint or stain that matches or complements the surrounding cabinetry.
Install trim around the pantry to cover any gaps, which enhances the built-in look and adds a finished, professional quality.
If necessary, adjust the existing cabinet door or install a new one that aligns with the pantry's dimensions and design.
By meticulously securing the pantry and refinishing its appearance, it becomes both a practical storage solution and an attractive addition to the kitchen's overall aesthetic.
Customization and Organization
Creating a pull-out pantry involves careful planning to ensure that the space is used effectively. Customization and organization are key elements that transform a cluttered kitchen into a model of efficiency, where every item is easily accessible.
Incorporating Custom Storage Solutions
One can outfit their pantry with custom storage solutions tailored to their specific needs. Utilizing adjustable shelves provides flexibility to accommodate items of various sizes. For instance, The RTA Store suggests the importance of investing in home improvements such as a well-organized kitchen. Incorporating sliding drawers or baskets allows for visibility and easy access, ensuring ingredients are within reach. Optimal storage solutions can include specialized organizers such as a Vertical Spice® rack, which is designed to utilize minimal space while maximizing storage efficiency. Additionally, the integration of a well-placed light fixture can illuminate the pantry's contents, making it simple to find what one needs.
Organizing Pantry Contents for Maximum Efficiency
Organization within a pull-out pantry requires a systematic approach. Here are some methods to ensure pantry contents are arranged for maximum efficiency:
Grouping Items: Keep similar items together, such as baking ingredients or snack foods.
Storage Containers: Transfer goods into clear, airtight storage containers to maintain freshness and stackability.
Category Storage Solution Spices Small, clear racks or tiered shelves Canned Goods Stackable can organizers Dry Goods Airtight containers with labels
By labeling shelves and containers, one can maintain order and avoid searching through every shelf. Furthermore, Storables offers guidance on selecting the right pull-out pantry system, emphasizing the importance of measuring space to ensure an optimal fit. They also highlight the convenience of tailor-made pull-out kitchen storage options, which can give cabinetry a custom-feel while making the most of every inch.
Advanced Tips and Tricks
When creating a pull-out pantry, the primary challenges often involve utilizing every square inch effectively and overcoming the issues that arise during installation. These advanced techniques focus on maximizing space in challenging areas and navigating typical installation hurdles.
Maximizing Space in Tight Corners
For those awkward kitchen corners, heavy-duty sliding racks are an exceptional solution. Installing a slide out mechanism equipped with an articulated arm allows access to the furthest reaches of a corner cabinet, turning previously wasted space into valuable storage. Integration of a toe kick at the bottom of the pantry also provides additional storage for flat or seldom-used items without compromising the aesthetics or functionality of the kitchen.
Dealing with Common Installation Obstacles
Measurements and Alignment:
Ensure that the height, width, and depth of the chosen space are meticulously measured.
Use a level to install slides perfectly horizontal, avoiding uneven pull-out action.
Support for Weight:
Opt for high-grade, heavy-duty slides that can bear the weight of pantry contents.
Reinforce the pantry's structure with appropriate bracing if installing in an existing closet or cabinet.
Customizing for the Built-In Look:
Should any obstacles like pipes or outlets be in the way, custom-built shelves may be necessary.
Use fillers or additional framing to ensure the pantry fits snugly, appearing as a seamless built-in pantry unit.
By employing these specialized strategies, one can enhance functionality and achieve a tailor-made look for their pull-out pantry, ensuring both efficient use of space and a smooth installation process.
Maintenance and Upkeep
Maintaining a pull-out pantry involves regular cleaning and reorganization to ensure it stays functional and efficient. Addressing wear and tear as it happens prolongs the life of the pantry and its mechanisms.
Routine Cleaning and Organization
One should schedule weekly cleanings to prevent crumbs and spills from accumulating in the pantry. During these cleanings, it's important to:
Remove all items from the pantry.
Wipe down shelves with a mild cleaner.
Clean the rails and wheels with a damp cloth to remove dust or food particles.
To keep the pantry organized:
Sort items by frequency of use, with commonly used items within easy reach.
Group similar items together, such as baking supplies or canned foods.
Check expiration dates and dispose of outdated products.
Utilizing clear storage containers and labels can further enhance organization, making it easier to find and access items.
Addressing Wear and Tear
Over time, the pantry's moving parts might show signs of wear. To address this:
Regularly inspect the tracks and wheels for signs of damage or misalignment.
Lubricate moving parts with an appropriate lubricant to ensure smooth operation.
Tighten any loose screws or hardware to prevent further wear.
If any parts are damaged, one should replace them promptly to avoid strain on other components. Doing so ensures the pantry continues to function properly and safely.
Financial Considerations
Creating a pull-out pantry involves careful budgeting to account for materials, tools, and potential miscellaneous costs. This section will outline the primary financial aspects one must consider when undertaking a DIY pull-out pantry project.
Estimating the Cost of a DIY Pull-Out Pantry
To estimate the cost of a DIY pull-out pantry, individuals should first list all required materials and tools, then research current prices. Here are the common items needed and a cost range for a basic pull-out pantry:
Wood or pre-fabricated panels: $30 - $100
Sliding Rails: $20 - $70
Screws and Hardware: $10 - $30
Tools (Drill, Screws, Saw, etc.): $0 (if owned) - $200 (if purchasing or renting)
An approximate total can range from $60 to $400, primarily depending on whether one opts for premium materials or already possesses some of the necessary tools.
Budget-Friendly Material Choices
To keep expenses low, they can consider these budget-friendly material options:
Plywood: Less costly than solid wood and can be painted or stained.
Repurposed Materials: Old cabinets or shelves can be modified to fit the space.
Hardware Deals: Look for sales or bulk purchase discounts on rails and screws.
Choosing cost-effective materials and looking for deals can significantly reduce the overall expense of the project. The individual's ability to use existing tools or borrow them can also alleviate financial strain. It's important to remember that opting for the least expensive options may affect durability and appearance. Therefore, a balance between cost and quality should be aimed for to ensure the pull-out pantry meets both financial constraints and long-term usability.
