
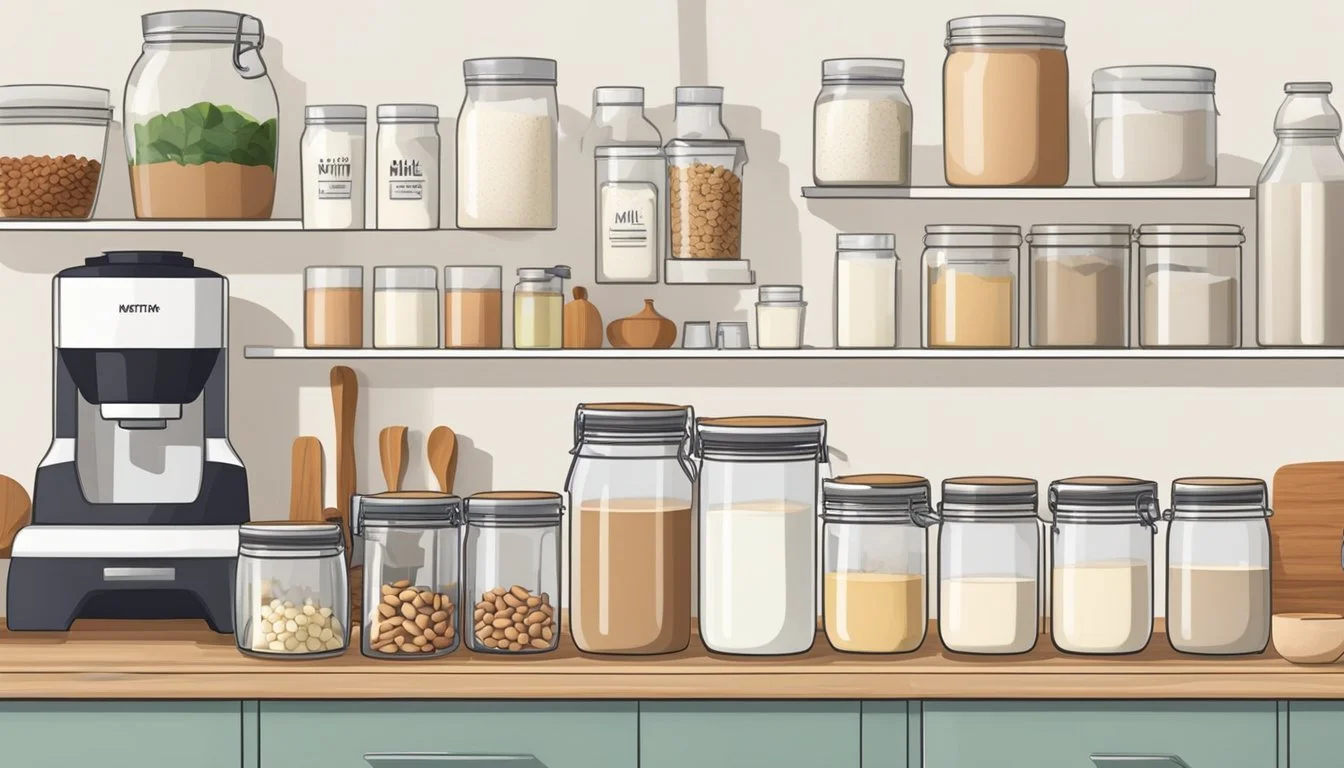
How to Create an Organized Kitchen Nut Milk Making Station
A Step-by-Step Guide

Creating nut milk at home is a straightforward process that allows individuals to enjoy a fresh, plant-based alternative to dairy milk. With the rise in popularity of vegan and non-dairy milk options, many people are opting to make their own nut milk for its simplicity and the ability to control the ingredients used. Having an organized kitchen station dedicated to nut milk preparation can streamline the process and make it an enjoyable routine.
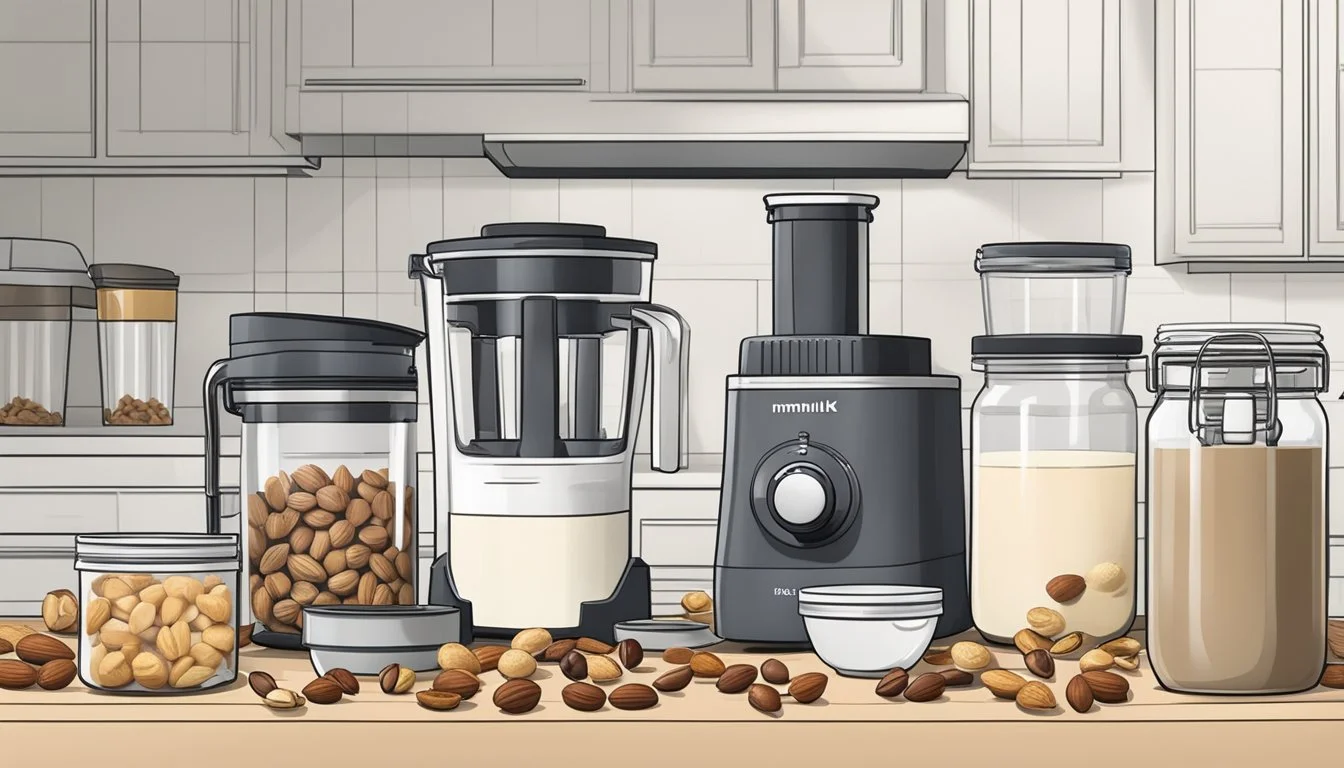
A well-organized nut milk making station begins with the right tools such as a high-speed blender, a large bowl, and a fine mesh nut milk bag or a no-sew fabric alternative. These tools are essential to turn raw nuts (What wine goes well with nuts?) into creamy, homemade nut milk. Setting up these tools in a designated area in the kitchen ensures that everything needed for nut milk recipes is conveniently at hand.
To establish an efficient homemade nut milk station, one must also consider storage and preservation. Freshly made nut milk is best kept in glass jars in the refrigerator where it can remain fresh for up to a week. Clear labeling of these jars with the date of production helps in tracking freshness. An organized kitchen station will encourage regular use and can inspire the creation of various nut milk recipes, contributing to a wholesome and sustainable lifestyle.
Understanding Nut Milk Basics

Creating nut milk at home offers a personalized approach to this dairy-free alternative, blending health, and cost-efficiency with the simplicity of the process.
Benefits of Homemade Nut Milk
Making nut milk at home allows individuals to control ingredients, leading to a healthier, fresher end product. Homemade nutritional milks, whether it's almond milk or cashew milk, often lack the preservatives found in store-bought versions. They can cater to vegan diets and are more cost-effective in the long run.
Common Types of Nut Milks
Nut milk is diverse; prominent variants include almond milk and cashew milk. Each type offers a unique flavor profile and nutritional content, with almond milk being a popular low-calorie option, while cashew milk is typically richer and creamier.
Tools and Equipment Needed
To make nut milk at home, essential equipment includes:
High-speed blender: Brands like Vitamix or Blendtec are efficient.
Nut milk bag, cheesecloth, or a fine mesh strainer: These aid in separating pulp from liquid.
Mason jar or alternative storage: Ideal for refrigeration and freshness.
Using the proper equipment ensures a smoother texture and easier preparation, resulting in a satisfying homemade beverage.
Preparation of Nuts
The initial steps in creating nut milk involve selecting premium nuts, soaking them to enhance their texture and blendability, followed by thorough rinsing and draining.
Selecting Quality Nuts
When choosing nuts for milk, one should opt for organic, raw variants such as almonds, cashews, or other desired types. Organic nuts are preferred for their lack of pesticides, which can contribute to a purer final product. It's essential to ensure nuts are fresh and unsalted to maintain control over the milk’s flavor.
Soaking and Why It Matters
Soaking is a pivotal step that softens the nuts, making them easier to blend while also improving digestibility. The general recommendation is as follows:
Almonds: 8-12 hours
Cashews: 2-4 hours
Soaking nuts in filtered water with a pinch of salt can neutralize enzyme inhibitors, allowing the inherent nutrients to become more bioavailable.
Rinsing and Draining
After soaking, nuts should be rinsed thoroughly under cool running water to remove phytic acid and enzyme inhibitors. A fine-mesh strainer is beneficial for this purpose. Ensure the nuts are drained completely to prevent diluting the milk's flavor. This step also preps the nuts for a smooth blend, yielding creamier nut milk.
Making the Nut Milk
Creating homemade nut milk involves blending nuts with water, straining the mixture to achieve smoothness, and adding flavors to enhance the taste. This section will guide you through each step, ensuring a creamy and delicious result.
Blending Nuts and Water
For a basic homemade nut milk recipe, combine raw almonds or cashews with water in a high-speed blender. The typical ratio is 1 part nuts to 3-4 parts water. Blend the mixture on high speed for approximately 90 seconds, until the nuts are fully pulverized and the liquid appears creamy and frothy.
Straining the Milk
After blending, pour the mixture through a fine mesh nut milk bag or cheesecloth placed over a large bowl. Use your hands to squeeze and wring out all the milk, leaving the pulp behind. The resulting liquid is your homemade nut milk, which should be free of nut particles and have a smooth consistency.
Flavoring Your Nut Milk
Optionally, enhance your nut milk by adding natural sweeteners and flavorings. A common choice is to blend in vanilla extract, a pinch of cinnamon, or a tablespoon of maple syrup for sweetness. Stir or blend these into the strained nut milk to personalize your batch with your desired taste profile. Remember to start with small amounts of flavorings and adjust according to your preferences.
Storing Nut Milk

Proper storage practices are crucial for maintaining the freshness and quality of homemade nut milk. By following correct refrigeration and freezing techniques, one can extend the shelf life and enjoy their nut milk for a longer period.
Refrigeration and Shelf Life
Once prepared, nut milk should be stored in the refrigerator to keep it fresh. It's best to use glass jars, like mason jars, which are airtight and non-reactive. Filling the jars to the brim can help limit air exposure and the potential for spoilage. Homemade nut milk typically lasts up to one week when stored at or below 40°F. The milk may separate over time; simply shake the jar to recombine the contents before use.
Freezing Options
For longer storage, nut milk can be frozen. Pour the milk into ice cube trays, providing convenient, small portions for later use, such as for smoothies or cooking. Once the cubes are frozen solid, a person can transfer them to a freezer-safe container or bag to prevent freezer burn. Thawed nut milk is best used in cooking rather than drinking, as freezing may alter the texture. It is not recommended to freeze nut milk in glass jars, as the expansion during freezing can cause the glass to break. Instead, use plastic containers leaving some headspace to account for expansion.
Using the Nut Pulp

After making nut milk, one should not discard the remaining pulp as it is a valuable byproduct that can be used in a variety of ways. Here's how one can get creative with nut pulp in the kitchen.
Recipes for Leftover Pulp
Nut pulp, such as almond pulp, is a versatile ingredient that can be incorporated into numerous recipes. One can add pulp to baked goods such as muffins, cookies, and breads, lending a nutty flavor and additional fiber. For a moist and flavorful addition, incorporating nut pulp in smoothies or as a base for granola bars is an excellent reuse of this byproduct. It's also possible to mix the pulp into homemade energy balls or use as a thickener for soups and stews.
Baked Goods: Muffins, cookies, and breads can gain added moisture and nuttiness from the inclusion of almond pulp.
Smoothies: A spoonful of nut pulp can add texture and nutrition.
Granola Bars: Nut pulp can act as a binder and nutrient booster for homemade bars.
Energy Balls: Combine with dates and seeds for a quick snack.
Soup Thickener: A bit of pulp can subtly enhance the heartiness of soups.
Drying and Storing Pulp
To preserve nut pulp for future use, one must first dry it. Spread the nut pulp evenly on a baking sheet lined with parchment paper and bake at a low temperature of 150°C until the material is dry and flaky. This can take 30 to 60 minutes. Stirring the pulp periodically helps it to dry evenly. Once dried, the pulp can be pulsed in a blender to produce a finer texture, if desired. Store the dried pulp in an airtight container for use in various recipes. It should be noted that dry pulp can be used as a substitute for almond flour in recipes—especially useful for those following gluten-free diets.
Baking Instructions:
Temperature: 150°C
Duration: 30-60 minutes
Storage: Airtight container
Usage Ideas:
Added to oatmeal or yogurt for extra texture and nutrients
Customizing Your Nut Milk
Crafting homemade nut milk allows for a range of customizations to cater to individual taste preferences. One can create anything from sweet, dessert-like beverages to richer, more robust varieties perfect for coffee and tea.
Sweet and Flavorful Additions
For those with a sweet tooth, adding natural sweeteners can transform nut milk into a delightfully sweet drink. To do so, one might consider the following options:
Agave syrup: A natural sweetener with a neutral, mildly sweet flavor.
Maple syrup: It offers a distinct, warm taste, often preferred for its natural origin and depth of flavor.
In addition to sweeteners, introducing flavorings like vanilla extract or cinnamon can enhance the milk's aroma and palate. Here's a typical addition:
Add 1-2 teaspoons of vanilla extract or a dash of cinnamon per quart of nut milk for a subtle but distinct flavor enhancement.
Making Nut Milk for Coffee and Tea
Nut milk can also be tailored for use as a coffee creamer or tea companion. The key is to create a creamier consistency and muted flavors that will complement rather than overpower your hot beverages. A barista might use less water for a thicker consistency and opt for flavorings that meld well with coffee or tea:
Chocolate: Adding cocoa powder can create a mocha effect in coffee.
For tea drinkers, a hint of spice such as cardamom or ginger may be more appropriate, pairing well with black or chai teas.
These customizations allow anyone to refine their nut milk to personal taste, making it a versatile ingredient in various culinary applications.
Health and Nutrition Information

When setting up a kitchen nut milk making station, it is important to consider both the health benefits and nutritional content of different types of nut milks, as well as any potential allergens or sensitivities.
Comparing Nutritional Content
Nut milks offer a plant-based alternative to dairy, each variety boasting its unique set of nutrients. The nutritional content can vary widely between types, with factors such as whether the nuts are raw or roasted, organic, and how much water is used in preparation affecting the end result. To provide a clearer perspective, here's a basic comparison of typical nutrient contents found in homemade almond and cashew milk:
Nutrient Almond Milk (1 cup) Cashew Milk (1 cup) Calories 30 - 50 25 - 50 Protein 1 - 2g 0.5 - 1g Fat 2.5 - 3.5g 2 - 4g Carbohydrates 1 - 2g 1 - 2g Calcium Varies (often fortified) Varies (often fortified) Vitamins Usually contains vitamin E May contain B vitamins
Almond milk is a lighter option with fewer calories and less fat but is a good source of vitamin E. Cashew milk typically has a creamier texture and may offer a slightly higher fat content, along with a distinct set of B vitamins. Nut milks naturally have lower protein compared to dairy milk, and the bioavailability of nutrients can be higher in those that are properly soaked and blended.
Understanding Allergens and Sensitivities
Individuals with allergies should take particular care when selecting nuts for milk production. Tree nut allergies are common, and accidental ingestion can lead to serious allergic reactions. A well-organized kitchen nut milk station should include clear labeling to prevent cross-contamination between nut types.
Furthermore, for those with sensitivities, it's critical to understand that the healthfulness of nut milk can vary. Some may find that certain nut milks cause digestive discomfort, which could be due to compounds such as phytates and lectins found in raw nuts. Processing methods such as soaking, which increases nutrient bioavailability, may also reduce the presence of these compounds, making the milk more digestible and healthful for sensitive individuals.
In addition to considering allergens, it's worth noting that homemade nut milks generally lack the fortification present in store-bought versions. One might consider supplementing their diet with vitamins and minerals that plant-based milks may not inherently provide in significant amounts.
Cost Analysis

In establishing an organized kitchen nut milk making station, it is crucial to conduct a cost analysis. This will help determine whether homemade nut milk is cost-effective compared to store-bought options and how to budget for ongoing production costs.
Homemade vs. Store-Bought
When comparing homemade nut milk to store-bought varieties, one should consider the initial investment and long-term expenses. Store-bought nut milks often come at a premium price due to branding, packaging, and the convenience factor. In contrast, homemade nut milk allows for control over ingredients and can be more cost-effective in the long run. The following table illustrates a basic cost breakdown:
Item Store-Bought per gallon Homemade per gallon Nuts N/A $6 - $12 Equipment N/A $20 - $100 (one-time) Additional Ingredients Included <$1
The cost of nuts can vary widely depending on the type and where they are purchased. While equipment for making nut milk at home requires an upfront investment, it can be used repeatedly, thus reducing the cost per gallon over time. Therefore, making nut milk at home can become more cost-effective after the initial expenses are recouped.
Budgeting for Regular Production
For those who intend to produce nut milk regularly, budgeting is essential. They should account for the costs of raw materials, such as nuts and any flavorings or additives used. Additionally, the use of equipment and utilities contributes to the overall cost. A simple budgeting list can help track these expenses:
Raw Materials: Nuts, salt, and optional flavor additives.
Equipment: Nut milk bag, blender, and storage containers.
Utilities: Water, electricity, and cleaning supplies.
Most importantly, one must not forget regular expenses, such as the replacement of nuts and maintenance or replacement of equipment. Although these costs may seem high initially, regular homemade nut milk production is generally more cost-effective compared to the frequent purchase of store-bought equivalents. The budget for regular production should factor in bulk purchases of nuts and efficient use of equipment to maximize savings.
Nut Milk Variations
Crafting nut milk can cater to diverse palates and dietary needs. By varying nut and seed types or exploring non-nut options, one can produce a panoply of flavors and nutritional profiles to enhance any kitchen's milk repertoire.
Exploring Diverse Nut and Seed Options
An array of nuts and seeds can be transformed into rich, creamy milks, each offering its own unique taste and texture. Almonds are a staple in nut milk production, prized for their smooth flavor and versatility. Cashews blend into an exceptionally creamy milk, ideal for coffee creamers or rich desserts. For those favoring a distinctly robust flavor, walnuts or hazelnuts serve as excellent choices.
Pecans and brazil nuts yield a buttery and luxurious milk. Pistachios and peanuts, although less common, create intriguing milk variations that can be a delightful surprise to the palate. Additionally, seeds such as hemp or sunflower can be used, providing a nut-free milk option for those with allergies.
Seed Options:
Hemp
Sunflower
Nut Options:
Almonds
Cashews
Walnuts
Hazelnuts
Pecans
Brazil nuts
Pistachios
Peanuts
Non-Nut Alternatives
For those with nut allergies or looking for different nutritional content, non-nut alternatives like oat milk and soy milk stand as popular and accessible choices. Oat milk is known for its mild, naturally sweet flavor and creamy consistency, making it a favorite for lattes and cereal. It is also high in fiber compared to other milk alternatives.
Soy milk, on the other hand, is a nutritionally dense option, rich in protein and providing a taste profile that closely mimics dairy milk. It's suitable for a range of culinary applications from savory cooking to baking.
Popular Non-Nut Milks:
Oat milk: Sweet, creamy, high in fiber.
Soy milk: Protein-rich, versatile in use.
Environmental and Ethical Considerations

When creating a kitchen nut milk making station, one's awareness often extends to the environmental footprint and the ethical implications of their choices. They encompass sourcing sustainability as well as the broader impact of adopting a plant-based lifestyle.
Sustainable Sourcing
Sourcing ingredients for making nut milk can significantly affect the environment. Home chefs who pursue an organic approach not only contribute to their health but also support agricultural practices that maintain soil integrity and reduce chemical runoff. They typically look for the following certifications and practices:
Organic Certification: Ensures nuts are grown without synthetic pesticides or fertilizers.
Fair Trade Labels: Indicates ethical treatment and fair payment of workers involved in production.
Local Sourcing: Reduces transportation emissions and supports local economies.
In addition, many prefer to use reusable containers and nut milk bags to minimize waste.
Plant-Based Impact
Switching to plant-based nut milks from dairy can be an impactful step towards a sustainable lifestyle. Dairy farming is resource-intensive, while plant-based milks often require less water and land and generate fewer greenhouse gases. They believe that by incorporating vegan options like nut milk, they contribute to:
Reduced Water Usage: Nut trees require water, but the overall water footprint can be less than that for dairy milk.
Fewer Greenhouse Gas Emissions: Plants generally emit lower levels of methane compared to dairy farms.
Animal Welfare: Nut milk production does not involve animal husbandry, aligning with vegan ethics.
Adopting a nut milk making routine with environmental and ethical considerations ensure that the choice is not just beneficial for one's health but also mindful of the planet and its inhabitants.
Advanced Techniques and Tips

In the quest for the perfect homemade nut milk, certain techniques can enhance both the quality and shelf-life of the final product. The following sections offer expert strategies for achieving optimal creaminess and long-term preservation.
Achieving Optimal Creaminess
The key to creamy nut milk lies in the blending process. Users should employ a high-speed blender to ensure that nuts are finely pulverized. The ideal speed is high, and the process should last for one to two minutes. This ensures that nuts are transformed into a smooth texture. Here is a step-by-step approach:
Soak nuts overnight to soften them, which facilitates blending.
Drain and rinse the nuts before use to remove any impurities.
Use cold water to help maintain the temperature during blending, as heat can affect the creaminess.
Blend on high speed for at least 90 seconds. If the blender has a pulsing feature, use it to break up larger pieces.
By following these steps, one can expect a uniformly creamy texture in their nut milk.
Long-Term Storage and Preservation
Maintaining the fresh taste of nut milk can be challenging, but proper storage techniques help preserve its quality. Here are specific tips:
Refrigeration: Store nut milk in glass containers to keep it fresh. It is important to use airtight containers to preserve taste and prevent contamination.
Freeze: For extended storage, freezing is an option. Freeze nut milk in ice cube trays or freezer-safe containers. Defrost in the refrigerator when ready to use.
Cycle: Rotate stocks by keeping the newest batches at the back of the fridge or freezer, ensuring older milk is used first.
Remember, homemade nut milk can separate over time. If this occurs, simply shake the container to recombine the ingredients before use.
Troubleshooting Common Issues

Creating a nut milk station in your kitchen can be a rewarding endeavor, but one might face challenges pertaining to the nut milk's texture and flavor. This section provides solutions to common issues that can arise during the milk-making process.
Texture and Consistency Problems
Problem: Nut milk is not creamy enough.
Solution: Use a high-speed blender to ensure nuts are finely ground. Blend nuts and water for at least 90 seconds to achieve a creamy and frothy consistency. If the milk is still not creamy, consider adding a small amount of natural thickeners like guar gum or carrageenan.
Problem: Sedimentation or separation in the nut milk.
Solution: Nut milk can naturally separate. Simply shake the container before use. For less separation, strain the mixture through a fine mesh nut milk bag, removing as much partially ground nuts as possible.
Flavor Imbalances
Problem: Nut milk tastes bland or lacks richness.
Solution: A pinch of salt can enhance the natural flavors of nut milk. Adjust the level of salt and add-ins like vanilla extract or natural sweeteners to taste.
Problem: Bitter or unpleasant aftertaste.
Solution: Soaking nuts overnight and rinsing them before blending can reduce bitterness. Also, ensure your equipment is clean and free of rust or residue, as this can affect the taste.
