
Canning Mussels at Home
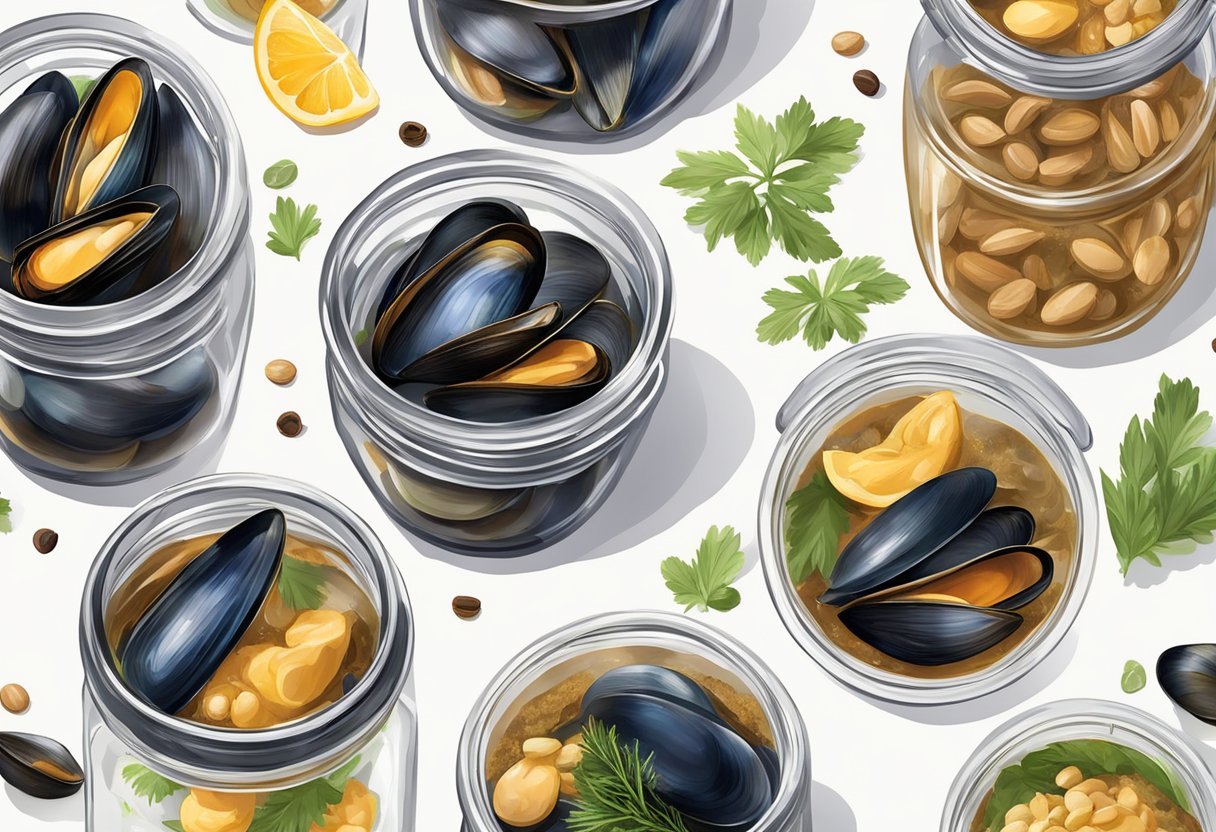
Mussels (What wine goes well with mussels?) are a welcome, delicious and healthy first course or main course that is not easy to forget, enjoyed simply with white wine or with a rich sauce, such as a fennel (how long does fennel last?) tomato sauce. They don't have a long shelf life when live so mussel canning at home is a practical and delicious way to preserve seafood (What wine goes well with seafood?) long into the future thanks to canning. By using proper techniques, this method ensures the mussels will be safe to eat and maintain the wonder of their texture and flavor. While the canning process might seem intimidating to some, following step-by-step guidelines can ensure a successful outcome.
Pressure canning is the recommended method for mussel canning, and thanks to the technology it effectively eliminates the risk of bacterial contamination. It is crucial to clean and prepare the mussels properly before canning to ensure both taste and safety. Placing the seafood on ice or in a freezer or a cooler immediately after obtaining it helps in maintaining the freshness and don't leave them too long until they are ready to be canned.
For those looking to explore the world of seafood preservation, mussel canning at home is a rewarding and cost-effective option. Not only does it provide convenient access to a favorite dish, but it also allows for creativity in recipes and flavor combinations. With a little practice, anyone can master and love the art of canning mussels and enjoy the satisfaction of a homemade delicacy.
Understanding Home Canning
Home canning is a method of food preservation, used to extend the shelf life of various types of foods, including mussels. It involves placing partially or fully cooked food into a glass jar, sealing it with airtight lids and applying heat to kill any bacteria and create a vacuum seal. There are two main techniques used in home canning: pressure canning and water bath canning.
Pressure canning is commonly used for low salt and-acid foods, such as meat, poultry, and certain vegetables, which require a higher temperature to ensure their safety. In this process, the jars are placed in a pressure canner, which uses steam under pressure to achieve temperatures of 240°F (116°C) or higher. This technique effectively kills bacteria and other harmful microorganisms that may be present.
The water bath canning method is generally used for high-acid foods, such as fruits, tomatoes, and pickled vegetables. This technique involves placing the jars in a pot of boiling water, typically at 212°F (100°C), for a specified amount of time based on the recipe. While this method does not reach the same high temperatures as pressure canning, it is sufficient for preserving high-acid foods.
It's important to follow research-based canning methods to prevent food-borne illnesses, such as botulism, which is commonly associated with home-canned foods. The USDA's Complete Guide to Home Canning is a well-renowned and comprehensive resource providing information on canning procedures, recipes, and safety guidelines. This free guide is available for download from the National Center for Home Food Preservation website.
When attempting to can mussels or any other food, maintaining a clear, knowledgeable, and neutral tone is vital. By adhering to the established guidelines and using proper canning techniques, one can be confident in the successful preservation of a variety of foods, including your mussels.
Importance of Proper Canning
When mussel canning at home, it is crucial to follow proper canning techniques to ensure the safety and quality of your canned foods. Mussel canning involves preserving them in a sealed environment, often in a jar or can, to prevent spoilage and extend their shelf life. However, if done incorrectly, canning can lead to the growth of harmful bacteria and potentially cause food poisoning.
One of the most dangerous bacteria that can grow in improperly canned mussels is Clostridium botulinum. This bacteria is responsible for producing the deadly neurotoxin that causes botulism, a severe form of food poisoning. Proper canning methods, such as removing oxygen and using adequate heat, are vital to destroy enzymes and prevent the growth of these undesirable bacteria.
To ensure the safety of your home-canned mussels, follow these recommendations:
Use a pressure canner, which is specifically designed for canning low-acid foods like mussels. Pressure canning heats the mussels to a high enough temperature to eliminate Clostridium botulinum spores.
Adhere to the processing time and pressure levels specified in a reliable, up-to-date recipe. These guidelines are scientifically tested and optimized for safety and quality.
Here are some important points to remember:
Handle mussels properly before canning: Clean them thoroughly, and keep them cold until the canning process begins.
Avoid cross-contamination: Use separate cutting boards and utensils for raw mussels and other ingredients.
Inspect jars and lids: Ensure jars are free from cracks or chips and lids are not rusty or damaged before use.
By following proper canning techniques and adhering to these recommendations, you can enjoy safely preserved mussels this summer, reducing the risk of food poisoning caused by harmful bacteria such as Clostridium botulinum.
What You'll Need
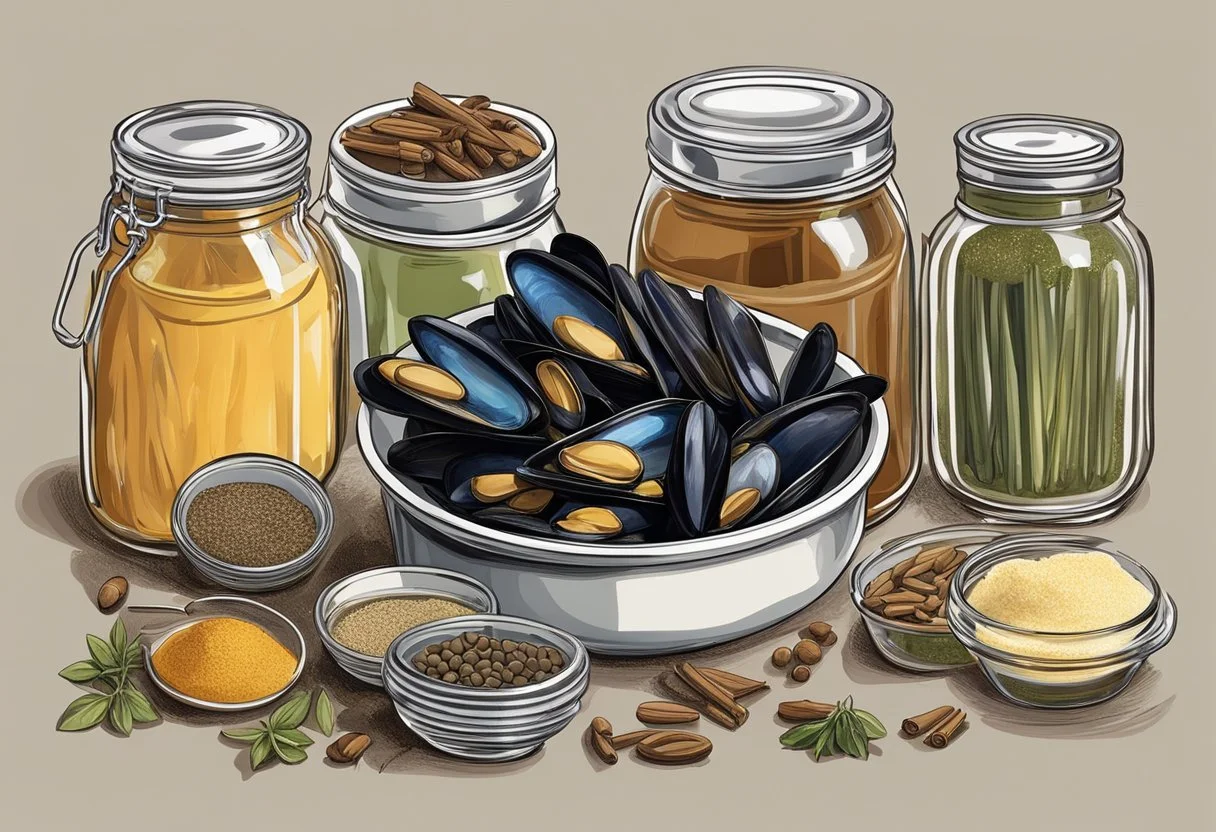
To can mussels at home, you'll need a few essential pieces of equipment and materials. Gather these items beforehand to ensure a smooth and hassle-free process.
Pressure Canner: A pressure canner is crucial for safely preserving mussels, as the high temperature and pressure effectively kill any bacteria and seal the jars. Ensure that the pressure canner has a reliable pressure gauge and a rack to hold the jars.
Jars and Lids: Opt for high-quality mason jars specifically designed for home canning. These jars come in various sizes, and their standard wide-mouth design makes them easy to fill and empty. You'll also need lids and rings for sealing the jars. Lids with a compound sealing strip are ideal, as they create an air-tight seal during the canning process.
Here is a list of additional items you may need:
Jar lifter
Lid wand
Funnel
Bubble remover
Clean towels
Before starting, make sure to thoroughly wash the mason jars, lids, and rings with hot, soapy water. Rinse them well and dry the jars and rings. The lids should be placed in a pan of near-boiling water to soften the sealing compound.
Note: Always check the jars for nicks, cracks, or any irregularities that might compromise their seal.
Once you have gathered all the necessary equipment and materials, you'll be well-prepared to start mussel canning at home confidently and safely.
Selection and Preparation of Mussels
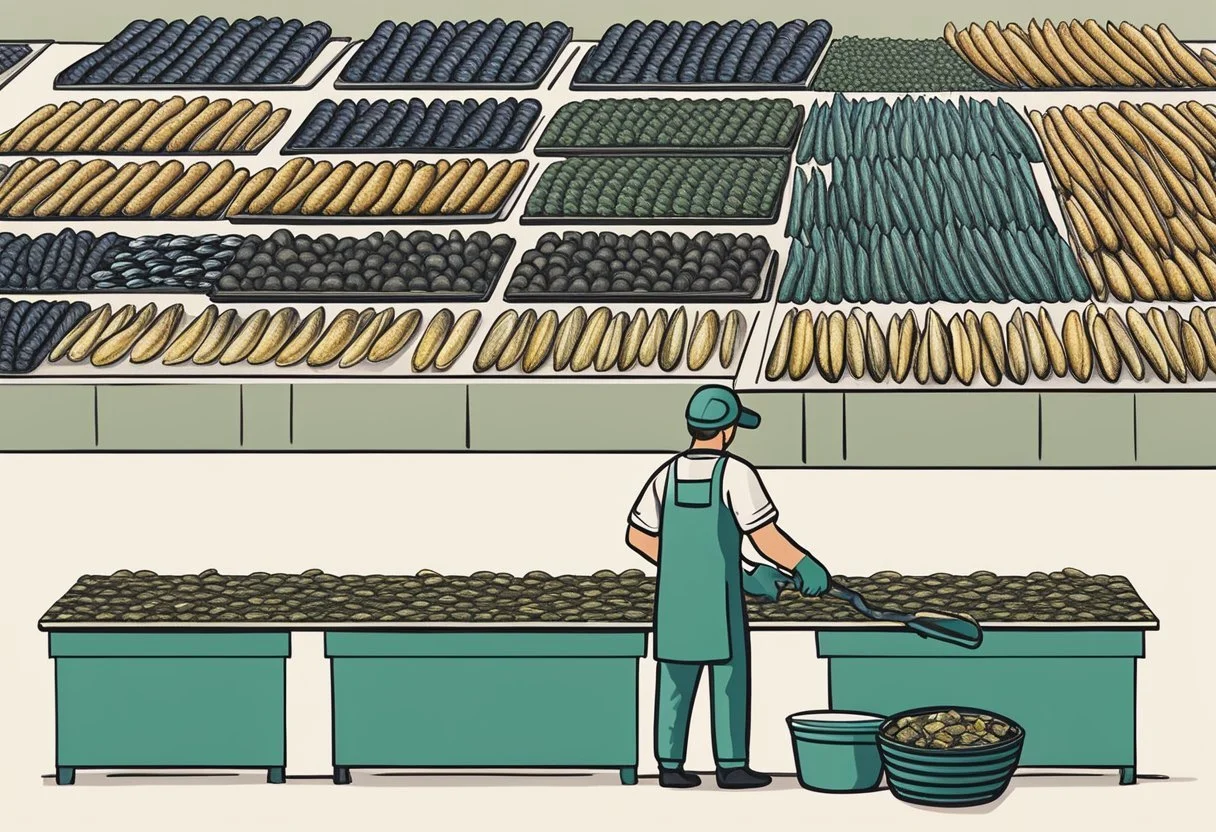
When it comes to mussel canning at home, proper selection and preparation of the shellfish (What wine goes well with shellfish?) is essential to ensure a safe and delicious final product. This section will guide you through the process of harvesting and storing mussels, cleaning and rinsing, as well as steaming and pre-cooking them before canning.
Harvesting and Storing Mussels
Mussels, like other shellfish such as clams (What wine goes well with clams?) and oysters (What wine goes well with oysters?), can be hand harvested from the wild in certain parts of the world usually in inlets, where they can be found attached to rocks, or purchased from a local seafood market. The season lasts from late summer but you can buy them year round. If you are collecting hand harvested mussels yourself, ensure you follow local regulations, select only healthy and properly sized mussels, and avoid areas with potential contamination.
Organic Pei mussels from the coast of Prince Edward Island are of exceptional quality with jet-black shells and a sweet flavor. The waters off Prince Edward Island are renowned as some of the cleanest. There are numerous sauce recipes to accompany mussels, such as fennel tomato sauce, with tomato purée, cold pressed sunflower oil, and fennel seed with brown rice flour (how long does rice flour last?). The brown rice flour acts as a thickening agent for the sauce and the fennel seed gives a mild licorice (how long does licorice last?) flavor while the tomato purée and cold pressed sunflower oil provide richness.
Once you have your mussels, they should be stored in a cool and moist environment until you are ready to prepare them for canning. Place the mussels in a bowl or container, cover them with damp paper towels or cloth, and store them in the refrigerator. Do not seal the container, as these shellfish need to breathe. It is advised to use the mussels within 2 to 3 days of harvesting or purchasing.
Cleaning and Rinsing Mussels
Before cooking your tinned fish, mussels need to be cleaned and rinsed thoroughly to remove any debris and dirt. Start by inspecting each mussel and discarding any with cracked or broken shells. For the remaining mussels:
Scrub the outer shell using a stiff brush to remove dirt and algae.
Remove the beard or byssus (the fibrous material that attaches the mussel to its substrate) by pulling it off with a pair of pliers or your fingers.
Run the mussels under cold water to wash away any remaining debris and sand.
If you find any open mussels knock them on the table. If they close they are fine otherwise they are dead, so discard.
Steaming and Pre-Cooking Mussels
Before canning, it is essential to smoke or steam and pre-cook your mussels to ensure they are safe for consumption. The pre-cooking process also helps to remove any remaining impurities and open the shells. Follow these steps for steaming and pre-cooking your mussels:
Place a ½ inch of water or other liquid (such as white wine) in a large pot and bring it to a boil.
Put the cleaned and rinsed mussels in a steamer basket, and place the basket in the pot.
Steam the mussels, covered, for 5 to 7 minutes, or until their shells open. Discard any mussels that do not open after this time.
Remove the cooked mussels from their shells, retaining their liquid which can be used later in the canning process.
With your mussels properly selected, cleaned, and pre-cooked, you are now ready to move on to the next step of canning them to preserve the fresh and sweet flavor we all love.
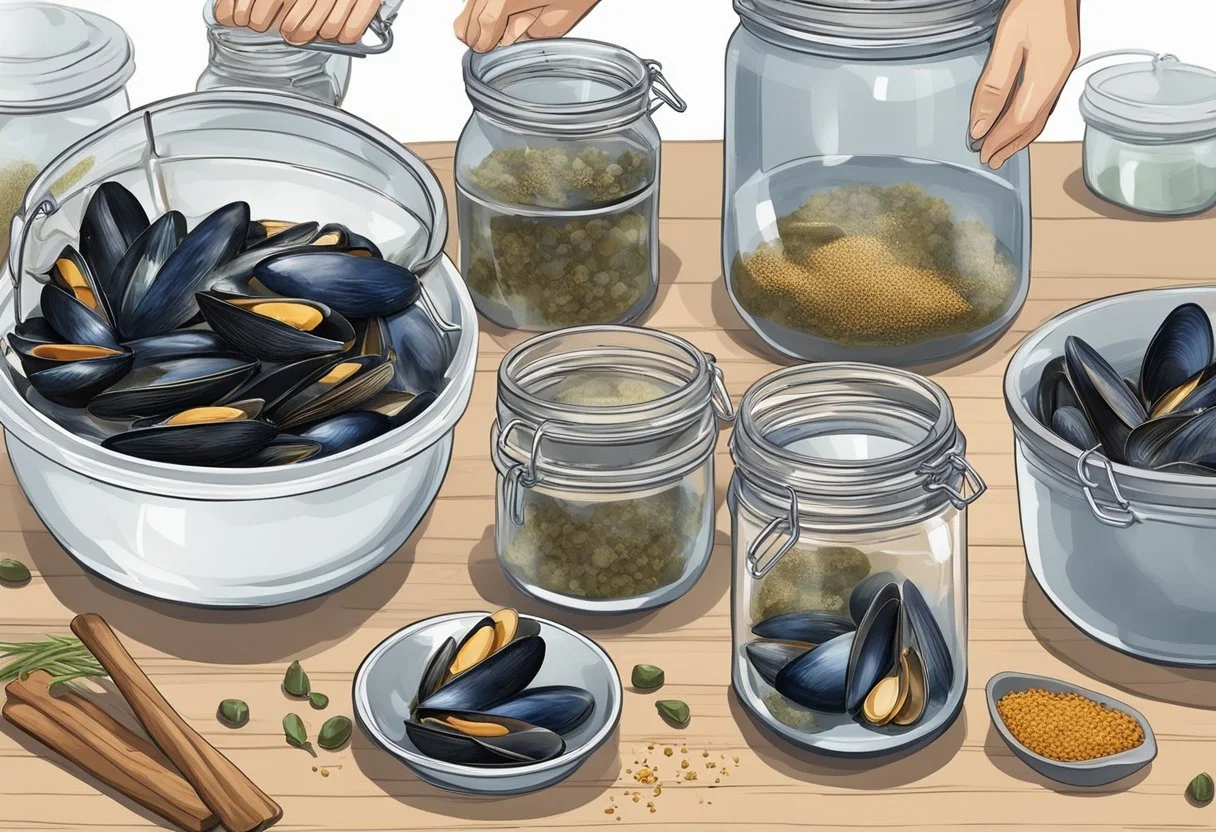
The Canning Process
Packing Jars with Mussels
Prepare sterilized pint or half-pint jars for canning. Carefully pack the mussel meat into the jars, leaving 1-inch headspace at the top. Headspace is important as it allows room for the liquid and mussels to expand during the canning process. Avoid overpacking the jars, as this can lead to an improper seal.
Adding Vinegar, Liquid, or Broth
Create a liquid mixture for the mussels using one of the following options:
Vinegar – Using vinegar will provide acidity and help preserve the mussels. A common ratio is a 50/50 mix of water and vinegar.
Liquid or Broth – Use a prepared seafood or vegetable broth (how long does vegetable broth last?) with spices as the liquid base. Make sure the broth is hot before adding it to the jars. If using a liquid, consider boiling the liquid first to minimize potential bacteria.
Fill the jars with the chosen liquid, ensuring the mussels are covered and maintaining the 1-inch headspace. Remove any air bubbles using a non-metallic utensil, such as a plastic spatula, by running it around the inside edges of the jar.
Remember to wipe the rims of the jars with a clean, damp cloth to remove any residue, as this can interfere with the sealing process.
Sealing and Processing Jars
Place sterilized lids on the jars, followed by the bands, and screw them on until they are finger-tight. The bands should not be overtightened, as they may not allow the air to escape during processing.
Now, you will use a pressure canner for processing the jars. Place the jars into the canner and fill it with cold water, ensuring the jars are submerged by 1-2 inches. Close the canner and turn the heat to high, allowing it to vent for 10 minutes. Once venting is complete, place the weighted gauge or use the pressure regulator according to the manufacturer's instructions. Process the jars for the specified time based on your altitude, following the recommendations from a trusted source.
When the processing time is complete, carefully remove the jars from the canner and let them cool on a towel or rack for 12-24 hours. The jars should form a vacuum seal as they cool, indicated by the lids being slightly concave.
Check the seals to ensure they are secure before storing your canned mussels.
Preserving Other Foods at Home

While mussel canning might be your main interest, it's essential to have a good, well-rounded understanding of preserving various types of foods at home. This section will outline the canning process for fruits and vegetables, meats and other seafood, and relishes and pickles.
Canning Fruits and Vegetables
Canning is an excellent method of food preservation for a wide variety of fruits and vegetables, including tomatoes, cucumbers (how long do cucumbers last?), peppers, apples, pears, plums, and grapes. Here are some key considerations when canning fruits and vegetables:
Water bath canning: This method is suitable for high-acid foods such as fruits, jams, and jellies. Fill sterilized jars with the fruit or vegetable preparation, seal with a canning lid, and process in a boiling water bath for a specified time.
Recipes: Use tried-and-tested canning recipes from reliable sources such as the Ball Blue Book or the National Center for Home Food Preservation (NCHFP) to ensure high-quality canned products.
Canning Meats and Other Seafoods
Preserving meats, clams, oysters, and other seafood by canning requires extra caution due to the possible presence of dangerous toxins. Follow these steps for safe canning of meats and seafood:
Sterilize jars and lids: Prepare clean jars and lids by boiling them for 10 minutes before filling with food.
Prepare food: Clean and properly prepare meats or seafood according to your chosen recipe.
Fill jars: Fill sterilized jars with meat or seafood, leaving the recommended headspace. If needed, add liquid such as broth or water as directed by your recipe.
Processing: Use a pressure canner for canning meats and seafood, as they require higher temperatures than water bath canning to ensure safety. Follow your recipe's guidelines for processing time.
Storage: Once processed, allow jars to cool for 12-24 hours. Check for a proper seal before storing in a cool, dark place.
Canning Relishes and Pickles
Cucumber pickles, fruit relishes, and other condiments are popular canning projects. Here are some essential points to consider when canning relishes and pickles:
Choose the right cucumbers: Use pickling cucumbers for best results. Larger cucumbers tend to have more seeds and may result in a less desirable texture.
Prepare brine: Follow a trusted recipe to create the brine, which typically includes vinegar, water, salt, and sugar. The proper ratio of ingredients ensures safety and taste.
Process: Most pickle and relish recipes call for water bath canning. After filling sterilized jars, process them in a boiling water bath for the time specified in your recipe.
Storage and Use of Canned Mussels
Canned mussels are a convenient and nutritious option for those who enjoy seafood. Proper storage and usage of canned mussels will ensure that they remain fresh, tasteful, and safe to consume.
To store canned mussels, it is important to keep them in a cool, dry place such as a pantry or cupboard. This helps maintain their freshness and prolongs their shelf life. Once opened, transfer any remaining mussels to an airtight container and refrigerate them as soon as possible. It is recommended to consume the mussels within a few days after opening to experience the best taste and quality.
Canned mussels offer various health benefits as they are packed with essential nutrients. They are an excellent source of iron, which is vital for maintaining healthy blood and boosting immunity. Additionally, they are rich in protein and low in saturated fats, making them a healthy choice for a balanced diet.
Here are some tips for using canned mussels in your meals:
Rinse the mussels thoroughly before consuming or adding them to your recipes. This helps remove any residual brine, ensuring a mild and pleasant taste.
Toss canned mussels into pasta (how long does pasta last?) dishes, salads, or soups to add a sweet and briny flavor.
Use the mussels as a topping for crostini, or incorporate them into seafood stews or paellas.
When purchasing canned seafood, pay attention to the packaging. Ensure that the can is not dented or bulging, as this may indicate compromised food safety. When mussel canning at home, always follow the recommended guidelines and use properly sterilized containers with airtight lids for best results.
Incorporating canned mussels into your everyday meals is an easy and tasty way to enjoy the taste of seafood while benefiting from their nutritional content. By following proper storage and usage guidelines, you can maximize their freshness and maintain their quality for delicious and enjoyable dishes.
Common Challenges and Potential Solutions
When it comes to mussel canning at home, several challenges can arise. A key issue is the risk of improper processing, which may lead to bacterial contamination or undercooked product. This section will outline the main challenges and potential solutions, so that you can approach mussel canning with confidence.
Challenge 1: Ensuring proper sterilization
To prevent the growth of bacteria and their toxins, it is crucial to properly sterilize jars and lids. Taking the time to clean and process them correctly helps avoid possible contamination and spoilage.
Tips:
Boil jars and lids for 10 minutes before use.
Use a pressure canner instead of a boiling water bath.
Challenge 2: Cooking mussels
Mussels must be cooked thoroughly before canning to eliminate any potential harmful enzymes and bacteria. Overcooking may result in a tough and unappealing texture, while undercooking increases the risk of foodborne illness.
Recommendations:
Steam mussels until their shells open (about 4-6 minutes).
Discard any mussels that do not open.
Remove meats from shells and discard shells.
Challenge 3: Choosing the right ingredients
When preserving mussels, the addition of spices or other ingredients such as sugar or vinegar can help to make the final product tasty and delicious to eat. However, these additions may also affect the canning process.
Tips:
Avoid using too much sugar, as it may interfere with the canning process.
Use vinegar or lemon juice to increase acidity and enhance preservation.
Challenge 4: Ensuring a proper lid seal
An essential step in the canning process is to achieve a tight and secure seal on the jar, ensuring that the content remains safe and free from contamination.
Tricks:
Fill jars, leaving 1 inch of headspace to allow for expansion.
Wipe jar rims clean before applying lids.
Secure lids with screw bands but do not overtighten.
Check for a proper seal after processing by pressing on the center of the lid; it should not flex.
