
Best Tools for Cooking the Perfect Steak
Essential Equipment for Delicious Results

Achieving a perfect steak dinner at home is possible for anyone with the right tools. The most important tools for cooking the perfect steak are a heavy-duty cast iron skillet, a reliable meat thermometer, and quality steak knives. These essentials help ensure even cooking, an excellent sear, and precise doneness every time.
When preparing steak, choosing tools designed specifically for high heat and durability makes a noticeable difference. A good skillet can create the delicious crust many steak lovers seek, and using sharp knives can keep each bite tender and easy to enjoy.
Cooking steak doesn't have to be complicated, but using the right equipment is key to replicating restaurant-quality results in any kitchen. Investing in a few top-rated tools can turn a regular meal into a memorable steak dinner.
Essential Tools for Cooking the Perfect Steak
The difference between a mediocre and a juicy steak often comes down to having the right tools. Proper equipment ensures better heat control, accurate doneness, and a safer, more efficient cooking process.
Choosing the Right Pan or Skillet
A quality pan is the foundation for cooking steaks well. Most cooks recommend a cast iron skillet or cast iron pan because of its exceptional heat retention and ability to reach and maintain high heat. This helps to develop a flavorful, well-browned crust on the meat, sealing in juices.
Cast iron distributes heat evenly, which is crucial when searing steaks. Stainless steel pans can work, but do not retain or conduct heat as consistently as cast iron. Nonstick pans are not suitable, as they can degrade at high temperatures and don’t create the desired crust.
For best results, preheat the skillet until it is very hot before adding the steak. This helps achieve the classic steakhouse sear that many home cooks seek.
Importance of a Quality Meat Thermometer
A meat thermometer is essential for cooking steaks to the preferred level of doneness. Guesswork can lead to overcooked or undercooked meat, but a thermometer gives precise, real-time temperature readings.
Insert the thermometer into the thickest part of the steak, away from bone or fat, to get an accurate reading. Key doneness temperatures are:
Rare: 120–125°F (49–52°C)
Medium rare: 130–135°F (54–57°C)
Medium: 140–145°F (60–63°C)
Well done: 160°F (71°C) and above
A digital instant-read thermometer is often easiest to use. Monitoring the temperature closely allows the cook to rest the steak at just the right moment for a juicy, tender result.
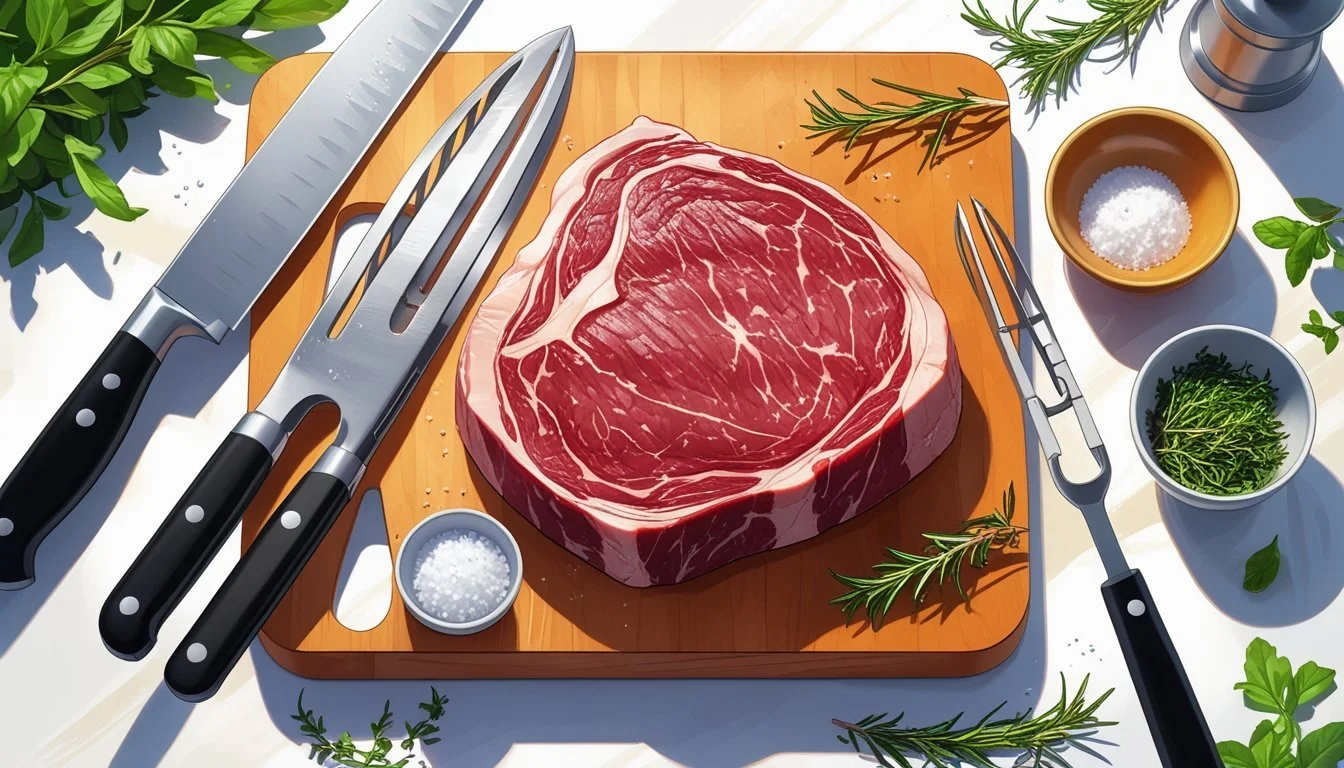
Benefits of Using Tongs and Steak Knives
Proper utensils improve both the cooking and serving of steaks. Tongs are preferred for flipping steaks during cooking because they grip meat securely without piercing it, which helps retain juices.
Using a fork for turning can puncture the steak, causing moisture loss. Long, heat-resistant tongs make it safe to turn steaks over high heat while protecting hands from splatter.
Steak knives are essential for serving and eating. A sharp steak knife glides through the meat easily, preserving the presentation and texture. Good steak knives should have a comfortable grip and a sharp, durable blade, making every bite enjoyable.
Selecting the Best Steak Cuts
Choosing the right steak cut shapes flavor, tenderness, and cooking results. Specific steak cuts, marbling, and USDA quality grades all play key roles in achieving an excellent meal.
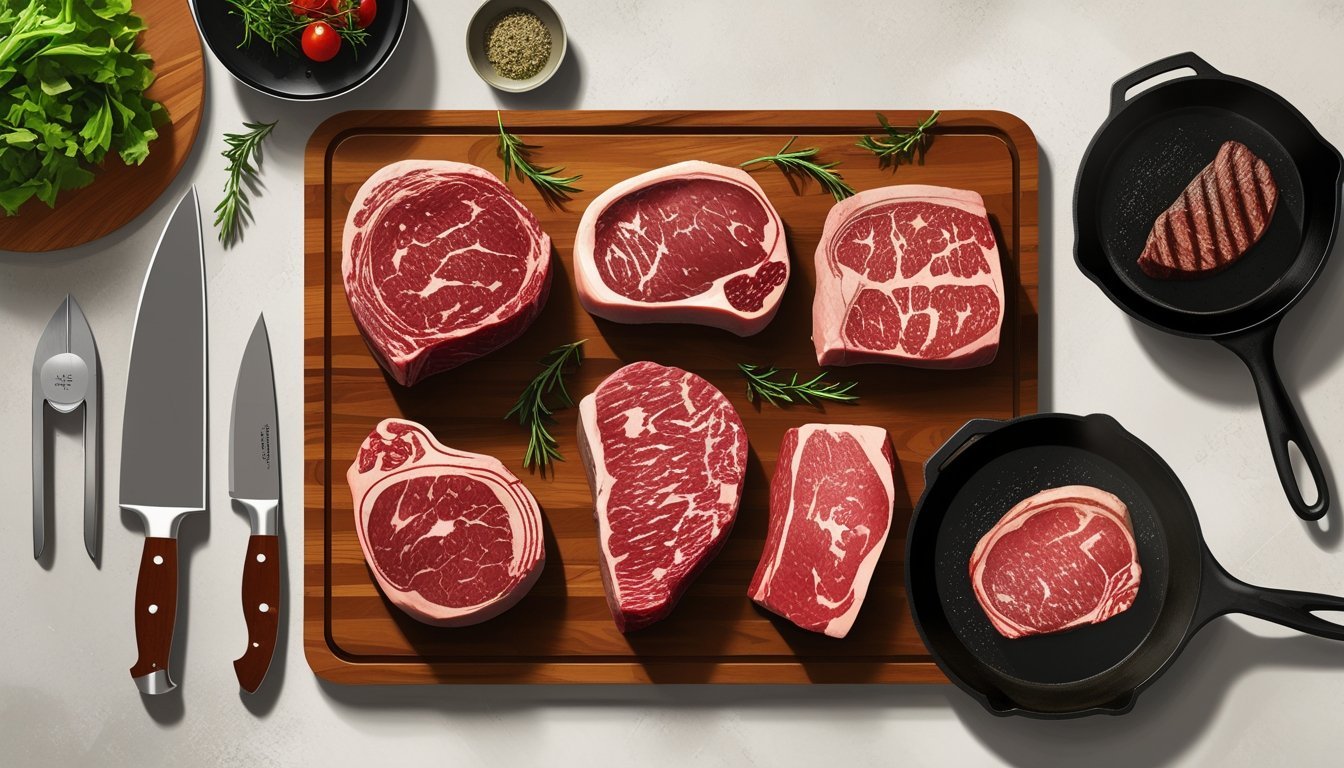
Popular Cuts for Searing
Several steak cuts are especially suited for high-heat searing, which creates a flavorful crust. Ribeye stands out for its rich marbling and robust flavor, making it ideal for pan-searing or grilling. The T-bone offers the best of both worlds—part tenderloin and part strip—providing a combination of tenderness and beefy taste.
Sirloin is a leaner option that works well with quick, high-temperature methods but benefits from proper resting to keep it juicy. Tomahawk steaks are essentially a ribeye with a long bone; they are thick and perfect for the reverse sear technique, which involves slow cooking before finishing with a hot sear. Filet mignon is prized for its tenderness and does well with a careful, quick sear due to its low fat content.
Table of Common Cuts for Searing:
Cut Flavor Tenderness Best Methods Ribeye Intense High Grilling, Pan-searing T-bone Beefy High Grilling, Broiling Sirloin Moderate Medium Grilling, Pan-searing Tomahawk Robust High Reverse Sear, Grilling Filet mignon Mild Very high Pan-searing, Grilling
Understanding Marbling and Quality Grades
Marbling refers to thin streaks of fat within the muscle of the steak. More marbling usually means greater juiciness and flavor, which is especially noticeable in cuts like ribeye or tomahawk.
USDA quality grades such as Prime, Choice, and Select help buyers judge marbling and overall meat quality. Prime grade features the most marbling and is often found in high-end restaurants. Choice grade offers a good balance of tenderness and cost, making it popular for home cooks. Select has less marbling and may be less juicy but is widely available.
When choosing steak, look for even marbling throughout the cut. For best results, especially with searing or grilling, select Prime or Choice steaks with visible intramuscular fat. This ensures a better crust, moist texture, and fuller beef flavor when cooked.
Preparing Your Steak for Cookin
Proper preparation impacts both the flavor and texture of steak. Each step, from seasoning choices to using the right tenderizing tools, helps achieve a steak that is both juicy and flavorful.
Seasoning: Salt, Pepper, and Blends
Seasoning is essential. High-quality sea salt and freshly cracked black pepper create a strong flavor base. They should be used generously and distributed evenly on all sides of the meat.
For more complexity, steak lovers can add a seasoning blend—like garlic powder, onion powder, smoked paprika, or dried herbs. These blends can be purchased or mixed at home. Fresh herbs such as thyme or rosemary, added later using a basting brush with butter, can enhance the aroma and taste.
A short table highlights basic and advanced seasonings:
Basic Advanced Sea Salt Garlic Powder Black Pepper Onion Powder Smoked Paprika Dried or Fresh Herbs
Oils matter as well. Avocado oil is a popular choice because of its high smoke point, which makes it ideal for searing steak before and during cooking.
Bringing Steak to Room Temperature
Start by removing the steak from the refrigerator and letting it rest, uncovered, for 30–40 minutes before cooking. This allows the steak to cook more evenly and reduces the risk of a cold, raw center.
A room temperature steak forms a better crust since moisture on the surface can evaporate. If the steak is too cold, it may also cook unevenly, leaving the outside done and the inside undercooked.
After the rest, the steak feels less cool to the touch but not warm. Pat it dry with paper towels to remove excess surface moisture, which helps with browning and prevents steaming.
Using a Meat Tenderizer
A meat tenderizer, such as a Jaccard tenderizer with sharp blades, can help break up tough muscle fibers in thicker or less-tender cuts. This process allows for better absorption of seasonings and promotes a more consistent texture throughout the meat.
Use the tenderizer before seasoning, pressing down lightly but firmly. Avoid over-tenderizing, as this can result in a mushy texture. For even results, apply the tenderizer across the entire surface, paying extra attention to thicker portions of the steak.
Mechanical tenderizing is especially useful for budget-friendly steaks. Choose this tool when a lean or traditionally tougher cut is on the menu to maximize tenderness without sacrificing the integrity of the meat.
Cooking Methods for the Perfect Sear
Achieving a perfect sear relies on using high heat, proper technique, and the right tools. Different methods like pan searing, grilling, and the reverse sear offer specific advantages for steak texture and flavor.
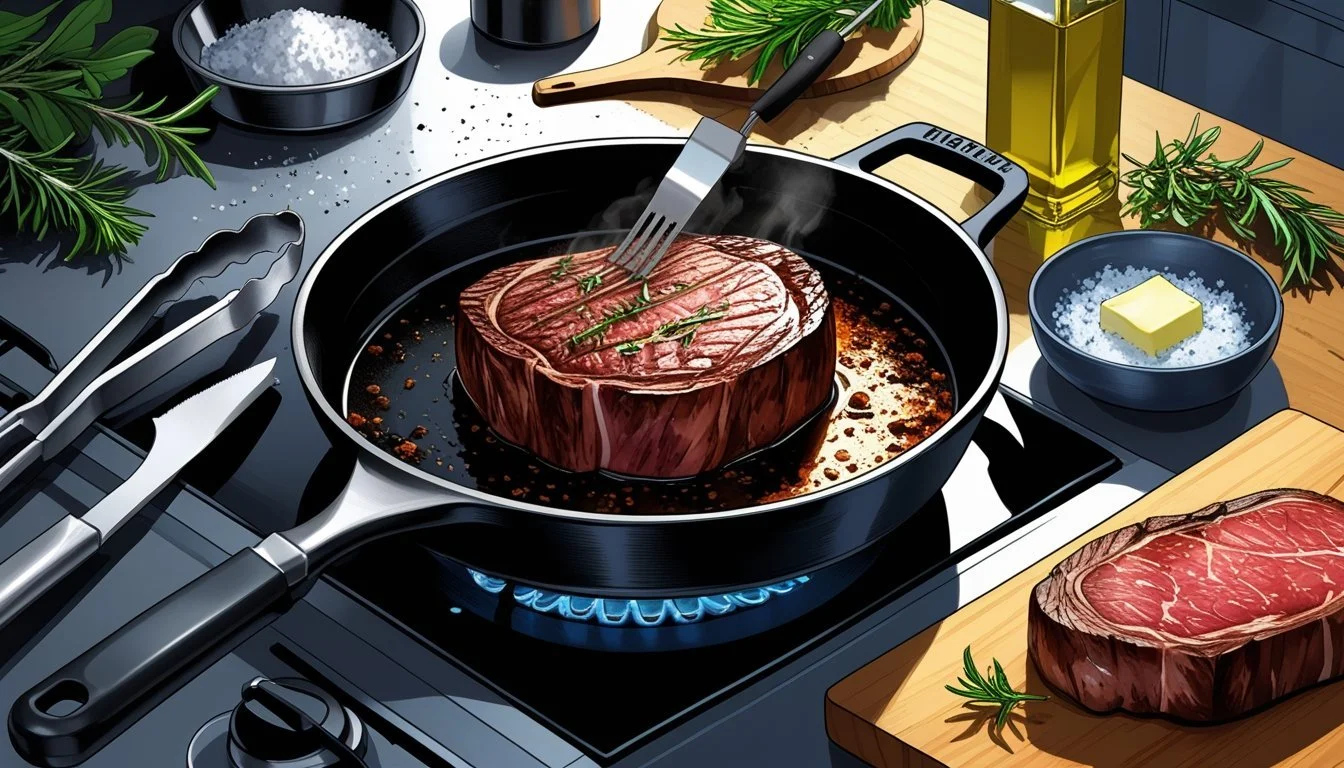
Pan Searing Techniques
For pan searing, a cast iron skillet is essential. Its heavy construction holds and distributes high heat evenly, which helps develop a crisp, brown crust through the Maillard reaction. Steaks should be patted dry and seasoned right before cooking to minimize moisture and maximize browning.
Using a high-smoke point oil such as canola or grapeseed prevents burning and keeps flavors clean. The pan should be preheated until just starting to smoke. Place the steak in and let it cook undisturbed for a few minutes to form a crust. Flipping every 1–2 minutes allows for even cooking and minimizes the gray band under the crust.
Finishing with a pat of butter and optional herbs infuses extra flavor. Use oven-safe tongs to flip and move the steak as needed without piercing the meat.
Quick Reference Table:
Tool Purpose Cast iron skillet Even, high heat High-smoke oil Prevents burning Oven-safe tongs Flipping without piercing
Grilling Tips and Tools
Grilling a steak demands high, direct heat—either from gas or charcoal. A clean, preheated grill grate prevents sticking and delivers sharp grill marks. Thick-cut steaks benefit from two-zone fire (direct and indirect heat areas), allowing the exterior to sear while the interior cooks gently.
Using long-handled tongs avoids burns while turning steaks quickly. A grill thermometer checks for proper surface and internal temperatures. Steaks should be at room temperature before grilling for more consistent doneness.
Essential Grilling Tools:
Long-handled tongs
Grill brush
Grill thermometer
Aluminum foil (resting)
Letting steaks rest for several minutes after grilling keeps juices inside and maintains tenderness.
Reverse Sear Method Explained
The reverse sear method starts with slow cooking the steak at low temperature, usually in an oven or on the indirect side of a grill. This brings the steak close to the desired final doneness while keeping the meat evenly cooked.
After the slow initial cook, the steak is moved to a screaming hot pan or directly over the grill’s flame for a quick final sear. This technique ensures a uniform pink interior with a thin, crisp exterior crust.
A meat thermometer is critical for the reverse sear to avoid overshooting the target temperature. Benefits of this method include minimal overcooking and impressive control over the finished texture.
Summary Table:
Step Temperature Purpose Slow cook 250–275°F Even interior, gentle heat High heat sear 450–500°F+ Form crust, finish cooking
Achieving the Ideal Doneness
Getting the perfect doneness for steak depends on precision and proper technique. A few reliable tools and specific steps can ensure a juicy steak with the right texture every time.
Using Thermometers and Cooking Times
A meat thermometer is the most dependable way to reach your preferred steak doneness. For rare, aim for 120–125°F (49–52°C); for medium-rare, 130–135°F (54–57°C); for medium, 140–145°F (60–63°C); for medium-well, 150–155°F (66–68°C); and for well-done, above 160°F (71°C).
List of recommended steak doneness by temperature:
Doneness Temp (°F) Temp (°C) Rare 120–125 49–52 Medium-Rare 130–135 54–57 Medium 140–145 60–63 Medium-Well 150–155 66–68 Well-Done 160+ 71+
Cooking times vary by thickness. For steaks at least 1 inch thick, sear each side for 3 minutes at high heat, then finish as needed. Using cooking times as a reference and checking with a thermometer helps avoid guesswork and keeps steaks juicy.
Resting and Slicing Techniques
Once cooked, steak should rest on a cooling rack or cutting board for 5–10 minutes. This allows juices to redistribute, preventing them from spilling out when sliced. Cover steak loosely with foil to keep it warm.
For best results, slice steak against the grain. Use a sharp knife and aim for even pieces. Cutting against the grain shortens muscle fibers, improving tenderness and overall texture. Serving steak immediately after resting ensures optimal flavor and juiciness.
Finishing Touches for a Restaurant-Quality Steak
Perfecting steak does not end at cooking. The right finishing techniques and thoughtful presentation bring the meal to a professional level.
Basting with Butter and Fresh Herbs
Basting steak with melted butter adds both moisture and a rich, savory flavor. This step is typically performed in the final minutes of cooking. A spoon or basting brush is used to coat the steak as it rests in the pan.
Fresh herbs such as thyme, rosemary, or sage are often added to the hot butter. These herbs infuse aroma and subtle flavors into the meat. Garlic cloves can also be included to increase complexity.
Here is a simple basting process:
Add 2–3 tablespoons of unsalted butter to the pan once the steak is almost done.
Toss in a few sprigs of fresh herbs and a lightly crushed garlic clove.
Tilt the pan and use a spoon to repeatedly baste the steak with the melted, aromatic butter for 1–2 minutes.
This technique finishes the steak with a glossy surface, enhanced flavor, and a hint of herbal fragrance.
Serving Suggestions and Fine Dining Presentation
The way a steak is served can greatly elevate the dining experience. For a fine dining steak dinner, attention to detail is key.
Let the steak rest for 5–10 minutes after cooking to retain juiciness and allow the fibers to relax. Slice against the grain for tenderness, if serving pre-sliced. Arrange slices neatly on a warm plate.
Garnishing with a sprig of fresh herbs or a pat of compound butter on top is both classic and effective. Use clean white or dark plates for contrast. Pair with simple sides such as roasted potatoes, a crisp salad, or grilled vegetables.
Small touches, like a drizzle of pan juices or a sprinkle of flaky sea salt, help replicate a restaurant-style finish. Serve immediately for best texture and temperature.
