
How to Cook with Keebler Crackers for Crumbly Crusts
Perfect Pie Techniques

The versatility of Keebler crackers spans beyond their traditional use as a snack. They are an integral component for an easy-to-make and delectable graham cracker crust, which serves as a foundation for countless dessert recipes. This crust is prized for its buttery flavor and crumbly texture, making it the perfect contrast to the soft, rich fillings it often accompanies. Whether for classic cheesecakes, creamy pies, or tart bars, a graham cracker crust made from Keebler crackers imparts a distinctive taste that elevates the overall dessert experience.
Creating a graham cracker crust from Keebler crackers is both quick and uncomplicated, lending itself to bakers of all skill levels. The process generally involves finely crushing the crackers into crumbs, combining them with sugar for sweetness, and binding them together with melted butter. This mixture is then pressed into the desired dish, where it can either be baked to crisp perfection or chilled, depending on the recipe's requirements. The result is a reliably firm yet crumbly crust that complements a wide array of fillings, from fruits to creams and beyond.
While the basic recipe for a Keebler cracker crust is straightforward, it leaves room for customization. Bakers can modify the level of sweetness or add spices such as cinnamon or nutmeg to achieve a unique flavor profile tailored to their specific dessert. These personalized touches can transform a simple pie or tart into a standout creation, much to the delight of those who savor it. With Keebler crackers as the starting point, the possibilities for crafting an unforgettable graham cracker crust are nearly endless.
Selecting Your Keebler Crackers

Choosing the right Keebler crackers for a crumbly crust is crucial to the success of any pie or dessert recipe. The variety, pack size, and nutritional profile all play essential roles in ensuring the desired outcome.
Understanding Graham Cracker Varieties
Keebler offers a range of graham cracker options, each with distinct flavors and textures suited for different recipes. The traditional graham cracker provides a classic, slightly sweet taste and sturdy base for pies and cheesecakes. For a unique twist, Keebler's flavored graham crackers—such as cinnamon or chocolate—can elevate the taste profile of a dessert.
In addition to flavor, dietary needs may dictate the choice of cracker. Keebler’s gluten-free graham crackers cater to those with gluten sensitivities, although availability may vary.
Choosing the Right Pack Size
Selecting the appropriate pack size ensures that there are enough crackers to create a firm crust without waste. For example, a 9-inch pie typically requires around 12 ounces of graham cracker crumbs. Keebler crackers often come in packs large enough to accommodate such needs. It's essential to check the weight of the pack to prevent running short during preparation.
Nutritional Considerations
Crusts made from Keebler graham crackers add more than just flavor and texture; they also contribute nutritional elements to the overall dish. An average serving may contain the following nutrients:
Calories
Total Fat (including saturated, polyunsaturated, and monounsaturated fats)
Cholesterol
Sodium
Total Carbohydrates (with an emphasis on fiber content)
Sugars
Protein
Essential vitamins and minerals such as Vitamin A, Calcium, Iron, and Potassium
When selecting crackers for a recipe, considering the nutrition facts can guide one toward a more health-conscious dessert, especially if the recipe requires a large quantity of crumbs. Keebler’s packaging typically lists these values to help make an informed choice.
Preparing the Crumbly Crust
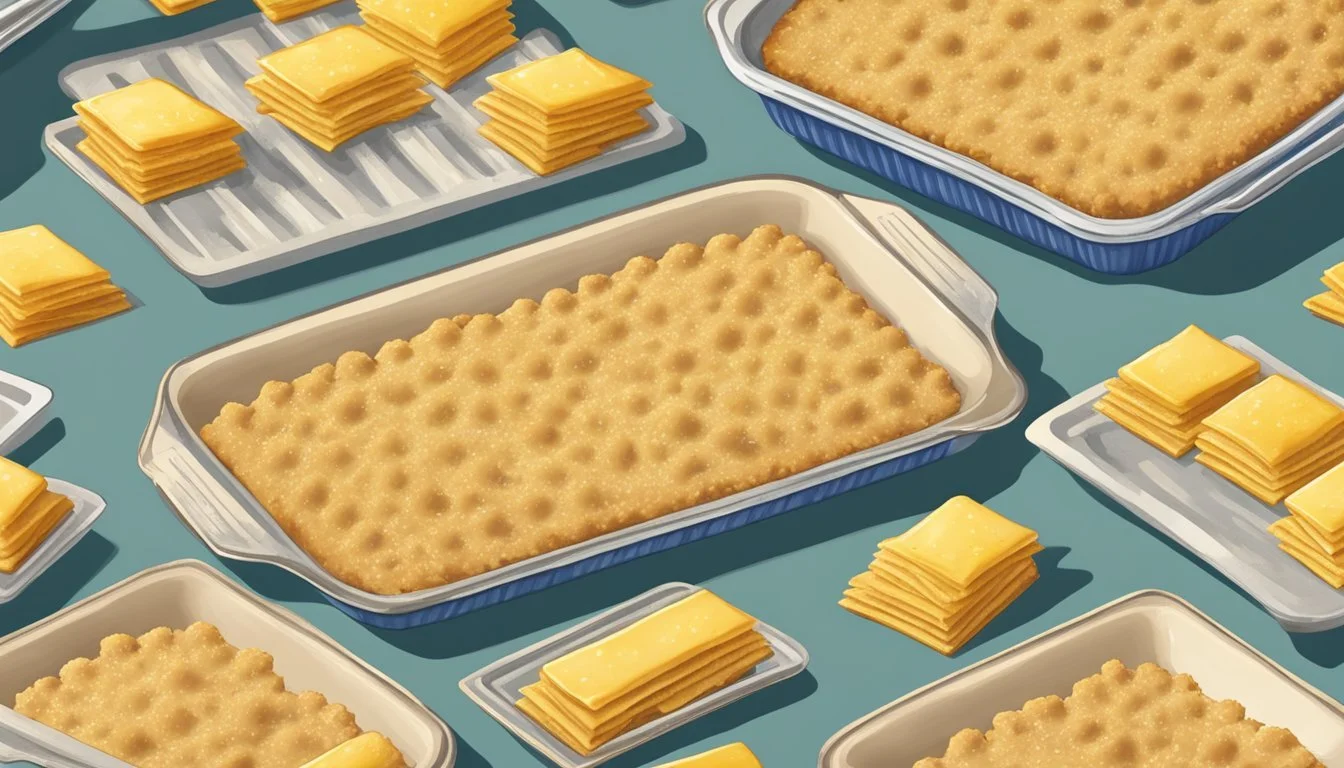
Crafting the perfect crumbly crust with Keebler graham crackers involves three detailed steps: creating fine crumbs, combining ingredients, and pressing them into the pan, with attention to consistency and taste.
Creating Fine Crumbs
For optimal texture, one must render the Keebler graham crackers into fine crumbs. A food processor offers the quickest method, pulsing the crackers until they achieve a sand-like consistency. If a food processor is not available, placing crackers in a sealed bag and rolling over them with a rolling pin is an effective alternative.
Combining Ingredients
The crumbs should be transferred to a mixing bowl where they are joined with sugar. Brown sugar or granulated sugar can be utilized, depending on the desired sweetness and flavor profile. Then, melted butter is added to the mixture. The ideal ratio is typically 1 1/2 cups of crumbs to 1/3 cup of melted butter, with 1/4 cup of sugar. For a hint of spice, one can consider incorporating a pinch of cinnamon or nutmeg.
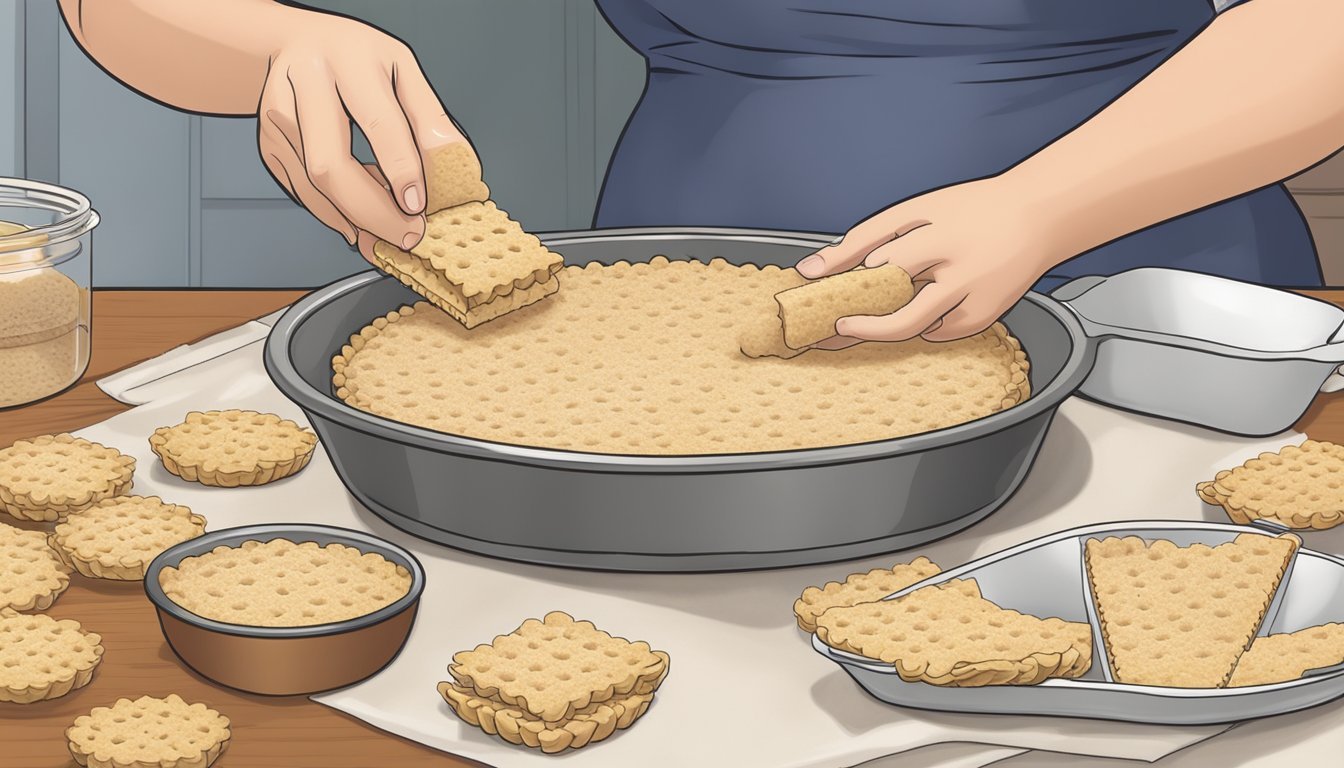
Pressing into the Pan
After mixing, they need to press the crumb mixture into the pan. For a 9x13 pan or pie dish, one should transfer the mixture and firmly press it down using the bottom of a measuring cup or clean hands, ensuring it is evenly spread across the bottom and up the sides. Remember to apply pressure uniformly to avoid an overly dense base.
Baking Versus No-Bake Options

Keebler crackers offer the flexibility to create crumbly crusts for desserts (What wine goes well with desserts?), whether opting for a classic baked pie or a quick no-bake cheesecake. Understanding the right approach to each method ensures a perfect base for your sweet creation.
Exploring Baked Crusts
For a sturdy and crispy crust, baking is the go-to method. Keebler cracker crumbs should be combined with melted butter — often a ratio of 1 1/2 cups of crumbs to 1/3 cup of butter works well. Spread the mixture into a pie plate or springform pan, pressing firmly to create an even layer. Here’s a quick guide:
Oven Temperature: Preheat to 350°F (175°C).
Cook Time: Bake for 8-10 minutes until edges are golden.
Cooling: Allow the crust to cool before filling.
This process is ideal for desserts like cheesecakes and pies that benefit from a crunchy texture.
Preparing No-Bake Crusts
No-bake crusts rely on chilling rather than heat to set. They're perfect for no-bake cheesecake or frozen desserts. The process is similar to baked crusts in terms of mixing Keebler cracker crumbs with butter, but instead of baking, the crust is refrigerated or frozen. The key steps are:
Chill Time: Refrigerate for at least 1 hour or freeze for 30 minutes.
Texture: Expect a firmer, yet slightly crumblier texture.
Desserts: Ideal for no-bake cheesecakes, and pies requiring a cold set.
Choosing between baking or chilling depends on the desired outcome and the specific dessert recipe being prepared.
Filling and Topping Variations

When using Keebler crackers for pie crusts, one has various options for pie fillings and toppings that can transform a simple crust into a delightful dessert. The versatility of Keebler cracker crusts caters to classic recipes and inspires innovation in dessert making.
Classic Pie Fillings
Pumpkin Pie:
Filling: Combine canned pumpkin puree with eggs, pumpkin pie spice, and sweetened condensed milk. Bake until set for a traditional fall dessert.
Crust: Keebler graham crackers crushed and mixed with butter form the perfect base.
Apple Pie:
Filling: Tart sliced apples tossed with cinnamon and brown sugar, cooked until softened, and then layered into the crust.
Crust: A crumbly Keebler cracker base adds a delightful contrast to the juicy filling.
Key Lime Pie:
Filling: A tangy and creamy mixture of key lime juice, zest, sweetened condensed milk, and egg yolks.
Crust: A buttery and crisp Keebler graham cracker crust balances the tartness of the filling.
Lemon Meringue Pie:
Filling: A bright lemon custard made with fresh lemon juice and zest, tempered with sweet and creamy meringue.
Crust: The pie sits atop a crunchy Keebler cracker crust, providing a textural component.
Creative Dessert Ideas
Cheesecake:
Variation: Blend cream cheese with sugar, eggs, and vanilla extract for a smooth filling. Pour over a Keebler cracker crust and bake.
Twist: Incorporate flavors like chocolate or strawberry for a unique taste experience.
Ice Cream Tarts:
Dessert: Fill a pre-baked Keebler cracker crust with softened ice cream and freeze until firm.
Customization: Swirl in sauces or sprinkle with toppings before freezing for added flavor and visual appeal.
Pudding Pies:
Construction: Spoon thick, creamy pudding over a buttery Keebler cracker crust and chill until set.
Flavors: Experiment with vanilla, chocolate, or banana pudding to suit any preference.
Adding Toppings and Flavors
Cinnamon and Vanilla:
Use: Sprinkle cinnamon or add a dash of vanilla extract to fillings for warmth and sweetness.
Benefit: These spices can elevate the flavor profile of any pie or tart.
Pumpkin Pie Spice:
Application: Incorporate pumpkin pie spice into pumpkin or sweet potato fillings for an aromatic twist.
Result: The spice mix enhances the traditional flavors of autumn-inspired desserts.
Yogurt and Fruit:
Technique: Top a chilled cheesecake with a layer of yogurt and fresh fruit for a lighter dessert option.
Outcome: The tanginess of yogurt complements the richness of the cheesecake and the freshness of the fruit.
Sweetness Variations:
Control: Adjust the amount of sugar in fillings or use alternatives like honey or maple syrup to tailor the dessert's sweetness.
Advantage: Personalizing the sweetness allows the dessert to cater to different taste preferences and dietary needs.
Customizing Your Crust
Personalizing a Keebler cracker crust allows for a variety of dietary needs and flavor profiles. The right blend of ingredients and techniques can transform a simple crust into a tailored baking foundation.
Alternative Ingredients for Dietary Needs
For those with dietary restrictions, Keebler cracker crusts can be customized. Vegan butter or coconut oil can replace traditional butter. To accommodate a gluten-free diet, Keebler offers gluten-free options, or one may use gluten-free cracker substitutes. Here are some suitable substitutions:
Butter: Vegan butter, coconut oil
Keebler crackers: Gluten-free cracker alternatives
Experimenting with Textures and Sweetness
Adjusting texture and sweetness of the crust is key for the right mouthfeel and flavor balance. For a flakier crust, incorporate pieces of cold butter instead of melted butter. To increase sweetness, add light brown sugar, which also provides a hint of caramel flavor. For a less sweet, more savory edge, sprinkle a pinch of flaky sea salt over the crumb mixture before pressing into the pan.
Sweetness Adjustments:
Increase: Add light brown sugar
Decrease: Reduce sugar or omit it entirely
Utilizing Different Cracker Types
A variety of Keebler crackers cater to diverse tastes and dessert concepts. Shortbread crackers offer a buttery base, perfect for fruit tarts. Oatmeal crackers pair well with apple and cinnamon-flavored desserts. Exploring beyond traditional graham crackers, one might try vanilla wafers or Biscoff cookies for a unique crust twist.
Cracker Variety:
Classic: Graham crackers, vanilla wafers
Novelty: Biscoff, shortbread
Troubleshooting Common Issues
For a crust that's falling apart, ensure the crumbs are adequately moistened with butter to bind them. A crust that is too hard may have been over-compacted; gently press the mixture into the pan next time. If the crust is too crumbly after baking, adding a little more butter and baking it for an additional minute or two can ensure better cohesion.
Troubleshooting Tips:
Crumbly crust: Add more butter, bake slightly longer
Hard crust: Press mixture less firmly into the pan
Serving and Preservation Tips

When working with Keebler cracker crusts, one must provide careful attention to cutting and serving techniques to maintain the pie's form, as well as adhere to proper preservation and storage methods to ensure long-lasting freshness.
Cutting and Serving
To ensure clean cuts when serving a dessert featuring a Keebler cracker crust, one should use a sharp pie slicer or knife and make firm, deliberate cuts. For added ease, one can lightly dip the knife in warm water between slices. This method is particularly effective when serving desserts such as cheesecakes or pies with a crumbly crust.
Tip: For no-bake pie crusts or mini cheesecakes, it is recommended to chill the dessert thoroughly before cutting to enhance the firmness of the crust.
Preservation and Storage
Keebler cracker pie crusts can be preserved and stored effectively to prolong the freshness and quality of the dessert.
Refrigeration: Most filled desserts with Keebler cracker crust should be covered and refrigerated if not consumed immediately. They typically remain fresh for up to 5 days.
Tip: Use an airtight container or wrap the dessert in plastic wrap to protect it from absorbing fridge odors.
Freezing: Keebler cracker crusts are suitable for freezing, offering an option for long-term storage. Desserts like pumpkin pie or similar can be frozen for up to two months.
Step 1: Wrap the pie or dessert tightly with freezer-safe wrap or aluminum foil.
Step 2: Place it in a freezer bag or airtight container to prevent freezer burn.
By adhering to these serving and preservation tips, one can maximize the enjoyment and longevity of desserts made with Keebler cracker crusts, ensuring delicious servings for each occasion.
Summary of Key Points
Selecting Ingredients:
The foundation for a crumbly crust is graham crackers from Keebler.
For binding, one typically needs melted butter and an optional addition of sugar for sweetness.
Preparation:
Crumbs should be fine and even; using a food processor or a ziplock bag with a rolling pin can achieve this.
In a bowl, one should thoroughly mix the graham cracker crumbs with melted butter (and sugar if preferred).
Baking:
Preheat oven to 350ºF for recipes needing a pre-baked crust.
A time of 10 minutes is adequate for baked fillings, while 15 minutes suits unbaked fillings.
Assembly Tips:
Pressing the mixture into the pie dish to form the crust is crucial.
Start from the edges and then move to the bottom to create a uniform layer.
Aspect Detail Bake Temp 325°F for 10-15 minutes Crumb Type Fine Keebler graham cracker crumbs Binders 6 tablespoons melted butter
Weight Considerations:
Once baked, the crust typically weighs around 12 ounces.
Using precise measures of ingredients ensures a consistent crust.
By adhering to these key points, bakers can ensure their Keebler cracker crusts are perfect for a variety of desserts, providing the ideal balance of flavor and texture. Whether it's for a banana pudding pie or a classic cheesecake, the right crust is an essential element of the dish.
