
How to Cook a 3 lb Chuck Roast in the Oven
Tender and Flavorful Results

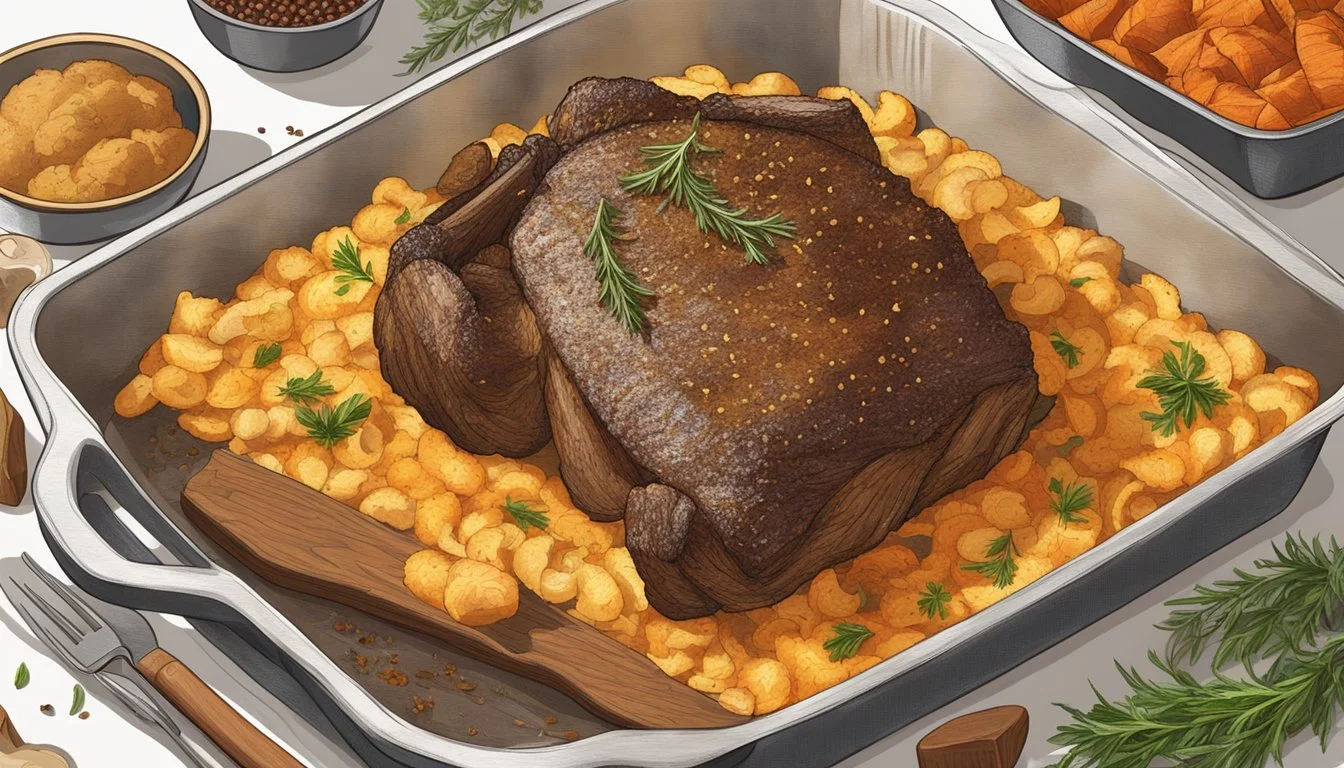
Chuck roast is a flavorful and economical cut of beef that transforms into a tender, juicy dish when cooked properly. For a 3-pound chuck roast, the oven provides an ideal cooking environment to break down tough connective tissues and create a delicious meal.
The optimal cooking time for a 3-pound chuck roast in the oven is approximately 2.5 to 3 hours at 275°F (135°C). This low and slow method ensures the meat becomes fork-tender while retaining its moisture. The process begins by seasoning the roast generously and searing it to develop a flavorful crust before transferring it to the oven.
Adding vegetables like potatoes, carrots, and onions to the roasting pan creates a complete one-pot meal. The vegetables absorb the meat's savory juices, enhancing their flavor. Proper resting time after cooking allows the juices to redistribute throughout the meat, resulting in a perfectly moist and tender chuck roast ready to be served.
Essentials of Cooking Chuck Roast
Mastering chuck roast preparation involves understanding the cut's unique characteristics and selecting the right piece of meat. These factors significantly impact the final result, influencing tenderness and flavor.
Understanding Chuck Roast Characteristics
Chuck roast comes from the shoulder area of the cow. It contains abundant connective tissues and marbling, which contribute to its rich flavor. These characteristics require slow cooking methods to break down the tough fibers.
The connective tissues in chuck roast transform into gelatin during prolonged cooking, resulting in a tender, moist texture. Marbling, the intramuscular fat, melts gradually, infusing the meat with flavor.
Chuck roast typically weighs 3-5 pounds. A 3-pound roast is ideal for smaller gatherings or families. It provides ample servings while ensuring even cooking throughout the cut.
Choosing the Right Cut
When selecting a chuck roast, look for a piece with visible marbling. This fat distribution ensures juiciness and flavor throughout the cooking process.
Opt for a boneless cut for easier carving and more uniform cooking. A 3-pound boneless chuck roast is versatile and manageable for most home cooks.
Examine the color of the meat. It should be bright red without any gray areas, indicating freshness. Avoid cuts with excessive fat on the exterior, as this can lead to greasiness.
Consider the shape of the roast. A more uniform shape promotes even cooking. Look for cuts that are relatively flat and rectangular for consistent results.
Preparation Steps Before Cooking

Proper preparation is crucial for achieving a flavorful and tender chuck roast. Seasoning and temperature control play key roles in the process.
Marinating for Flavor
Start by patting the 3 lb chuck roast dry with paper towels. Mix salt, pepper, garlic powder, and onion powder in a small bowl. Rub this seasoning blend generously over all sides of the roast. For deeper flavor, create a marinade using olive oil, herbs, and spices.
Place the seasoned roast in a large resealable plastic bag or shallow dish. Pour the marinade over the meat, ensuring even coverage. Refrigerate for at least 4 hours or overnight, turning occasionally to distribute the flavors.
Bringing Meat to Room Temperature
Remove the marinated roast from the refrigerator 45-60 minutes before cooking. This step is essential for even cooking. Place the meat on a clean plate or cutting board, allowing it to come to room temperature.
While waiting, preheat the oven to 325°F (163°C). This ensures a consistent cooking environment. Pat the roast dry with paper towels to remove excess moisture, which can hinder browning.
If desired, re-season lightly with salt and pepper just before cooking. This final touch enhances the flavor profile of the roast.
Oven Cooking Techniques
Mastering the art of cooking a 3 lb chuck roast in the oven involves two key techniques: searing the meat and utilizing a Dutch oven. These methods enhance flavor and ensure tender results.
Searing the Meat
Searing is a crucial step in preparing a chuck roast. Heat a heavy-bottomed pan over medium-high heat with a small amount of oil. Once hot, place the seasoned roast in the pan. Cook for 3-4 minutes on each side until a golden-brown crust forms.
This process locks in juices and creates a flavorful exterior. After searing, transfer the roast to a roasting pan or Dutch oven for the remainder of the cooking process.
For optimal results, let the seared roast rest for 5-10 minutes before placing it in the oven. This allows the juices to redistribute throughout the meat.
Utilizing the Dutch Oven
A Dutch oven is an excellent tool for cooking chuck roast. Its thick walls and tight-fitting lid help retain heat and moisture, resulting in a tender, flavorful roast.
Place the seared roast in the Dutch oven with vegetables and broth. Cover and cook at 275°F (135°C) for approximately 3-4 hours. The low temperature allows the tough connective tissues to break down slowly.
Check the roast periodically, basting it with the cooking liquid. This keeps the meat moist and adds flavor. For a thicker gravy, remove the lid during the last 30 minutes of cooking.
Use a meat thermometer to ensure the internal temperature reaches 145°F (63°C) for medium-rare or 160°F (71°C) for medium. Let the roast rest for 10-15 minutes before slicing to allow the juices to redistribute.
Creating the Perfect Environment
The right environment is crucial for a tender, flavorful oven-baked chuck roast. Proper oven settings and the right tools ensure optimal cooking conditions.
Oven Settings
Preheat the oven to 325°F (163°C) for a 3-pound chuck roast. This moderate temperature allows for slow, even cooking. Place the oven rack in the middle position to ensure consistent heat distribution. Some cooks prefer a lower temperature of 275°F (135°C) for an even slower cook, which can take 3-4 hours but may result in a more tender roast.
Cookware and Tools
A heavy-duty roasting pan is ideal for cooking chuck roast. Its sturdy construction helps maintain even heat. A rack inside the pan keeps the meat elevated, allowing air to circulate. For accurate doneness, use a meat thermometer. Insert it into the thickest part of the roast without touching fat or bone.
Aluminum foil can be useful. Cover the roast loosely with foil if it's browning too quickly. Some cooks wrap the entire roast in foil for part of the cooking time to retain moisture. Remove the foil for the last 30 minutes to achieve a crispy exterior.
Additional Ingredients for Enhanced Flavor

Elevating your chuck roast with complementary ingredients can transform it into a memorable meal. The right vegetables, spices, and herbs add depth and complexity to the dish.
Selecting Vegetables
Root vegetables are ideal companions for chuck roast. Carrots and potatoes absorb the savory juices, becoming tender and flavorful. Cut them into large chunks to prevent overcooking. Onions contribute sweetness and aroma. Use whole pearl onions or quarter larger ones.
Consider adding parsnips or turnips for variety. These root vegetables offer a slightly peppery taste that complements beef. Celery adds a subtle freshness to the dish.
For a richer flavor, add mushrooms. Button or cremini mushrooms work well, soaking up the beef juices as they cook.
Selecting Spices and Herbs
A blend of dried and fresh herbs enhances the roast's flavor profile. Rosemary and thyme are classic choices. Their woody notes pair perfectly with beef. Use fresh sprigs or dried versions.
Garlic is essential. Add whole cloves or minced garlic for a robust taste. Black pepper provides a subtle heat. Freshly ground peppercorns offer the best flavor.
Bay leaves impart a subtle earthiness. Use 1-2 leaves per roast. Remove before serving.
For depth, consider adding paprika or smoked paprika. These spices contribute a rich color and mild sweetness.
Beef broth and red wine create a flavorful cooking liquid. Use a dry red wine like Cabernet Sauvignon or Merlot. The alcohol cooks off, leaving behind a complex taste.
Monitoring and Managing the Cooking Process

Attentive monitoring and management are crucial for achieving a perfectly cooked chuck roast. Regular basting and temperature checks ensure optimal results.
Proper Basting
Basting helps maintain moisture and enhances flavor. Every 30-45 minutes, open the oven and spoon the pan juices over the roast. This process creates a flavorful crust and keeps the meat juicy.
For added richness, mix 1/4 cup melted butter with herbs and brush it onto the roast during basting. If the pan juices evaporate, add 1/2 cup of beef broth or water to prevent burning.
Avoid opening the oven too frequently, as this can lower the temperature and extend cooking time. Aim for quick, efficient basting sessions.
Checking Internal Temperature
A meat thermometer is essential for determining doneness. Insert it into the thickest part of the roast, avoiding fat or bone.
For medium-rare, aim for 135°F (57°C). Medium is 145°F (63°C), while well-done is 160°F (71°C). Remember, the temperature will rise 5-10°F during resting.
Check the temperature 30 minutes before the estimated cooking time. This allows for adjustments if needed.
If the roast reaches temperature too quickly, lower the oven heat by 25°F. If it's cooking slowly, increase the temperature slightly.
Finishing Touches for Serving

Properly finishing and serving a chuck roast enhances its flavor and texture. These final steps ensure a delicious and satisfying meal.
Resting the Meat
After removing the chuck roast from the oven, let it rest for 15-20 minutes. This resting period allows the juices to redistribute throughout the meat, resulting in a more tender and flavorful roast.
Cover the roast loosely with foil to keep it warm. The internal temperature will continue to rise slightly during this time, so factor this into your desired doneness.
For medium-rare, aim for a final temperature of 135°F (57°C). Well-done roasts should reach 160°F (71°C).
Making Gravy and Sauces
While the meat rests, prepare a flavorful gravy using the pan drippings. Deglaze the roasting pan with beef broth or red wine, scraping up any browned bits.
Pour the liquid into a saucepan and bring to a simmer. Whisk in a mixture of cornstarch and cold water to thicken the gravy.
For added depth, incorporate herbs like thyme or rosemary. Season with salt and pepper to taste.
Strain the gravy before serving to ensure a smooth consistency. Pour it over sliced roast or serve on the side for guests to add as desired.
Side Dishes and Accompaniments

A well-prepared chuck roast pairs wonderfully with various side dishes that complement its rich flavors. The right accompaniments can elevate the meal and provide a balanced dining experience.
Pairings with Potatoes
Mashed potatoes are a classic choice to serve alongside chuck roast. Their creamy texture contrasts nicely with the meat's hearty consistency. For a twist, try roasted potatoes seasoned with herbs like rosemary or thyme.
Scalloped potatoes offer a more indulgent option. Layers of thinly sliced potatoes baked in a creamy sauce create a luxurious side dish. Another delicious choice is potato gratin, featuring cheese and garlic for added flavor.
For a lighter alternative, consider roasted baby potatoes. Toss them with olive oil, salt, and pepper before roasting until crispy on the outside and tender inside.
Vegetable Recommendations
Roasted vegetables make an excellent accompaniment to chuck roast. A mix of carrots, celery, and mushrooms roasted alongside the meat absorbs its juices, resulting in flavorful sides.
Glazed carrots provide a touch of sweetness to balance the savory roast. Sauté them with butter and a hint of honey or brown sugar. Green beans almondine offer a crisp texture and nutty flavor that complements the tender meat.
For a colorful option, try roasted Brussels sprouts with bacon. The combination of caramelized sprouts and crispy bacon bits adds depth to the meal. Sautéed mushrooms in garlic butter make a rich and earthy side dish that pairs well with chuck roast.
Variations and Alternate Recipes
Experimenting with chuck roast recipes opens up a world of flavor possibilities. Adjusting ingredients and cooking methods can transform this classic dish to suit various tastes and dietary needs.
Recipe Adjustments for Diet Preferences
For low-carb diets, replace potatoes with cauliflower or turnips. Keto enthusiasts can increase fat content by adding bacon or using butter-based herb rubs. Vegetable-heavy versions work well for those seeking lighter options.
Gluten-free diets benefit from using cornstarch or arrowroot as thickeners instead of flour. For dairy-free preparations, substitute coconut oil or olive oil for butter.
Spice variations can drastically change the flavor profile. Try Mexican-inspired blends with cumin and chili powder, or Italian herbs like rosemary and oregano.
Exploring Different Cooking Styles
While oven-baking is popular, other methods yield unique results. Slow cookers offer convenience and tender meat with minimal supervision. Set on low for 8-10 hours or high for 4-6 hours.
Braising involves searing the roast first, then cooking it in liquid. This method intensifies flavors and ensures juicy results. Use beef broth, red wine, or beer as the braising liquid.
For a smoky flavor, try grilling the chuck roast. Sear over high heat, then move to indirect heat and cook slowly until tender. This method works best for smaller roasts.
Pressure cooking significantly reduces cooking time. A 3-pound roast typically requires about 60 minutes at high pressure, followed by a natural release.
After-Cooking Tips and Tricks
Proper handling of your cooked chuck roast ensures maximum flavor and enjoyment. Carving techniques and storage methods can enhance your dining experience and extend the life of your flavorful dish.
Carving and Serving Slices
Allow the roast to rest for 15-20 minutes before carving. This helps the juices redistribute, resulting in a more tender and flavorful dish. Place the roast on a cutting board with a groove to catch any juices.
Use a sharp carving knife to slice against the grain. This technique breaks down tough fibers, making each bite more tender. Aim for slices about 1/4 to 1/2 inch thick.
Arrange the slices on a warm platter. Drizzle with collected juices or gravy for added moisture and flavor. Serve immediately with your chosen side dishes.
Storing and Reusing Leftovers
Cool the roast completely before storing. Place leftovers in an airtight container or wrap tightly in aluminum foil. Refrigerate within two hours of cooking to maintain food safety.
Properly stored, cooked chuck roast can last 3-4 days in the refrigerator. For longer storage, freeze portions in freezer-safe bags for up to 3 months.
Reheat leftovers in the oven at 325°F (165°C) until warmed through. Add a splash of broth to prevent drying. Alternatively, use leftovers in new dishes like tacos, sandwiches, or beef stew.
