
How to Cook a 3lb Tri-Tip in the Oven
Tender and Flavorful Results
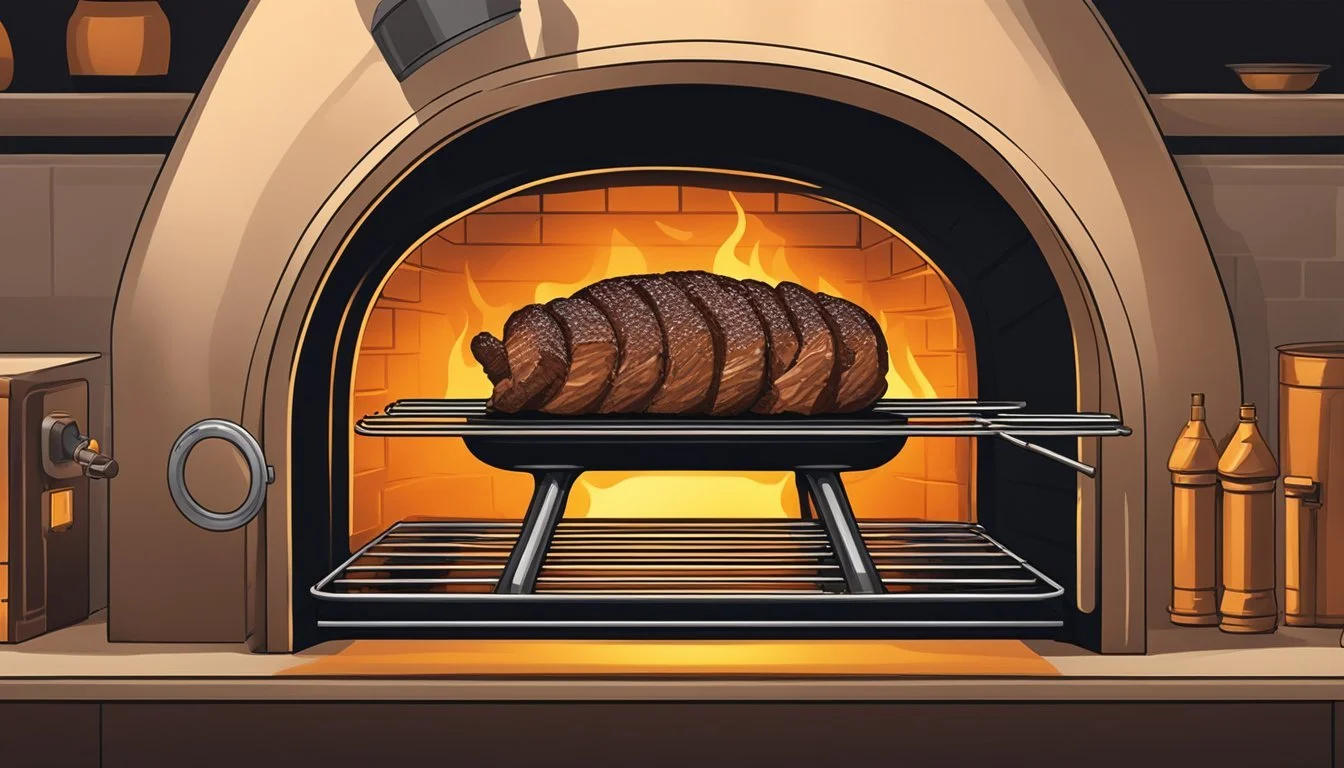
Cooking a 3-pound tri-tip roast in the oven yields a delicious, tender cut of beef perfect for family dinners or special occasions. This triangular cut from the bottom sirloin offers a flavorful balance of lean meat and marbling. For optimal results, roast a 3-pound tri-tip in a preheated 425°F oven for approximately 30-35 minutes to reach medium-rare doneness.
Proper preparation is key to achieving a juicy, flavorful tri-tip. Before roasting, allow the meat to come to room temperature and season it generously with a blend of salt, pepper, garlic powder, and herbs like rosemary or thyme. Many cooks prefer to sear the tri-tip in a hot skillet before transferring it to the oven, creating a delectable crust that seals in the juices.
Monitoring the internal temperature is crucial when cooking tri-tip. Use a meat thermometer to check for doneness, aiming for 125°F for medium-rare. Once the desired temperature is reached, let the roast rest for 10-15 minutes before slicing against the grain. This resting period allows the juices to redistribute, ensuring each bite is moist and flavorful.
Understanding Tri-Tip
Tri-tip is a flavorful and versatile cut of beef that has gained popularity for its rich taste and ease of preparation. This triangular roast offers a balance of tenderness and flavor, making it an excellent choice for various cooking methods.
Origins and Popularity
Tri-tip originated in California in the 1950s. Butchers discovered this previously overlooked cut from the bottom sirloin. It quickly gained popularity in Santa Maria, California, where it became the star of local barbecues.
The cut's affordability and delicious taste contributed to its spread across the United States. Today, tri-tip is widely available and appreciated for its versatility in grilling, roasting, and smoking.
Characteristics of Tri-Tip
Tri-tip is a triangular cut of beef weighing between 1.5 to 3 pounds. It comes from the bottom sirloin subprimal cut, near the rear of the cow. This location gives tri-tip its unique shape and balanced flavor profile.
The meat is relatively lean but contains enough marbling to remain juicy and flavorful when cooked properly. Tri-tip has a distinct grain pattern that runs in two directions, which affects how it should be sliced after cooking.
Trimming and Preparing
Proper trimming is crucial for optimal tri-tip preparation. Start by removing the silver skin, a tough connective tissue on the surface of the roast. Use a sharp knife to carefully separate and peel it away.
Some tri-tips come with a fat cap. Decide whether to keep it based on your cooking method and personal preference. For oven roasting, leaving some fat can add flavor and moisture.
Before cooking, pat the tri-tip dry with paper towels. This step helps achieve a better sear and crust formation. Season the meat generously with salt, pepper, and your choice of herbs or spices to enhance its natural flavors.
Preparation Before Cooking
Proper preparation is key to achieving a tender and flavorful tri-tip roast. The following steps will ensure your 3-pound tri-tip is ready for the oven, maximizing taste and texture.
Marinating the Tri-Tip
Marinating tenderizes the meat and infuses it with flavor. For best results, place the tri-tip in a large ziplock bag or shallow dish. Mix 1/4 cup olive oil, 2 tablespoons red wine vinegar, 3 minced garlic cloves, 1 teaspoon dried rosemary, and 1 teaspoon each of salt and pepper. Pour the marinade over the meat, ensuring even coverage. Refrigerate for 2-8 hours, turning occasionally.
For those short on time, a shorter marinating period of 30 minutes can still enhance flavor. Remember to remove the tri-tip from the refrigerator 30 minutes before cooking to allow it to reach room temperature.
Seasoning for Flavor
If opting for a dry rub instead of a marinade, pat the tri-tip dry with paper towels. Mix 2 tablespoons kosher salt, 1 tablespoon black pepper, 1 tablespoon garlic powder, 1 tablespoon smoked paprika, and 1 teaspoon dried rosemary. Rub this mixture generously over the entire surface of the meat.
For best results, apply the rub at least 40 minutes before cooking. This allows the salt to penetrate the meat, enhancing flavor and tenderness. For an extra kick, add a pinch of cayenne pepper to the rub.
Searing for Texture
Searing the tri-tip before oven roasting creates a flavorful crust and locks in juices. Heat 2 tablespoons of olive oil in a large, oven-safe skillet over high heat. Once the oil is shimmering, add the seasoned tri-tip.
Sear each side for 3-4 minutes until a golden-brown crust forms. Use tongs to turn the meat, ensuring even browning. This step not only improves texture but also develops rich, complex flavors through the Maillard reaction.
After searing, the tri-tip is ready for the oven. This combination of marinating or seasoning and searing sets the stage for a perfectly cooked roast.
Oven Roasting the Tri-Tip
Oven roasting a tri-tip yields tender, flavorful results when done correctly. The key factors are setting the right temperature, managing the roasting process, and accurately determining doneness.
Setting the Temperature
Preheat the oven to 425°F (220°C) for optimal tri-tip roasting. This high temperature allows for a nice crust to form on the outside while keeping the inside juicy.
Place the seasoned tri-tip on a roasting pan or in a cast-iron skillet. For even cooking, let the meat come to room temperature before roasting.
The Roasting Process
Insert an oven-safe meat thermometer into the thickest part of the tri-tip. This helps monitor the internal temperature throughout cooking.
Roast the tri-tip for approximately 20-25 minutes per pound. For a 3-pound roast, this typically means 60-75 minutes total cooking time.
Halfway through cooking, flip the tri-tip to ensure even browning on both sides. This step promotes uniform cooking and enhances flavor development.
Determining Doneness
Use an instant-read thermometer to check the internal temperature for desired doneness:
125°F (52°C) for rare
135°F (57°C) for medium-rare
145°F (63°C) for medium
Remove the tri-tip from the oven when it's 5°F below the target temperature. The internal temperature will continue to rise during resting.
Let the roast rest for 10-15 minutes before slicing. This allows juices to redistribute, ensuring a moist and flavorful tri-tip.
Slice against the grain for maximum tenderness. Serve immediately for the best taste and texture.
After Cooking: Resting and Slicing Tri-Tip
Proper handling of tri-tip after cooking is crucial for achieving optimal tenderness and flavor. Resting allows the meat to retain its juices, while correct slicing technique ensures each bite is as tender as possible.
The Importance of Resting
Resting tri-tip is essential for juicy, flavorful results. After removing the roast from the oven, tent it loosely with foil and let it rest for 10-15 minutes. This process allows the meat's juices to redistribute throughout the roast.
During cooking, heat pushes juices towards the center of the meat. Resting gives these juices time to spread back out, resulting in a more evenly moist and tender tri-tip. Cutting into the meat too soon causes these flavorful juices to spill out onto the cutting board, leaving the tri-tip drier than desired.
The internal temperature of the meat will continue to rise slightly during resting, typically by about 5°F. This carryover cooking contributes to the final doneness of the roast.
Correct Slicing Technique
Proper slicing is key to maximizing the tenderness of tri-tip. The roast should be sliced against the grain, which means cutting perpendicular to the direction of the muscle fibers.
To identify the grain:
Look for lines running along the surface of the meat
Position your knife perpendicular to these lines
Slice the tri-tip into thin strips, about ¼ inch thick. Thinner slices are generally more tender and easier to chew. A sharp knife helps achieve clean, even cuts without tearing the meat.
Tri-tip has two distinct grain directions. Start slicing from the narrower end, then rotate the roast 90 degrees when you reach the point where the grain changes direction. This ensures each slice is cut against the grain for maximum tenderness.
Serving and Side Dishes
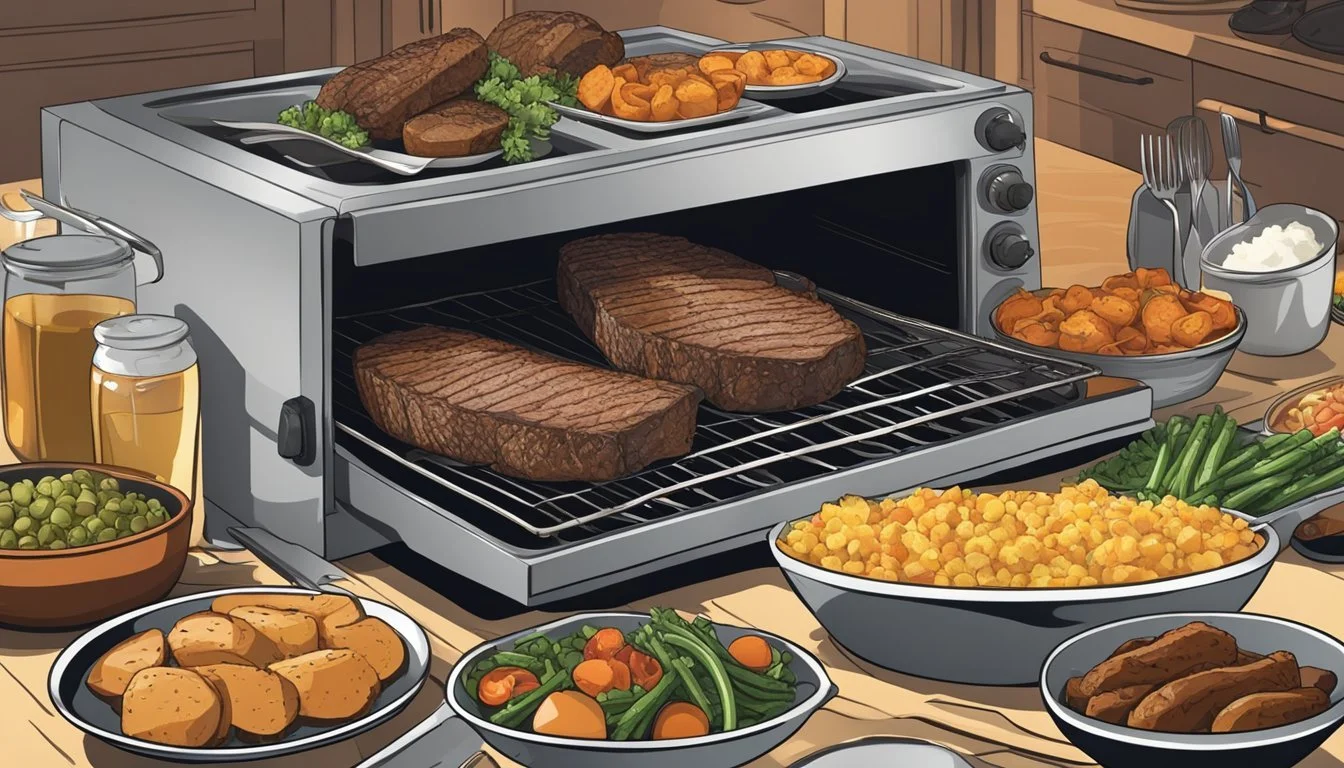
Tri-tip roast pairs well with a variety of sauces and side dishes that complement its rich flavor. The right accompaniments can elevate this cut of beef to create a memorable meal.
Sauce Pairings
Chimichurri sauce is a classic choice for tri-tip, offering a tangy, herbaceous contrast to the meat's savory profile. A red wine reduction sauce enhances the beef's richness, while a creamy horseradish sauce adds a spicy kick. For a smoky flavor, consider a barbecue sauce or a whiskey-based glaze.
Garlic butter is a simple yet delicious option. Melt butter with minced garlic, parsley, and a touch of lemon juice for a quick and flavorful sauce. A mushroom sauce made with sautéed mushrooms, beef broth, and a splash of heavy cream creates a luxurious topping.
Recommended Side Dishes
Roasted vegetables complement tri-tip well. Try roasting asparagus, Brussels sprouts, or a medley of root vegetables tossed in olive oil and herbs. Grilled corn on the cob adds a sweet contrast to the savory meat.
For starch options, consider garlic mashed potatoes or roasted fingerling potatoes. A crisp green salad with a vinaigrette dressing provides a refreshing balance. Grilled vegetables like zucchini or bell peppers offer a smoky flavor that pairs nicely with the beef.
Sautéed mushrooms make an excellent side, especially when cooked with garlic and butter. For a heartier option, serve the tri-tip with creamy mac and cheese or a loaded baked potato. A crusty bread or dinner rolls are perfect for soaking up any leftover juices or sauce.
Storing Leftovers

Proper storage of leftover tri-tip ensures food safety and maintains flavor. Follow these guidelines to keep your tri-tip fresh and delicious for future meals.
Refrigeration
Store leftover tri-tip in the refrigerator within 2 hours of cooking. Place the meat in an airtight container or wrap it tightly in aluminum foil or plastic wrap. This prevents moisture loss and protects the tri-tip from absorbing odors from other foods.
Label the container with the date to track freshness. Refrigerated tri-tip remains safe to eat for 3-4 days.
For optimal flavor, slice the tri-tip before storing. This makes it easier to portion and reheat later.
Freezing
Freezing extends the shelf life of leftover tri-tip up to 3 months. Wrap the meat tightly in plastic wrap, then place it in a freezer-safe bag or container. Remove as much air as possible to prevent freezer burn.
Label the package with the date and contents. For best quality, use frozen tri-tip within 2-3 months.
Freeze individual portions for convenient reheating. This allows you to thaw only what you need.
Reheating
Thaw frozen tri-tip in the refrigerator overnight before reheating. Never thaw meat at room temperature.
Reheat tri-tip in the oven for best results. Preheat to 250°F (120°C). Place the meat on a baking sheet and cover with foil. Heat for 15-20 minutes or until internal temperature reaches 165°F (74°C).
Avoid microwaving, as it can dry out the meat. If using a microwave, heat in short intervals and check frequently.
Add a splash of beef broth or water to maintain moisture during reheating. This helps prevent the tri-tip from drying out.
Tri-Tip Variations and Recipes
Tri-tip's versatility shines through various cooking methods and flavor combinations. This cut adapts well to different cuisines and preparations, offering a range of delicious options beyond basic oven roasting.
Grilled Tri-Tip
Grilling tri-tip is a popular method, especially in California where it originated. The Santa Maria style is a classic approach:
Rub the meat with salt, pepper, and garlic powder.
Grill over red oak wood for a distinct smoky flavor.
Cook for about 30-40 minutes, flipping occasionally.
Let rest for 10 minutes before slicing against the grain.
For best results, use a meat thermometer to achieve desired doneness. Medium-rare (135°F) is ideal for maximum tenderness. Serve with traditional sides like pinquito beans and salsa.
Tri-Tip Sandwiches and Fajitas
Leftover tri-tip makes excellent sandwiches and fajitas. For sandwiches:
Slice the meat thinly
Layer on crusty bread with horseradish sauce
Add caramelized onions and arugula
For fajitas:
Cut tri-tip into strips
Sauté with bell peppers and onions
Serve in warm tortillas with guacamole and sour cream
These options transform leftover tri-tip into new, exciting meals.
Alternative Seasonings and Marinades
Experiment with different flavors to enhance your tri-tip:
Coffee rub: Mix ground coffee, brown sugar, and spices
Asian-inspired: Soy sauce, ginger, and sesame oil marinade
Mediterranean: Olive oil, lemon juice, and herbs like rosemary and thyme
Marinate for 2-4 hours before cooking. For a quicker option, use dry rubs just before grilling or roasting. Pair with complementary sauces like chimichurri or horseradish cream to elevate the flavors.
