
How to Cook 3 Racks of Ribs in the Oven
Tender and Flavorful Results
Cooking multiple racks of ribs in the oven is a convenient way to prepare a hearty meal for a gathering or family dinner. With the right technique, you can achieve tender, flavorful ribs without a grill or smoker. To cook 3 racks of ribs in the oven, preheat to 275-300°F, wrap each rack in foil, and bake for approximately 3-4 hours depending on size.
Proper preparation is key to achieving fall-off-the-bone texture. Remove the membrane from the back of each rack before seasoning. This allows the flavors to penetrate the meat more effectively. Season generously with your preferred spice rub, ensuring even coverage on both sides of the ribs.
After the initial low and slow cooking period, unwrap the ribs and brush them with barbecue sauce. Return them to the oven at a higher temperature of 400°F for an additional 15-20 minutes to caramelize the sauce. This final step creates a delicious sticky glaze on the exterior while maintaining the tender interior.
Choosing the Right Type of Ribs
Selecting the ideal ribs is crucial for a successful oven-baked meal. Different rib cuts offer unique textures and flavors, requiring specific preparation techniques.
Distinguishing Between Rib Types
Pork ribs are the most common choice for oven cooking. Baby back ribs, cut from the top of the ribcage, are lean and tender. Spare ribs, from the belly area, have more fat and meat. St. Louis ribs are spare ribs trimmed to a rectangular shape.
Beef ribs come in two main varieties: back ribs and short ribs. Back ribs are meatier but less tender than pork ribs. Short ribs have more fat and connective tissue, resulting in a rich flavor when cooked slowly.
For cooking multiple racks, consider using the same type to ensure even cooking times.
Preparation Prior to Cooking
Proper preparation enhances the flavor and texture of ribs. Remove the membrane from the bone side of the rack using a knife or paper towel for grip. This step allows better seasoning penetration and prevents chewy texture.
Trim excess fat, leaving a thin layer for moisture and flavor. Score the remaining fat to help render it during cooking. Pat the ribs dry with paper towels before applying seasoning.
For even cooking of multiple racks, ensure they are similar in size. If necessary, cut larger racks to match smaller ones. This step helps maintain consistent doneness across all portions.
Preparing the Ribs
Proper preparation is crucial for achieving tender, flavorful ribs. A well-crafted dry rub and sufficient marination time enhance the taste and texture of the meat.
Creating the Dry Rub
Mix kosher salt, black pepper, paprika, garlic powder, brown sugar, cayenne pepper, and onion powder in a bowl. Adjust quantities based on personal preference for heat and sweetness. For three racks of ribs, combine 1/4 cup brown sugar, 2 tablespoons each of paprika and kosher salt, 1 tablespoon each of black pepper and garlic powder, and 1 teaspoon each of cayenne pepper and onion powder.
Taste the mix and adjust as needed. Store extra rub in an airtight container for future use.
Applying Rub and Marinating
Remove the membrane from the back of the ribs using a paper towel for grip. Pat the ribs dry with paper towels. Apply the dry rub generously, massaging it into both sides of the meat.
For best results, wrap the seasoned ribs tightly in plastic wrap or place them in a large resealable bag. Refrigerate for at least 2 hours, preferably overnight. This allows the flavors to penetrate the meat deeply.
Before cooking, remove the ribs from the refrigerator and let them sit at room temperature for 30 minutes to ensure even cooking.
Oven Setup and Temperature
Proper oven setup and temperature control are crucial for cooking tender, flavorful ribs. The key lies in low and slow cooking, which allows the meat to become tender without drying out.
Importance of Low and Slow Cooking
Low and slow cooking breaks down tough connective tissues in ribs, resulting in tender, fall-off-the-bone meat. This method typically involves cooking at temperatures between 225°F and 275°F for several hours.
The extended cooking time allows flavors to develop fully and fat to render, enhancing the overall taste and texture of the ribs. It also prevents the meat from drying out or becoming tough.
For best results, place ribs on a baking sheet or wrap them in aluminum foil to retain moisture during the long cooking process.
Oven Temperature and Heat Circulation
Set the oven temperature to 300°F for optimal rib cooking. This temperature balances the need for low and slow cooking with a reasonable cooking time.
Preheat the oven thoroughly before adding the ribs. This ensures consistent heat throughout the cooking process.
For even cooking, position racks in the middle of the oven. If using multiple racks, space them evenly to allow proper heat circulation.
Consider using convection mode if available, as it promotes more even heat distribution. If using convection, reduce the temperature by 25°F to compensate for increased heat efficiency.
Rotate baking sheets halfway through cooking to ensure all ribs cook evenly, especially when cooking multiple racks simultaneously.
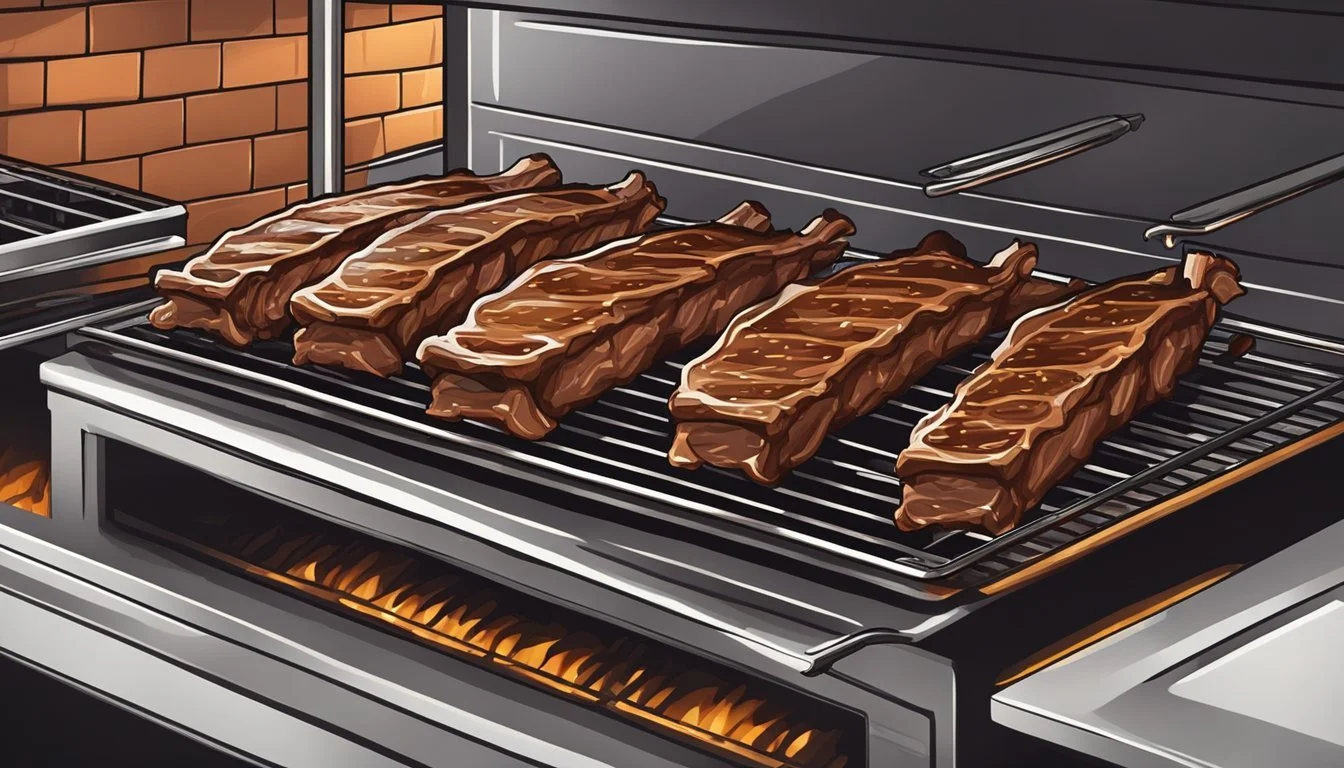
Cooking the Ribs in the Oven
Proper oven cooking technique is crucial for achieving tender, flavorful ribs. The key factors are layering, temperature control, and deciding whether to cover the ribs during baking.
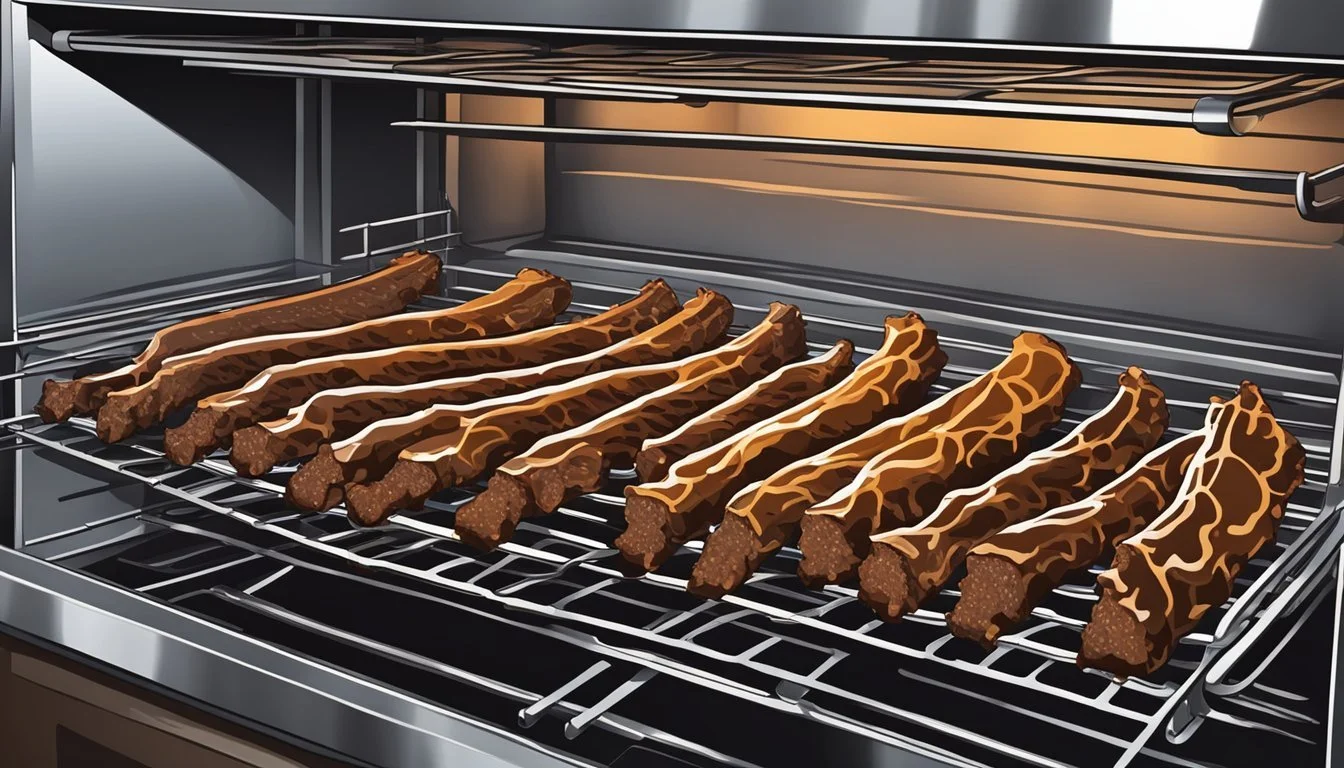
Layering the Ribs and Using a Baking Sheet
When cooking multiple racks of ribs, proper arrangement is essential. Use a large baking sheet or roasting pan lined with aluminum foil for easy cleanup. Place a wire rack on the sheet to elevate the ribs, allowing heat to circulate evenly.
Stagger the rib racks on the wire rack, alternating bone side up and down. This arrangement promotes even cooking and prevents the bottom racks from becoming too moist. If a wire rack is unavailable, place the ribs directly on the baking sheet, rotating their position halfway through cooking.
For three racks, consider using two baking sheets if space allows. This prevents overcrowding and ensures each rack cooks uniformly.
Covered vs. Uncovered Baking
The decision to cover ribs while baking impacts their texture and flavor. Covered baking creates a moist environment, resulting in tender meat that easily falls off the bone.
To bake covered, wrap each rack tightly in aluminum foil. This method is ideal for the initial cooking phase, typically 2-3 hours at 275°F (135°C). The foil traps steam, helping break down tough connective tissues.
For a firmer texture and caramelized exterior, finish the ribs uncovered. Remove the foil for the last 30-60 minutes of cooking. Increase the oven temperature to 350-400°F (175-205°C) to achieve a desirable crust.
Some cooks prefer uncovered baking throughout. This method requires more attention to prevent drying. Baste the ribs every 30 minutes with their juices or a thin barbecue sauce to maintain moisture.
Adding Sauce and Broiling

Applying sauce and broiling are crucial final steps that elevate oven-baked ribs to restaurant quality. These techniques add flavor, texture, and that irresistible caramelized finish.
Applying Barbecue Sauce
Choose a high-quality barbecue sauce or make your own. Remove the ribs from the oven about 30 minutes before they're done cooking. Brush a thin layer of sauce on both sides of the ribs.
Return the ribs to the oven, uncovered, for the final 30 minutes of cooking. This allows the sauce to set and begin caramelizing.
For extra flavor, apply another coat of sauce every 10 minutes during this final stage. Be careful not to add too much, as excess sauce can burn.
Final Broiling for Crispness
After the ribs finish cooking, it's time to broil for that perfect finish. Move the oven rack to about 6 inches below the broiler. Turn the broiler on high.
Brush one last layer of sauce on the ribs. Place them under the broiler for 3-5 minutes. Watch closely to prevent burning.
The high heat will caramelize the sauce, creating a slightly crispy, sticky exterior. This step mimics the finish achieved on a grill or smoker.
For even browning, rotate the pan halfway through broiling. Once the sauce is bubbling and charring in spots, the ribs are ready to serve.
Resting and Serving the Ribs
After cooking, proper resting and serving techniques ensure the most flavorful and tender ribs. Allowing the meat to rest helps retain juices, while thoughtful side dish pairings complement the rich flavors.
The Importance of Resting Meat
Resting ribs is crucial for optimal texture and taste. Allow the cooked ribs to rest at room temperature for 10-20 minutes before cutting. This brief pause lets the juices redistribute throughout the meat, resulting in more tender and juicy ribs.
Place a sheet of aluminum foil loosely over the ribs during resting. This protects them from contaminants while allowing excess steam to escape. Avoid wrapping the ribs tightly, as this can lead to overcooking and loss of the crispy exterior.
After resting, the ribs will be easier to cut and serve. Use a sharp knife to separate individual ribs, ensuring clean cuts between the bones.
Suggested Side Dishes
Pairing ribs with complementary side dishes enhances the overall meal experience. Classic barbecue sides like coleslaw and baked beans offer a balance of flavors and textures.
Coleslaw provides a refreshing crunch and tangy contrast to the rich, savory ribs. A creamy potato salad or a zesty pasta salad adds substance to the plate. For a Southern touch, serve warm cornbread on the side.
Vegetable-based sides like grilled corn on the cob or a mixed green salad can lighten the meal. Consider offering a variety of barbecue sauces for diners to customize their ribs.
Remember to provide plenty of napkins and wet wipes, as eating ribs can be a delightfully messy experience.
Storing and Reheating Leftovers
Proper storage and reheating techniques are crucial for maintaining the quality and safety of leftover ribs. Following the right methods helps preserve flavor and texture while preventing foodborne illness.
Proper Storage Techniques
Store oven-baked ribs in an airtight container in the fridge within two hours of cooking. Remove the meat from the bones and wrap tightly in aluminum foil or plastic wrap before placing in the container. This prevents air exposure and moisture loss.
Label the container with the date to track freshness. Properly stored ribs remain safe to eat for 3-4 days. For longer storage, freeze ribs in freezer-safe bags or containers for up to 3 months.
Thaw frozen ribs in the refrigerator overnight before reheating. Never thaw at room temperature, as this promotes bacterial growth.
Best Reheating Methods for Moistness
The oven method is ideal for reheating ribs while retaining moisture. Preheat to 250°F (121°C). Place ribs in a baking dish and add a splash of broth or water. Cover tightly with foil and heat for 20-30 minutes.
For quicker results, use a microwave. Place ribs on a microwave-safe plate, add a tablespoon of water, and cover with a damp paper towel. Heat in 30-second intervals, turning occasionally.
To restore crispiness, finish reheated ribs under the broiler for 2-3 minutes. Watch closely to prevent burning. Brush with extra sauce before serving to enhance flavor and moisture.
Enhancing Flavor and Texture
Creating moist, succulent ribs with fall-off-the-bone tenderness is an art. Mastering flavor profiles and cooking techniques elevates your rib game to new heights.
Homemade vs. Store-Bought BBQ Sauce
Homemade BBQ sauce offers unparalleled flavor control. Mix ketchup, brown sugar, vinegar, and spices for a basic sauce. Customize with liquid smoke, Worcestershire sauce, or hot sauce to suit preferences.
Store-bought sauces provide convenience but may contain preservatives. For a quick fix, doctor up bottled sauce with honey, garlic, or bourbon. Apply sauce during the last 30 minutes of cooking to prevent burning.
Baste ribs every 15-20 minutes while cooking for optimal flavor infusion. For a deeper taste, marinate ribs in sauce for 2-4 hours before cooking.
Achieving Fall-Off-The-Bone Tenderness
Low and slow cooking is key to tender ribs. Set oven temperature to 250°F (121°C) for 3-4 hours. Wrap ribs tightly in foil to trap moisture and promote even cooking.
A dry rub of brown sugar, paprika, garlic powder, and salt enhances flavor and helps tenderize meat. Apply rub generously and refrigerate ribs for 2-24 hours before cooking.
For extra tenderness, spray ribs with apple juice or cider vinegar every hour during cooking. This adds moisture and subtle flavor. Remove foil for the last 30 minutes to allow sauce to caramelize.
Rest ribs for 10-15 minutes before serving to redistribute juices, ensuring moist and flavorful meat.
Additional Tips and Tricks

Mastering the art of cooking multiple racks of ribs in the oven requires attention to detail and proper technique. These tips will help ensure your ribs turn out tender, flavorful, and visually appealing.
Timing and Testing for Doneness
Use a meat thermometer to check the internal temperature of the ribs. The ideal temperature for tender ribs is 195°F to 203°F (90°C to 95°C). Cooking times may vary depending on the thickness of the ribs.
For baby back pork ribs, plan for about 2-3 hours of cooking time. St. Louis-style ribs typically need 3-4 hours. Adjust cooking time based on your oven's performance and the number of racks.
Perform the bend test to check doneness. Lift one end of the rack with tongs. If it bends easily and the meat starts to crack, the ribs are ready.
Serving for Maximum Impact
Allow the ribs to rest for 10-15 minutes after removing them from the oven. This helps the juices redistribute, resulting in more flavorful and tender meat.
Slice the ribs between the bones for easy serving. Use a sharp knife to ensure clean cuts.
Present the ribs on a large platter garnished with fresh herbs like parsley or cilantro. Serve with extra barbecue sauce on the side for dipping.
Consider pairing the ribs with classic sides like coleslaw, baked beans, or corn on the cob to create a complete and satisfying meal.
