
How to Cook Ribs in the Oven
Tender, Flavorful Results Every Time
Cooking ribs in the oven is a simple and delicious way to enjoy this classic barbecue favorite. While many associate ribs with outdoor grilling, oven-baked ribs can be just as tender and flavorful. The key to perfect oven-baked ribs lies in low and slow cooking, which allows the meat to become tender and juicy.
Preparing ribs for the oven involves a few essential steps. The process typically begins with seasoning the ribs with a dry rub of spices, which can include salt, pepper, paprika, and other aromatics. Some recipes recommend wrapping the seasoned ribs in foil to lock in moisture during cooking. The ribs are then baked at a low temperature, usually around 275°F to 300°F, for several hours until they reach the desired tenderness.
For those who crave that classic barbecue flavor, basting the ribs with barbecue sauce during the final stages of cooking is a popular technique. This can be followed by a brief stint under the broiler to caramelize the sauce and create a slightly crispy exterior. The result is a rack of ribs that rivals any outdoor barbecue, with meat that easily pulls away from the bone and a rich, satisfying taste.
Choosing the Right Type of Ribs

Selecting the appropriate rib cut is crucial for achieving delicious results when cooking in the oven. Different types of ribs offer unique flavors, textures, and cooking characteristics.
Understanding Different Rib Cuts
Baby back ribs come from the top of the rib cage near the loin. They are shorter, curved, and leaner compared to other cuts. These ribs cook faster due to their smaller size and have a tender texture.
Spare ribs are cut from the belly side of the pig's rib cage. They are larger, flatter, and contain more meat and fat than baby backs. Spare ribs offer a rich flavor and juicy texture.
St. Louis style ribs are spare ribs trimmed to remove the cartilage, sternum bone, and rib tips. This cut results in a rectangular rack that cooks more evenly.
Short ribs come from the lower portion of the ribs and contain more meat. They require longer cooking times to break down tough connective tissues.
Selection Criteria for Oven Baking
When choosing ribs for oven baking, consider the following factors:
Cooking time: Baby backs cook faster, while spare ribs and short ribs need more time.
Meat content: Spare ribs and short ribs offer more meat per rack.
Fat content: Higher fat content in spare ribs contributes to moisture and flavor.
Size and shape: St. Louis style ribs provide uniform thickness for even cooking.
Personal preference: Some prefer the tenderness of baby backs, while others enjoy the meatiness of spare ribs.
Select ribs with good meat coverage and avoid those with excessive fat or blemishes. Fresh ribs should have a pinkish-red color and minimal odor.
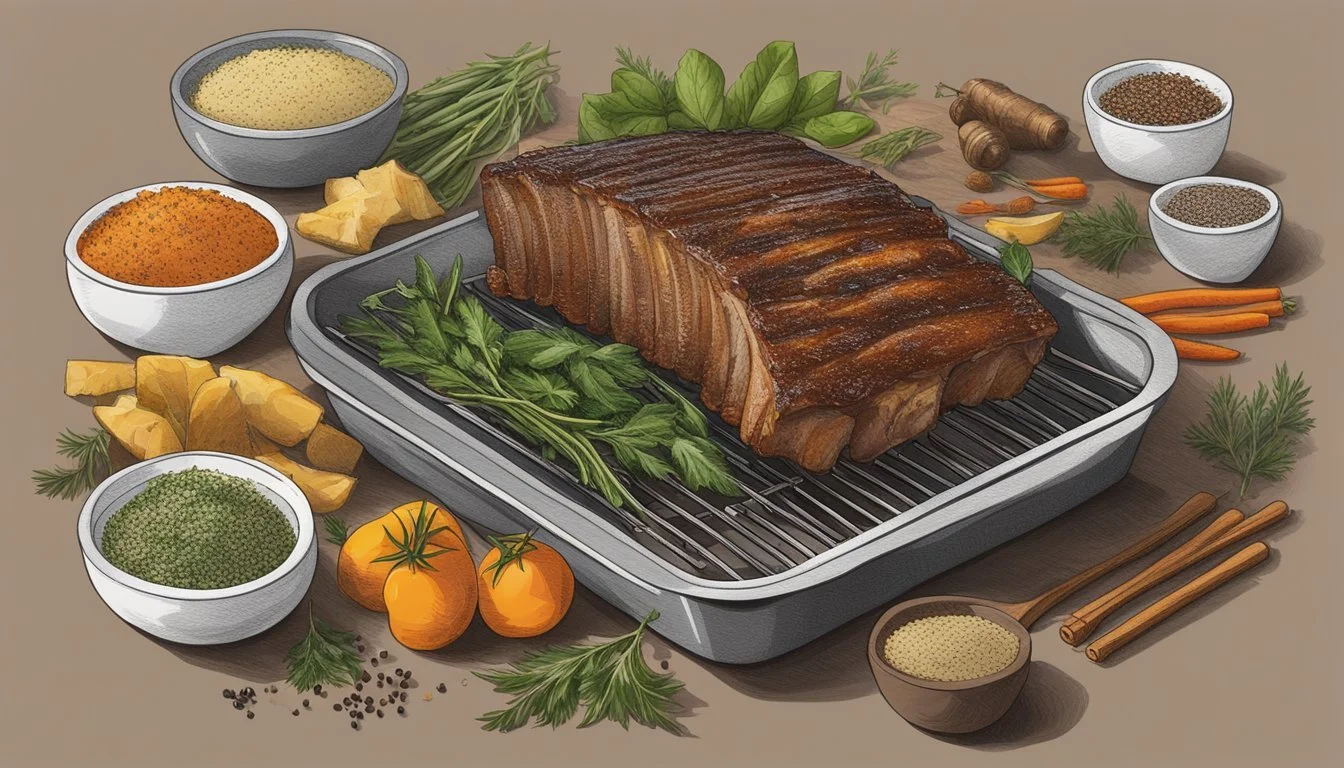
Preparation Essentials
Proper preparation is crucial for achieving tender, flavorful oven-baked ribs. Key steps include assembling a tasty spice rub, removing the membrane, and trimming the meat.
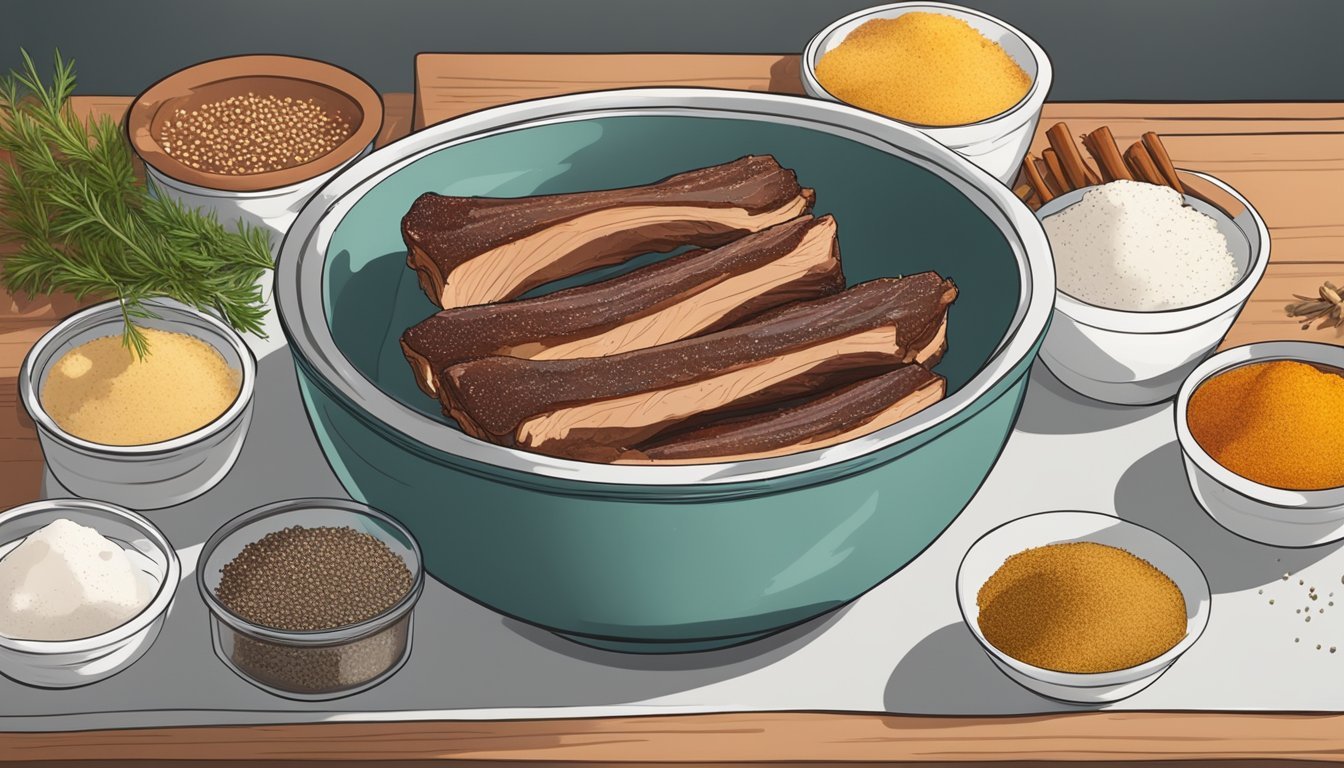
Ingredients and Spice Rub Assembly
A well-balanced dry rub enhances the natural flavor of the ribs. Combine salt, black pepper, paprika, brown sugar, garlic powder, onion powder, cayenne, and cumin in a bowl. Adjust quantities to taste, but aim for a mix of sweet, salty, and spicy notes.
For a basic rub, use:
2 tablespoons brown sugar
1 tablespoon salt
1 tablespoon paprika
1 teaspoon black pepper
1 teaspoon garlic powder
1 teaspoon onion powder
1/4 teaspoon cayenne (optional)
Mix ingredients thoroughly. Store excess rub in an airtight container for future use.
The Importance of Removing the Membrane
Removing the membrane from the back of the ribs is essential for tender meat. This thin, silvery layer can become tough and chewy when cooked.
To remove:
Slide a knife under the membrane at one end of the rack.
Lift and loosen the membrane with your fingers.
Grip with a paper towel and pull off in one piece.
This step allows the rub and heat to penetrate the meat more effectively, resulting in more flavorful ribs.
Trimming and Initial Meat Preparation
Proper trimming ensures even cooking and removes excess fat. Inspect the ribs for any loose pieces of meat or excessive fat deposits.
Trim off:
Any hanging meat
Large fat pockets
Excess fat along the edges
Pat the ribs dry with paper towels. This helps the rub adhere better to the meat surface.
Apply the spice rub generously, massaging it into both sides of the ribs. For best results, let the seasoned ribs sit in the refrigerator for 2-24 hours before cooking.
Marination and Seasoning
Marinating and seasoning ribs are crucial steps for enhancing flavor and tenderness before oven cooking. Proper techniques can elevate the taste and texture of the final dish.
Creating Flavorful Marinades
Marinades infuse ribs with moisture and flavor. Combine olive oil, Worcestershire sauce, and apple cider vinegar as a base. Add ketchup for sweetness and molasses for depth. Mix in minced garlic, onion powder, and black pepper for complexity.
For a tangy twist, incorporate citrus juices like lemon or orange. Place ribs in a sealed plastic bag or covered container with the marinade. Refrigerate for 4-24 hours, turning occasionally to ensure even coating.
Applying Dry Rubs and Seasonings
Dry rubs create a flavorful crust on ribs. Mix brown sugar, paprika, garlic powder, onion powder, and kosher salt as a base. Add black pepper, cayenne, or chili powder for heat. Incorporate dried herbs like thyme or oregano for aromatic notes.
Remove excess moisture from ribs with paper towels. Apply the rub generously, massaging it into the meat. For best results, let seasoned ribs sit in the refrigerator for 2-8 hours before cooking. This allows flavors to penetrate the meat more deeply.
Oven Baking Techniques
Mastering oven-baked ribs requires attention to key techniques. Proper wrapping, temperature control, and cooking duration are essential for achieving tender, juicy results.
Wrapping Ribs in Foil for Tender Results
Wrapping ribs in aluminum foil creates a moisture-rich environment. This method, known as the "Texas Crutch," helps tenderize the meat. Place the seasoned ribs on a large sheet of foil. Add a small amount of liquid like apple juice or beer for extra flavor and moisture.
Seal the foil tightly around the ribs, creating a packet. This traps steam and speeds up cooking. For best results, use heavy-duty foil to prevent tearing.
Unwrap the ribs during the last 30 minutes of cooking. This allows the exterior to crisp up and develop a delicious bark.
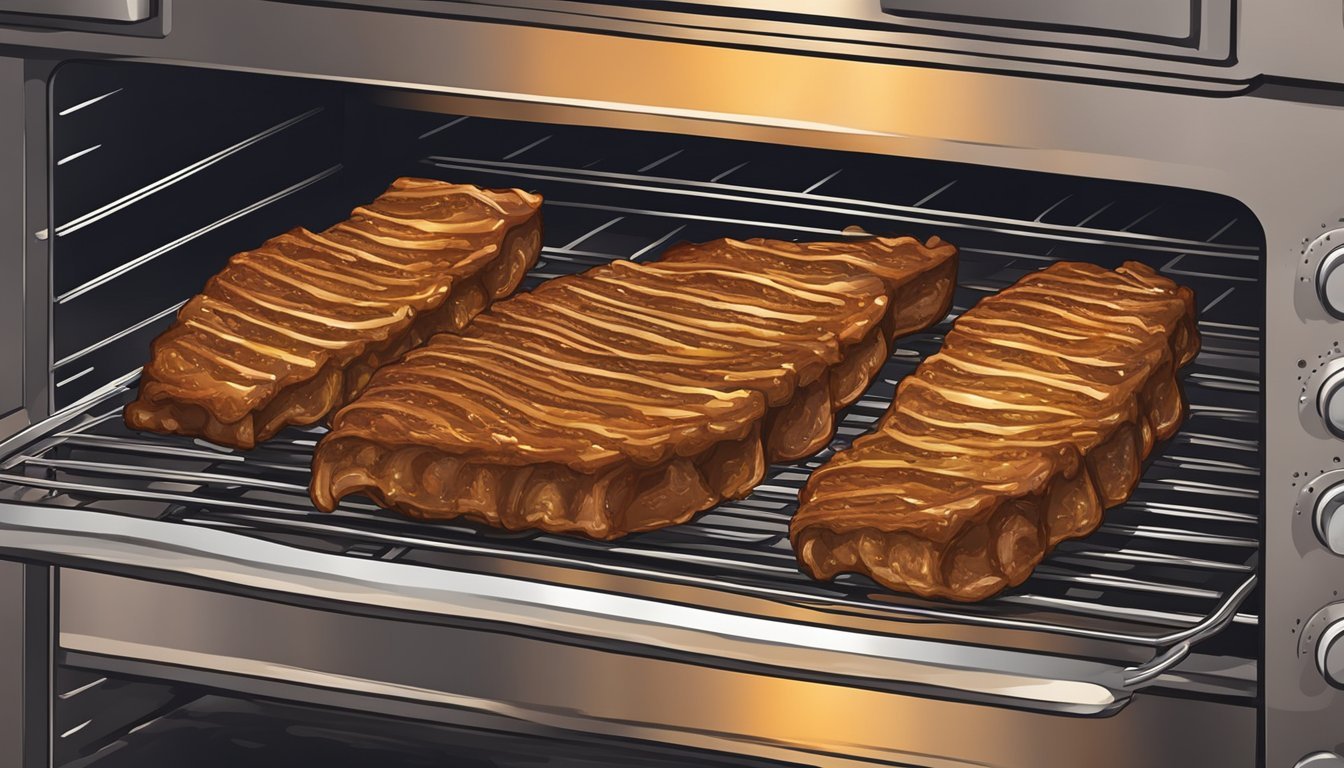
Setting the Correct Oven Temperature
Low and slow is the golden rule for oven-baked ribs. Set the oven temperature between 275°F and 300°F. This gentle heat breaks down tough connective tissues without drying out the meat.
Avoid the temptation to rush the process with higher temperatures. Fast cooking can lead to tough, chewy ribs.
Preheat the oven thoroughly before adding the ribs. This ensures consistent cooking from start to finish.
Cooking Time for Optimal Juiciness
Cooking time varies based on rib type and weight. Baby back ribs typically need 2.5 to 3 hours. Spare ribs require 3 to 4 hours due to their larger size.
Use a meat thermometer to check for doneness. The internal temperature should reach 190°F to 205°F for tender, fall-off-the-bone ribs.
Allow 10-15 minutes of rest time after cooking. This lets juices redistribute throughout the meat, ensuring moist and flavorful bites.
Finishing Touches
The final steps can elevate your oven-baked ribs from good to great. A caramelized crust and the right barbecue sauce application make all the difference.
Broiling for a Caramelized Crust
Set your oven to broil. Place the ribs on a baking sheet lined with foil. Position the rack about 6 inches from the heat source.
Broil for 3-5 minutes, watching carefully to prevent burning. The high heat caramelizes the surface, creating a delicious crust.
Turn the ribs once halfway through for even browning. This step enhances flavor and texture, giving your baked ribs that authentic barbecue finish.
Applying Barbecue Sauce
Choose a high-quality barbecue sauce that complements your seasonings. Brush a thin layer onto the ribs during the last 30 minutes of cooking.
For extra flavor, apply sauce in multiple thin layers. Brush on sauce, cook for 10 minutes, then repeat 2-3 times.
Be cautious not to add sauce too early, as it can burn. The goal is a sticky, glossy coating that enhances the meat's tenderness and juiciness.
For a thicker glaze, brush on a final layer after removing the ribs from the oven. Let them rest for 5-10 minutes before serving.
Serving and Presentation
Presenting ribs beautifully enhances the dining experience. Proper carving and thoughtful side dish pairings elevate the meal from ordinary to extraordinary.
Carving and Plating
Cut the ribs between the bones for individual portions. Use a sharp knife to ensure clean cuts. Arrange the ribs on a large platter or individual plates, bone-side down.
Brush the ribs with extra barbecue sauce for a glossy finish. Garnish with fresh herbs like parsley or cilantro for a pop of color.
For a rustic presentation, serve ribs on a wooden board lined with parchment paper. This casual style is perfect for backyard gatherings.
For a more elegant look, use white plates to make the ribs stand out. Drizzle sauce artfully around the plate's edges.
Pairing with Side Dishes
Classic side dishes complement pork ribs perfectly. Coleslaw adds a cool, crunchy contrast to the rich meat. Its tangy flavor cuts through the fattiness of the ribs.
Cornbread is a traditional accompaniment. Its slightly sweet taste balances the savory ribs. Serve it warm with butter on the side.
Baked beans provide a smoky, sweet element that pairs well with barbecue flavors. Potato salad or mac and cheese offer creamy textures to round out the meal.
For a lighter option, consider a pasta salad with fresh vegetables. Grilled corn on the cob adds a summery touch to the plate.
Storage and Reheating

Proper storage and reheating techniques are crucial for maintaining the quality and safety of leftover ribs. Following best practices helps preserve flavor and texture while preventing foodborne illness.
Best Practices for Storing Leftovers
Allow cooked ribs to cool to room temperature before storing, but don't leave them out for more than 2 hours. Divide large portions into smaller containers to speed cooling. Use shallow, airtight containers or heavy-duty aluminum foil to wrap ribs tightly.
Store ribs in the refrigerator at 40°F or below for 3-4 days maximum. For longer storage, freeze ribs at 0°F or lower for up to 2-3 months. Label containers with the date to track freshness.
When freezing, consider portioning ribs into meal-sized amounts for easier thawing and reheating later. Remove as much air as possible from packaging to prevent freezer burn.
Reheating for Retained Moisture and Taste
Thaw frozen ribs in the refrigerator overnight before reheating. Preheat the oven to 250°F. Place ribs in a baking dish and add a splash of broth or water. Cover tightly with foil to create a moisture seal.
Heat for 20-30 minutes, or until internal temperature reaches 165°F. For crispier edges, remove foil and broil for 2-3 minutes. Let rest for 5 minutes before serving.
Avoid microwaving ribs, as it can dry them out. If short on time, use an air fryer at 350°F for 3-5 minutes. Brush with sauce before reheating to add moisture and flavor.
Nutritional Information
Ribs are a rich source of protein, providing approximately 24-27 grams per 3-ounce serving. This amount fulfills about half of the daily protein requirement for most adults.
The calorie content varies depending on the cut and preparation method. A 3-ounce portion of pork ribs typically contains 250-300 calories.
Fat content in ribs is significant, ranging from 20-25 grams per serving. Saturated fat accounts for about one-third of this amount.
Ribs also provide essential minerals:
Iron: 5-10% of daily value
Zinc: 20-25% of daily value
Selenium: 35-40% of daily value
The sodium content can be high, especially when using seasoning rubs or sauces. A serving may contain 50-70 mg of sodium naturally, but this can increase to 600 mg or more with added ingredients.
Ribs contain minimal carbohydrates, making them suitable for low-carb diets. They also lack fiber and contain no vitamin C.
Cooking methods affect nutritional value. Baking or grilling allows excess fat to drip away, potentially reducing calorie and fat content compared to other cooking methods.
