
Mastering the Art of Cooking Ribs
Tender, Flavorful, and Fall-Off-the-Bone
Cooking ribs is an art that combines flavor, technique, and patience. The ultimate goal is to achieve tender, juicy meat that practically falls off the bone. Slow cooking at low temperatures is the key to producing succulent ribs that melt in your mouth.
Whether using an oven or grill, the process involves seasoning the ribs with a spice rub, cooking them covered for several hours, and finishing with a flavorful barbecue sauce. Oven-baked ribs offer consistent results and convenience, while grilled ribs impart a smoky flavor that many barbecue enthusiasts crave.
Choosing the right cut of ribs is essential. Baby back ribs are leaner and cook faster, while spare ribs or St. Louis-style ribs have more fat and require longer cooking times. Regardless of the cut, removing the membrane from the back of the ribs before cooking ensures maximum tenderness and allows flavors to penetrate the meat fully.
Understanding Different Types of Ribs
Ribs come in several popular varieties, each with unique characteristics and cooking methods. The main types are pork ribs, which include baby back ribs and spare ribs.
Pork Ribs
Pork ribs are a barbecue staple, prized for their tender meat and rich flavor. They fall into two main categories: back ribs and spareribs.
Back ribs come from the upper portion of the pig's rib cage, near the loin. These ribs are shorter and more curved than spareribs.
Spareribs are cut from the belly side of the rib cage. They are longer, flatter, and have more fat than back ribs.
Baby Back Ribs
Baby back ribs, also known as loin back ribs, are cut from the top of the rib cage. Despite their name, they don't come from baby pigs.
These ribs are shorter and more curved than spareribs. They typically measure 3 to 6 inches in length.
Baby back ribs are leaner and more tender than spareribs. They cook faster due to their smaller size and less fat content.
Spare Ribs
Spare ribs come from the lower portion of the rib cage, near the belly. They are larger and meatier than baby back ribs.
These ribs have more fat, making them juicier and more flavorful. They require longer cooking times to become tender.
Spare ribs often include the brisket bone and cartilage. Some butchers trim these parts to create St. Louis-style ribs, which have a more uniform shape.
Preparation Techniques
Proper preparation is crucial for delicious, tender ribs. Key steps include trimming excess fat, removing the membrane, and seasoning with dry rubs or marinades.
Trimming the Ribs
Start by inspecting the ribs for excess fat. Use a sharp knife to trim away large fat deposits, leaving a thin layer for flavor. Cut off any loose or hanging pieces of meat. For spare ribs, remove the skirt (a flap of meat on the bone side) and cook it separately.
Trim away the rib tips if present, as they cook at a different rate than the main rack. This creates a more uniform shape for even cooking. Some prefer to leave a small amount of fat to render during cooking, enhancing flavor and moisture.
Removing the Membrane
Flip the ribs bone-side up. Locate the thin, silvery membrane covering the bones. Use a butter knife to loosen a corner near one end of the rack. Grip the loosened membrane with a paper towel and pull firmly to remove it in one piece.
This step is crucial for allowing flavors to penetrate the meat and achieving a better texture. Without membrane removal, the ribs can become chewy. If the membrane is stubborn, use the knife to score it in a few places before attempting removal again.
Applying Dry Rubs
Mix your preferred dry rub ingredients in a bowl. Common components include:
Kosher salt
Black pepper
Garlic powder
Onion powder
Paprika
Cayenne (for heat)
Brown sugar
Pat the ribs dry with paper towels. Apply a thin layer of olive oil or mustard to help the rub adhere. Generously coat both sides of the ribs with the dry rub mixture. Use your hands to massage it into the meat.
Let the seasoned ribs sit at room temperature for 30 minutes to an hour before cooking. This allows the flavors to start penetrating the meat.
Marinating
For a deeper flavor infusion, consider marinating the ribs. Create a marinade using ingredients like:
Soy sauce
Worcestershire sauce
Apple cider vinegar
Garlic
Honey or brown sugar
Place the ribs in a large, shallow dish or resealable plastic bag. Pour the marinade over them, ensuring even coverage. Refrigerate for 2-8 hours, turning occasionally.
Remove the ribs from the marinade and pat dry before cooking. Discard the used marinade for food safety reasons. Apply a dry rub if desired, following the marinating process for extra flavor complexity.
Cooking Methods
Preparing delicious ribs involves several techniques, each imparting unique flavors and textures. The choice of method depends on available equipment and desired outcome.
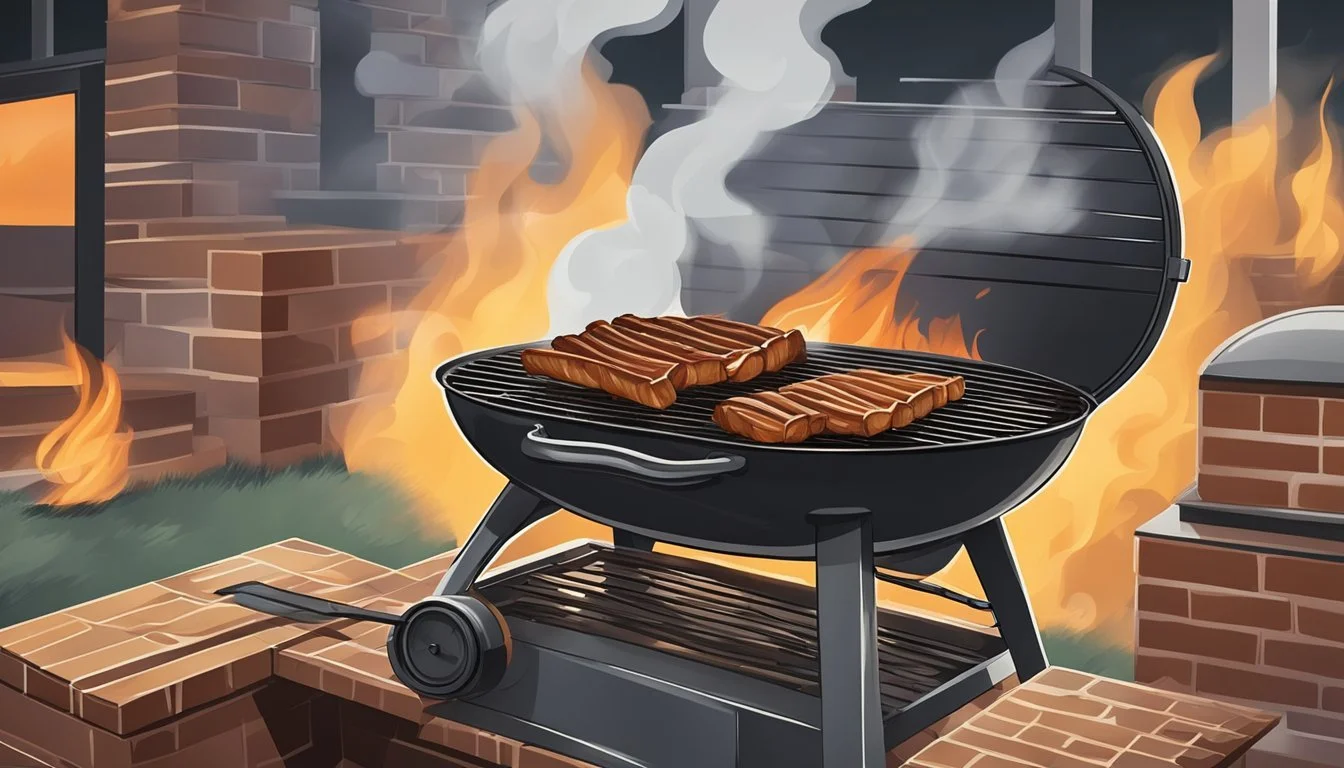
Grilling Ribs
Grilling ribs creates a smoky flavor and crispy exterior. Preheat the grill to medium-low heat, around 300°F. Place ribs on the grill grates, bone-side down. Cook for 1.5 to 2 hours, turning occasionally. Baste with barbecue sauce during the last 30 minutes. For tender ribs, wrap them in foil for part of the cooking time.
Use indirect heat to prevent burning. Position ribs away from direct flames. A two-zone fire setup works well, with coals on one side and ribs on the other.
For gas grills, turn off burners directly under the ribs. This mimics indirect heat cooking.
Oven Baking Ribs
Oven-baked ribs offer consistent results and are ideal for year-round cooking. Preheat the oven to 275°F. Place ribs on a baking sheet lined with aluminum foil. Cook for 2.5 to 3 hours.
For fall-off-the-bone tenderness, wrap ribs tightly in foil before baking. This traps moisture and speeds up cooking. Unwrap for the last 30 minutes to caramelize the exterior.
Finish under the broiler for 3-5 minutes to create a crispy crust. Watch carefully to prevent burning.
Smoking Ribs
Smoking produces tender ribs with deep barbecue flavor. Set smoker temperature to 225°F. Use wood chips like hickory or apple for added flavor. Place ribs in the smoker, bone-side down.
Follow the 3-2-1 method for perfect results:
Smoke for 3 hours uncovered
Wrap in foil and smoke for 2 hours
Unwrap and smoke for 1 hour, basting with sauce
Maintain consistent temperature throughout the process. Add wood chips as needed to keep smoke flowing.
Slow Cooking Ribs
Slow cookers offer a hands-off approach to rib preparation. Cut rib racks to fit the cooker. Season ribs and place in the slow cooker, meat-side up. Cook on low for 6-8 hours or high for 3-4 hours.
For crispy exterior, transfer ribs to a baking sheet after slow cooking. Brush with sauce and broil for 3-5 minutes.
This method produces very tender meat but lacks the smoky flavor of grilled or smoked ribs. Add liquid smoke or smoked paprika to enhance flavor.
Sauces and Glazes
Sauces and glazes are essential for adding flavor and moisture to ribs. They enhance taste and create a delicious sticky coating.
Homemade BBQ Sauce
Homemade BBQ sauce offers rich flavor and customization. Start with a base of ketchup and add brown sugar for sweetness. Incorporate apple cider vinegar for tanginess and Worcestershire sauce for depth.
Mix in molasses for a deep, smoky flavor. Add garlic powder, onion powder, and smoked paprika for complexity. Adjust heat with cayenne or hot sauce to taste.
Simmer the sauce over low heat for 15-20 minutes, stirring occasionally. This allows flavors to meld and the sauce to thicken slightly.
Store homemade BBQ sauce in an airtight container in the refrigerator for up to 2 weeks.
Applying Sauces and Glazes
Apply sauces and glazes during the last 30 minutes of cooking to prevent burning. Brush a thin layer onto the ribs every 10 minutes.
For a thicker glaze, increase heat slightly and apply more frequently. Be cautious not to let the sauce burn.
Some prefer a "mop sauce" applied throughout cooking. This thin, vinegar-based sauce keeps ribs moist.
For added flavor, reserve some sauce for serving alongside the finished ribs. This allows guests to add extra if desired.
Finishing Techniques
Mastering the final steps of rib preparation elevates the dish from good to exceptional. Proper finishing techniques enhance flavor, texture, and presentation.
Broiling to Crisp
Broiling ribs imparts a delectable caramelized crust. Place the cooked ribs on a baking sheet and brush with barbecue sauce. Position the rack 4-6 inches from the heat source and broil for 3-5 minutes. Watch carefully to prevent burning.
For even caramelization, rotate the pan halfway through. The high heat creates a glossy, sticky exterior while sealing in juices. This method works well for both oven-cooked and smoked ribs.
Resting the Ribs
Resting is crucial for juicy, tender ribs. After cooking, let ribs rest for 10-15 minutes before cutting. This allows juices to redistribute throughout the meat, ensuring each bite is moist and flavorful.
Cover the ribs loosely with foil during resting to retain heat. Avoid tight wrapping, as this can cause steam to soften the outer crust. The internal temperature will continue to rise slightly during this time.
Resting also makes cutting easier, as the meat firms up slightly. For fall-off-the-bone texture, extend the resting time to 20-30 minutes.
Serving Suggestions

Complement your ribs with delicious side dishes and present them in an appealing manner. The right accompaniments and presentation can elevate your rib meal from good to extraordinary.
Side Dishes
Classic potato salad pairs wonderfully with ribs. Its creamy texture and tangy flavor balance the rich, savory meat. Coleslaw offers a crisp, refreshing contrast to the tender ribs. For a warm side, baked beans provide a sweet and smoky complement.
Cornbread adds a Southern touch and helps soak up any extra sauce. Pasta salad or macaroni salad can be prepared in advance, making them convenient options for barbecues. Grilled corn on the cob, brushed with butter and sprinkled with salt, is a quintessential barbecue side.
For a lighter option, consider a fresh green salad with a vinaigrette dressing. Roasted vegetables like zucchini, bell peppers, and onions offer a healthy and colorful addition to the plate.
Presentation Tips
Arrange ribs on a large platter for a family-style presentation. This encourages sharing and creates a communal dining experience. Use garnishes like fresh herbs or lemon wedges to add color and visual appeal.
Serve sauces in small bowls or ramekins alongside the ribs. This allows guests to customize their meal and prevents the ribs from becoming soggy. Consider providing wet wipes or finger bowls with lemon slices for easy clean-up.
Use wooden boards or slate plates for a rustic, barbecue-appropriate look. If serving individual portions, place a few ribs on each plate with small amounts of two or three sides. This creates an attractive, balanced plate.
For outdoor dining, use sturdy plates and utensils that can withstand the elements. Provide plenty of napkins, as eating ribs can be a messy affair.
Storage and Reheating
Proper storage and reheating techniques are crucial for maintaining the quality and safety of cooked ribs. These methods help preserve flavor and texture while preventing foodborne illness.
Storing Cooked Ribs
Refrigerate cooked ribs within two hours of cooking. Place them in shallow, airtight containers or wrap tightly in aluminum foil or plastic wrap. Properly stored ribs will last 3-4 days in the refrigerator.
For longer storage, freeze ribs. Wrap them tightly in plastic wrap, then in aluminum foil. Place wrapped ribs in freezer bags, removing as much air as possible. Label with the date and freeze for up to 3 months.
Thaw frozen ribs in the refrigerator overnight before reheating. Never thaw at room temperature, as this can promote bacterial growth.
Reheating Ribs
The oven method is ideal for reheating ribs. Preheat to 250°F (121°C). Place ribs in a baking dish and add a splash of water or broth. Cover tightly with foil and heat for 20-30 minutes.
For faster reheating, use an air fryer set to 350°F (175°C). Brush ribs with sauce and cook for 3-5 minutes.
Avoid microwaving ribs, as it can dry them out. If necessary, use a microwave-safe dish, cover, and heat in 30-second intervals.
Regardless of the method, ensure ribs reach an internal temperature of 165°F (74°C) for food safety.
