
How to Cook 4 Racks of Ribs in the Oven
Tender, Fall-Off-The-Bone Results
Cooking multiple racks of ribs in the oven is a great way to prepare a delicious meal for a crowd. Baking four racks of ribs simultaneously in the oven is possible with proper preparation and cooking techniques. This method allows for tender, flavorful ribs without constant attention or specialized equipment.
Easy oven-baked ribs are a popular choice for home cooks seeking a hassle-free approach to this classic dish. The low and slow cooking process in the oven helps break down tough connective tissues, resulting in meat that falls off the bone. By using the right seasonings and cooking times, even novice cooks can achieve restaurant-quality results.
When preparing multiple racks of ribs, it's important to consider factors such as oven size, rack placement, and cooking time adjustments. Proper spacing between racks ensures even heat distribution and consistent cooking throughout. With careful planning and execution, cooking four racks of ribs in the oven can yield a satisfying meal for family gatherings or special occasions.
Preparing the Ribs
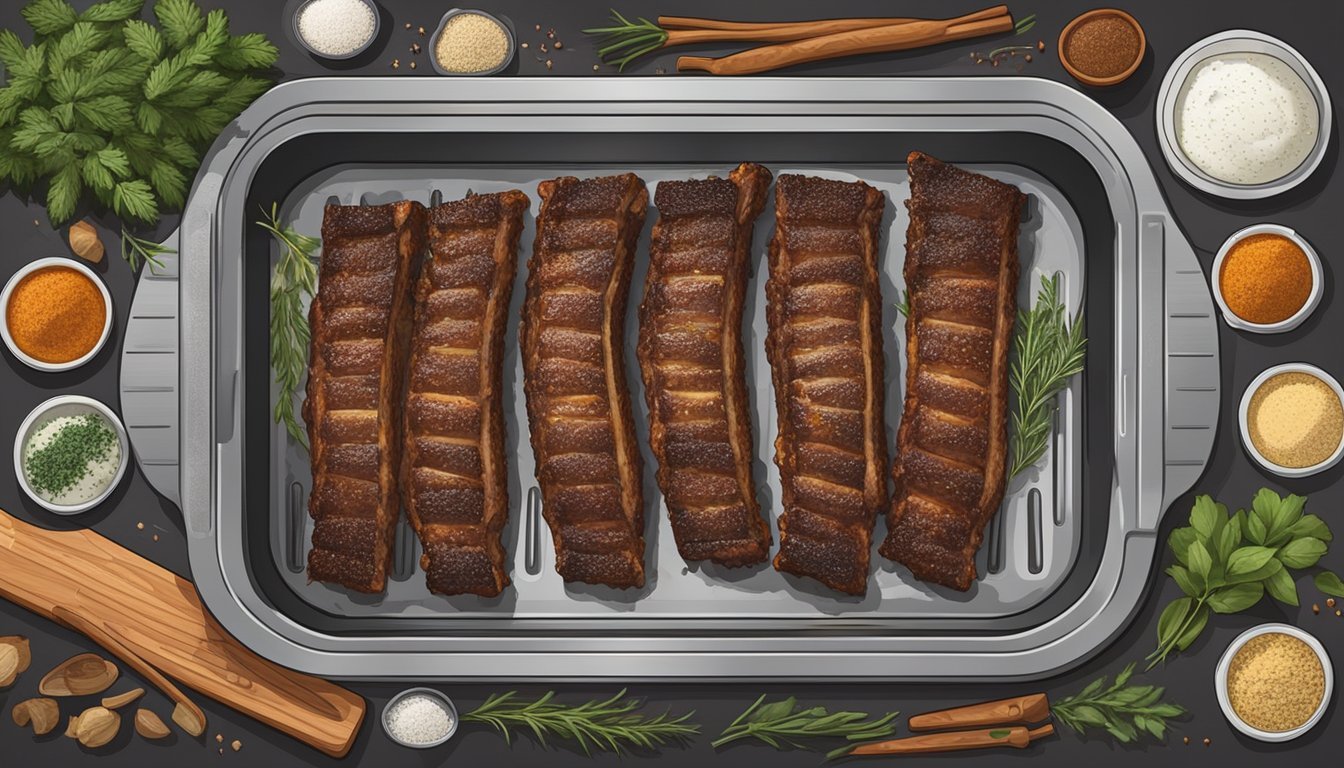
Proper preparation is crucial for achieving tender, flavorful ribs. This process involves selecting the right type of ribs, removing the membrane, applying a dry rub, and optionally marinating for enhanced taste.
Selection and Types of Ribs
When choosing ribs, consider baby back ribs, spare ribs, or St. Louis-style ribs. Baby back ribs come from the loin area and are smaller, leaner, and more tender. Spare ribs are larger, meatier, and have more fat content.
St. Louis-style ribs are spare ribs with the breastbone removed. Pork ribs are most common, but beef ribs are also available. For 4 racks, select ribs of similar size to ensure even cooking.
Quality matters, so look for ribs with good meat coverage and marbling. Fresh ribs should have a pinkish-red color and minimal smell.
Pre-Cooking Preparation
Start by removing the membrane (silver skin) from the back of the ribs. This tough layer can prevent flavors from penetrating and becomes chewy when cooked.
To remove it, slide a butter knife under the membrane at one end of the rack. Lift and loosen it, then grip with a paper towel and pull it off in one piece.
Trim excess fat if desired, but leave some for flavor. Rinse the ribs and pat them dry with paper towels. This step ensures the dry rub adheres properly.
Applying the Dry Rub
A dry rub enhances flavor and helps form a delicious crust. Mix kosher salt, black pepper, paprika, brown sugar, cumin, garlic powder, and onion powder in a bowl.
For a spicier rub, add chili powder, smoked paprika, or cayenne pepper. Adjust quantities to taste. Apply the rub generously to both sides of the ribs, pressing it in firmly.
For best results, apply the rub at least 1 hour before cooking. For deeper flavor, refrigerate the rubbed ribs overnight.
Marinating for Flavor
While a dry rub is often sufficient, marinating can add extra flavor and tenderness. Create a marinade using ingredients like apple cider vinegar, Worcestershire sauce, soy sauce, and brown sugar.
Add aromatics like minced garlic, ginger, or herbs. Place the ribs in a large, shallow dish or resealable plastic bag. Pour the marinade over the ribs, ensuring they're well-coated.
Refrigerate for 2-8 hours, turning occasionally. Avoid marinating for more than 24 hours, as the meat can become mushy. Before cooking, remove the ribs from the marinade and pat dry.
Oven Preparation
Properly preparing your oven and gathering the right equipment is crucial for cooking delicious ribs. This ensures even heat distribution and prevents sticking or burning.
Setting the Oven Temperature
Preheat the oven to 250°F (120°C). This low temperature allows for slow cooking, which is ideal for tenderizing ribs.
For more efficient cooking, place an oven rack in the middle position. This helps circulate heat evenly around the ribs.
Some recipes suggest increasing the temperature to 300°F (150°C) for the last 30 minutes. This can help caramelize the sauce and create a desirable crust.
Cooking Utensils and Equipment
Line a large rimmed baking sheet with aluminum foil. This catches drips and makes cleanup easier.
Use heavy-duty foil to wrap each rack of ribs individually. This traps moisture and helps the meat become tender.
A meat thermometer is essential for checking doneness. Insert it into the thickest part of the meat, avoiding bones.
Tongs are useful for handling hot rib racks safely. Silicone basting brushes work well for applying sauce evenly.
Consider using a roasting pan with a rack if you prefer to cook the ribs uncovered. This allows air to circulate underneath.
Cooking Process
Preparing multiple racks of ribs in the oven requires attention to detail and proper technique. The key steps involve slow cooking, monitoring temperature, wrapping, and finishing with high heat for the perfect texture and flavor.
The Low and Slow Method
Low and slow cooking is essential for tender, flavorful ribs. Preheat the oven to 250°F (121°C). This temperature allows the fat to render slowly and the connective tissue to break down gradually.
Place the seasoned rib racks on a baking sheet or in a roasting pan. Cook for approximately 3-4 hours, depending on the thickness of the ribs.
For even cooking, rotate the pans halfway through the process. This method ensures the meat becomes tender without drying out.
Monitoring the Cook
Using a meat thermometer is crucial for achieving perfectly cooked ribs. Insert the probe into the thickest part of the meat between the bones.
Aim for an internal temperature of 190-205°F (88-96°C). At this range, the collagen has broken down, resulting in tender meat that easily separates from the bone.
Check the temperature every hour after the first two hours of cooking. This helps prevent overcooking and allows for adjustments if needed.
Wrapping the Ribs
After 2-3 hours of cooking, wrap each rack of ribs tightly in aluminum foil. This technique, known as the "Texas Crutch," helps retain moisture and speeds up the cooking process.
Before sealing the foil, add a small amount of liquid like apple juice or beer to create steam. This further tenderizes the meat and adds flavor.
Return the wrapped ribs to the oven and continue cooking for another 1-2 hours. The exact time depends on the desired tenderness and internal temperature.
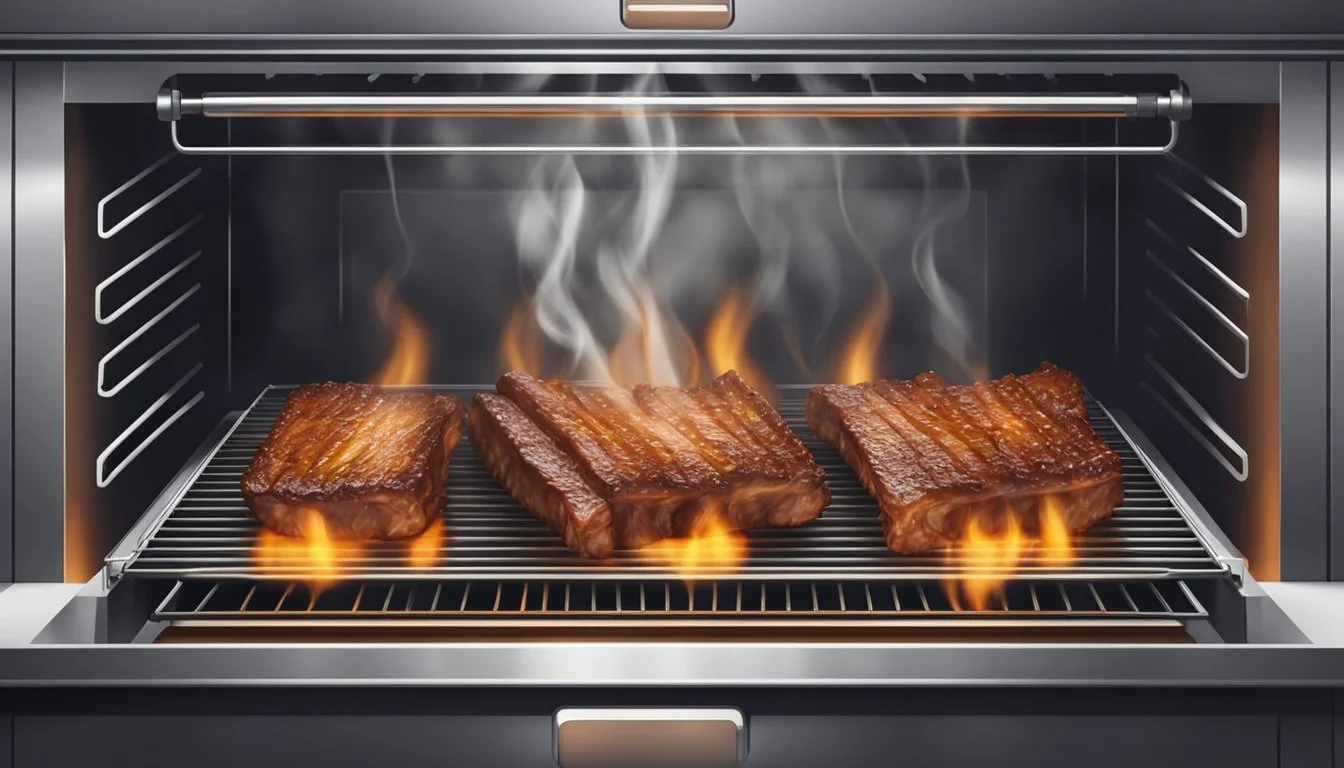
Finishing with the Broiler
For a caramelized exterior, finish the ribs under the broiler. Unwrap the foil and brush the ribs with barbecue sauce.
Place the ribs under the broiler for 3-5 minutes, watching carefully to prevent burning. This step creates a delicious, sticky glaze on the surface of the meat.
Let the ribs rest for 10-15 minutes before serving. This allows the juices to redistribute, ensuring moist and flavorful meat.
Serve the ribs with additional barbecue sauce on the side. Pair with classic sides like coleslaw or baked beans for a complete meal.
Post-Cooking Steps
After removing the ribs from the oven, two crucial steps remain to elevate their flavor and texture. These final touches ensure your ribs are moist, flavorful, and perfectly glazed.
Resting the Ribs
Allow the ribs to rest for 10-15 minutes after taking them out of the oven. This pause lets the juices redistribute throughout the meat, ensuring maximum moisture retention. Cover the ribs loosely with aluminum foil during this time to keep them warm.
Resting prevents the juices from immediately escaping when you cut into the meat. This step is crucial for maintaining the fall-off-the-bone texture achieved during the slow cooking process.
Adding Barbecue Sauce
Once rested, it's time to add the final layer of flavor with barbecue sauce. Brush a generous coat of sauce over the ribs. Options include store-bought varieties like Sweet Baby Ray's or a homemade bbq sauce for a personalized touch.
For a caramelized finish, return the sauced ribs to the oven under the broiler for 3-5 minutes. Watch closely to prevent burning. This step creates a sticky, glazed exterior that complements the tender meat inside.
Apply additional sauce just before serving for extra flavor if desired. The combination of tender, moist meat and tangy, sweet barbecue sauce results in irresistible ribs.
Serving Suggestions

Presenting ribs attractively and pairing them with complementary side dishes enhances the overall dining experience. The right presentation and sides can elevate a rib meal from good to exceptional.
Carving and Presentation
Carve the ribs between the bones for individual portions. Arrange the carved ribs on a large platter or wooden board for a rustic look. Garnish with fresh herbs like parsley or cilantro for a pop of color. Serve the barbecue sauce on the side in small bowls or ramekins, allowing guests to add as much or as little as they prefer.
For a more elegant presentation, stack the ribs in a crisscross pattern. This method showcases the glossy, caramelized exterior. Consider placing a few lemon wedges on the platter for those who enjoy a citrus kick with their ribs.
Side Dishes
Classic side dishes complement ribs perfectly. Coleslaw provides a cool, crunchy contrast to the rich, tender meat. Its tangy flavor cuts through the richness of the ribs. Baked beans offer a sweet and savory element that pairs well with barbecue flavors.
Potato-based sides like potato salad or mashed potatoes provide comforting accompaniments. For a lighter option, a crisp green salad or grilled vegetables balance the meal. Corn on the cob, either grilled or boiled, adds a summery touch to the plate.
Cornbread serves as an excellent starch to soak up any extra sauce. For those seeking heartier options, mac and cheese or pasta salad work well. These sides add variety and ensure a satisfying meal for all guests.
Storage and Reheating
Proper storage and reheating techniques are crucial for maintaining the quality and safety of leftover ribs. These methods help preserve flavor and texture while preventing foodborne illnesses.
Storing Leftovers
Allow cooked ribs to cool to room temperature before storage. Place them in an airtight container or wrap tightly in aluminum foil. Refrigerate within 2 hours of cooking. Properly stored ribs will last 3-4 days in the refrigerator.
For longer storage, freeze the ribs. Wrap them tightly in plastic wrap, then aluminum foil. Place in a freezer-safe bag, removing as much air as possible. Label with the date and freeze for up to 3 months.
Thaw frozen ribs in the refrigerator overnight before reheating. Never thaw at room temperature, as this can promote bacterial growth.
Reheating for Best Results
Preheat the oven to 250°F for gentle reheating. Place ribs in a baking dish and add 2 tablespoons of water. Cover tightly with aluminum foil to prevent drying out.
Heat for 20-30 minutes, or until the internal temperature reaches 165°F. Check periodically to avoid overcooking.
For crispy edges, remove the foil during the last 5-10 minutes of heating. Brush with barbecue sauce if desired.
Avoid using the microwave, as it can lead to tough, rubbery meat. The oven method preserves moisture and texture, ensuring your reheated ribs are nearly as good as freshly cooked.
Additional Tips and Tricks
Mastering the art of cooking multiple racks of ribs in the oven requires attention to detail and a few key techniques. These tips will help elevate your rib game and ensure consistently delicious results.
Avoiding Common Mistakes
Remove the thin membrane from the back of the ribs before cooking. This allows flavors to penetrate and creates a more tender texture. Stagger the racks in the oven to promote even cooking. Don't overcrowd the oven - leave space between racks for air circulation.
Avoid opening the oven door frequently. This lets heat escape and extends cooking time. Use a meat thermometer to check doneness instead of relying solely on time. Ribs are ready when they reach 190-203°F internal temperature.
Don't rush the cooking process. Low and slow is key for tender ribs. Cooking at too high a temperature can lead to tough, dry meat. Wrapping ribs in foil midway through cooking helps lock in moisture.
Enhancing Flavor
Season ribs generously with salt and pepper as a base. Let seasoned ribs sit in the refrigerator for a few hours or overnight to enhance flavor penetration. Apply dry rubs at least 30 minutes before cooking to allow flavors to meld.
Consider using a smoker box with wood chips in the oven to add a smoky flavor. Hickory, apple, or cherry wood complement pork well. Baste ribs with apple juice or beer during cooking for added moisture and flavor.
For extra tenderness, brush ribs with a mixture of apple cider vinegar and water every hour. In the last 30 minutes of cooking, apply barbecue sauce in thin layers, allowing each layer to caramelize. This creates a flavorful, sticky glaze.
Nutritional Information
Pork ribs are a rich source of protein, providing essential amino acids for muscle growth and repair. A 3-ounce serving of cooked pork ribs contains approximately 24 grams of protein.
Ribs also contain significant amounts of fat, with about 21 grams per 3-ounce serving. This includes both saturated and unsaturated fats. The fat content contributes to the ribs' flavor and juiciness.
A 3-ounce portion of cooked pork ribs provides around 290 calories. This calorie count can vary based on the specific cut and preparation method.
Pork ribs contain several important minerals:
Iron: 1.9 mg (10% of Daily Value)
Zinc: 3.7 mg (34% of Daily Value)
Phosphorus: 242 mg (19% of Daily Value)
Ribs also provide B-vitamins, including thiamin, riboflavin, niacin, and vitamin B12. These vitamins play crucial roles in energy metabolism and nervous system function.
It's worth noting that the nutritional content can change based on cooking methods and added seasonings or sauces. Oven-baking ribs can help reduce excess fat compared to other cooking methods.
