
How to Cook a 6 lb Ham in the Oven
Juicy and Flavorful Results
Cooking a 6-pound ham in the oven is a straightforward process that yields delicious results. The key to success lies in proper temperature control and timing. For a 6-pound ham, cook at 325°F (163°C) for approximately 20 minutes per pound, or about 2 hours total.
Before placing the ham in the oven, it's important to prepare it properly. Score the surface in a diamond pattern to allow any glaze to penetrate the meat. Place the ham fat-side up in a roasting pan with about half an inch of water, and cover tightly with foil. This helps keep the meat moist during cooking.
For added flavor, consider applying a glaze during the last 30 minutes of cooking. Increase the oven temperature to 425°F (218°C) and brush the ham with your chosen glaze every 10 minutes. Let the ham rest for 20 minutes before carving to ensure juicy, flavorful slices.
Understanding Ham Types
Ham varieties differ in bone content, processing methods, and preparation requirements. These factors impact cooking times and techniques when baking a 6 lb ham.
Bone-In Vs. Boneless Ham
Bone-in hams include the leg bone, which adds flavor during cooking. They typically require longer cooking times but offer a more traditional presentation. A 6 lb bone-in ham may take about 20-25 minutes per pound to heat through.
Boneless hams have the bone removed and are reshaped. They cook faster and are easier to carve. A 6 lb boneless ham generally needs 15-20 minutes per pound in the oven.
Both types can be found pre-cooked or raw. Pre-cooked hams only need reheating to 140°F internal temperature.
Fresh, Cured, and Smoked Varieties
Fresh ham is uncured pork that must be fully cooked. It requires longer cooking times and should reach 145°F internally.
Cured hams are processed with salt, nitrates, and sometimes sugar. Dry-cured hams like country ham are very salty and often require soaking before cooking.
Wet-cured hams, including city hams, are brined. They're typically pre-cooked and only need reheating.
Smoked hams are cured and then smoked for added flavor. They may be fully cooked or require additional cooking.
Selecting a Ham for Baking
Consider the number of servings needed when choosing a ham size. A 6 lb ham serves about 10-12 people.
Spiral-sliced hams are convenient but can dry out more easily during reheating. They're best served with a glaze.
For a 6 lb ham, look for labels indicating "fully cooked" or "ready to eat" if you prefer minimal preparation.
Raw hams require full cooking to 145°F and are less common in stores.
Check the label for sodium content, especially in cured varieties. Lower sodium options are available for health-conscious consumers.
Preparation Before Cooking

Proper preparation is crucial for cooking a delicious 6 lb ham. Understanding the label, storing the ham correctly, and prepping it before cooking are essential steps for optimal results.
Reading the Label
Check the ham's label carefully. Look for terms like "uncooked" or "fresh" to determine if it's a raw ham. For pre-cooked hams, the label will indicate this.
Note the weight, as it affects cooking time. A 6 lb ham typically serves 8-10 people.
Examine any cooking instructions provided. These often include recommended oven temperatures and cooking times.
Ham Storage and Handling
Store uncooked ham in the refrigerator at 40°F or below. Use within 3-5 days of purchase or by the "use-by" date.
For longer storage, freeze the ham at 0°F or below. It will maintain quality for 3-4 months.
Thaw frozen ham in the refrigerator. Allow 4-5 hours per pound for safe thawing.
Always wash hands and surfaces after handling raw ham to prevent cross-contamination.
Prepping the Ham
Remove packaging and any netting from the ham. Pat dry with paper towels.
If using a city ham (most common), no soaking is necessary. For country hams, soak in cold water for 4-12 hours to reduce saltiness.
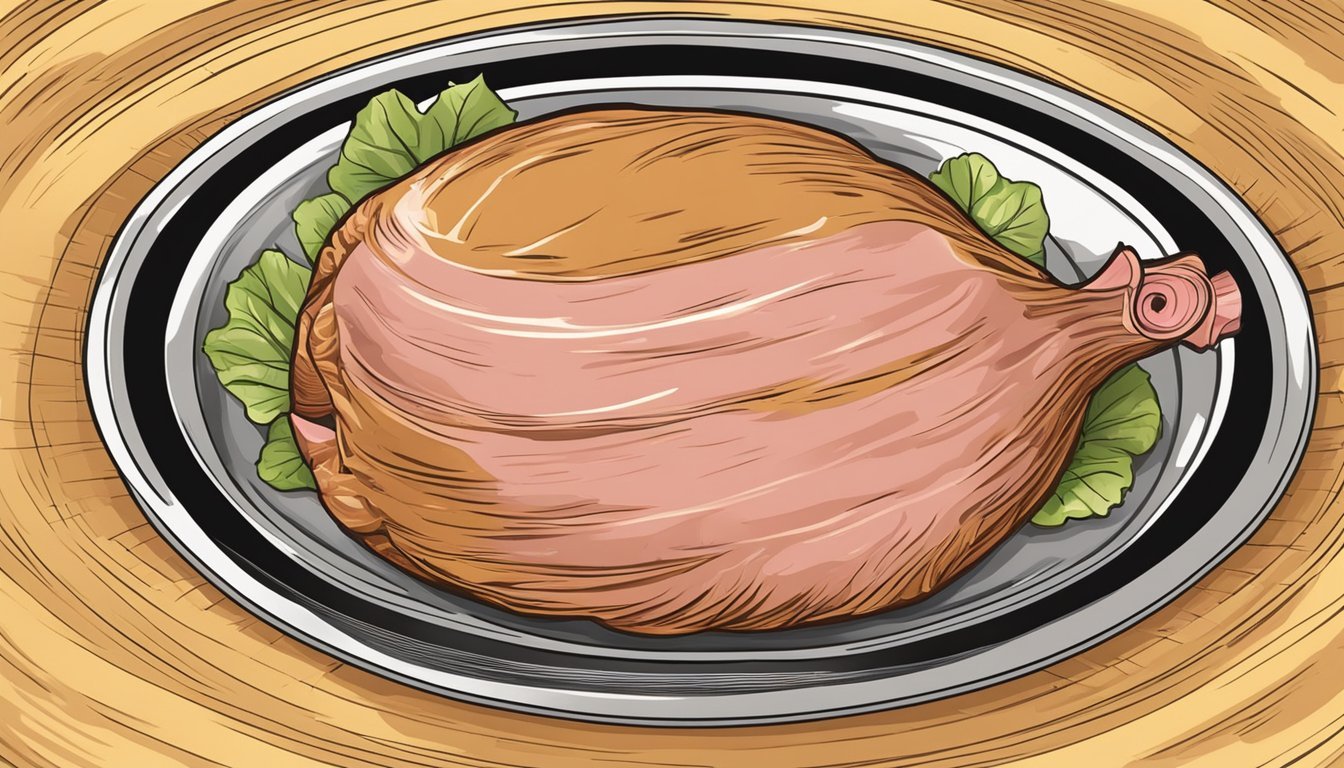
Score the fat layer in a diamond pattern, cutting about 1/4 inch deep. This allows fat to render and glaze to penetrate.
Place ham fat-side up in a roasting pan. Add a small amount of liquid (water or broth) to the pan bottom.
Let the ham sit at room temperature for 1-2 hours before cooking. This promotes even cooking.
Oven Ready: Preparing Your Cookware and Oven
Proper preparation of your cookware and oven is crucial for achieving the perfect 6 lb ham. This ensures even cooking and optimal flavor development.
Choosing the Right Roasting Pan
Select a roasting pan that comfortably fits your 6 lb ham with at least 1-2 inches of space around the edges. A heavy-duty, shallow pan with 2-3 inch sides works best.
Opt for a pan with a rack to elevate the ham. This allows heat to circulate evenly and prevents the bottom from getting soggy.
If your pan doesn't have a built-in rack, create a makeshift one using aluminum foil. Roll foil into thick ropes and arrange them in a crosshatch pattern at the bottom of the pan.
Optimizing Oven Temperature
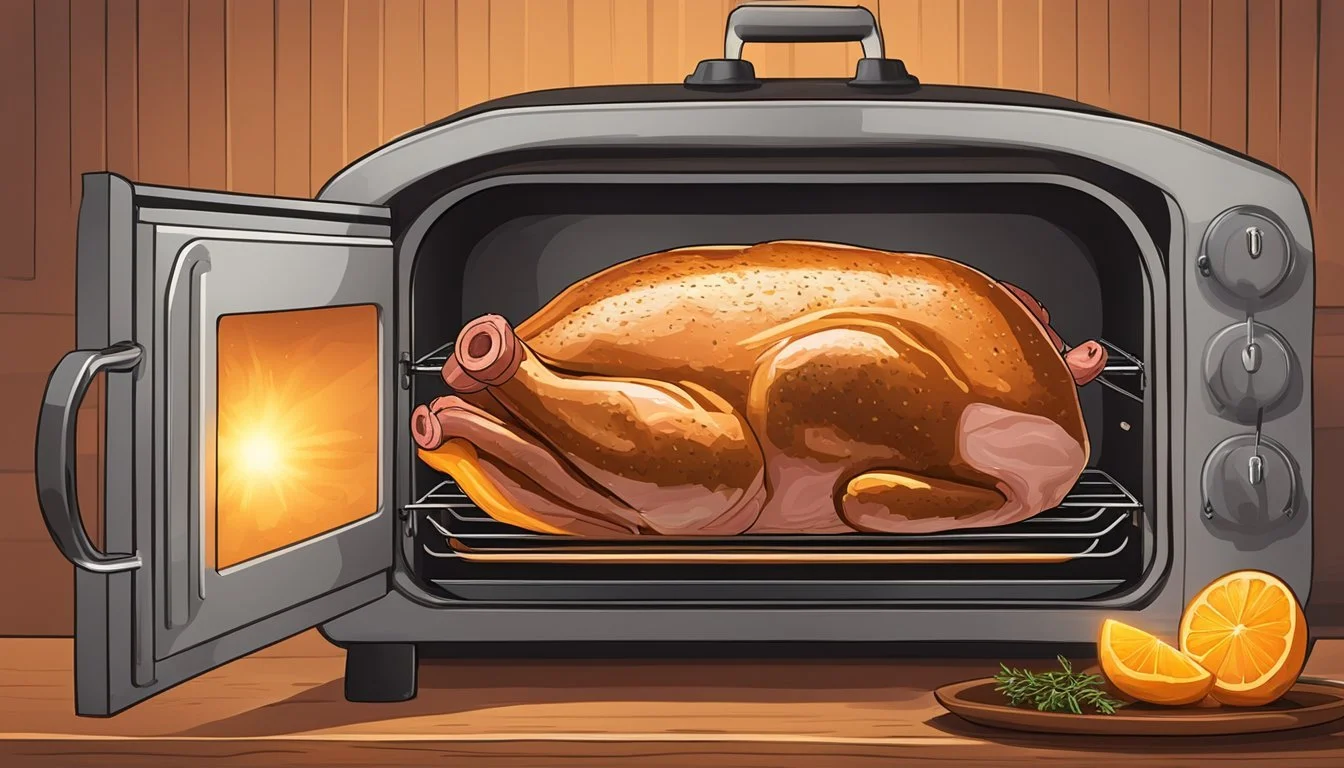
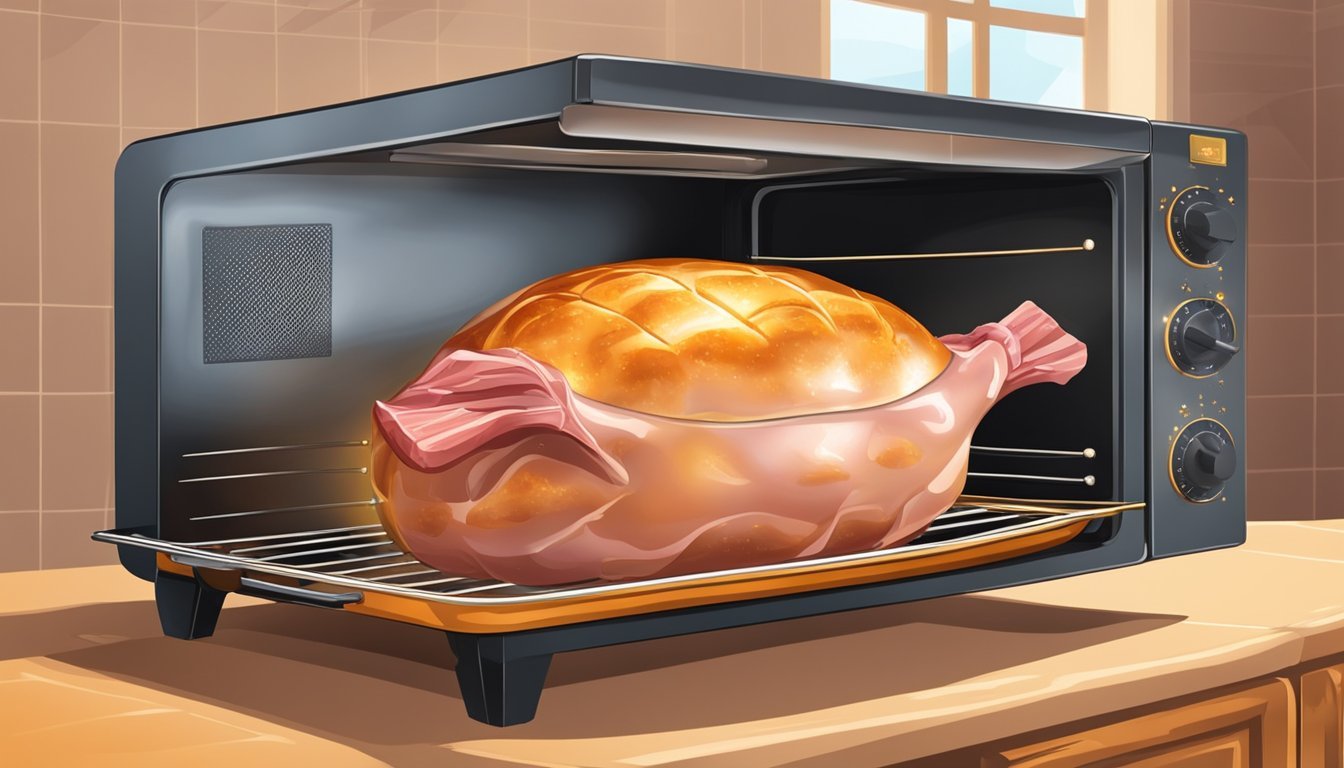
Preheat your oven to 325°F (163°C) for a fully cooked ham. This temperature ensures gentle, even heating without drying out the meat.
Use an oven thermometer to verify accuracy. Place it in the center of the oven to get the most accurate reading.
For convection ovens, reduce the temperature by 25°F. The circulating air cooks food faster, so this adjustment prevents overcooking.
Allow 15-20 minutes for your oven to fully preheat before inserting the ham. This guarantees consistent cooking from start to finish.
The Baking Process
Properly baking a 6 lb ham requires careful attention to cooking times, temperature monitoring, and moisture preservation techniques. These factors work together to ensure a juicy, flavorful result.
Calculating Cooking Times
For a 6 lb fully cooked ham, plan on baking at 325°F (163°C) for about 10-12 minutes per pound. This translates to roughly 60-72 minutes total cooking time. Boneless hams may cook slightly faster than bone-in varieties.
Use this formula as a starting point:
6 lbs x 10 minutes/lb = 60 minutes minimum
6 lbs x 12 minutes/lb = 72 minutes maximum
Adjust based on your specific ham and oven. Remember, these times are for reheating fully cooked hams. Raw hams require longer cooking times.
Monitoring the Ham's Progress
An instant-read thermometer is essential for tracking the ham's internal temperature. Insert it into the thickest part of the meat, avoiding bone or fat.
Target temperatures:
Fully cooked ham: 140°F (60°C)
Raw ham: 145°F (63°C)
Check the temperature about 30 minutes before the expected end of cooking time. This allows for adjustments if needed.
Remove the ham from the oven when it reaches 135°F (57°C). The temperature will continue to rise as it rests.
Basting and Moisturizing Techniques
Basting helps keep the ham moist and adds flavor. Here are some effective methods:
Brush with glaze every 20 minutes during the last hour of cooking.
Place ham in a roasting pan with 1/4 to 1/2 inch of water or broth.
Cover the ham with foil for the first half of cooking time.
For extra moisture, score the ham's surface in a diamond pattern before baking. This allows the glaze to penetrate deeper into the meat.
Apply a final layer of glaze 5-10 minutes before removing the ham from the oven. This creates a caramelized, flavorful crust.
Preparing a Flavorful Glaze

A well-crafted glaze enhances the flavor and appearance of baked ham. The right combination of sweet and savory ingredients creates a caramelized coating that complements the meat perfectly.
Classic Ham Glaze Options
Brown sugar forms the base of many classic ham glazes. It provides sweetness and helps create a caramelized exterior. Maple syrup adds depth and richness to the glaze.
Honey is another popular sweetener that pairs well with ham. Orange juice contributes citrusy notes and acidity to balance the sweetness.
For a more complex flavor profile, incorporate mustard, soy sauce, or apple cider vinegar. These ingredients add tanginess and umami.
Spices like cloves, cinnamon, or ginger infuse the glaze with warmth and aroma. Use them sparingly to avoid overpowering the ham's natural flavor.
Applying the Glaze
Start by scoring the ham's fat layer in a diamond pattern. This allows the glaze to penetrate the meat more effectively.
Apply the glaze in multiple layers throughout the cooking process. Begin with a thin coat about 30 minutes into baking.
Reapply the glaze every 15-20 minutes. This builds up a flavorful, sticky exterior on the ham.
Use a basting brush for even application. Make sure to cover the entire surface of the ham, including the scored areas.
In the last 15-20 minutes of cooking, increase the oven temperature slightly. This helps caramelize the glaze, creating a beautiful, glossy finish.
Final Steps and Serving
Properly finishing and presenting your baked ham ensures a delicious, visually appealing centerpiece. Attention to temperature, carving technique, and complementary sides elevates the dining experience.
Achieving the Perfect Internal Temperature
Use a meat thermometer to check the ham's internal temperature at its thickest part. For a fully cooked 6 lb ham, aim for 140°F (60°C). This ensures the meat is heated through without drying out.
Remove the ham from the oven when it reaches 135°F (57°C). Tent it loosely with foil and let it rest for 15-20 minutes. The temperature will continue rising to the target 140°F.
During resting, the ham's juices redistribute, resulting in a more tender and flavorful meat. This step is crucial for maintaining moisture and improving texture.
Carving and Presentation
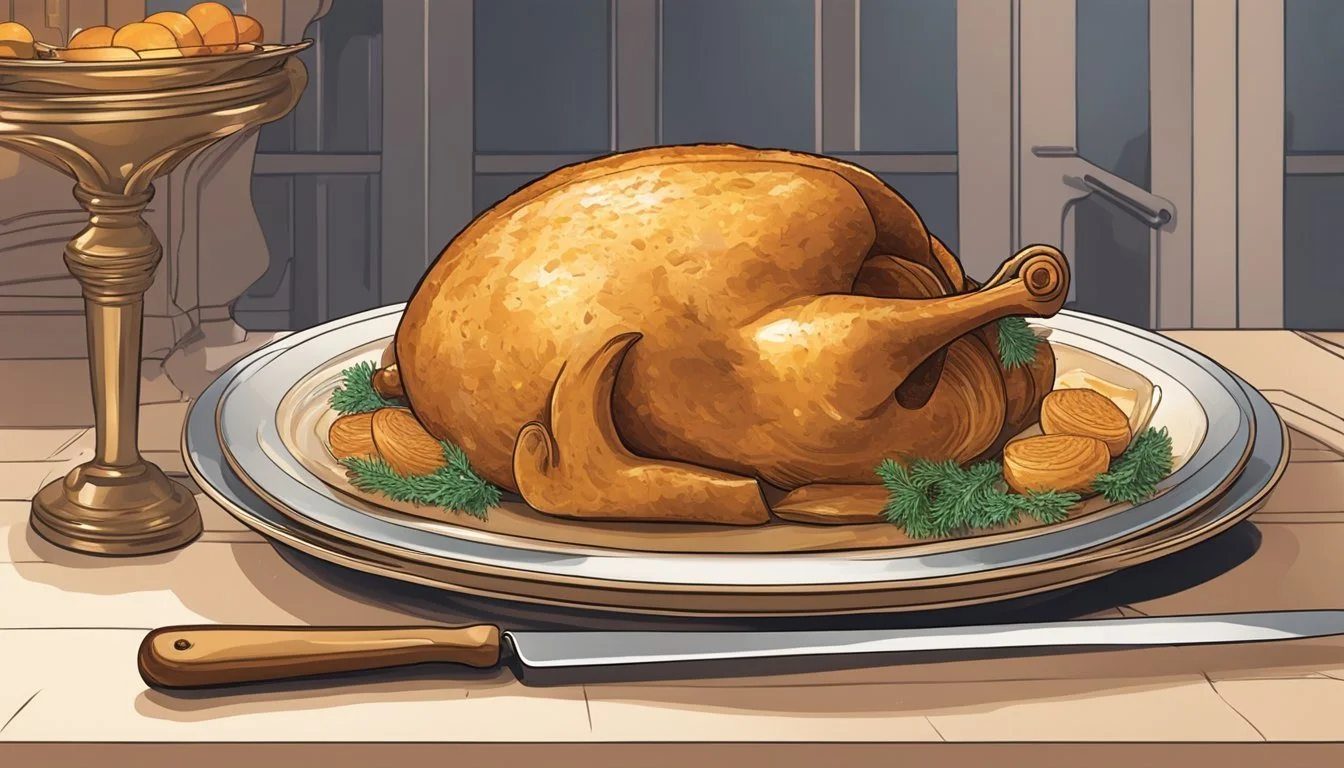
Place the ham on a sturdy cutting board. Use a sharp carving knife to slice against the grain in smooth, even motions. For spiral hams, simply cut along the pre-sliced sections.
Aim for slices about 1/4 inch thick. Thinner slices are more tender and easier to eat.
Arrange the carved ham on a platter, fanning out the slices slightly. Garnish with fresh herbs like rosemary or thyme for an appealing presentation.
Consider adding colorful fruit like orange slices or pineapple rings around the ham for a festive touch.
Accompaniments and Side Dishes
Pair the ham with classic side dishes to create a well-rounded meal. Creamy scalloped potatoes or sweet potato casserole complement the salty ham flavor.
Green vegetables like roasted asparagus, green beans, or Brussels sprouts add color and nutrition to the plate.
A tangy glazed carrot dish or a fresh salad can balance the rich ham taste.
Serve dinner rolls or biscuits on the side for soaking up juices and creating mini sandwiches.
Offer condiments like Dijon mustard, honey mustard, or a fruit chutney to enhance the ham's flavor profile.
Additional Tips and Considerations

Mastering the art of cooking a 6 lb ham involves more than just oven time. Proper slicing, storage, and alternative cooking methods can elevate your ham experience.
Slicing and Serving Techniques
When carving a ham, use a sharp knife for clean, even slices. Start at the bottom of the ham and cut upward against the grain. Aim for slices about 1/4 inch thick for optimal texture.
For bone-in hams, cut around the bone first to free up meat sections. This makes subsequent slicing easier and more efficient.
Serve ham slices on a warm platter to maintain temperature. Garnish with fresh herbs or fruit for visual appeal and added flavor.
Storing Leftovers
Refrigerate leftover ham within two hours of cooking. Wrap tightly in plastic wrap or aluminum foil, or store in airtight containers. Properly stored, leftover ham can last 3-5 days in the refrigerator.
For longer storage, freeze ham in airtight freezer bags or containers. Label with the date and use within 1-2 months for best quality.
To reheat, thaw frozen ham in the refrigerator overnight. Warm slices in a 325°F oven until they reach 165°F internally.
Alternative Cooking Methods
While oven-roasting is traditional, other methods can produce delicious results. Slow cookers offer a convenient, hands-off approach. Cook a 6 lb ham on low for 5-6 hours or until it reaches 140°F.
Grilling imparts a smoky flavor. Wrap the ham in foil and grill over indirect heat for about 2 hours, or until it reaches 140°F. Baste occasionally with a glaze for added flavor.
Regardless of method, use a meat thermometer to ensure proper cooking. Let the ham rest for 15-20 minutes before slicing to retain juices.
Enjoying Your Ham Beyond the Holiday
A holiday ham provides delicious leftovers and opportunities for creative cooking. Transform your ham into new dishes and make use of every part, including the bone.
Innovative Ham Recipes
Dice leftover ham for a savory quiche or frittata. Add it to pasta dishes like carbonara or mix into creamy potato soup. Create ham and cheese sliders for a quick lunch or party appetizer. Cube ham for fried rice or add to homemade pizza toppings.
For breakfast, try ham and cheese breakfast burritos or eggs Benedict with ham instead of Canadian bacon. Make ham salad for sandwiches by finely chopping ham and mixing with mayonnaise, mustard, and diced pickles.
Ham pairs well with sweet flavors too. Try grilled ham and pineapple skewers or a ham and apple panini with brie cheese.
Creative Uses for Ham Bone
Don't discard the ham bone after carving. It's perfect for flavoring soups and stews. Use it to make classic split pea soup or hearty bean soup. Add the bone to a pot of collard greens or other leafy greens for rich flavor.
Create a flavorful stock by simmering the ham bone with vegetables and herbs. Use this stock as a base for risotto or to cook grains like quinoa or barley.
For a Southern-inspired dish, use the ham bone to flavor a pot of red beans and rice. It also works well in lentil soup or potato and corn chowder.
Freeze the ham bone if you're not ready to use it immediately. It will keep for several months, ready to add flavor to future meals.
