
How to Cook Mouthwatering Ribs on a Gas Grill
A Step-by-Step Guide
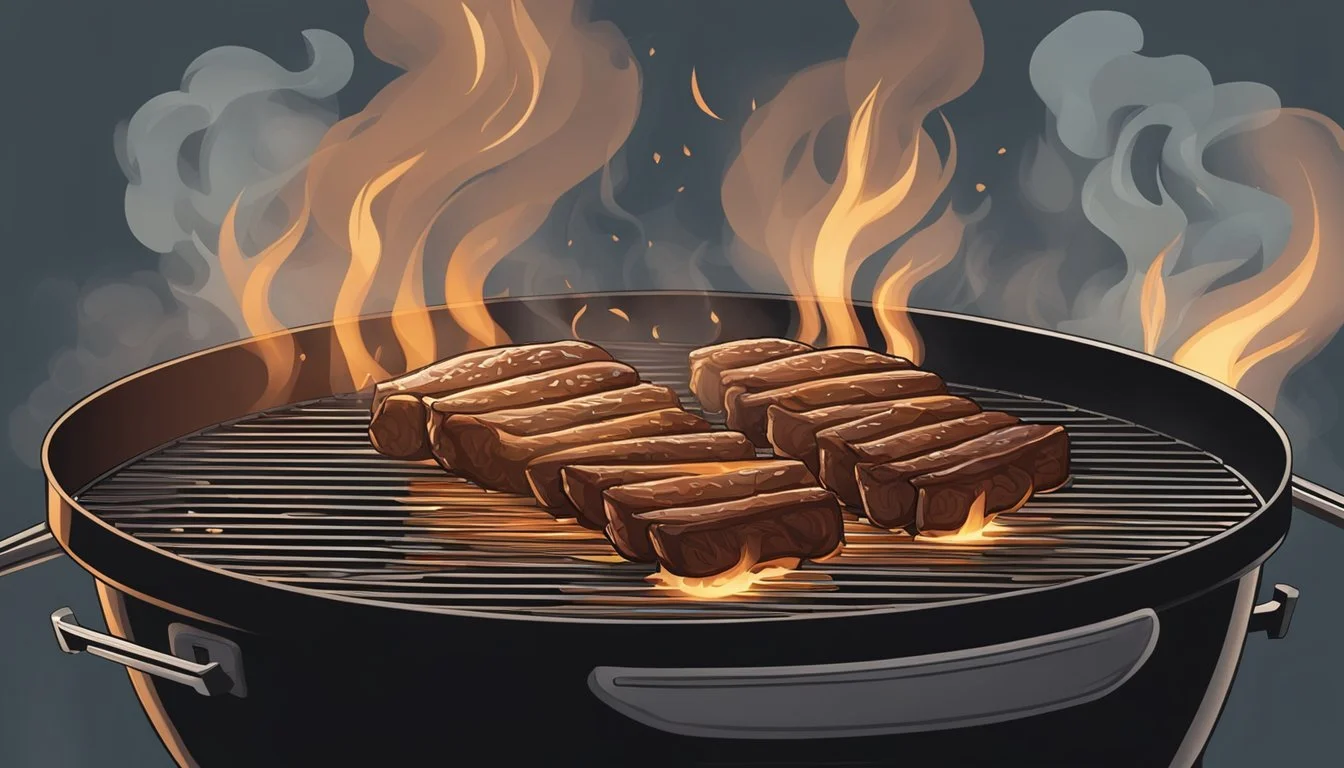
Grilling ribs on a gas grill can produce mouthwatering results when done properly. The key to succulent ribs is cooking them low and slow at around 300°F using indirect heat. This method allows the connective tissues to break down gradually, resulting in tender, fall-off-the-bone meat.
Preparing ribs for the grill involves removing the membrane from the back of the rack and applying a flavorful dry rub. Many grillers opt to wrap their ribs in foil for part of the cooking process to lock in moisture and create a steaming effect. This technique can help achieve that desirable tender texture.
Creating smoke on a gas grill enhances the flavor profile of ribs. Smoke bombs made from wood chips wrapped in foil or using a smoker box can impart a delicious smoky taste to the meat. Finishing the ribs with a glaze of barbecue sauce or vinegar adds a final layer of flavor before serving.
Understanding Ribs
Ribs are a popular cut of meat prized for their rich flavor and tender texture when cooked properly. They come from the rib cage of pork or beef, with pork ribs being the most common variety for barbecuing.
There are two main types of pork ribs: spare ribs and baby back ribs. Spare ribs come from the belly area and are larger, meatier, and fattier. Baby back ribs are smaller, leaner, and come from the loin area near the spine.
When preparing ribs, it's important to remove the tough membrane on the bone side. This allows seasonings to penetrate and produces more tender results. Trimming excess fat can also improve the final texture.
Ribs contain a significant amount of connective tissue between the bones. This breaks down during low and slow cooking, resulting in the characteristic fall-off-the-bone tenderness.
The meat-to-bone ratio varies between rib types:
Baby back ribs: Higher meat-to-bone ratio
Spare ribs: Lower meat-to-bone ratio, more fat
Proper cooking techniques are crucial for achieving tender, flavorful ribs. Low temperatures and longer cooking times allow the connective tissues to break down gradually without drying out the meat.
Preparation Essentials
Properly preparing ribs is crucial for achieving delicious results on a gas grill. Selecting quality meat, trimming excess fat, applying a flavorful dry rub, and marinating are key steps to enhance taste and texture.
Selecting the Right Ribs
Choose fresh, high-quality ribs for the best flavor and tenderness. Look for baby back ribs or spare ribs with a pinkish-red color and even marbling. Avoid ribs with excessive fat or discoloration.
Baby back ribs come from the loin area and are leaner, smaller, and more tender. They cook faster and are ideal for quicker grilling sessions.
Spare ribs are larger, meatier, and have more fat. They require longer cooking times but offer rich flavor and juiciness.
Consider the number of people you're serving when selecting rib quantity. Plan for about 1/2 rack per adult as a main course.
Trimming and Prepping the Ribs
Remove the membrane from the bone side of the ribs. This tough layer prevents flavor penetration and becomes chewy when cooked. Use a knife to loosen a corner, then grip with a paper towel and peel it off.
Trim excess fat from the ribs, leaving a thin layer for flavor and moisture. Cut off any loose or hanging pieces of meat.
Rinse the ribs under cold water and pat dry with paper towels. This removes bone fragments and ensures a clean surface for seasoning.
Score the membrane between the bones on the meat side. This helps the ribs cook evenly and allows for easier cutting after cooking.
Making the Perfect Dry Rub
Create a balanced dry rub to enhance the natural flavors of the ribs. Combine the following ingredients in a bowl:
1/4 cup dark brown sugar
2 tablespoons kosher salt
2 tablespoons black pepper
1 tablespoon garlic powder
1 tablespoon smoked paprika
1 teaspoon cayenne pepper (adjust for desired heat)
1 tablespoon chili powder
Mix the ingredients thoroughly. The brown sugar adds sweetness and helps form a flavorful crust. Salt enhances overall taste, while the spices provide depth and complexity.
Apply the rub generously to both sides of the ribs, massaging it into the meat. Let the seasoned ribs sit at room temperature for 30 minutes before grilling.
Marinating for Flavor
While a dry rub is often sufficient, marinating can add extra flavor and moisture. Create a simple marinade using:
1/2 cup apple cider vinegar
1/4 cup Worcestershire sauce
2 tablespoons brown sugar
2 cloves minced garlic
Mix the ingredients in a bowl. Place the ribs in a large, shallow dish or resealable plastic bag. Pour the marinade over the ribs, ensuring even coverage.
Refrigerate the ribs for 2-4 hours, turning occasionally. Avoid marinating for more than 8 hours, as the acid can start to break down the meat's texture.
Remove the ribs from the marinade and pat dry before applying the dry rub and grilling. Discard the used marinade for food safety reasons.
Grilling Techniques
Mastering gas grill techniques is essential for achieving delicious, tender ribs. Proper setup, heat management, and specialized methods can elevate your rib grilling game.
Setting Up the Gas Grill
Start by cleaning the grill grates thoroughly. Preheat the grill to the desired temperature, usually around 225°F to 250°F for ribs. For indirect cooking, turn on only half of the burners.
Place a drip pan filled with water under the grates on the unlit side. This helps maintain moisture and catches drippings. Oil the grates lightly to prevent sticking.
Arrange the ribs on the cool side of the grill, away from direct heat. Close the lid to trap heat and smoke.
Mastering Indirect Heat
Indirect heat is crucial for perfectly cooked ribs. It allows for slow, even cooking without burning. Set up a two-zone fire by lighting only one side of the grill.
Place the ribs on the unlit side, bone-side down. This method ensures the meat cooks gently and stays moist. Rotate the ribs every hour for even cooking.
For extra flavor, add wood chips to a smoker box or aluminum foil packet. Place it over the lit burners to generate smoke.
Controlling Grill Temperature
Maintaining a consistent temperature is key to tender ribs. Use the grill's built-in thermometer or an external one for accuracy. Aim for 225°F to 250°F throughout the cooking process.
Adjust the burners as needed to maintain the temperature. Opening the lid causes heat loss, so minimize this during cooking. If the grill gets too hot, turn off a burner or open the lid briefly.
For longer cooks, you may need to refill the propane tank. Have a spare on hand to avoid interruptions.
Using a Smoker Box
A smoker box adds rich, smoky flavor to gas-grilled ribs. Fill the box with soaked wood chips like hickory, apple, or mesquite. Place it directly over a lit burner.
Replace the chips every 30-45 minutes for continuous smoke. Alternatively, use a smoker tube for longer-lasting smoke production.
Experiment with different wood types to find your preferred flavor profile. Fruit woods offer a milder taste, while hickory and mesquite provide stronger smoke flavors.
Braising on the Grill
Braising combines grilling and moist-heat cooking for ultra-tender ribs. After initial grilling, wrap the ribs tightly in aluminum foil with a small amount of liquid.
Use apple juice, beer, or broth as braising liquid. Add butter and honey for extra richness. Seal the foil packet tightly to trap steam.
Return the wrapped ribs to the grill and cook for an additional 1-2 hours. This method helps break down tough connective tissues, resulting in fall-off-the-bone ribs.
Finish by unwrapping and grilling directly for a few minutes to caramelize the sauce.
Mastery of Cooking Ribs
Cooking perfect ribs on a gas grill requires careful attention to temperature, timing, and finishing techniques. These key factors ensure tender, flavorful results every time.
Monitoring Temperature
A digital meat thermometer is essential for monitoring rib temperature. The ideal cooking temperature for ribs on a gas grill is between 225°F and 250°F.
Maintain this low temperature range throughout the cooking process. It allows the collagen in the meat to break down slowly, resulting in tender ribs.
Check the grill temperature regularly and adjust the burners as needed. Place the thermometer probe near the ribs without touching the bone for accurate readings.
Timing for Perfect Doneness
Slow cooking ribs typically takes 4-6 hours, depending on the size and type of ribs. The 3-2-1 method is a popular technique:
Smoke unwrapped for 3 hours
Cook wrapped in foil for 2 hours
Finish unwrapped for 1 hour
Ribs are done when the internal temperature reaches 190°F-205°F. The meat should easily pull away from the bone but not fall off completely.
Glazing and Finishing Grilled Ribs
Apply glaze during the final 30 minutes of cooking for a caramelized finish. Mix BBQ sauce with honey, apple cider vinegar, or orange juice for a balanced flavor.
Brush the glaze on both sides of the ribs every 10 minutes. This creates multiple layers of flavor and a sticky, shiny exterior.
For extra tenderness, wrap the ribs in foil with a mixture of apple juice, vinegar, and brown sugar during the middle stage of cooking. This helps keep the meat moist and infuses it with additional flavor.
Enhancing Flavor and Texture
Mastering the art of cooking ribs on a gas grill involves several techniques to elevate taste and tenderness. These methods focus on infusing smoky flavors, maintaining moisture, and perfecting the final sauce application.
Using Wood Chips and Pellets
Wood chips and pellets are essential for adding smoky flavor to ribs on a gas grill. Soak wood chips in water for 30 minutes before use. Place them in a foil packet or smoker box and position it over a burner.
For gas grills, use hardwoods like hickory, oak, or applewood. These impart rich, smoky notes to the meat. Add fresh chips every 45 minutes to maintain consistent smoke.
Pellets offer an alternative to chips. They burn longer and produce less ash. Place pellets in a tube smoker or pellet tray for steady smoke output throughout the cooking process.
Creating Moisture and Tenderness
Maintaining moisture is crucial for juicy, tender ribs. Start by applying a thin layer of mustard before seasoning to help the rub adhere and create a moisture barrier.
Create a spritz using apple cider vinegar, apple juice, and water. Spray the ribs every 30-45 minutes during cooking. This adds flavor and prevents the surface from drying out.
For extra tenderness, wrap ribs in foil with butter and apple juice after 2 hours of cooking. This braising technique softens the meat and infuses additional flavors.
Applying the Final Barbecue Sauce
Apply barbecue sauce during the last 30 minutes of cooking. This prevents burning and allows the sauce to caramelize properly. Brush the sauce on both sides of the ribs, flipping every 5-10 minutes.
For a thicker glaze, increase grill temperature to 350°F (175°C) after saucing. Watch closely to prevent burning.
Consider offering additional sauce on the side. This allows guests to adjust flavors to their preference and ensures moist, flavorful ribs straight off the grill.
Serving and Presentation
Once the ribs are cooked to perfection, it's time to focus on serving and presentation. Use tongs to carefully remove the ribs from the grill, as they will be hot and tender.
Allow the ribs to rest for 5-10 minutes before cutting. This helps the juices redistribute throughout the meat for optimal flavor and tenderness.
Using a sharp knife, cut between the bones to separate individual ribs. For a cleaner presentation, trim any excess fat or unevenly cooked edges.
Arrange the ribs on a large platter or individual plates. For a rustic look, serve them on butcher paper or a wooden board.
Garnish the plate with fresh herbs like parsley or cilantro for a pop of color. Add a small bowl of extra rib rub or barbecue sauce on the side for those who prefer additional seasoning.
Consider serving classic barbecue sides such as coleslaw, baked beans, or corn on the cob to complement the ribs.
For a family-style meal, place the whole rack of ribs on a large platter and let guests serve themselves. This creates an interactive and casual dining experience.
Remember to provide plenty of napkins, as eating ribs can be a messy affair. Wet wipes or finger bowls can also be a thoughtful addition to the table setting.
