
How to Cook Duck
Achieving Crispy Skin and Juicy Meat

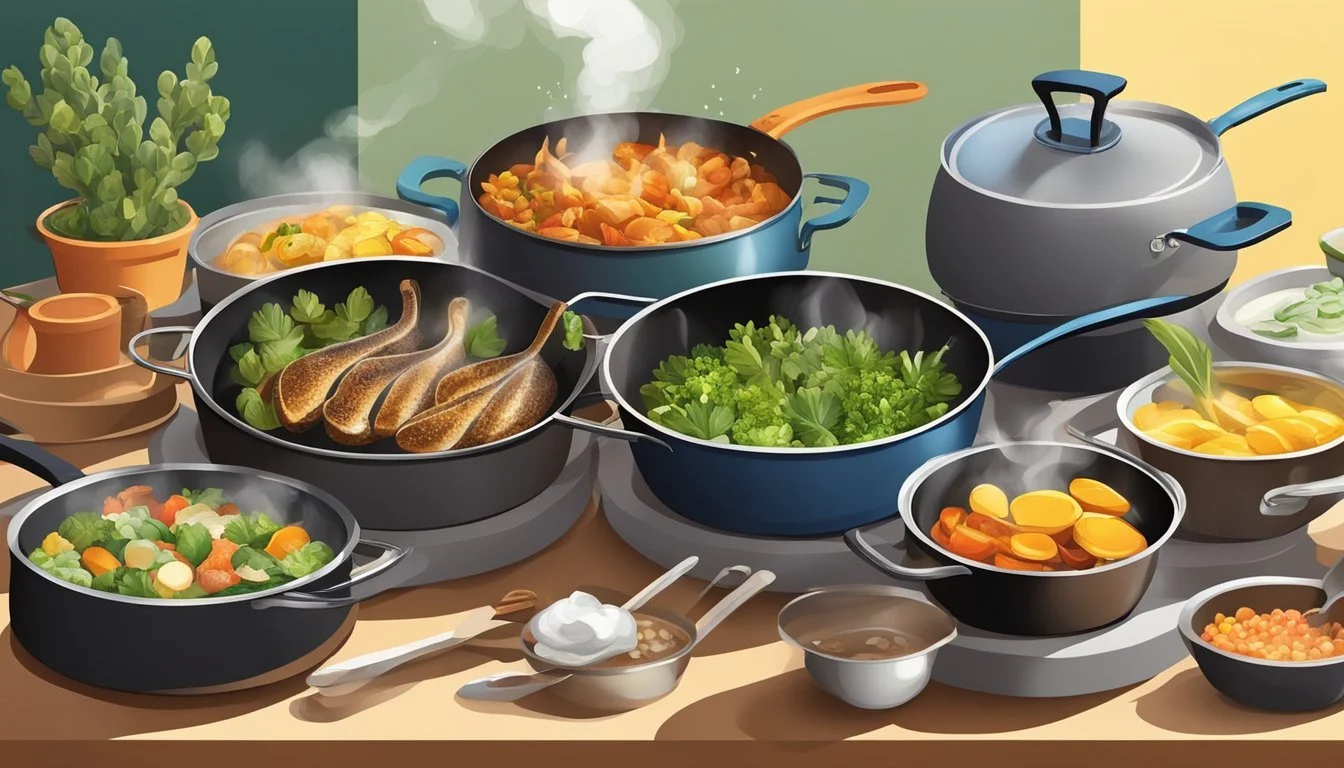
Cooking duck can seem intimidating, but with the right techniques, it's a rewarding culinary adventure. A perfectly roasted duck offers crispy skin and succulent meat, making it an impressive centerpiece for any meal. The key to achieving this balance lies in properly preparing the duck before roasting and using a combination of high and low heat during cooking.
Duck's rich flavor and versatility make it a favorite among chefs and home cooks alike. Whether seasoned simply with salt and pepper or dressed up with exotic spices and glazes, duck adapts well to various culinary styles. Popular methods include roasting a whole duck, pan-searing duck breasts, or slow-cooking duck legs for confit.
When cooking a whole duck, it's essential to score the skin to help render the fat and achieve that coveted crispiness. Many recipes recommend starting with a high oven temperature to crisp the skin, then lowering it to finish cooking the meat without drying it out. Basting the duck with its own juices during roasting enhances flavor and moisture retention.
Selecting the Right Duck

Choosing the perfect duck is crucial for a successful culinary experience. The breed, freshness, and preparation method all play vital roles in achieving optimal flavor and texture.
Pekin Versus Muscovy
Pekin ducks are the most common variety found in grocery stores. They have a mild flavor and tender meat, making them ideal for roasting whole. Pekin ducks typically weigh 4-6 pounds and have a higher fat content.
Muscovy ducks, on the other hand, have a stronger, gamier flavor. Their meat is leaner and darker, resembling beef more than poultry. Muscovy ducks are larger, often weighing 6-8 pounds.
When selecting between Pekin and Muscovy, consider your recipe and personal taste preferences. Pekin is better for classic roast duck, while Muscovy excels in dishes that require longer cooking times.
Understanding Duck Breeds
While Pekin and Muscovy are the most common, other duck breeds offer unique flavors and textures. Moulard ducks, a hybrid of Pekin and Muscovy, are prized for their large, meaty breasts.
Long Island ducks are another popular choice, known for their rich flavor and tender meat. They're often used in upscale restaurants for their superior taste.
When choosing a breed, consider the cooking method. Some breeds are better suited for specific preparations, such as confit or grilling.
Fresh Versus Frozen
Fresh ducks offer superior flavor and texture compared to frozen ones. Look for plump birds with moist, pinkish skin and no bruises or blemishes.
If fresh ducks aren't available, frozen ones can be a good alternative. When selecting a frozen duck, check for ice crystals or freezer burn, which can indicate quality loss.
To thaw a frozen duck, place it in the refrigerator for 24-48 hours. Never thaw at room temperature, as this can promote bacterial growth. Once defrosted, use the duck within 2 days for best results.
Preparation Techniques
Proper preparation is crucial for achieving perfectly cooked duck. Mastering these techniques will ensure the best flavor and texture in your final dish.
Thawing and Cleaning
Start by thawing frozen duck in the refrigerator for 24-48 hours. Never thaw at room temperature. Once thawed, remove giblets from the cavity. Rinse the duck inside and out with cold water. Pat dry thoroughly with paper towels, paying special attention to the skin.
Trim excess fat around the neck and cavity using kitchen shears. This helps prevent excessive smoke during cooking.
Scoring the Skin
Using a sharp paring knife, carefully score the duck skin in a diamond pattern. Make shallow cuts about 1/4 inch apart, being careful not to pierce the meat beneath.
This technique allows fat to render more easily during cooking, resulting in crispy skin. It also helps seasonings penetrate the meat.
Removing Excess Fat
Duck contains a significant amount of fat, which must be properly managed for best results. Before cooking, use a fork to prick the skin all over, focusing on fatty areas like the breast and thighs.
During cooking, periodically drain accumulated fat from the roasting pan. This fat can be strained and saved for other culinary uses.
For pan-seared duck breasts, start with a cold pan and gradually increase heat. This renders more fat, producing crispier skin.
Seasoning and Flavoring

Seasoning and flavoring are crucial steps in preparing a delicious duck. The right combination of salt, spices, herbs, and citrus can enhance the rich flavor of duck meat and create a memorable culinary experience.
Salt and Spices
Salt is essential for bringing out the natural flavors of duck. Kosher salt is often preferred for its coarse texture and clean taste. Rub the salt generously over the skin and inside the cavity.
Black peppercorns, freshly ground, add a sharp, aromatic quality that complements duck's richness. Garlic, either minced or powdered, provides a savory depth to the seasoning blend.
For a more complex flavor profile, consider adding spices like cinnamon, star anise, or fennel seeds. These work particularly well with duck's fatty nature.
Always season the duck at least an hour before cooking to allow the flavors to penetrate the meat. For best results, season the duck the night before and refrigerate uncovered to dry out the skin.
Citrus and Herbs
Citrus fruits, especially orange, provide a bright, acidic contrast to duck's rich flavor. Zest the orange and mix it with herbs for a fragrant rub. Stuff orange wedges inside the cavity for added flavor during cooking.
Fresh herbs like thyme and rosemary are classic pairings with duck. Their woody, earthy notes enhance the meat's natural taste. Finely chop these herbs and mix with salt and citrus zest for a flavorful seasoning blend.
Sage and tarragon are also excellent choices, offering unique flavors that complement duck well. Use these herbs sparingly, as their strong flavors can overpower if used in excess.
For a fresh twist, consider adding a small amount of mint or basil to your herb blend. These unexpected additions can bring a new dimension to the dish.
Creating a Flavorful Cavity
Seasoning the cavity is key to infusing flavor throughout the duck. Start by rubbing the inside with salt and pepper. This basic seasoning ensures every part of the duck is flavorful.
Stuff the cavity with aromatics like garlic cloves, lemon or orange wedges, and fresh herb sprigs. These ingredients will release their flavors as the duck cooks, permeating the meat from the inside out.
For an Asian-inspired flavor, place ginger slices and green onions in the cavity. This combination adds a subtle heat and aromatic quality to the duck.
Avoid overstuffing the cavity, as this can prevent even cooking. A loosely filled cavity allows for better air circulation and more consistent results.
Roasting

Roasting duck produces crispy skin and juicy meat when done properly. The key elements are oven temperature, pan setup, and precise timing.
Setting Up the Oven
Preheat the oven to 350°F (175°C) for optimal duck roasting. This moderate temperature allows the fat to render slowly without burning the skin. Place the oven rack in the middle position to ensure even heat distribution.
Some chefs recommend starting at a higher temperature of 425°F (218°C) for the first 15 minutes to crisp the skin, then lowering it to 350°F for the remainder of cooking. This technique can yield extra-crispy results.
Using a Roasting Pan
Select a roasting pan with a rack to elevate the duck. This allows hot air to circulate and fat to drip away. Line the pan with foil for easier cleanup.
Pat the duck dry with paper towels before placing it breast-side up on the rack. For extra flavor, stuff the cavity with quartered oranges, garlic cloves, and celery.
Truss the legs together and tuck the wing tips under the body to promote even cooking. Score the skin in a diamond pattern to help render fat.
Mastering Cooking Time
A 5-6 pound duck typically requires about 2 hours of roasting time. Begin checking for doneness after 1 hour and 45 minutes. The internal temperature should reach 165°F (74°C) in the thickest part of the thigh.
Baste the duck every 30 minutes with its own rendered fat for moist meat and crispy skin. If the skin browns too quickly, cover loosely with foil.
Let the duck rest for 15-20 minutes after roasting. This allows juices to redistribute, ensuring moist meat when carved.
Achieving the Perfect Finish
Mastering the art of cooking duck requires attention to three key elements: crispy skin, proper internal temperature, and adequate resting time. These factors combine to create a succulent and visually appealing dish.
Crispy Skin
Achieving crispy duck skin starts before cooking. Score the skin in a diamond pattern, being careful not to cut into the meat. This allows fat to render more effectively during cooking.
Preheat the oven to 350°F (175°C). Begin by searing the duck breast skin-side down in a cold, oven-safe pan. This gradual heat application helps render fat and crisp the skin.
Cook for 6-8 minutes until the skin turns golden brown. Pour off excess fat periodically to prevent the duck from frying.
After searing, transfer the pan to the preheated oven. Roast for 8-10 minutes, depending on the breast's thickness. Baste occasionally with the rendered fat for extra flavor and crispiness.
Internal Temperature
Proper internal temperature ensures both safety and optimal flavor. The USDA recommends cooking duck to 165°F (74°C) for food safety.
Use a meat thermometer to check the temperature at the thickest part of the breast. For medium-rare, aim for 135°F (57°C). The temperature will rise during resting.
For a whole roast duck, insert the thermometer into the thigh, avoiding bone. The ideal temperature is 165°F (74°C) for fully cooked, juicy meat.
Remember, duck can be served slightly pink, unlike chicken. This allows for a more tender and flavorful result.
Resting the Duck
Resting is crucial for redistributing juices throughout the meat. After cooking, remove the duck from heat and let it rest.
For duck breasts, a 5-10 minute rest is sufficient. Cover loosely with foil to keep warm without trapping steam, which can soften the crispy skin.
A whole roast duck benefits from a longer rest, about 15-20 minutes. This allows larger cuts to finish cooking and ensures easier carving.
During resting, the internal temperature will rise slightly. This carryover cooking contributes to the final doneness of the meat.
Use this time to prepare accompanying sauces or side dishes. The rested duck will reward you with juicy, flavorful meat and perfectly crisp skin.
Accompaniments and Side Dishes
Selecting the right accompaniments enhances the rich flavors of duck. Vegetables, citrus notes, and balanced side dishes create a harmonious meal.
Selecting Complementary Vegetables
Roasted vegetables pair excellently with duck. Brussels sprouts, carrots, and parsnips develop caramelized edges when roasted, complementing the meat's richness. Drizzle them with balsamic vinegar and honey for added depth.
Green beans provide a fresh contrast. Sauté them with garlic and almonds for texture and flavor.
Butternut squash offers sweetness. Roast cubes with sage and olive oil for a comforting side.
For a lighter option, serve a crisp salad with bitter greens like arugula or radicchio. Dress it with a citrus vinaigrette to cut through the duck's richness.
Creating a Balanced Plate
Starchy sides help balance the meal. Duck fat roasted potatoes are a classic choice, offering crispy exteriors and fluffy interiors.
Wild rice pilaf adds nutty flavors and interesting texture. Mix in dried cranberries and toasted pecans for complexity.
For a refreshing element, consider a citrus salad. Combine orange segments, fennel, and mint for a bright counterpoint to the duck.
A tart fruit sauce, like cherry or blackberry, provides acidity to cut through the richness. Simmer fruits with a splash of orange juice and red wine for depth.
Lastly, steamed green vegetables like asparagus or broccoli add color and nutrients to the plate.
Serving and Presentation
Proper serving and presentation techniques enhance the dining experience when enjoying duck. Attention to carving and complementary sauces can elevate this dish from ordinary to extraordinary.
Carving Techniques
Begin by allowing the roasted duck to rest for 10-15 minutes before carving. This ensures juices redistribute, making the meat more tender. Use a sharp knife to separate the legs from the body at the joint. Slice through the skin between the breast and leg, then gently pull the leg away until you hear a pop. Cut through the joint to remove the leg completely.
For the breast, make a horizontal cut along the breastbone. Then, slice downward at a slight angle, creating thin, even pieces. Repeat on the other side. Present the carved duck on a warm platter, arranging the slices attractively.
Sauce and Gravy Options
Duck pairs wonderfully with a variety of sauces and gravies. A classic orange sauce complements the rich meat beautifully. Combine orange juice, zest, and a touch of Grand Marnier for a vibrant flavor. For a more savory option, create a red wine reduction by simmering wine with shallots and herbs.
Cherry sauce offers a sweet-tart balance that enhances duck's flavor profile. Simmer fresh or frozen cherries with a splash of balsamic vinegar and a pinch of sugar. For a simple pan gravy, deglaze the roasting pan with stock, scraping up the flavorful bits. Strain and season to taste.
Serve sauces in small, warm pitchers alongside the carved duck. This allows guests to add their preferred amount. For a dinner party, offer two or three sauce options to cater to different tastes.
Cooking Duck for Holidays

Duck makes an impressive centerpiece for festive meals. Its rich flavor and crispy skin elevate holiday dinners beyond the ordinary.
Thanksgiving Favorites
Roast duck offers a delicious alternative to turkey for Thanksgiving. Season the bird with herbs like thyme and rosemary. Stuff the cavity with orange slices and onions for extra flavor.
Cook the duck at a high temperature initially to render fat and crisp the skin. Then reduce heat to finish cooking. Serve with classic sides like mashed potatoes and green beans.
For a twist, try duck confit. Slowly cook duck legs in their own fat until tender. This can be prepared in advance, reducing day-of stress.
Christmas Dinner Ideas
A whole roasted duck makes an elegant Christmas main course. Glaze the bird with a mixture of honey, balsamic vinegar, and orange juice for a festive sheen. The sweet-tart flavors complement the rich meat.
Pair roast duck with seasonal sides like roasted root vegetables and cranberry sauce. For a show-stopping presentation, garnish the platter with fresh herbs and orange slices.
Duck breast is perfect for smaller gatherings. Pan-sear skin-side down until crispy, then finish in the oven. Serve with a port wine reduction sauce.
Safety and Handling

Proper safety and handling practices are crucial when working with duck meat to prevent foodborne illnesses and ensure a delicious final product. Careful attention to hygiene, temperature control, and storage methods helps maintain quality and food safety.
Raw Meat Precautions
Always wash hands thoroughly with soap and water before and after handling raw duck. Use separate cutting boards and utensils for raw poultry to avoid cross-contamination with other foods. Clean all surfaces that come into contact with raw duck using hot, soapy water or a diluted bleach solution.
When preparing duck, remove the backbone and breastbone carefully to avoid spreading bacteria. Cook duck to a safe internal temperature of 165°F (74°C), checking with a meat thermometer inserted into the thickest part of the thigh or breast. Avoid partially cooking duck, as this can allow bacteria to multiply.
Storage Advice
Store raw duck in the refrigerator at 40°F (4°C) or below for up to 2 days. For longer storage, freeze duck at 0°F (-18°C) or lower. Wrap duck tightly in plastic wrap or aluminum foil, then place in a freezer bag to prevent freezer burn.
When thawing frozen duck, use the refrigerator method for safe, slow defrosting. Allow 24 hours of thawing time for every 4-5 pounds of duck. Never thaw duck at room temperature, as this can promote bacterial growth. If pressed for time, thaw duck in cold water, changing the water every 30 minutes.
