
How to Dehydrate Sage?
Simple Steps for Preserving Your Herbs
Drying sage is an excellent way to preserve this flavorful herb, well-regarded both for its culinary versatility and potential health benefits. As part of the mint family, sage carries a robust flavor profile that enhances a variety of dishes, from meats to soups to stuffings. Dehydration not only intensifies its earthy and slightly peppery taste but also extends its shelf life, ensuring that this herb can be enjoyed year-round.
Dehydrating sage makes it easy to store and use at a later time, and it's a simple process that can be accomplished with a few different methods, such as using a dehydrator, an oven, or air-drying naturally. Ensuring that the leaves are completely dry before storage is crucial, as any remaining moisture can lead to mold and spoilage, diminishing its quality and potential health benefits.
When dehydrated properly, sage maintains its aromatic properties, making it a staple ingredient in many kitchens. By preserving sage, cooks have a ready supply of this herb, capturing the essence of its fresh state and enabling them to imbue dishes with its distinctive flavor throughout the year.
Understanding Sage Dehydration
Dehydrating sage efficiently preserves its flavor and offers health benefits while being ideal for long-term storage. Knowing the right approach to dehydration can make a significant difference in the quality of the dried herb. The leaves of a sage plant can be dried in small bundles or you can dry each leaf individually.
Benefits of Dry Sage
Drying sage is a way to preserve the herb's robust flavor for use as seasoning throughout the year. Dried sage (how long does dried sage last?) is more concentrated in flavor than fresh sage, which means a smaller quantity is needed when cooking. Moreover, dehydrating sage extends its shelf life considerably, maintaining its health benefits. Sage is known for its antioxidant properties and as a source of essential oils that can aid digestion and mental function.
Best Sage Varieties for Dehydration
While most varieties of the sage plant can be dried, some are more suited to dehydration due to their oil content and structure. Broad-leafed varieties like Garden Sage and Berggarten are popular for drying because their leaves retain flavor well after dehydration. It's important when harvesting sage to select healthy, vibrant sage leaves from the plant for the best results.
Comparing Sage Plant Drying Methods
Several methods can be used to dry sage and other herbs such as rosemary, thyme, and basil, each with its own set of advantages, determining the best method depends on the desired speed, your equipment access, and the environment.
Dehydrator: Using a dehydrator is a reliable method as it allows for consistent airflow and temperature control. Set the dehydrator between 95-115°F, or 125°F in more humid conditions. This method ensures that the sage leaves dry evenly without getting cooked.
Oven: Oven drying is an alternative that requires setting the oven at the lowest possible temperature to prevent burning the leaves. It necessitates periodic checking to ensure even drying.
Microwave: Quick and convenient, the microwave method is the fastest, taking only a couple of minutes. However, it can easily lead to uneven drying or burnt sage if not monitored closely.
Air Dry: Air drying is the most traditional method that does not require any special equipment. It involves hanging tied bunches of sage in a dry, well-ventilated area away from direct sunlight. This is not a quick method, but effectively preserves the flavor and is energy-efficient.
When choosing a method to dry sage, consider factors such as the desired drying speed, the equipment readily available, and the humidity levels of the environment.
Preparation of Sage Leaves
Proper preparation of sage leaves is crucial for successful dehydration, ensuring the removal of impurities and maximum flavor retention. Attention to detail during the cleaning, selecting, and arranging processes will affect the quality of the dried sage.
Cleaning and Rinsing
Sage leaves should be thoroughly cleaned to remove any dirt or debris. Leaves should be detached from the stem and rinsed under cold running water.
To ensure that the leaves are free from all moisture, gently shake and then pat dry with a clean towel or paper towel. One could also use a salad spinner. Any excess water on the leaves can extend the drying time and potentially lead to mildew.
Selecting Leaves for Drying
Only the best leaves should be chosen for drying. One should look for fresh sage leaves that are vibrant green, with no signs of wilting or discoloration. Damaged or diseased leaves must be discarded, as these can affect the flavor and may not dry properly.
Arranging Sage for Optimal Drying
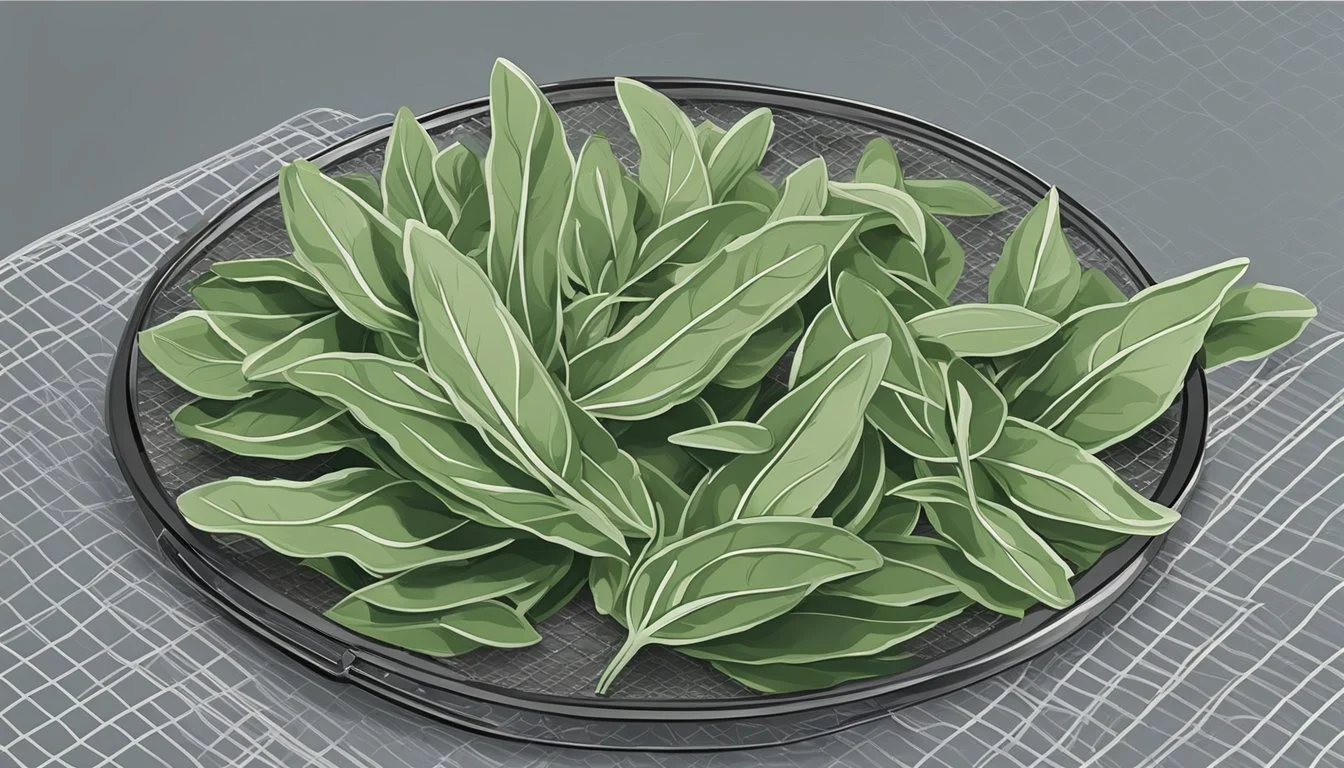
When laying out the sage leaves for dehydration, ensure they are arranged in a single layer with no overlap on a parchment paper-lined baking sheet. This promotes proper air circulation, which is key to even drying.
Sage leaves should be spaced adequately, as crowding can lead to inconsistent dehydration and potentially result in trapped moisture.
Dehydrating Sage with a Food Dehydrator
Dehydrating sage using a food dehydrator is an efficient process ensuring the herb's flavor is preserved by drying until the leaves become crispy and the stems easily break.
Setting Up the Dehydrator
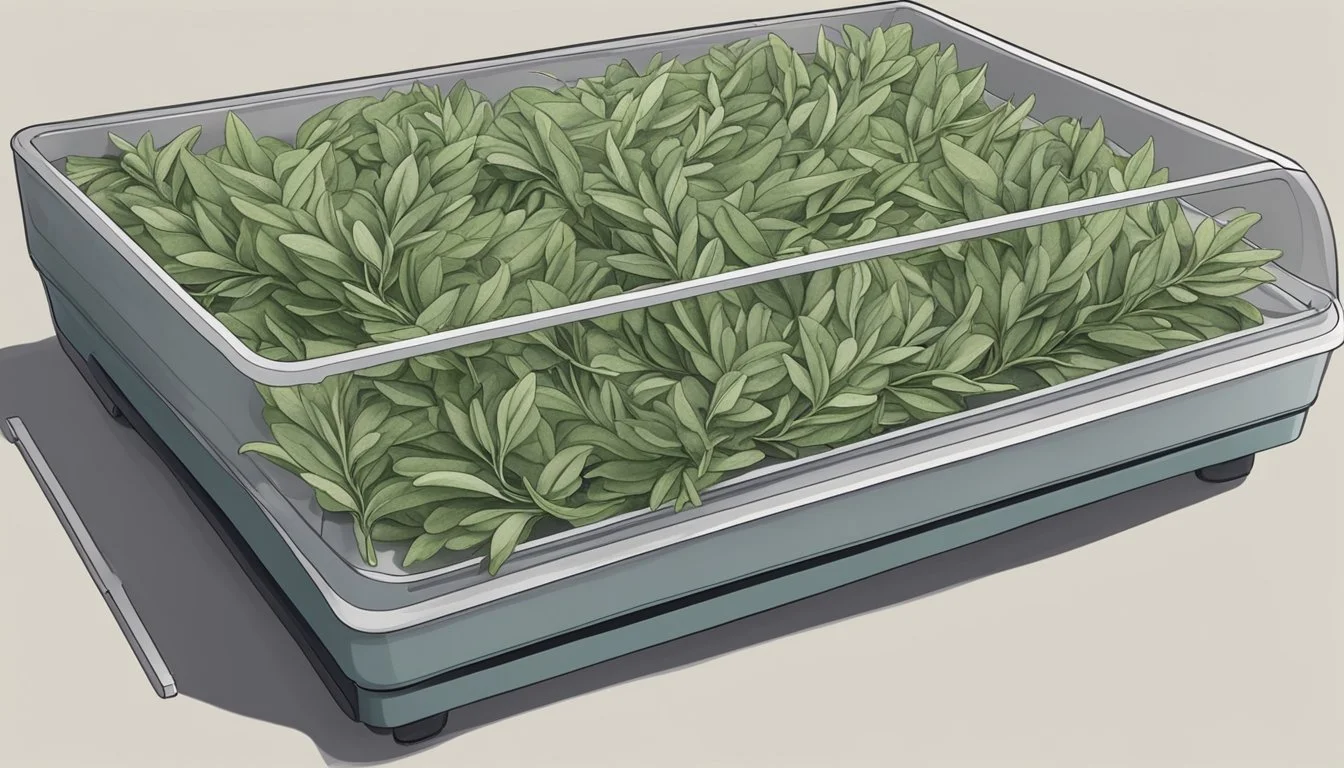
One begins by selecting healthy, mature sage leaves, which should be vibrant in color and full-sized. The food dehydrator's drying tray must be prepared, ensuring it is clean and free of any residue from previous uses.
Sage leaves should be spread out in a single layer on the dehydrator tray to promote even drying and adequate air circulation. It's important to leave space between leaves to avoid overlap, which could result in unevenly dried sage.
Determining the Drying Time
The drying time for sage can vary depending on the dehydrator's model and the humidity of the environment. Start checking the leaves after an hour and continue at periodic intervals. Typically, the drying time ranges from 1 to 4 hours.
The sage leaves are sufficiently dry when they feel crispy to the touch and are easily crumbled between one's fingers. The stems should break when bent, indicating that the moisture has been fully removed.
To ensure the sage is completely dry, one might opt to condition it by leaving it in a dry, warm place for a few days post-dehydration to eliminate any leftover moisture.
Oven Drying Technique
Drying sage in an oven is an efficient method to preserve the herb's flavor and extend its shelf life. This technique requires careful temperature control and monitoring to ensure the leaves dry evenly without burning.
Preheating and Preparation
One must preheat the oven to its lowest temperature setting to start the oven-drying process. This is important to avoid cooking the sage leaves and instead allow them to dehydrate slowly.
While the oven preheats, the sage leaves need to be prepared by spreading them out in a single layer on a baking sheet. It's essential to use parchment paper to prevent the leaves from sticking to the tray or baking sheet and to ensure easy removal after drying.
To improve air flow you might want to consider leaving the oven door ajar to help moisture escape if you have no extractor.
Monitoring the Drying Process
The sage leaves require attention throughout the drying process to ensure they dry evenly and do not burn. After placing the sage in the oven, one should check on the leaves every 15 minutes. Rotating the tray halfway through is crucial for uniform drying. This process may take approximately an hour, but it varies depending on the oven and the moisture content of the leaves.
Leaves are properly dried when they are crisp to the touch and can easily crumble. Once dried, the leaves should be stored in an airtight container and placed in a warm, dry area to maintain quality.
Microwave Drying Sage
Microwave drying sage is an efficient technique when one needs to quickly dry sage leaves while preserving their aromatic oils. This method suits large-leaf herbs, but it's especially effective for sage due to its leaves' structure.
Arranging Sage in the Microwave
To begin, they should evenly spread individual sage leaves on a microwave-safe plate, ensuring they do not overlap.
Paper towels should be placed both beneath and on top of the leaves to absorb excess moisture. This setup helps in preventing the sage from cooking and assists in achieving uniform dryness. It's crucial to arrange the leaves in a single layer for consistent exposure to the microwaves.
Checking for Doneness
The sage requires close monitoring while in the microwave. They start on high power for approximately 1 minute, then check the leaves' crispiness.
If not fully dried, they continue to heat in 20-second intervals, checking after each until the leaves are completely dry and crisp to the touch.
It's important not to overheat, as this could burn the leaves and diminish their flavor. Once dried, the sage should cool before storage to ensure it retains its quality.
Air Drying Sage
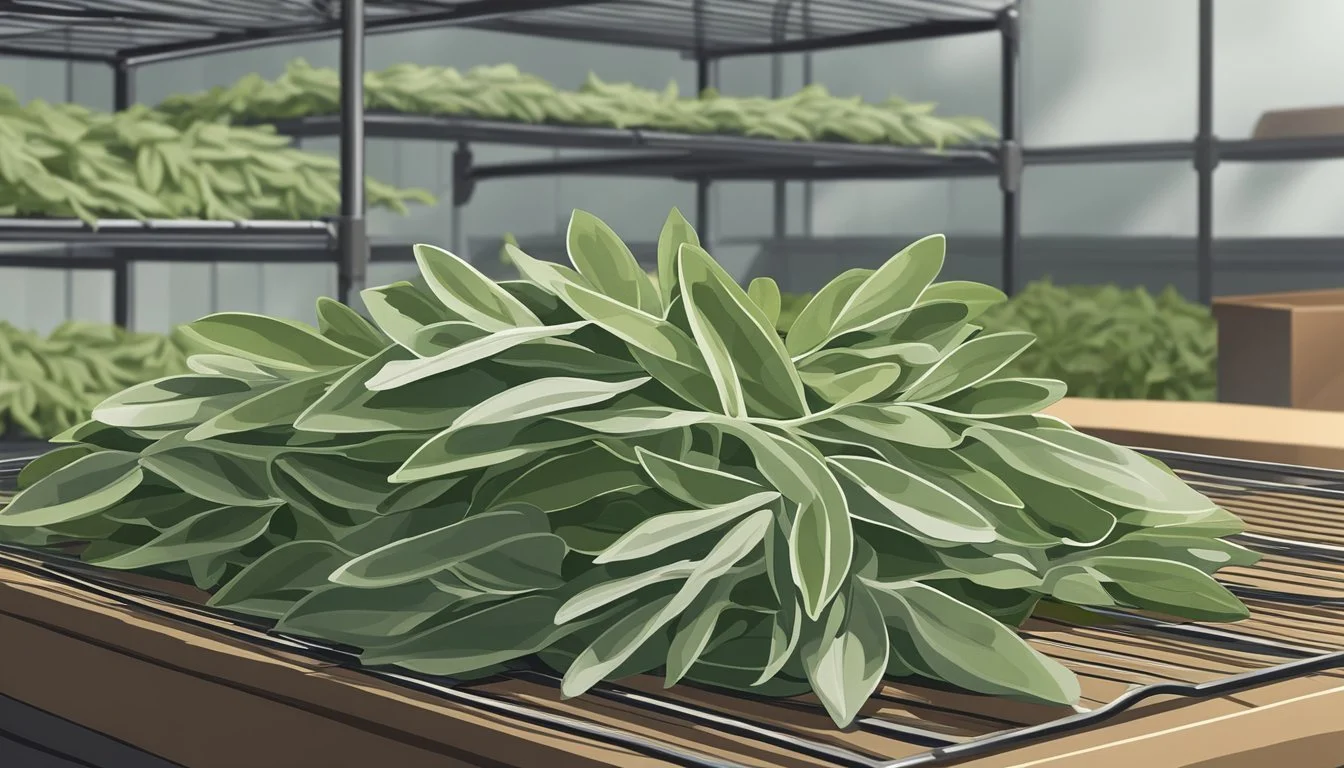
Air drying sage is a straightforward method that preserves the herb's natural flavor. It involves creating bundles of sage leaves and finding a suitable location that's dry and dark. This process typically takes a few weeks, depending on environmental conditions.
Creating Sage Bundles
To create sage bundles, one should:
Pick sage leaves, preferably in the morning after the dew has evaporated.
Inspect the sage and remove any damaged or diseased leaves.
Gather small groups of sage leaves, about 5-10, to form a bundle. This ensures adequate air circulation for even drying.
Each bundle should be tied together using twine or a rubber band. Tighten the tie at the base of the stems, leaving a loop for hanging.
Choosing a Suitable Drying Location
The drying location is critical for the quality of the dried sage. One should look for a place that is:
Dark, to prevent sunlight from bleaching the herbs.
Dry, as humid areas can lead to mold growth.
Well-ventilated, to promote air circulation which speeds up the drying process.
One should hang a sage bundle upside down to allow oils to flow down into the leaves, which enhances flavor. This method is especially useful during the winter months when outdoor drying is not feasible.
The process usually takes several weeks, after which the sage should be completely dried and ready for use or storage. Some protect the dried leaves with a perforated paper bag which arguably helps with moisture transfer but it is worthwhile to replace the paper bag frequently.
Storing Dry Sage
Proper storage extends the shelf life of dried sage, ensuring its flavor and quality are preserved. One must choose appropriate containers and manage humidity and light effectively.
Selecting Appropriate Containers
Storage of dried sage is pivotal to maintaining its quality. The best options are airtight containers such as glass jars or mason jars that shield the herbs from moisture and air. Using:
Glass jars with tight-fitting lids protect sage from air exposure.
Paper bags are suitable for short-term storage but may not protect against moisture as effectively as glass. One can place a paper bag or paper towel into an airtight container in the first few days of storage to make certain the leaves are dry.
Containers should be labeled with the date of storage to keep track of freshness.
Managing Humidity and Light
Dried sage retains its potency when stored in a cool dark place away from direct sunlight, which could degrade its quality. Here's how to get it right:
Location: Choose a cupboard or pantry away from heat sources.
Humidity: Avoid humid areas to prevent condensation inside the container.
By strictly controlling exposure to light and moisture, one can expect dried sage to last up to a year without significant loss of flavor or aroma.
Applying Dehydrated Sage in Cooking
Dehydrated sage brings an earthy and aromatic quality to many dishes. It can be a suitable substitute for rosemary or oregano in certain recipes, due to its potent flavor profile.
Incorporating Sage into Recipes
When using dry sage in cooking, a chef must consider the concentration of flavor. Since it is more potent than fresh sage, typically one teaspoon of dried sage can replace a tablespoon of fresh. It's excellent for infusing foods with a classic, herby taste that complements a wide array of dishes.
Breads: A pinch of sage can add a savory note to homemade bread. Mix it into the dough before baking for an aromatic twist.
Sausage: Sausage often contains sage. Add the dehydrated herb directly into the meat mixture to enhance the traditional flavors.
Stuffing: Sage is essential in stuffing, where it pairs well with onions, celery, and bread cubes. Its inclusion helps to anchor the dish’s overall flavor profile.
Poultry: Sage has a natural affinity for poultry dishes, such as roasted chicken (What wine goes well with roasted chicken?) or turkey. Sprinkle sage on the skin or incorporate it into a rub for a deep, herbaceous taste.
Seasoning: As a seasoning, dry sage can be an ingredient in spice blends. Combine it with salt, black pepper, and other dried herbs (how long do dried herbs last?) to create a versatile seasoning mix.
By integrating dehydrated sage appropriately, chefs can enhance their dishes with this robust, versatile herb.
Maximizing the Benefits of Sage
Dry sage retains its nutritious properties which can contribute to various health improvements when consumed. For individuals interested in the nutritional advantages of herbs, understanding sage's profile is essential.
Understanding the Nutritional Profile of Dry Sage
Like many dried herbs, sage is abundant in antioxidants, which play a critical role in neutralizing free radicals in the body, reducing oxidative stress, and potentially lowering the risk of chronic diseases. This herb is also a notable source of vitamin K, an important nutrient for blood clotting and bone health.
Antioxidants: Include compounds like flavonoids and phenolic acids.
Vitamin K: Essential for bone health and wound healing.
Moreover, dry herbs studies have suggested that sage can help improve brain function and may have beneficial effects on blood sugar levels.
These aspects make it a valuable addition to a health-conscious diet. By dehydrating sage and incorporating it into daily meals, individuals can efficiently take advantage of these health benefits.
Additional Uses for a Sage Harvest
Dehydrated sage, known for its earthy flavor and aroma, sees wide-ranging uses beyond culinary applications, particularly in traditional medicine and in various crafting and decorative practices.
Rubbed Sage Health Benefits
In traditional medicine, dried sage leaves (how long do dried sage leaves last?) play a role due to their purported health benefits. Dried sage leaves are often used in a ground form.
This ground sage in a fine powder known as rubbed sage, may be included in herbal tea blends (how long do herbal tea blends last?) to aid digestion or to provide relief from cold symptoms due to their anti-inflammatory and antioxidant properties.
Cultural Sage Smudging
When it comes to smudging, a practice rooted in Native American traditions, dehydrated sage is used to create smudge sticks.
These smudge sticks are bundles of sage that are burned to produce smoke believed to have cleansing properties, which are used to purify spaces and objects. If you harvest sage at home you can create your own smudge stick.
Crafting and Decorative Purposes
You can also harvest sage for crafting and home decor; it serves as an aromatic addition that can be included in bunches and bundles for ornamental display or as part of potpourri mixes.
The preservation of sage through dehydration ensures that its distinct scent is maintained, providing a long-lasting, natural fragrance for the home. Crafters often use these bundles in wreaths or as part of herbal arrangements to create a rustic aesthetic.
