
Saving Burnt Jam
Effective Strategies for Bitterness Removal and Flavor Restoration
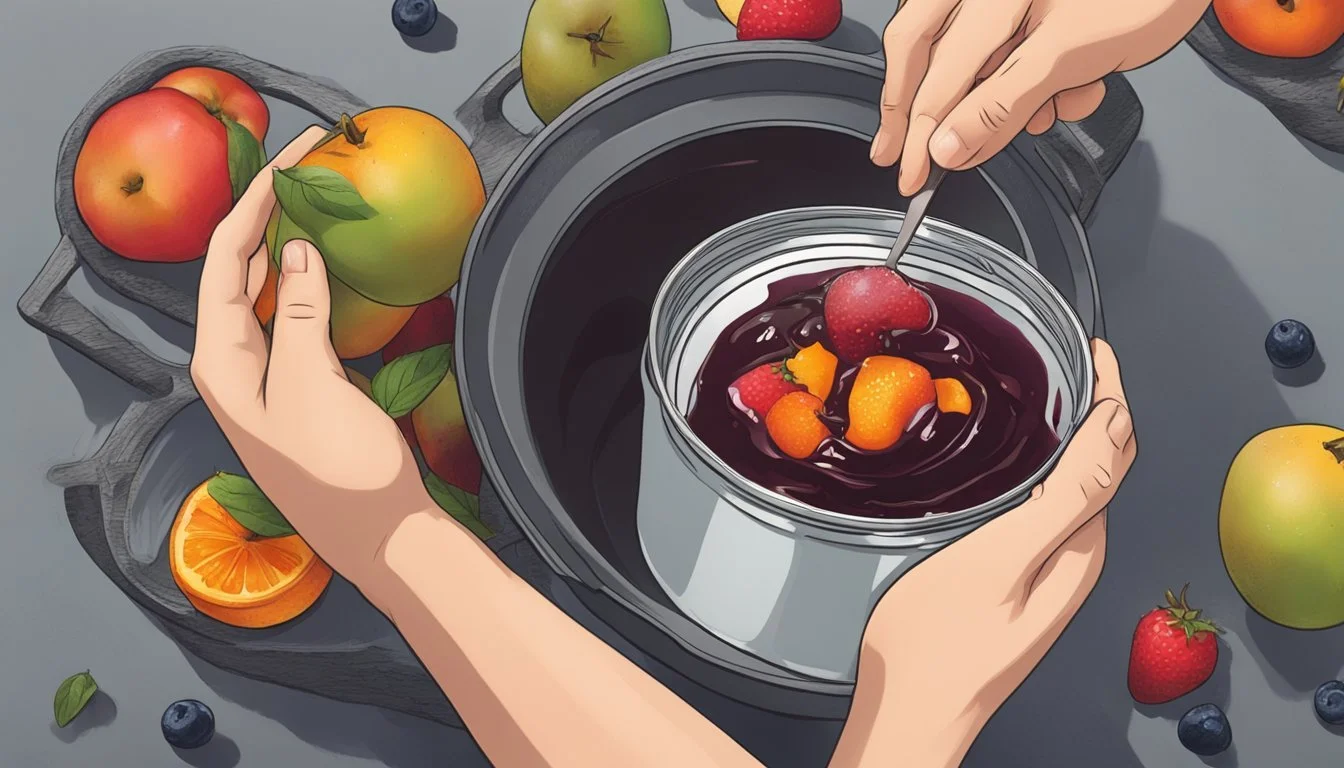
Making jam is a delightful process that allows for the preservation of fruit at the peak of its flavor. However, this kitchen endeavor comes with its own set of challenges, one of the most disheartening being the moment when you realize your lovingly prepared jam has a burnt flavor. The subtle, sweet fruitiness can quickly be marred by the slightest hint of bitterness from scorching. The good news is that all is not lost; there are several strategies one can employ to revitalize a batch that's taken a turn towards the bitter end.
Removing bitterness from jam is not always straightforward, but understanding the sources of bitterness can help in addressing the problem effectively. Often, the offending taste comes from burnt sugar or overcooked fruit, especially if the jam has stuck to the bottom of the pan. In some cases, bitterness might also stem from the inclusion of too much citrus pith in the recipe. To salvage the fruit flavors and rescue the labor of love that is homemade jam, certain techniques and additions can be applied to the mixture to help balance out the flavors and save the batch from being discarded.
One could consider diluting the burnt jam with water and re-cooking it to the correct consistency, or creatively repurposing the jam by incorporating it into glazes, marinades, or baked goods where the bitter notes may be less pronounced. It's critical to operate with a patient and careful touch to avoid over-processing, which could further compromise the fruit flavors. Understanding how to mitigate these issues not only ensures that the effort put into making the jam does not go to waste but also enriches the jam-maker's skill set for future endeavors.
Identifying Burnt Jam
When making jam, it is crucial for the cook to recognize when their jam has overcooked to prevent a burnt outcome that can compromise flavor and texture.
Characteristics of Overcooked Jam
An overcooked jam typically presents itself with a darkened coloration, noticeably different from the fresh, vibrant hue expected. The texture deviates from the desired consistency, potentially becoming gloopy or resembling gummy candy. A telltale sign of a jam that has burnt is the aroma of caramelization gone too far, often culminating in an unpleasant smoky or acrid smell. On the palate, one might detect a sharp bitterness or an overly heavy, cloying flavor profile that overshadows the fruit's natural sweetness.
Common Causes of Burnt Jam
Burnt jam usually results from prolonged cooking at excessive heat. If the cook doesn't stir the mixture frequently, the sugars may crystallize and attach to the bottom of the pot, leading to burning. The tools used can also play a role; non-stick pans that distribute heat unevenly could cause localized hotspots where the jam sticks and burns. Moreover, an overcrowded pan may prevent proper stirring, which is essential to prevent scorching. Any deviation from the precise balance of heat, timing, and stirring can leave one with a jam that's far from perfect.
Preventative Measures

In the process of making jam, taking preemptive actions is essential to avoid the disappointment of a burnt batch. One's timing and attentiveness to detail can mean the difference between delicious jam and a frustrating outcome.
Proper Cooking Temperatures
Maintaining the correct cooking temperature is crucial to prevent burning. The jam should reach a rolling boil, but it's vital to monitor the heat to ensure it doesn't exceed this point. A candy thermometer can be a useful tool to keep track of the temperature, with the optimal boiling range for jam being:
Soft Ball Stage: 235°F to 240°F (112°C to 115°C)
Hard Ball Stage: 250°F to 266°F (121°C to 130°C)
Stirring Techniques
Regular and gentle stirring helps distribute heat evenly and prevents the jam from sticking to the bottom of the pan. Stirring should be done with a long-handled wooden spoon to avoid scalding and to reach all areas of the pot. Avoid over-stirring which can introduce too much air and affect the setting of the jam.
Timely Intervention
At the first sign of any sticking or scorching, one should immediately remove the pot from the heat. Transferring the unburnt jam to a clean pot can prevent the burnt taste from permeating through the rest. It's also important to not scrape the burnt bits from the bottom as this can spread the burnt flavor.
By carefully managing these aspects, one can prevent burnt jam most effectively.
Analyzing Burnt Flavors
When jam burns, the flavors and aromas can transform significantly, affecting both taste and enjoyment. The focus of this section is to understand the varying levels of burning and how they affect the bitterness in jam.
Degrees of Jam Burnt Conditions
Jam can experience a spectrum of burnt conditions, from slight caramelization to deep charring. Burnt jam typically presents one of the following states:
Slight Burn: A light brown color with a caramel-like taste.
Moderate Burn: Darker brown, with a noticeable bitter flavor but possibly salvageable fruit flavors.
Severe Burn: Blackened with a dominant acrid taste, where the original fruit flavors are often irretrievable.
The assessment of the burn degree is crucial, as it determines whether the jam is salvageable.
Distinguishing Bitterness Types
Burnt jam can exhibit different types of bitterness, each impacting the palate in distinct ways:
Enzymatic Bitterness: Results from natural fruit enzymes; usually mild and not a result of burning.
Maillard Bitterness: Occurs due to the Maillard reaction when sugars and amino acids combine under heat, leading to complex flavors, some of which can be bitter.
Charred Bitterness: The most intense form of bitterness, stemming from overheated sugars and fruit pulp that produces harsh, burnt flavors.
Understanding the source of bitterness is integral to determining the right corrective measures.
Physical Removal Methods
When a batch of jam develops an undesirable burnt taste or excessive bitterness, certain physical removal methods can be employed to salvage its sweet flavor. These methods must be done with care to avoid further damaging the texture and taste of the jam.
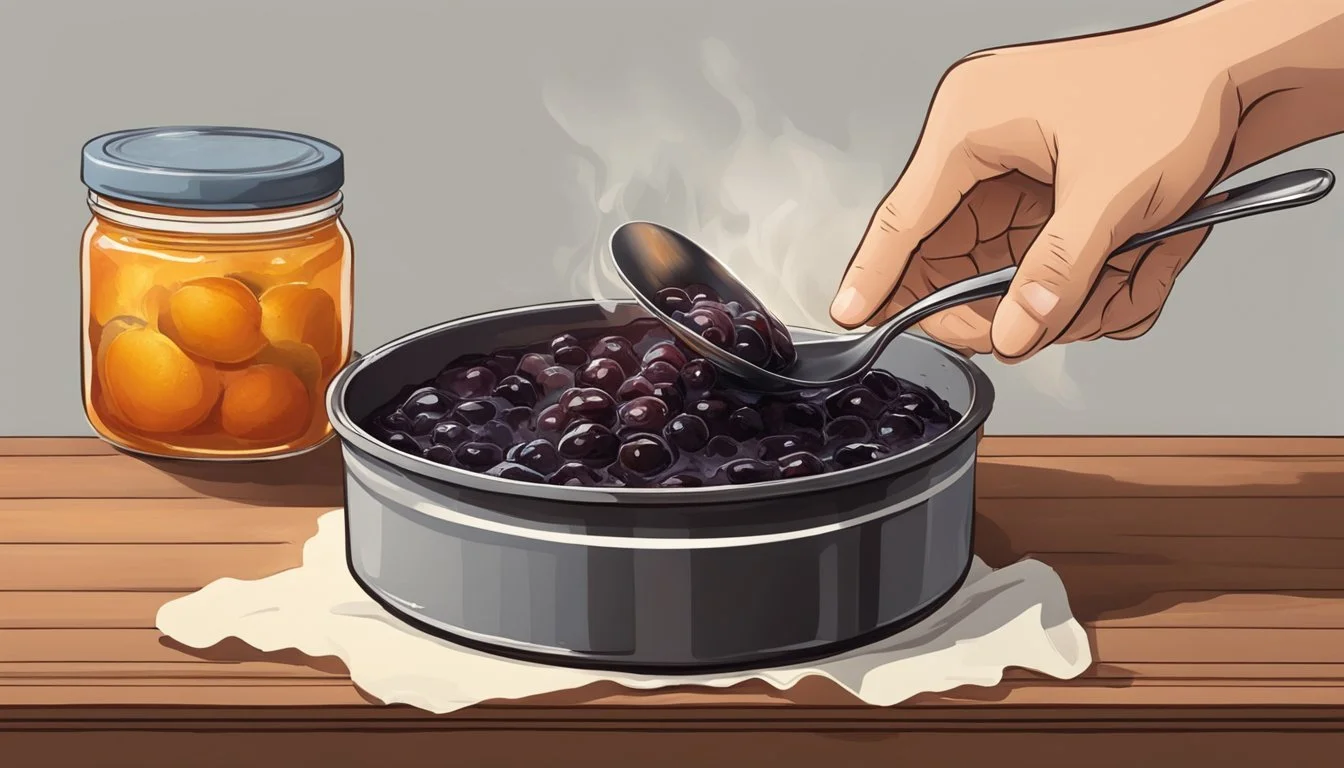
Skimming Techniques
The first step in rescuing a burnt jam is to immediately remove it from the heat source to prevent additional burning. Skimming involves gently removing the top layer of the jam that has not been affected by the burnt portion on the bottom of the pan. They should use a spoon or ladle to carefully scoop out the unburnt jam into a fresh container, making sure not to disturb the burnt layer at the bottom.
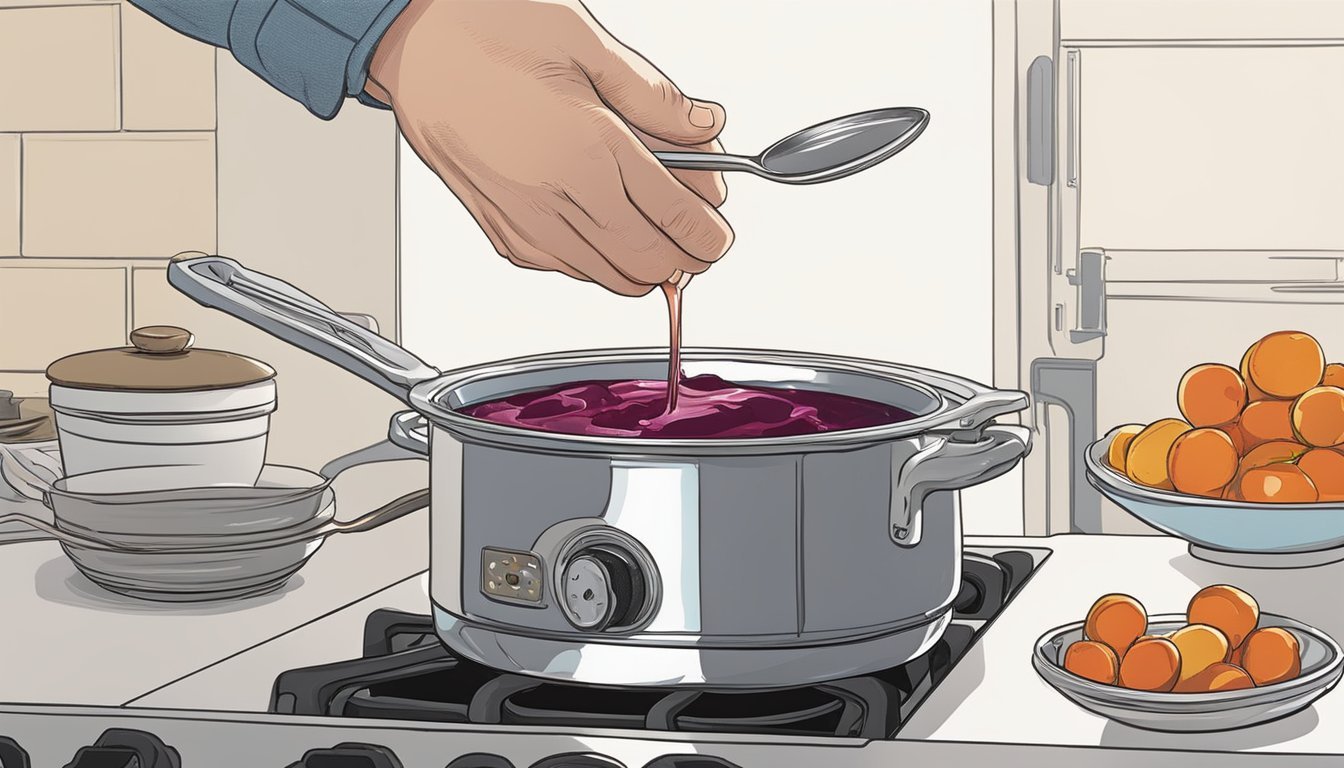
Recooking Strategies
Once they have skimmed off the salvageable portion, there's a chance to enhance the flavor through cautious recooking. They should transfer the jam to a clean pan, add a small amount of sweetener, like sugar or honey, and a little water if necessary, to reintroduce moisture. The jam should be reheated gently while stirring frequently to distribute the flavors and help it reach the proper gel stage without overcooking again.
Rescue and Enhance
When faced with burnt jam, the cook has an opportunity to rescue the dish and even enhance its flavors by selecting the right ingredients and rebalancing the taste.
Choosing Complementary Ingredients
Identifying ingredients that complement the original flavor profile of the jam is essential. For example, adding a dash of honey can introduce a new dimension of sweetness which may help mask any bitterness from the burnt fruit. Meanwhile, nuts or seeds can add a textured contrast, potentially diverting attention from any residual burnt flavors.
Sweet Additions:
Honey
Maple syrup
Agave nectar
Chopped nuts (almonds, walnuts, pecans)
Seeds (pumpkin, sunflower, chia)
Balancing Flavors with Acidity
Introducing acidity can help neutralize burnt bitterness. Lemon juice is particularly effective, as its sour and acidic qualities can cut through the bitterness while maintaining the jam's fruity character. Adjusting with lemon juice should be done carefully—adding a little at a time and tasting as one goes.
Acidic Agents:
Lemon juice
Lime juice
Apple cider vinegar
Balancing Method:
Add a teaspoon of lemon juice to the jam.
Stir well and taste.
Continue adding lemon juice, one teaspoon at a time, until the balance is achieved.
Alternative Uses for Burnt Jam

Despite the misstep in the jam-making process, burnt jam doesn't need to go to waste. There are inventive ways to reincorporate the jam into delicious treats where its unique flavor can be an advantage, particularly in pastry fillings and as creative toppings.
Pastry Filling and Baked Goods
Burnt jam can be a surprising twist to the filling of homemade biscuits. When mixed with cream cheese or butter, the jam's intense flavor is mellowed, making it perfect for sandwiching between layers of biscuits. For pound cake and bar cookies, a layer of burnt jam adds a complex, caramelized note that can enhance the overall taste. Simply spread a thin layer of the jam onto the batter before baking.
Homemade Biscuits: Combine with cream cheese for a flavorful filling.
Pound Cake and Bar Cookies: Spread a thin layer over the batter before baking.
Creative Topping Ideas
This jam doesn't just shine as a filling – it can be reinvented as a topping for various desserts. Mixed with syrup, it can be drizzled over pancakes or ice cream as a slightly bitter contrast, which may appeal to those who enjoy less sweet desserts. Additionally, incorporating burnt jam into buttercream frosting offers a decadent way to top off cakes with a unique flavor twist.
Pancake Topping: Mix with maple syrup for a complex topping.
Ice Cream Syrup: Blend with a simple syrup to create a rich, pourable sauce.
Buttercream Frosting: Fold into frosting for a rich, unique topping.
Canning and Food Preservation Tips
Successful canning and food preservation hinge on two pivotal factors: Packaging for Longevity and Temperature Control. These elements are crucial for maintaining the integrity of the preserved items, such as beautiful jam, ensuring they're suitable for long storage periods, including as gifts, like Christmas presents.
Packaging for Longevity
Proper packaging is essential for extending the shelf life of canned goods. Jars should be sterilized and heated before filling them with your product to eliminate any potential contaminants. The sealing process is equally important; lids must be checked for a proper seal after the water bath to ensure the longevity of the jam:
Before starting the canning process, always check the jars for any chips or cracks.
Use new lids for each batch to ensure a reliable seal.
After placing the filled jars in a water bath, make sure there's enough water to cover them by at least 1 inch.
Temperature Control
Controlling the temperature during and after canning is key for both preventing spoilage and ensuring that fruit flavors and colors are preserved:
During Canning: A consistent rolling boil in the water bath must be maintained for the time specified in the recipe.
After Canning: Jars should be left to cool undisturbed in a draft-free area.
Once properly sealed and cooled, store your jars in a cool, dark place. Avoid storage areas where temperature fluctuations are common like attics or garages. An ideal spot is a pantry where they are kept at a consistent temperature. If any jars fail to seal, store them in the fridge and consume those first.
Salvaging Techniques for Specific Jams
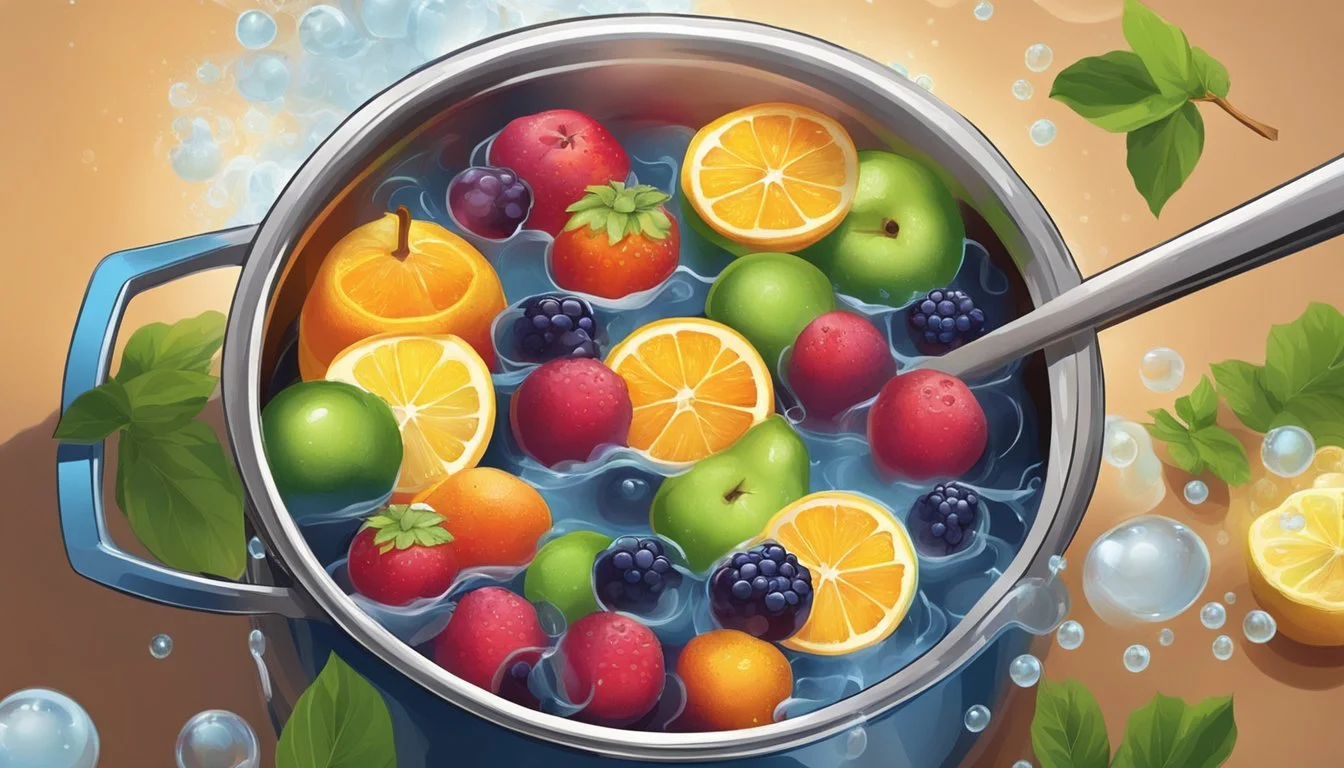
Preserving the delightful taste of homemade jams requires specific techniques when they don’t turn out as expected. Different fruits (What wine goes well with fruits?) call for tailored approaches to maintain or enhance their natural flavors after an overcooking mishap.
Adjusting Recipes for Berry and Stone Fruit Jams
Berry and stone fruit jams, such as raspberry or cherry, can become overly firm if cooked too long. For berry jams, one can gently reheat the jam with a bit of water, adding a small amount of lemon juice to brighten the flavor. A tablespoon of water for every cup of jam usually suffices.
Add 1 tablespoon of water per cup of jam.
Include a teaspoon of lemon juice to reduce bitterness.
For stone fruit spreads, such as those made with peaches or apricots, combining the hard jam with diced fresh fruit and reheating allows pectin breakdown and flavor balance.
Cherry Jams:
Mix in a quarter cup of fresh cherries per cup of jam.
Stir while gently reheating until reaching the desired consistency.
Tailoring Fixes for Citrus Marmalades
Citrus marmalades, which often include the bitter components of the fruit rind, require a delicate approach. Orange marmalade that has burned can be softened by adding a mixture of water and sugar, then simmering gently to dissolve the caramelized sugars.
Orange and Lime Marmalade:
Introduce 1/4 cup of sugar and 1/2 cup of water for each cup of marmalade.
Simmer gently, not allowing it to reach a boil, to preserve the delicate citrus notes.
When lime marmalade hardens, consider creating a citrus syrup by heating equal parts sugar and water, then blending it into the marmalade to soften the texture and counteract bitterness.
Each fruit presents unique challenges in jam recovery, but with precise adjustments, the natural essence can be salvaged and enjoyed.
Understanding the Science of Jam-Making
In jam-making, achieving the perfect consistency and flavor development hinges upon the interplay of pectin and the chemical reactions that occur during cooking.
Pectin and its Role in Consistency
Pectin is a natural thickening agent found in the cell walls of fruits. It is crucial for jam to acquire its firm yet spreadable consistency. Different fruits contain varying levels of pectin, with apples, citrus fruits, and grapes being particularly rich sources. For fruits lacking sufficient natural pectin, a commercial form might be added to ensure the jam sets properly.
High pectin: Apples, citrus fruits, grapes
Low pectin: Strawberries, cherries
The science behind pectin's role is simple: when heated with sugar and acid, pectin chains entangle and form a network that traps water, thereby thickening the jam. This is why the jam sets as it cools, because the pectin network solidifies.
The Chemistry of Flavor Development
The flavors in jam are not just a result of the fruit used; they are also developed and altered during the cooking process. Chemical reactions, such as the Maillard reaction and caramelization, are responsible for the complex flavor profile of a finished jam.
Maillard reaction: Occurs between amino acids and sugars, giving a rich and complex flavor.
Caramelization: The browning of sugar, which adds a toasty depth of flavor.
The chemistry of flavor development in jam is influenced by the careful balance and interaction between fruit, sugar, and acid. This amalgamation determines not only the ultimate taste but also the consistency of the jam, as acid helps pectin gel, setting the jam. Proper heat management is essential: too little and the jam will be runny, too much and the sugars may scorch, producing an undesirable bitterness.
