How to Ferment Ghee
Unlocking the Rich Flavors of Fermented Clarified Butter
Ghee, a traditional form of clarified butter hailing from South Asia, has been a staple in culinary practices for centuries. It is made by simmering butter to separate the milk solids and water from the fat, resulting in a product that combines the rich flavor of butter with a higher burning point and a longer shelf life. The process of fermenting ghee introduces another layer of complexity to this already nuanced ingredient. Fermented ghee incorporates beneficial bacteria, enhancing its digestibility and adding a unique depth to its flavor profile.
To create fermented ghee, one would begin with cultured butter, which is butter made from fermented cream. The fermentation process elevates the ghee by breaking down casein and lactose, protein and sugar found in milk that can be difficult for some to digest. This slow fermentation allows for a distinct tanginess to come through, differentiating it from regular ghee. The aroma is deepened, and the taste carries subtle notes that can enhance a multitude of dishes, from simple rice to rich curries.
The making of fermented ghee not only extends its culinary uses but also its longevity. The removal of moisture and the presence of good bacteria increase its shelf life significantly. This enables the ghee to be stored at room temperature for extended periods without spoilage, which is a valued characteristic in warmer climates where refrigeration may not always be readily available. It's a testament to ancient wisdom converging with modern dietary preferences, catering to both the gourmet cook and the health-conscious individual.
Understanding Ghee and Clarified Butter
Ghee and clarified butter are both derived from butter but have distinct characteristics in terms of production and flavor profile. They share historical significance and roles in various culinary traditions.
Differences Between Ghee and Clarified Butter
Ghee, commonly used in South Asian cuisines, is made by simmering butter to separate the liquid and milk solid components. Clarified butter involves a similar process; however, it is typically not cooked as long as ghee and thus retains more moisture and a milder flavor. The primary difference lies in ghee's additional cooking time, which imparts a nutty, rich flavor not found in clarified butter.
Table 1: Ghee versus Clarified Butter
Characteristic: Ghee
Cooking Time: Longer, until milk solids brown
Taste: Nuttier and more intense
Smoke Point: Higher due to removal of solids and water content
Use: Varied, including high-heat cooking and traditional dishes
Characteristic: Clarified Butter
Cooking Time: Shorter, just until separation
Taste: Milder than ghee
Smoke Point: High, but slightly lower than ghee
Use: High-heat cooking and as a butter substitute in recipes
Historical and Cultural Significance
Ghee has a rich history and is integral to many cultural traditions, especially in India where it is considered sacred in Hindu rituals. It has been valued for its nutritional benefits and long shelf life, which was particularly important before refrigeration. Clarified butter also features in many European cuisines and is appreciated for its culinary versatility and the fact that it can withstand higher heat without burning, unlike regular butter. The cultural significance of these two forms of butter is evident in their longstanding presence in culinary practices around the world.
Preparing Your Kitchen for Ghee Production
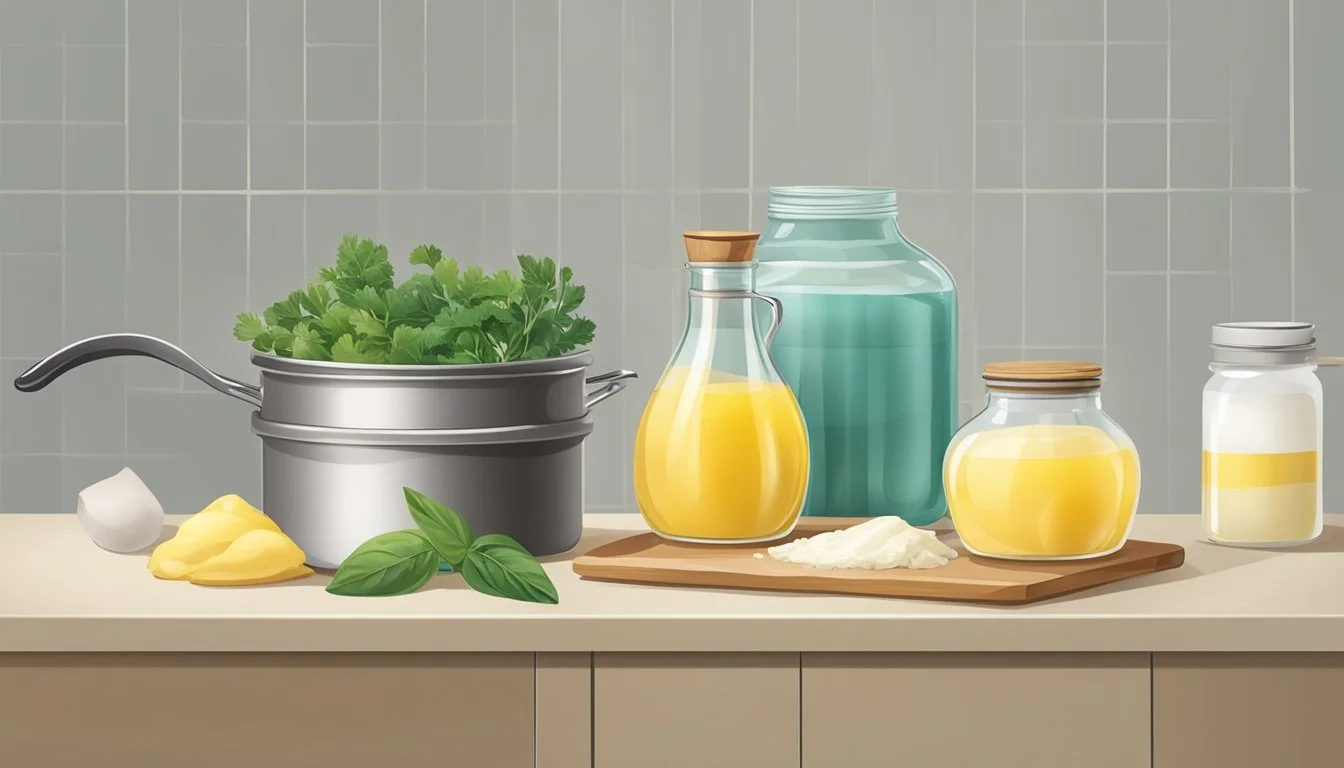
Before venturing into ghee production, one’s kitchen should be organized and equipped with the necessary tools. Ensuring a clean and safe environment is crucial for producing high-quality ghee.
Equipment Needed
The following items are essential in the ghee-making process:
Saucepan: A medium to large heavy-bottomed saucepan helps in evenly distributing heat and minimizing the risk of burning the butter.
Cheesecloth: At least a triple-layer cheesecloth is required for straining out the milk solids from the clarified butter.
Clean Jar: A sterile, airtight glass jar is necessary for storing the ghee and keeping it free from contaminants.
Skillet: This may be needed for an initial melting stage if butter is being used in such quantity that a saucepan wouldn't suffice.
Safety Precautions
In order to maintain safety in the kitchen while making ghee, one should observe the following:
Heat Management: It is important to manage the flame and maintain a low heat to prevent burning.
Hot Liquids: One must handle hot butter oil with care, slowly pouring it through the cheesecloth to avoid splashes and burns.
Clean Workspace: A clean kitchen reduces the risk of contamination and ensures the quality of the ghee.
Supervision: Continuous supervision is advised to monitor the ghee's progress and prevent accidents, especially when it comes to the point of separating milk solids.
The Process of Clarifying Butter
Clarifying butter involves gently heating butter to separate its milk solids from the clear golden liquid known as clarified butter or ghee, which is valued for its high smoke point and nutty flavor.
Choosing Your Base Butter
One initiates the process by selecting a high-quality unsalted butter as the base. Unsalted butter is preferred because salted butter can introduce impurities and affect the final flavor. It's essential to cut the butter into even pieces to ensure uniform melting.
The Clarifying Procedure
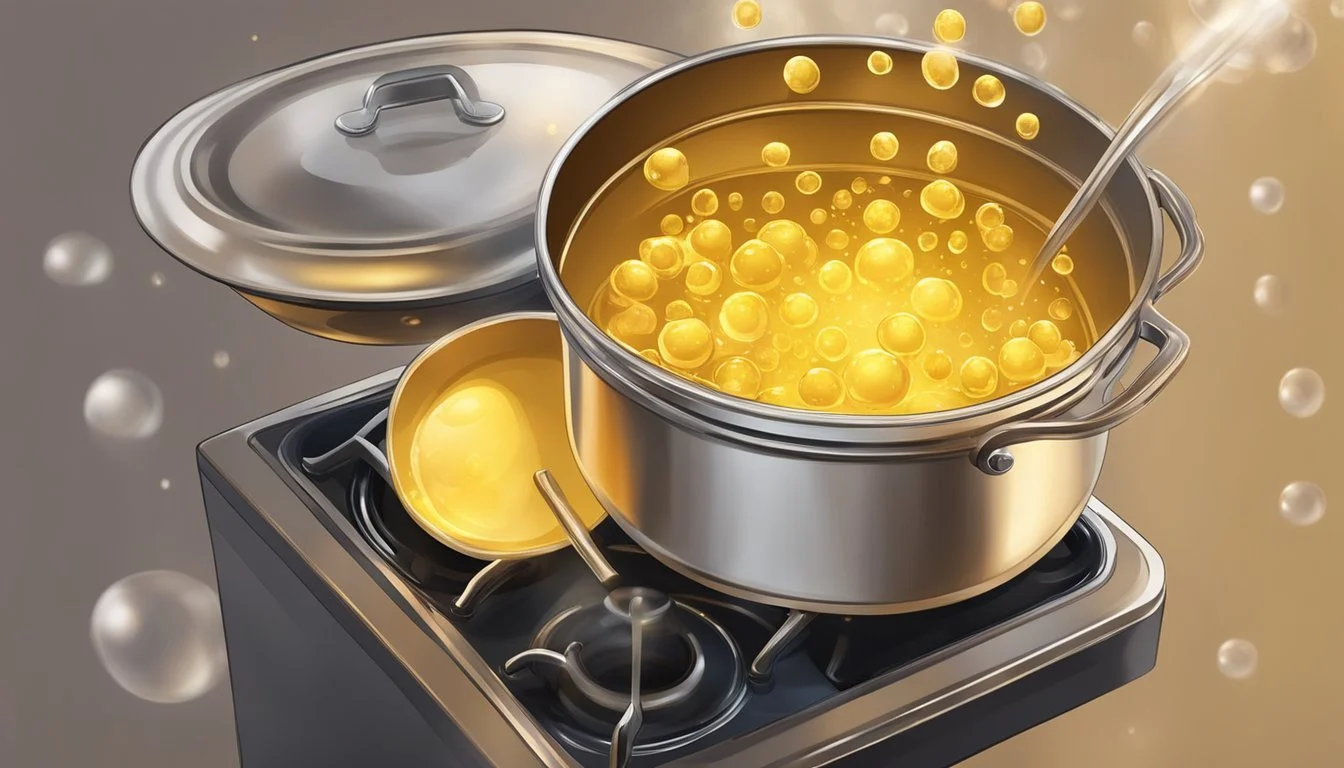
The procedure begins by melting the butter over low heat to avoid burning. Once the butter is melted, it separates into three layers: foam on top, clear fat in the middle, and milk solids at the bottom. Careful control of the heat is paramount to prevent the milk solids from burning before the butter has fully clarified.
Removing Milk Solids
As the butter warms, a white foam will form on the surface. This foam is skimmed off and discarded. The goal is to extract the milk solids without incorporating them into the clarified liquid. One employs a spoon or a skimmer to skim off the foam carefully. The milk solids, which are heavier, settle at the bottom and need to be discarded after the clarifying process is complete.
Achieving the Right Color and Consistency
The butter should reach a golden color, indicating that clarifying is nearly complete. One must watch for the milk solids to turn brown and attain a soft texture. The golden liquid should be poured carefully through a sieve or cheesecloth to separate it from the browned milk solids. The final product can be a soft consistency when kept at room temperature or harden when refrigerated. The key is to control the heat carefully to achieve the right consistency and prevent overcooking.
Fermentation: Cultivating Flavor
The reader will learn the essence of fermented ghee’s rich flavor and the straightforward steps required to ferment ghee at home, enhancing both its taste and nutritional value.
Introduction to Fermentation
Fermentation is a revered culinary practice used to enhance the flavor profile of various foods, including dairy products like ghee. When one ferments ghee, lactic acid bacteria break down milk sugars and fats, resulting in a complex, depth of flavor that is both tangy and nutty. This transformative process not only enriches the taste but can also contribute to the nutritional value of the butter. It is a time-honored technique that historically served to extend the shelf-life of perishable items.
How to Ferment Your Ghee
To ferment ghee, one should start with high-quality, unsalted butter, preferably from grass-fed cows for optimal nutritional content. The process involves gently heating the butter to separate the milk solids and water from the fat, leaving behind the pure butterfat known as clarified butter or ghee.
Steps to Ferment Ghee:
Clarify the Butter: Melt unsalted butter over low heat until three layers form; skim off the foam on top, and gently pour the middle layer of clear fat into another container, discarding the bottom layer of milk solids.
Inoculate the Ghee: Introduce a starter culture. This can be as simple as adding a spoonful of live cultured buttermilk to the molten ghee.
Incubate: Allow the inoculated ghee to sit undisturbed at a warm temperature (~85°F/30°C) for up to 24 hours.
Storage: Following incubation, store the ghee in a cool, dark place. Some prefer to let it age for several weeks for an enhanced flavor profile.
During fermentation, the ghee should exhibit a gradual change in flavor as the bacteria metabolizes lactose, fostering a mildly tart taste. It is crucial to use clean, sterilized jars for the fermentation process to avoid undesirable bacterial growth that could spoil the ghee. Fermented ghee should be smooth, aromatic, and have a slightly sour taste, distinguishing it from regular ghee. This involves ensuring all utensils, containers, and storage vessels are scrupulously clean to safeguard the quality of the final product.
Storing and Preserving Homemade Ghee
Proper storage methods are critical for maintaining the quality and extending the shelf life of homemade ghee. It should be kept in conditions where it remains shelf-stable to ensure it is safe and flavorful for consumption.
Optimal Storage Methods
When storing homemade ghee, one should use a glass jar with a tight-fitting lid to prevent the introduction of moisture and contaminants. The container must be clean and dry before use. Once the ghee is poured into the jar and has cooled completely, it should be sealed. This ghee can then be placed in a pantry or any dark, cool area of the kitchen, away from direct sunlight and heat sources.
In the Pantry:
Place in a dark, cool spot
Ensure the area is dry
Using Glass Jars:
Must be clean and completely dry
Prefer sealable lids to protect against contaminants
Maximizing Shelf Life
The shelf life of ghee can vary based on how it is stored. Homemade ghee is generally shelf-stable and, if unopened and stored properly, can last up to 1 to 2 years. After opening, it is advised to use ghee within 3 to 6 months to enjoy its best quality. However, it can last longer if necessary precautions are taken.
For Longer Shelf Life:
Store refrigerated to extend usability up to a year
Note the date of preparation on the jar
Refrigeration can be beneficial if one intends to preserve the ghee for an extended period. When kept in the fridge, ghee can be expected to remain usable for up to 12 months. However, refrigeration is optional as ghee is inherently more shelf-stable than ordinary butter due to the removal of milk solids during its preparation.
Uses and Applications of Ghee
Ghee's versatility in cooking is due to its high smoke point, making it suitable for various culinary techniques. It can replace olive oil or butter in recipes, providing rich flavor and distinct aroma.
Cooking and Frying
Ghee is preferred for its high smoke point, around 482 degrees Fahrenheit, which is substantially higher than that of butter and even some oils like olive oil. This makes it ideal for sautéing, frying, and other high-heat cooking methods without burning. For chefs looking to cook at high temperatures, ghee provides stability and enhances the taste of the dish.
Ghee as a Spread
As a spread, ghee offers a flavorful alternative to butter. Though solid at room temperature, it softens easily when spread onto bread or drizzled over popcorn. Its rich taste gives a new dimension to any recipe requiring a spreadable fat.
Ghee in Baking
Substituting ghee for butter in baking is done in a 1:1 ratio, which yields a comparable texture and a slightly nutty flavor in the final product. Ghee's absence of water content can lead to flakier pastries and crusts, offering a slight edge in recipes where crispness is desired.
Alternative Uses
Beyond the kitchen, ghee finds its place in various cultural and medicinal applications. Some use it for skin care, as it is believed to hydrate and soothe the skin. In Ayurvedic medicine, ghee is used therapeutically for various health concerns. However, these uses are not mainstream and should be approached with personal discretion.
Health Considerations and Nutritional Information
Ghee is a form of clarified butter that is often used in cooking and is known for its rich, nutty flavor. It is also sometimes fermented. It's essential to understand its place in a balanced diet and its fat and calorie content.
Ghee in a Balanced Diet
He or she should incorporate ghee into their diet with an understanding of its nutritional content. Ghee contains vitamin A, which is crucial for vision and immune function, and it also provides vitamins D, E, and K. Unlike some other cooking fats, ghee is free of lactose and casein, making it a viable option for those with lactose intolerance or milk allergies.
One should be mindful of the portion sizes due to ghee's concentrated source of fats. It can be part of a balanced diet when used in moderation.
Understanding Fats and Calorie Content
Ghee is composed almost entirely of fat and it is calorie-dense, with a tablespoon containing about 112 calories and 12.7 grams of fat. Here is a breakdown of the fat content:
Saturated fats: 7.9 grams
Monounsaturated fats: 3.7 grams
Polyunsaturated fats: 0.5 grams
It's important to balance one's intake of saturated and unsaturated fats. Consuming high amounts of saturated fats can lead to health issues, so they should be mindful of their total daily consumption. Monounsaturated and polyunsaturated fats, on the other hand, are considered healthier fats that can improve heart health when they replace saturated fats in the diet.
Tips for Making Ghee at Home
Making ghee at home requires attention to detail, from choosing the best ingredients to carefully monitoring the cooking process. By following these tips, anyone can prepare this aromatic and healthful cooking fat.
Starting with Quality Ingredients
For the best homemade ghee, one should begin with high-quality, unsalted butter; ideally, it should be organic and grass-fed. These factors greatly influence ghee’s final taste and nutritional profile. To ferment the butter—which some claim enhances ghee’s beneficial properties—culturing cream before churning it into butter adds a depth of flavor.
The Importance of Timing and Temperature
Careful control of heat is crucial in ghee-making. One must slowly melt the butter and maintain a medium-low temperature to allow water content to evaporate without burning milk solids. The butter goes through various stages of foaming and bubbling; the ghee is ready when the second foam forms and the milk solids at the bottom of the pan turn a golden brown. Using a thermometer can help maintain the correct temperature, which typically should be around 200-250°F (93-121°C).
Troubleshooting Common Issues
During ghee preparation, one may encounter issues such as burning or not clarifying properly. If the milk solids burn, typically the heat was too high or the butter was left unattended for too long. Should the ghee not clarify, the heat may be too low or not enough time allowed for the water to evaporate. Using a cheesecloth or fine mesh strainer guarantees removal of all solids, and ensuring not to rush the process allows for clear, pure ghee.
Conclusion
The process of fermenting ghee elevates its preservation qualities and enhances its flavor profile. When ghee is made from cultured butter, it undergoes a fermentation that separates the milk solids and lactose from the clear fat, resulting in a purer form with a longer shelf life. The robustness of fermented ghee is evident both in its more nuanced flavor and its extended storage potential.
Shelf Life: Store-bought ghee can last up to a year in the pantry and potentially longer when refrigerated. Homemade varieties should be stored in an airtight container, away from direct sunlight, and can be expected to remain stable for similar durations, although freshness is paramount for the best taste.
Flavor and Color: The slow fermenting process not only imparts a tangy taste that distinguishes it from non-fermented varieties but also contributes to a deeper golden hue. Consumers appreciate the rich, nutty flavor of ghee, which can elevate any dish it is added to.
In summary, creating fermented ghee is a worthy endeavor for those seeking a durable cooking fat with a complex flavor. By adhering to proper storage methods, it can be preserved effectively while retaining its characteristic taste and color.


